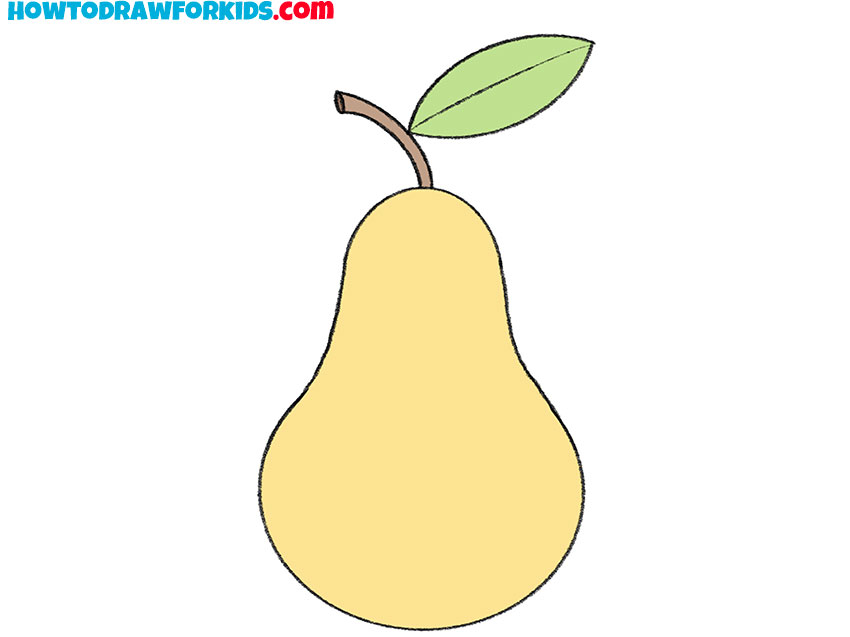
How to Draw a Pear
A pear is a useful subject for practicing smooth curves because its shape changes gradually between the wide base and the narrow top. In this tutorial on how to draw a pear, you will build that shape with a few simple lines.
Prepare to Draw a Pear
A pear may seem similar to a circle at first, but its outline changes as it rises. The lower part carries most of the width, and the sides gradually move inward near the stem.
This change in width is the main thing to watch. If the upper part stays too wide, the drawing will look more like an apple. If it narrows too sharply, the pear may appear pinched in the middle.
The two sides do not need to be perfectly identical because real fruit is rarely symmetrical. A small difference between them can make the outline look more natural, as long as the pear still feels steady on its base.
Pear Drawing Tutorial
Materials
- Pencil
- Paper
- Eraser
- Coloring supplies (yellow, brown, and green)
Time needed: 20 minutes
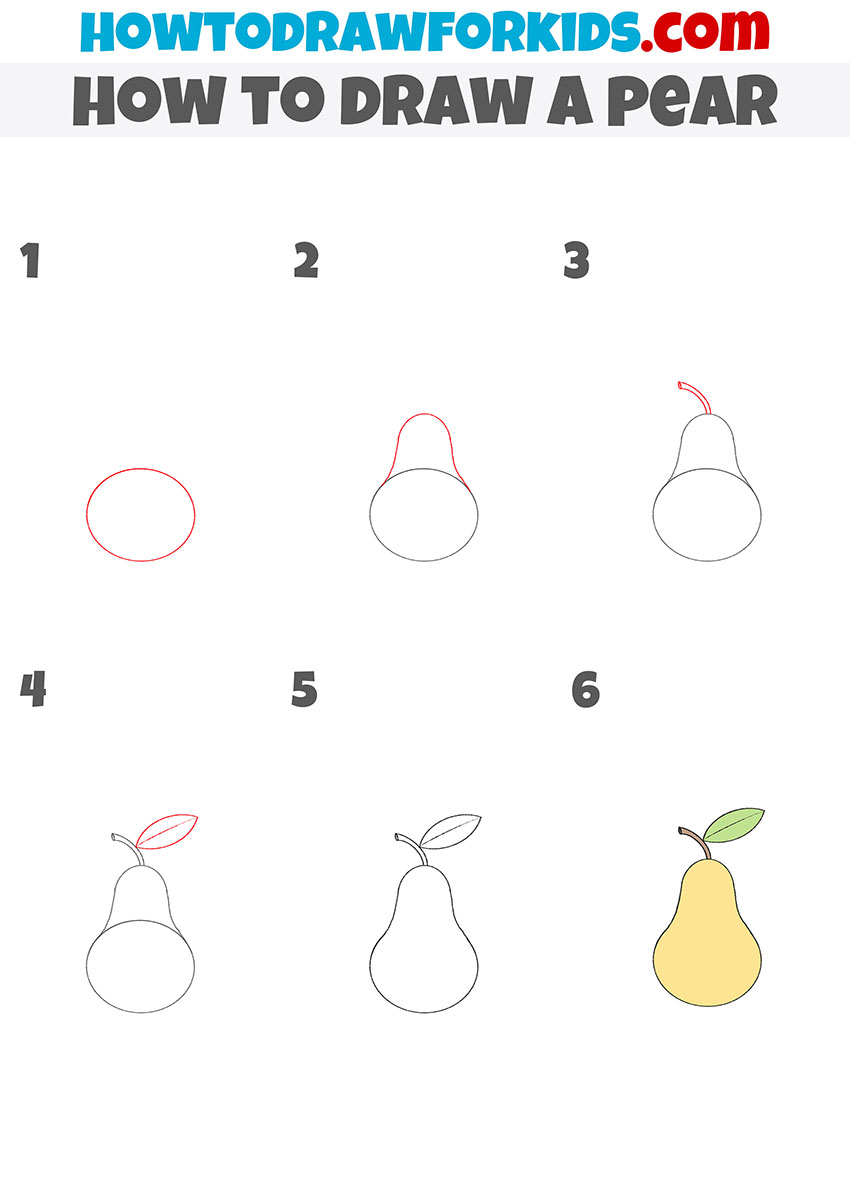
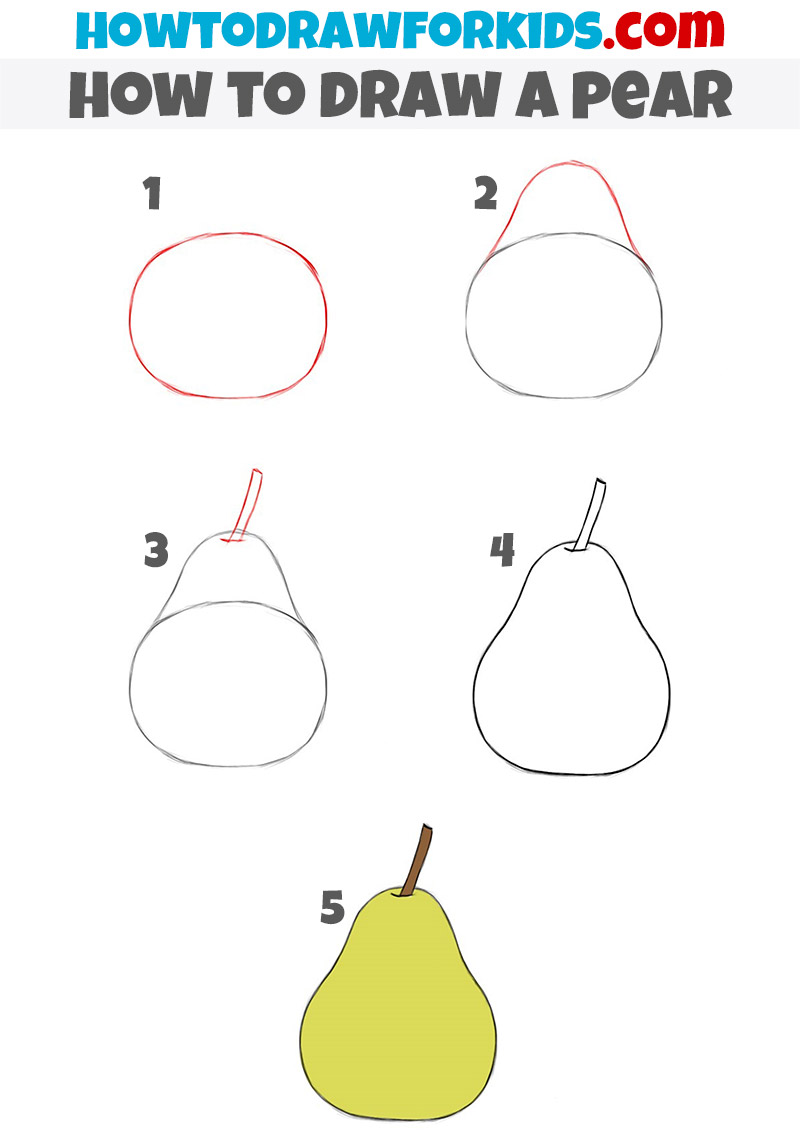
How to draw a pear step by step
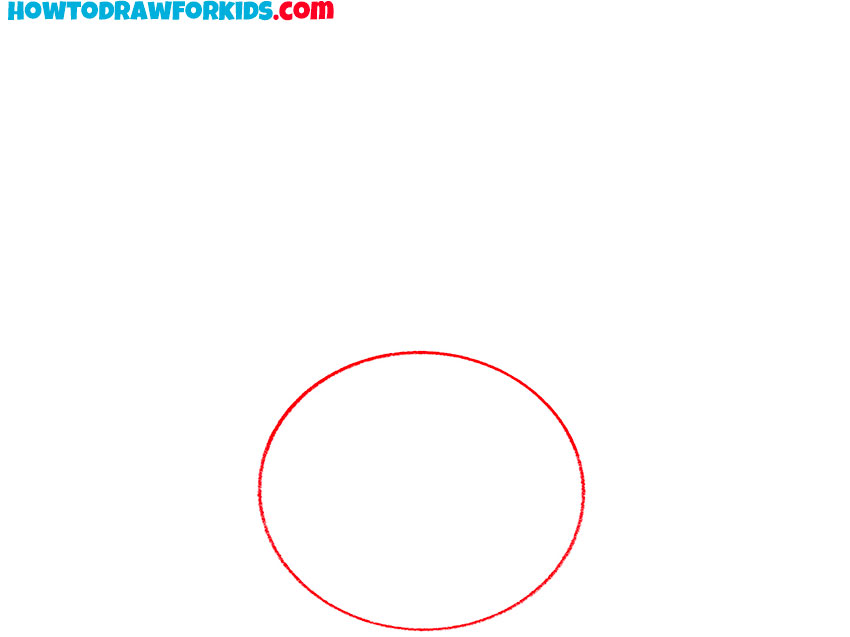
- Draw the lower part of the pear.
Begin with a large circle near the center of the paper. Use light pencil lines because part of this shape will be erased after the upper section of the pear is added.
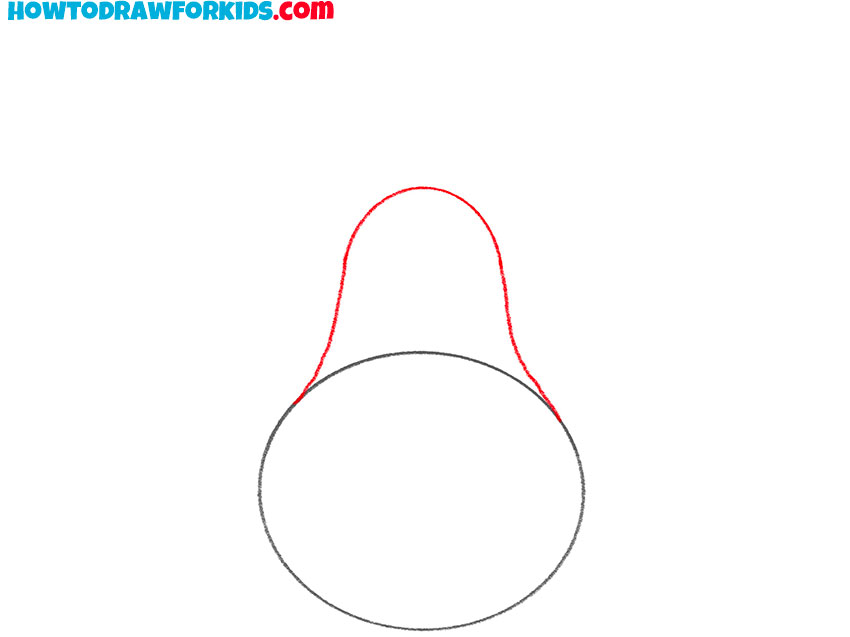
- Outline the top of the pear.
Extend two curved lines upward from the circle and join them near the top. Let the sides narrow gradually so the new section flows naturally into the wider base.
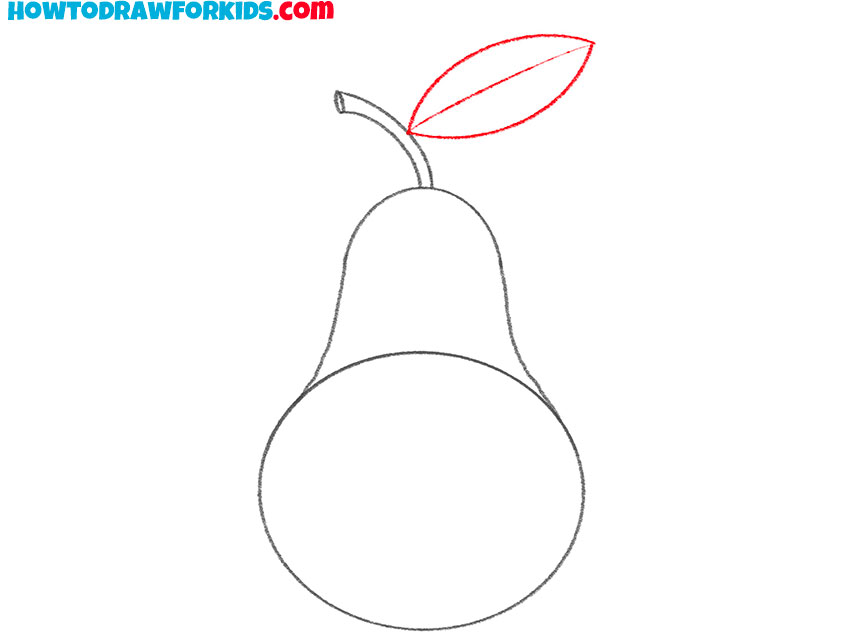
- Add the pear stem.
At the top of the fruit, sketch a short stem with two lines that lean slightly to one side. Join their ends with a small curve instead of leaving the stem open.

- Sketch the leaf beside the stem.
Use two curved lines to form a pointed leaf beside the stem. Add a short center line inside it to show the main vein.
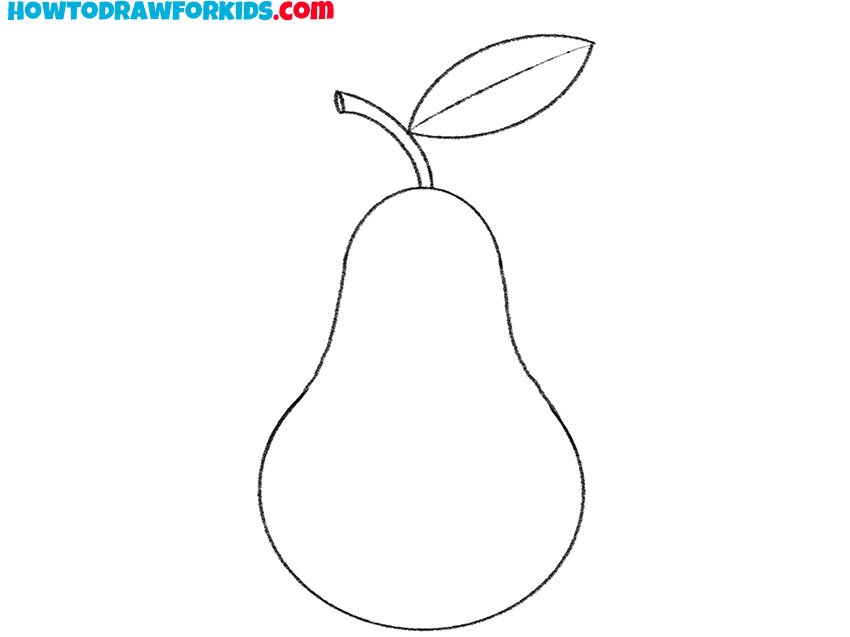
- Refine the pear outline.
Erase the part of the original circle that remains inside the pear. Smooth the joins between the upper and lower sections, then darken the final outline, stem, and leaf.
- Color the pear drawing.
Fill the fruit with yellow, then color the stem brown and the leaf green. Leave a small lighter area on the pear if you want to suggest a soft reflection on its surface.
Pear Drawing Printables
The printable PDF contains the pear drawing steps and extra pages for practice. You can save the file and use it without opening the full tutorial again.
Simple Pear Tutorial
The first method begins with a circle and uses it to set the width of the fruit. The next version removes one step and uses an even simpler outline, which is better suited to younger children.
In this version, the lower circle remains visible until the pear outline is complete. This gives young artists a clear base and makes the change between the wide bottom and narrow top easier to understand.
The stem is added directly above the fruit, and the extra line inside the outline is removed near the end. Since this method does not include a leaf, there are fewer small details to manage.
Improve Your Pear Drawings
Once the basic outline feels familiar, small changes can make the pear look more natural. Work on one part at a time so you can see which change improves the drawing and which one does not.
- Practice the main shape: Draw several wide circles, then extend each one into a narrow upper section. This helps the two parts feel connected instead of looking like separate shapes.
- Change the width: Make one pear tall and narrow, then draw another that is shorter and wider. The outline can vary without losing the main fruit shape.
- Adjust the sides: Avoid making the outline perfectly even. A slightly fuller side often makes the pear look more natural than strict symmetry.
- Add light shading: Shade one edge of the fruit and leave the opposite side lighter. Use soft pencil pressure so the change in value remains gradual.
- Refine small details: Practice how to draw the leaf separately if its pointed outline is difficult. Then attach it near the pear stem at a slight angle.
- Try different colors: Pears may be yellow, green, or reddish. Add a second color lightly near one side rather than dividing the fruit into separate color areas.
- Repeat the drawing: Make several pears without tracing the first one. Each new outline will help you remember how the width changes near the top.
- Add a setting: Place the pear on a surface by drawing a table, or include it with other fruit by sketching a fruit bowl.
These exercises all build on the same basic outline. Once you can change its width, size, and tilt without losing the pear shape, you can use the same approach for other fruit drawings.
Conclusion
The pear began as a simple circle, but extending that circle into a narrower top changed it into a clear fruit shape. This is a useful example of how one basic form can support a more specific outline.
You can apply the same idea when you draw an apple. Its base is also close to a circle, although the top stays much wider and has a shallow dip near the stem.
After comparing these two shapes, try to draw another fruit and decide which basic form fits it best. Looking for that starting shape makes unfamiliar subjects easier to understand.
You can then combine several examples by drawing a fruit bowl. Place the larger pieces first, then use the smaller fruit to fill the spaces between them.