How to Draw a Graduation Cap
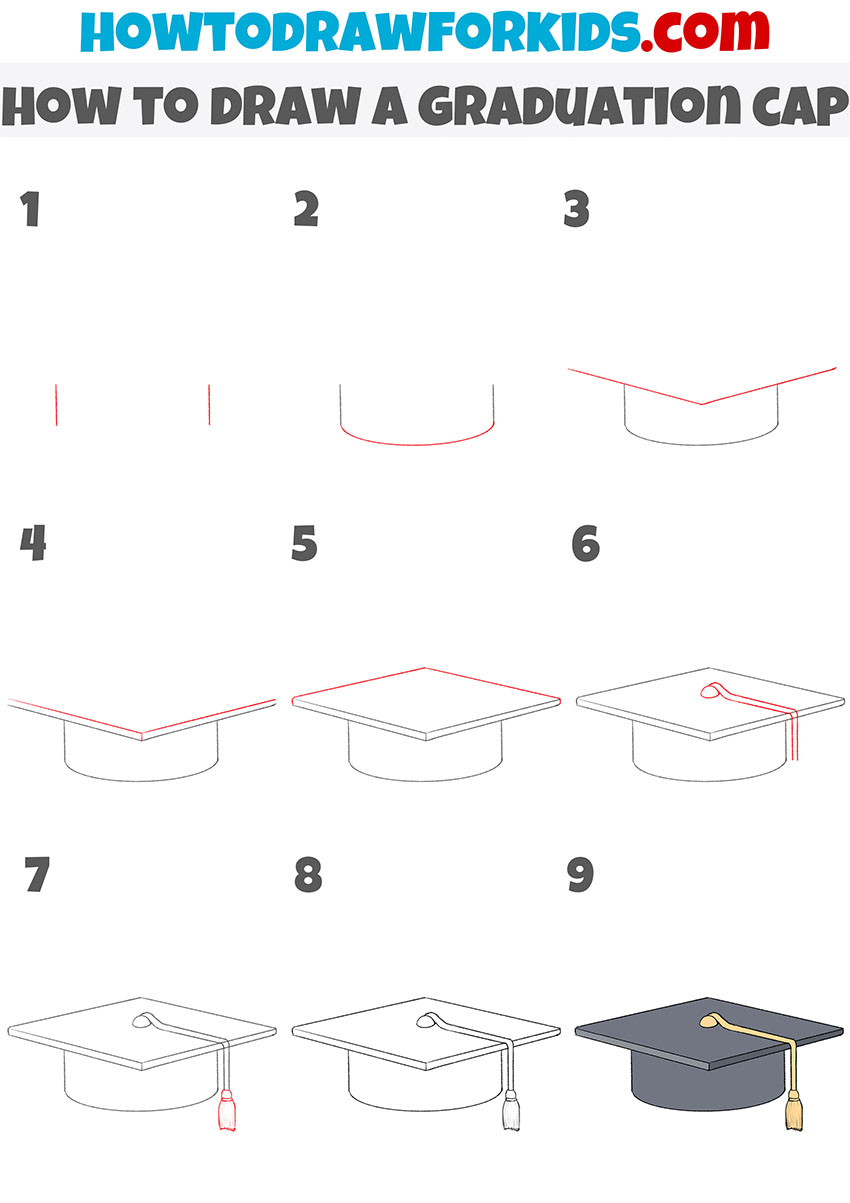
In this step-by-step drawing lesson, you’ll learn how to draw a graduation cap. This simple guide consists of nine easy-to-follow steps and will be useful to you.
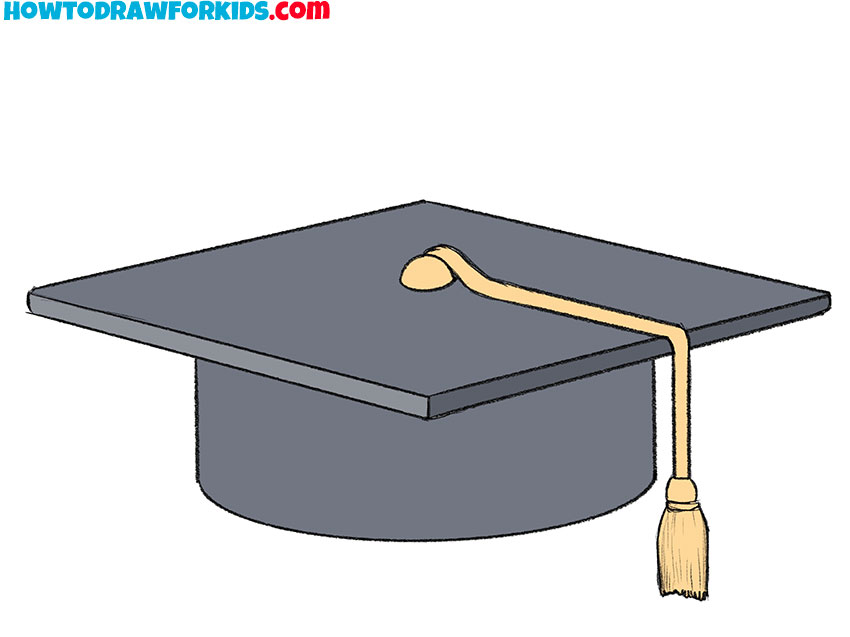
I have prepared for you an interesting drawing tutorial, in which I will tell and show you how to draw a graduation cap step by step. The graduation cap is an item of academic dress consisting of a horizontal square board fixed upon a skull-cap, with a tassel attached to the center. The square, the tasseled graduation hat is a modern symbol of academic accomplishment.
The graduate cap is part of the formal academic attire to be worn by graduating students during the graduation ceremony. It is traditionally associated with the successful completion of a degree, tertiary education, formal academia, and scholarly achievement.
To depict a graduation cap with this drawing lesson, you should be able to draw straight lines. So, you can start a step-by-step drawing of a graduation cap right now. Have a wonderful drawing!
Materials
- Pencil
- Paper
- Eraser
- Coloring supplies
Time needed: 20 minutes
How to Draw a Graduation Cap
- Start drawing the bottom of the graduation cap.
To complete this step, draw two same straight vertical lines parallel to each other.

- Complete the drawing of the cap’s bottom part.
To do this, you should connect the bottom ends of the previously drawn lines using an arch.
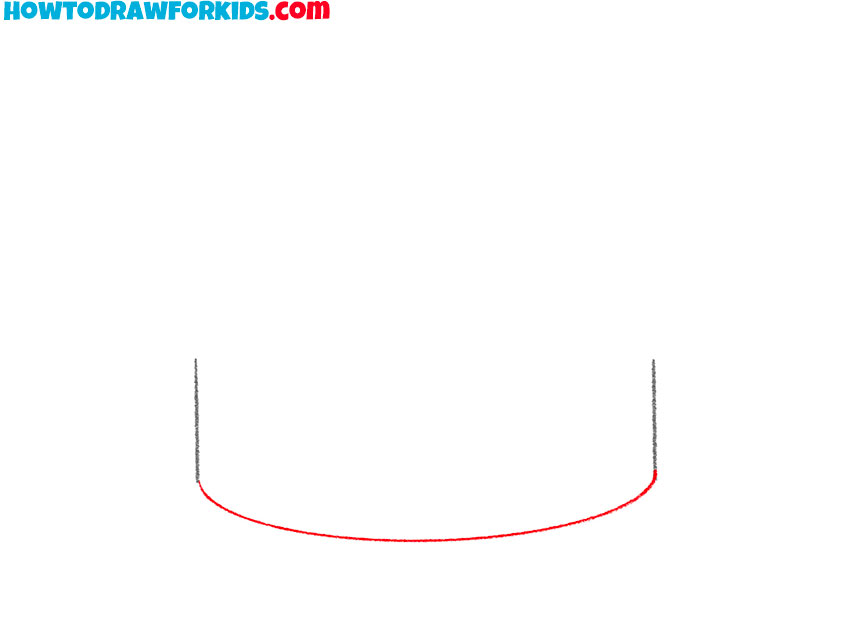
- Start drawing the top of the graduation cap.
Depict the angle by using two straight lines of the same length.
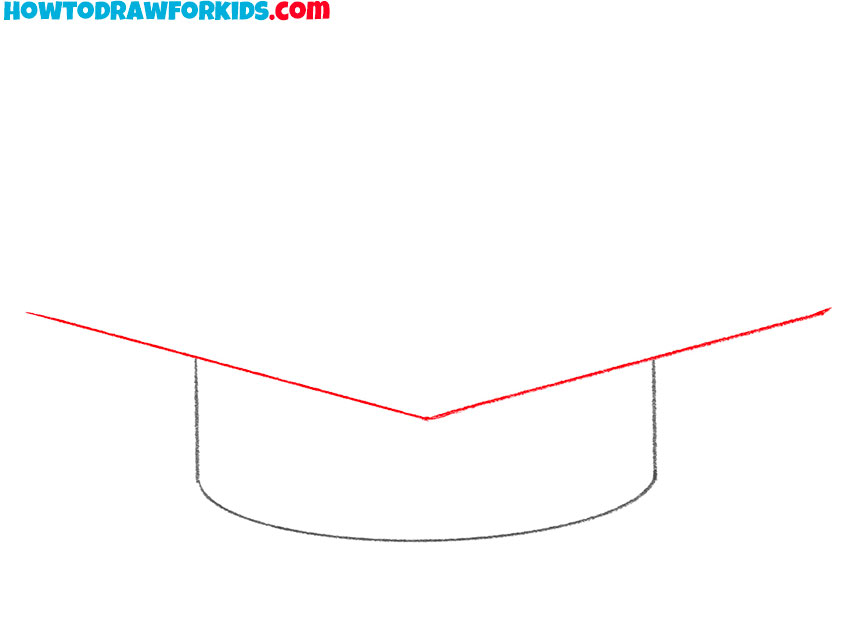
- Add a side edge of the top part of the graduation cap.
Picture a short straight vertical line and draw two straight lines from it in different directions.
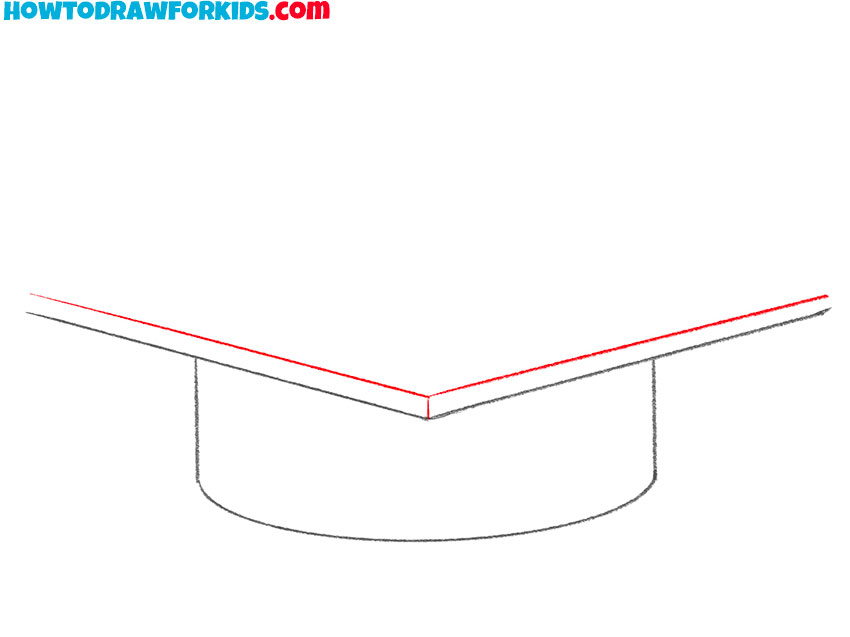
- Complete the outline of the graduation cap’s top part.
Connect the ends of the previously drawn lines with an angle and short straight lines.
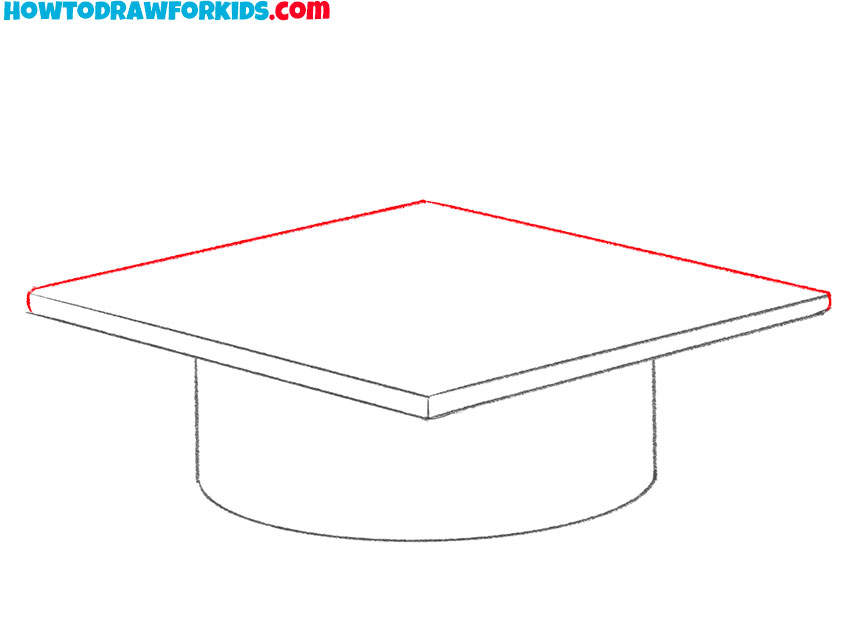
- Add the decorative element.
Draw a ribbon on top of the graduation cap, using straight and curved lines.
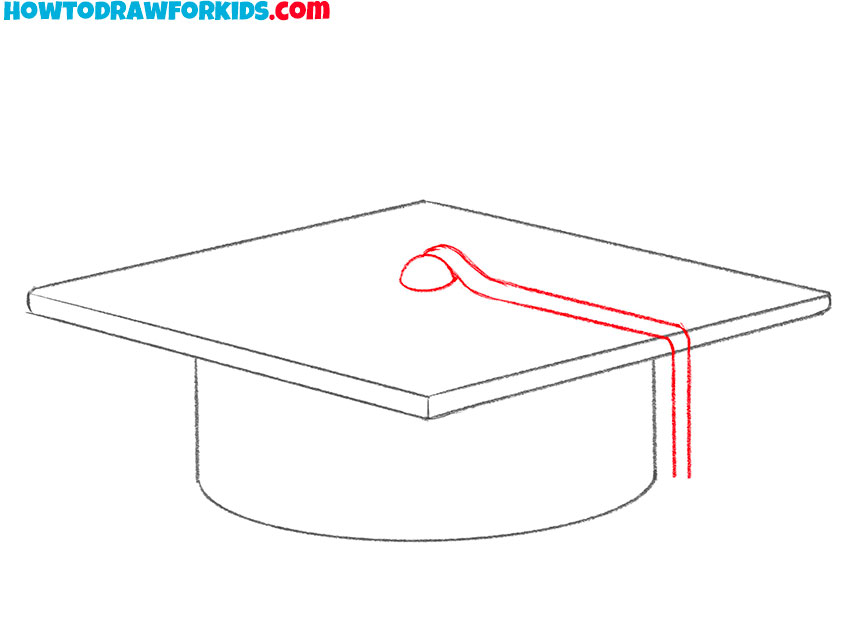
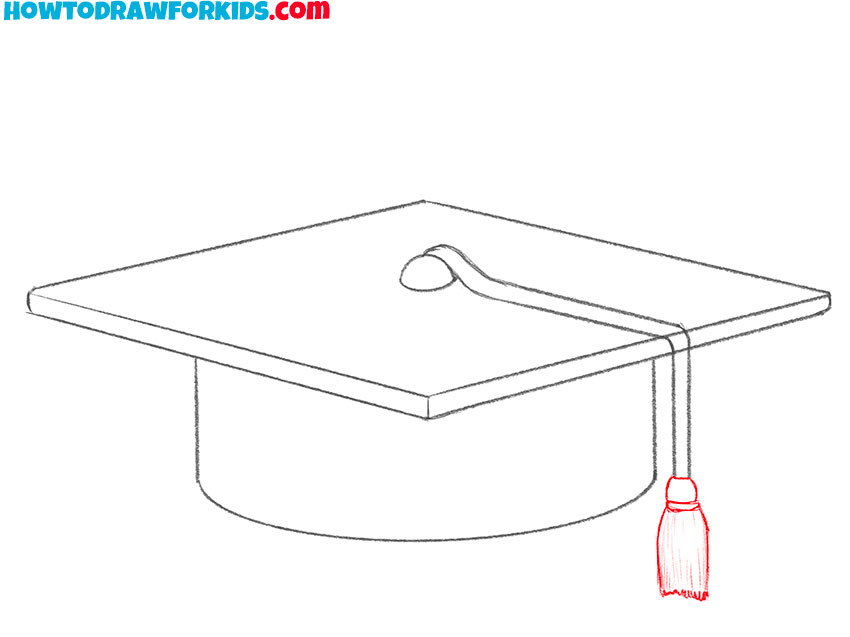
- Add the tassel to the end of the ribbon.
Picture the tassel on the graduation cap with thick and thin curved lines.
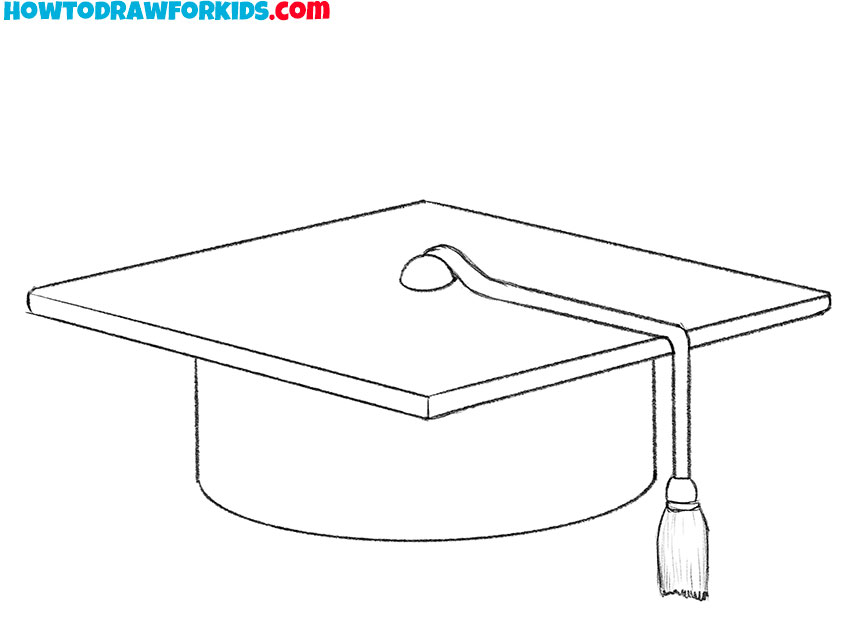
- Erase unnecessary lines.
Use an eraser to remove auxiliary lines that appeared during the drawing process.
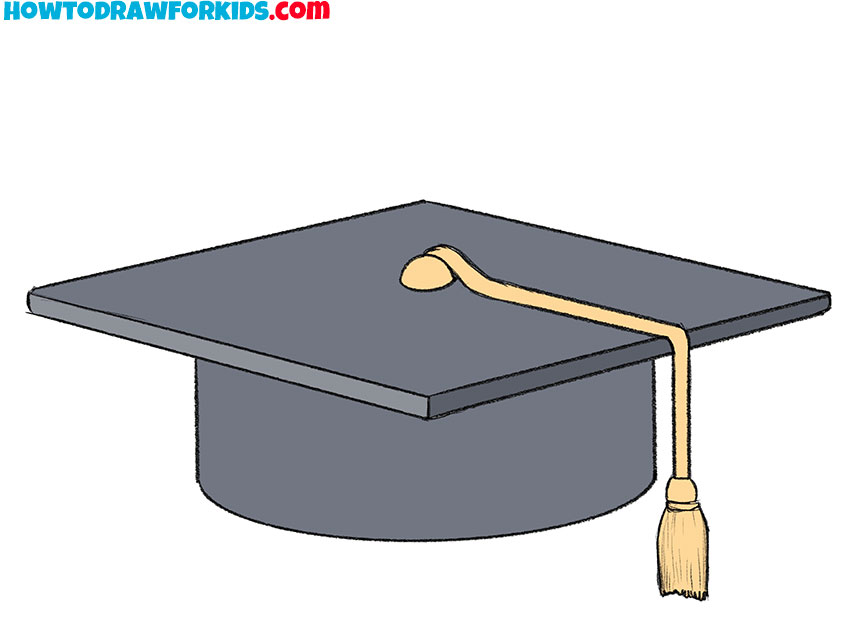
- Color the drawing.
To color this graduation cap, use shades of gray and light yellow.
I hope you did a good job and are happy with your drawing now. Don’t forget to leave a comment so that I know if you liked the lesson. You can also suggest your own ideas for new drawing lessons. I remind you that for your convenience I have again prepared a PDF file in which you can find a short version of this lesson and other useful materials. Download this file to return to this lesson any time you want, even without an internet connection.

