How to Draw a Mason Jar
Bring out the pencils and get ready to learn how to draw a mason jar. I’ll walk you through two different drawing techniques, each broken down into easy, kid-friendly steps. This ensures that the fun of drawing is doubled and everyone can find a method that clicks for them.
Dive into a creative adventure with my comprehensive tutorial on how to draw a mason jar, specially tailored for kids. Each step is explained with clarity, making it an enjoyable learning experience. This guide is perfect for young artists eager to explore their creativity and gain confidence in their drawing skills.
How to Draw a Mason Jar: Basic Information
Are you ready to put your drawing skills to the test and learn something new? Today, I’m super excited to show you how to draw a mason jar, that classic glass container that’s perfect for everything from sipping lemonade to catching fireflies!
This drawing lesson is specially crafted to be as simple as pie, guiding you through each step with ease. You’ll learn to capture the mason jar’s iconic shape and charming details, like its sturdy handle and tight-sealing lid.
We’ll start by drawing the tall and straight sides, then curve the bottom to make it look like it can hold your favorite drink or treasures. Next, we’ll add the screw lines on top that make it look like you can twist a lid on it.
And the best part? You’ll be using my super simple method that breaks down the drawing into easy-to-follow sections. You’ll be able to draw a mason jar so well, it’ll look like you could reach out and fill it with your favorite treats! So grab your pencils, and let’s get started on creating your very own glass masterpiece!
Mason Jar Drawing Tutorial
Materials
- Pencil
- Paper
- Eraser
- Coloring supplies
Time needed: 30 minutes
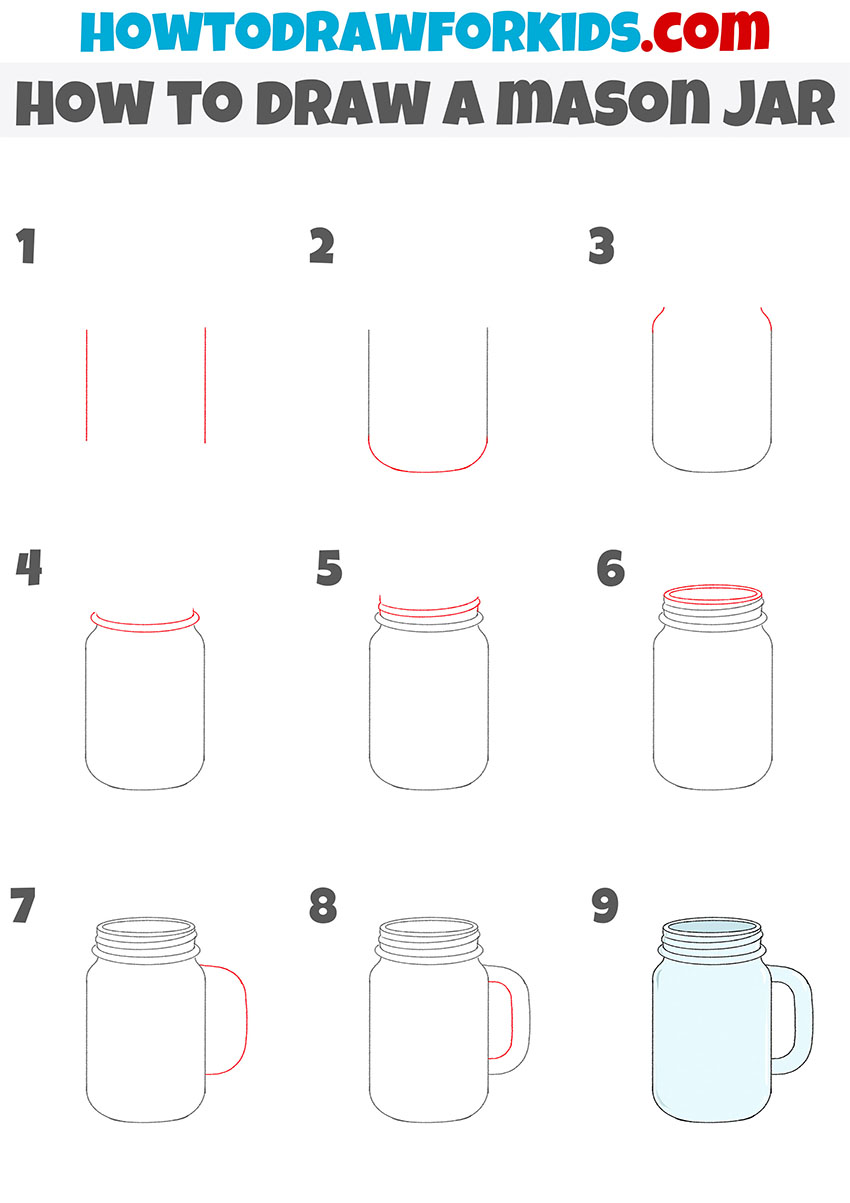
How to Draw a Mason Jar
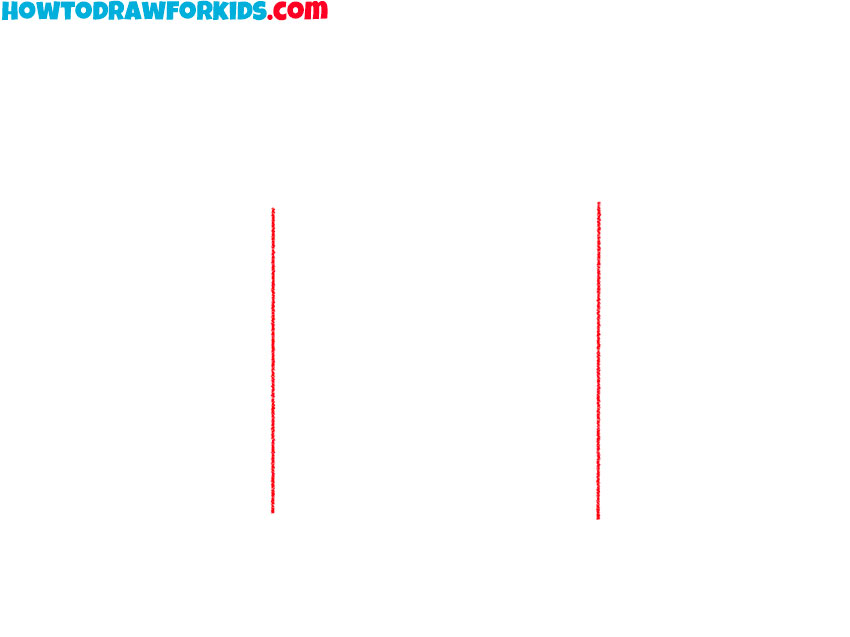
- Draw the sides.
Depict two straight vertical lines at some distance from each other.
- Add the bottom of the jar.
Draw a connecting line at the bottom to represent the bottom of the jar.
- Depict the top of the jar.
Continue the lines and depict the narrowest part of the jar.
- Sketch out the bezel.
At the top of the picture, depict the convex rim using smooth, curved lines.
- Add the thread.
With the help of several smooth lines, depict the carving on the top of the can.

- Draw the top outline of the jar.
At the top of the drawing, draw two even ellipses of different sizes.
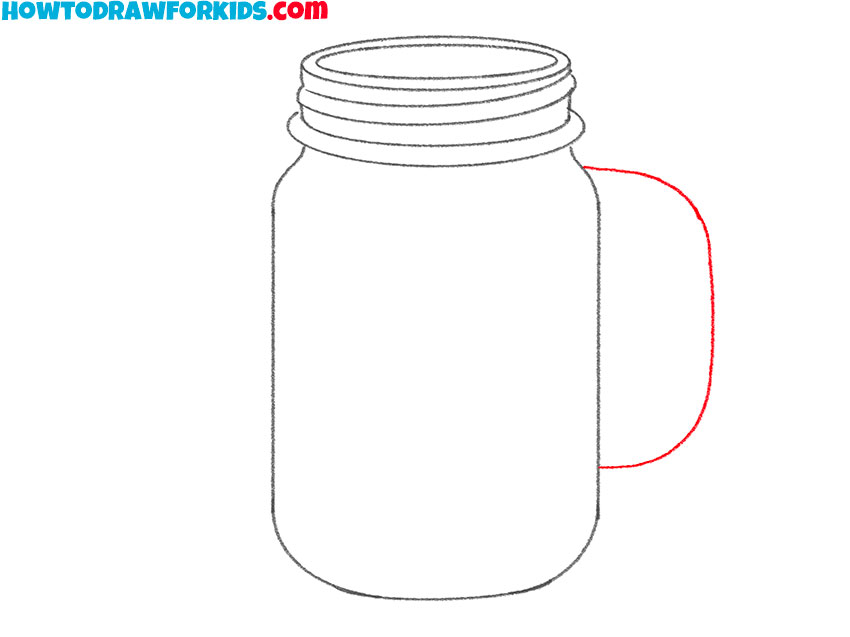
- Draw the outer outline of the handle.
Sketch out one curved line on the side of the jar.
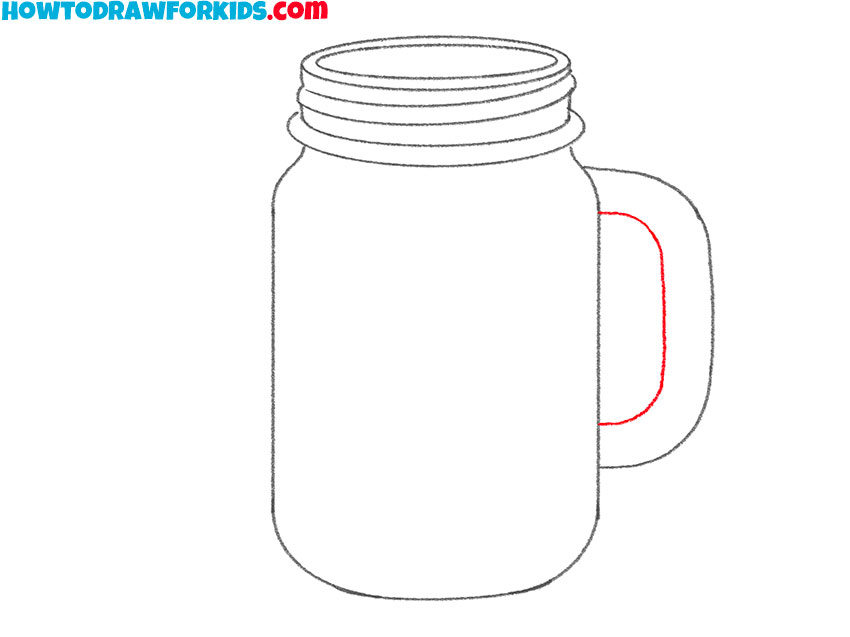
- Add one curved line on the side of the dish.
This step is similar to the previous one and here you will draw a small curved line.
- Color the drawing.
For coloring, use different shades of blue.
Additional Content
I’m thrilled to share something special with you. I’ve crafted a unique, free PDF file that’s a condensed version of my mason jar drawing lesson. You can download it and use it anytime, anywhere – no internet needed! It’s presented in a playful and engaging style, making drawing both fun and easy to learn.
So, whether you’re at home, on a trip, or just away from the internet, you can always unleash your creativity and enjoy drawing with this handy guide!
Alternative Drawing Techniques
Guess what? I’ve come up with a super cool alternative way to draw a mason jar, just for you! This new method is designed to help you practice more, improve your artistic skills, and most importantly, enjoy every moment of your drawing adventure.
It’s a bit quirky, totally exciting, and much easier to follow. So, grab your pencils, and let’s embark on this fantastic journey together.
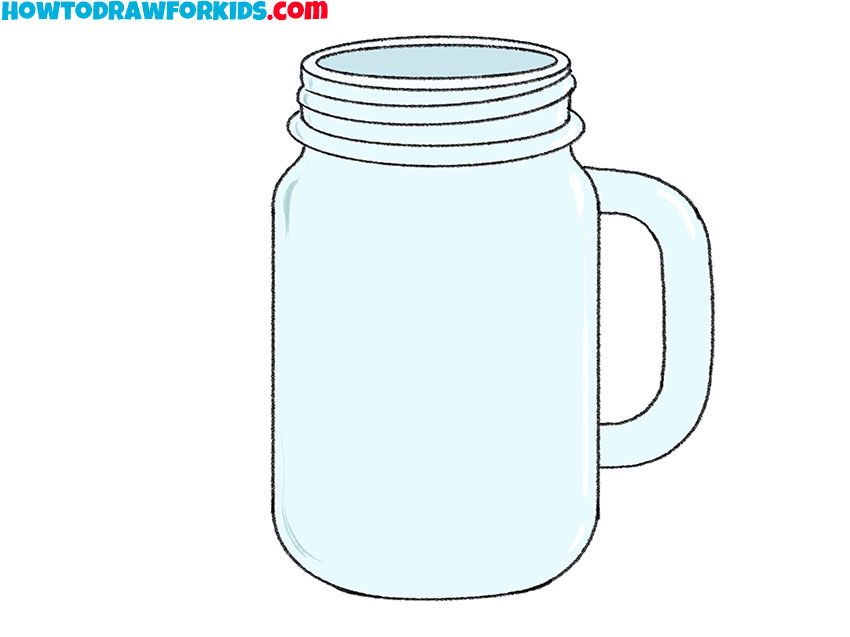
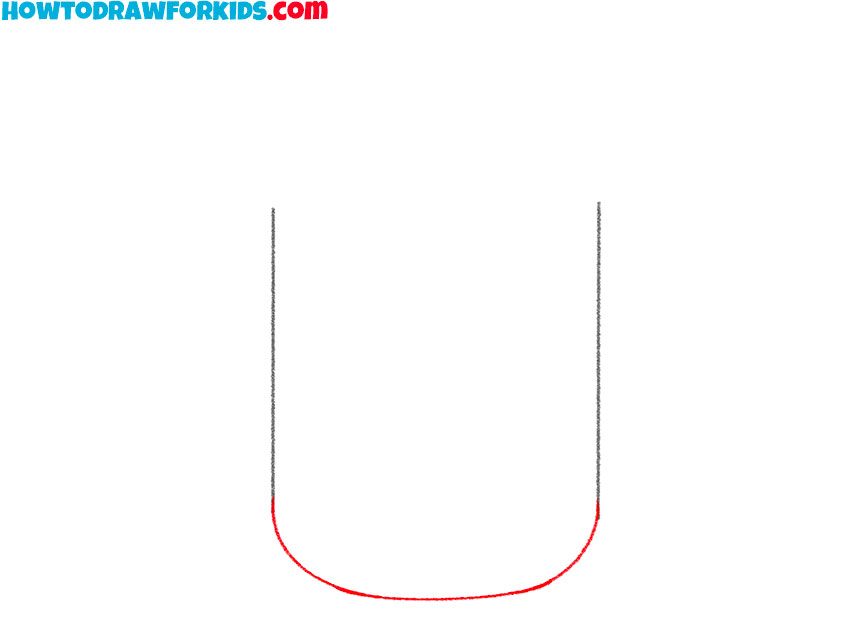
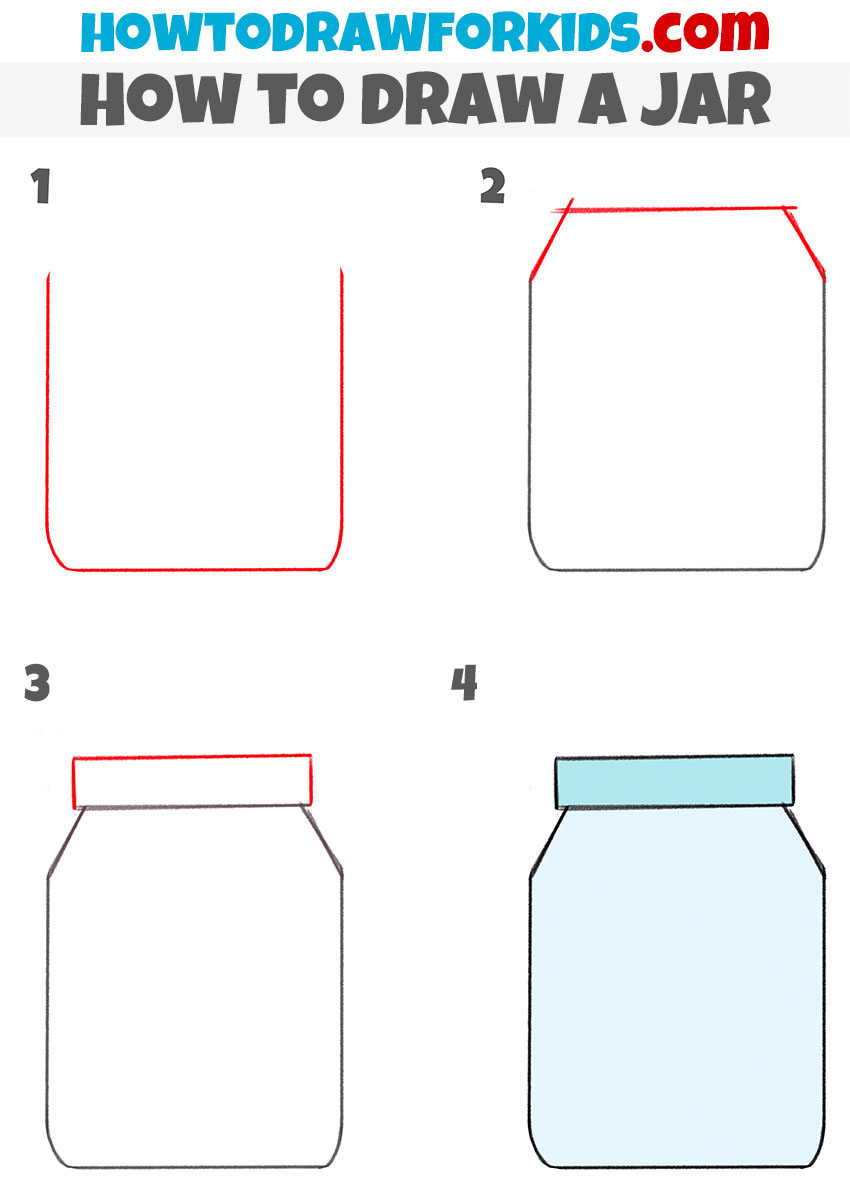
How to Draw a Jar Really Easy
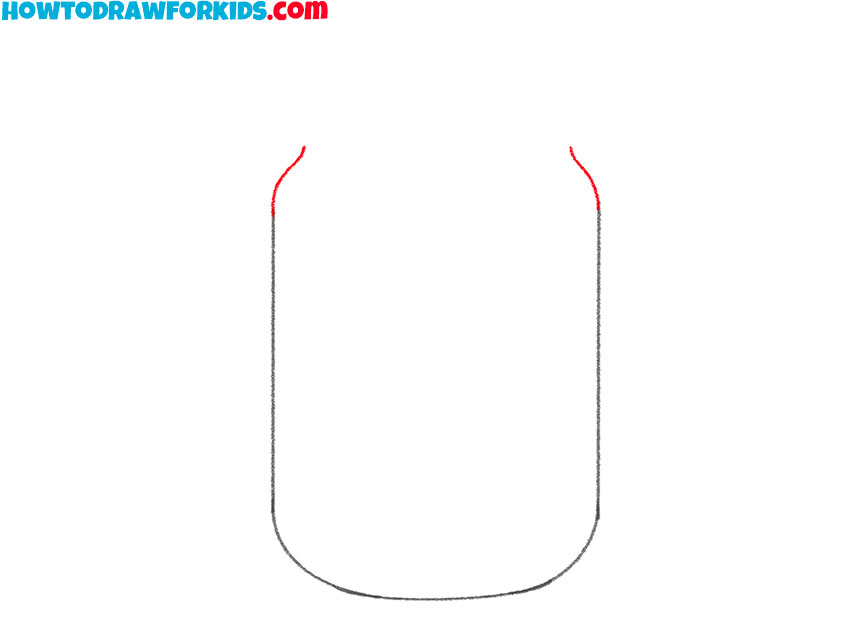
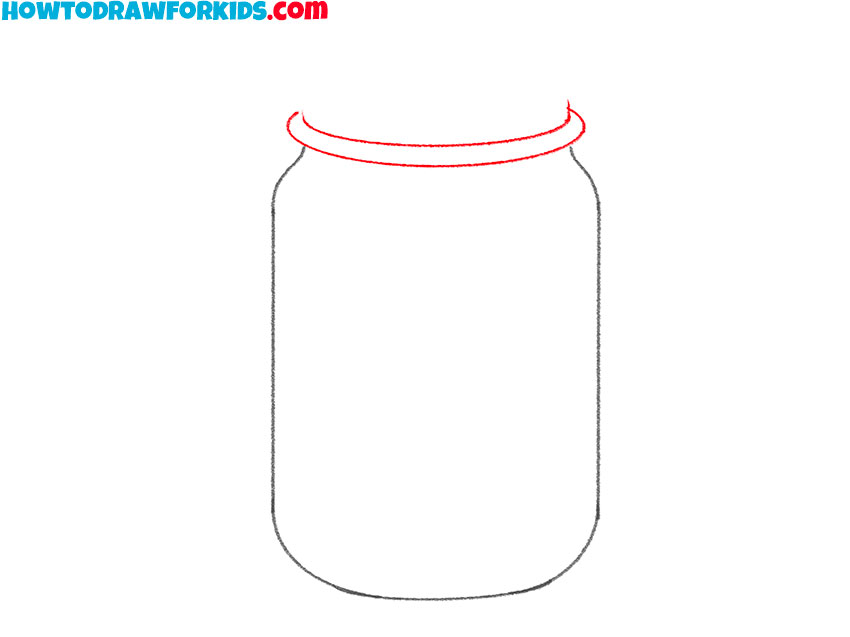
This quick and easy four-step method for drawing a jar simplifies the process into bite-sized pieces. In the first step, you draw the straight sides and the curved bottom of the jar. The second step involves sketching the top edge to shape the mouth of the jar. For the third step, you refine the lid, giving it thickness.
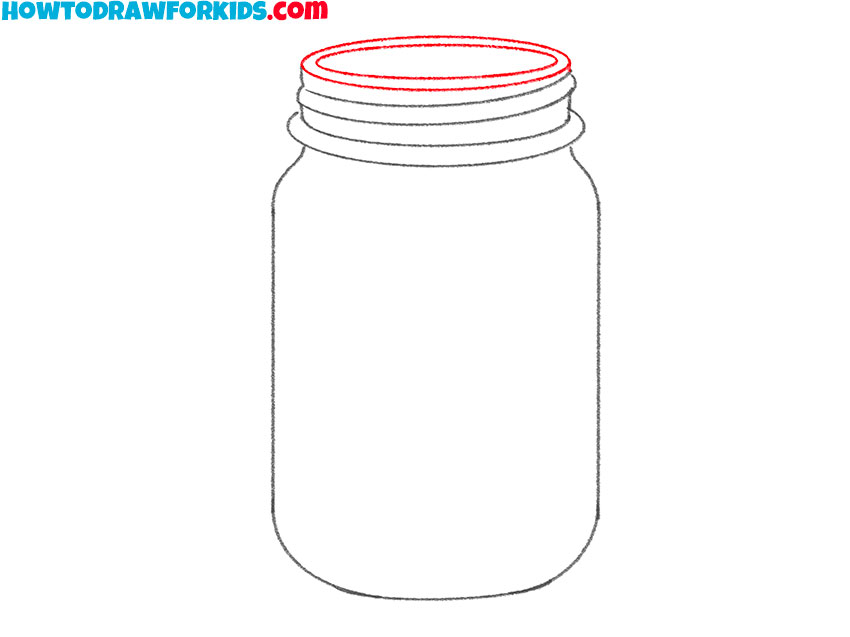
Finally, the fourth step is where you color the jar, filling it with a serene light blue, while the lid is colored a deeper shade of blue, adding a pop of contrast and completing the drawing. It’s designed to be faster and less complex, perfect for getting the hang of drawing without any fuss.
Improve Your Jar Drawing
Are you ready to take your drawing skills to the next level? Sharpen your pencils and prepare to take your jar drawings to an even more amazing level!
- Step 1: Make sure those lines are super straight for the sides of your jar. A ruler can be your best buddy here!
- Step 2: When drawing the top, try to make the corners a little bit rounded – it adds a touch of realism.
- Step 3: For the lid, remember, it’s not just a line; give it some thickness to show it’s popping out.
- Step 4: While coloring, use light strokes for a shiny glass effect and try blending two blues to make it look super cool!
Remember, practice makes perfect! Every time you draw, you get a little bit better. And don’t forget, the most important thing is to have a blast while you’re doing it. Once you finish, you’ll craft a jar so neat that it will tempt you to fill it with your favorite cookies!
Conclusion
And there you have it, superstars of sketching! You’ve just finished creating your very own mason jar masterpiece, and it looks absolutely fantastic! Remember, every line you draw and every shade you add brings you one step closer to becoming an incredible artist.
But hey, the fun doesn’t have to stop here! My website is a treasure chest of awesome drawing lessons just waiting for you. Want to learn how to draw a shimmering star or maybe a magical unicorn? Well, you’re in luck because those lessons and many more are just a click away!
And for all you social butterflies, make sure to follow my social media pages! That way, you won’t miss out on any of the new and exciting drawing lessons I’ve got in store for you. Who knows what we’ll be drawing next? Maybe something out of this world or a creature from fairy tales? Follow along and let’s find out together!