How to Draw a Lightning Bolt
With the help of this drawing lesson, you will learn how to draw a lightning bolt. I am sure that this lesson will be very useful to you.
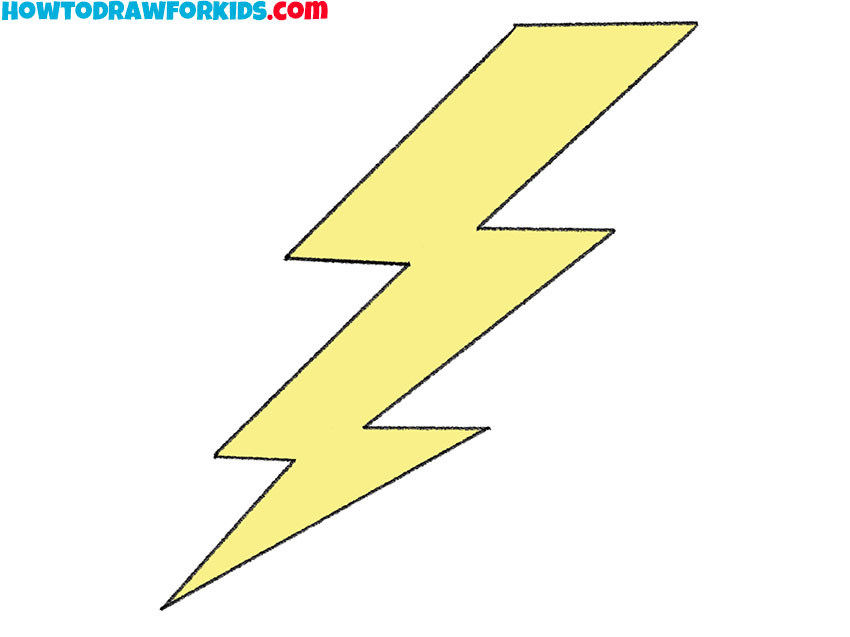
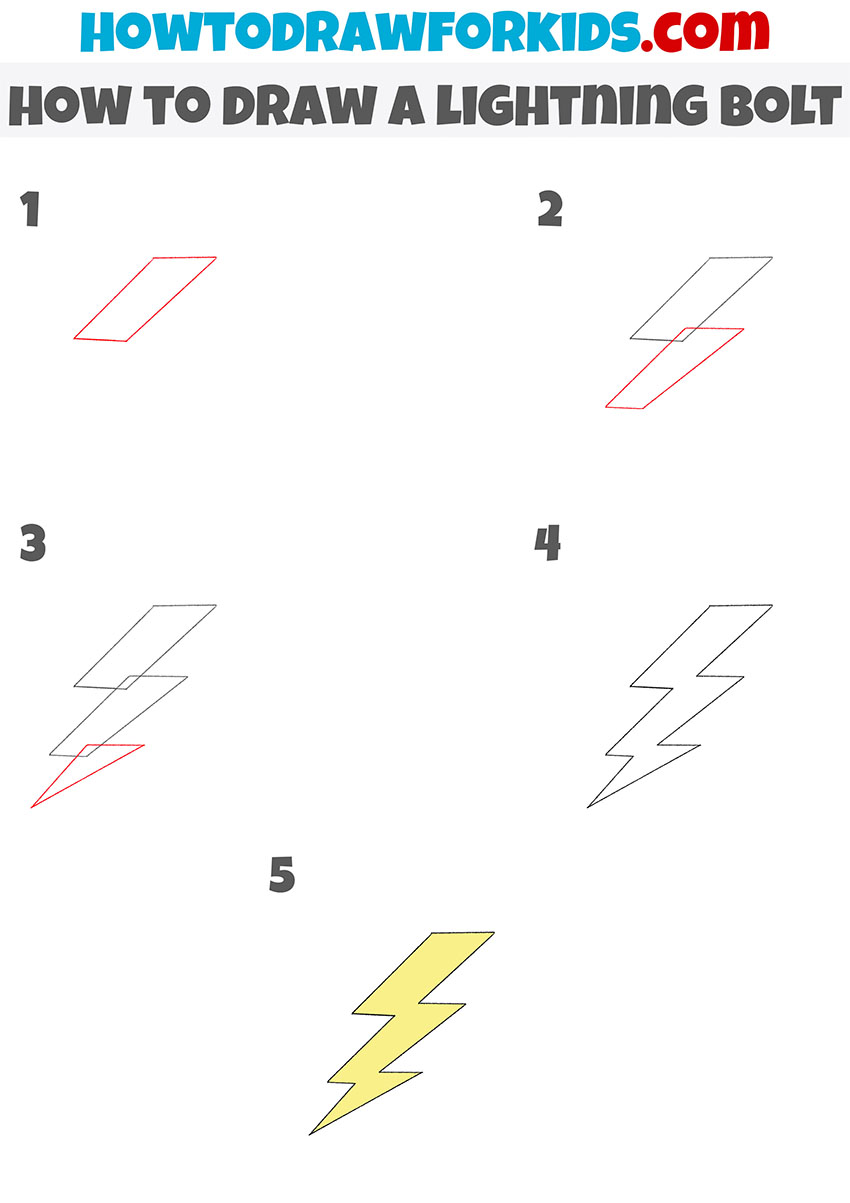
I have prepared for you a new, exciting drawing lesson in which I will tell and show you how to draw a lightning bolt step by step. You can use these skills if you want to draw rain, clouds, or sky in your future paintings and add lightning to these images.
Surely, you have seen lightning in the sky many times during the rain. Lightning is believed to be an electrical discharge that looks like a strong flash of light in the sky and is accompanied by thunder.
Lightning almost always forms in large rain clouds. A lightning strike is considered very dangerous. However, lightning is safe and interesting to watch from afar.
It is because of the danger of lightning that it is usually recommended to close windows during a thunderstorm, not to be in large open spaces, and also not to use many electrical appliances. The lightning symbol usually means danger or electricity.
In this lesson, you will practice drawing straight lines. To make your drawing more perfect, you can use a ruler.
Materials
- Pencil
- Paper
- Eraser
- Coloring supplies
Time needed: 20 minutes
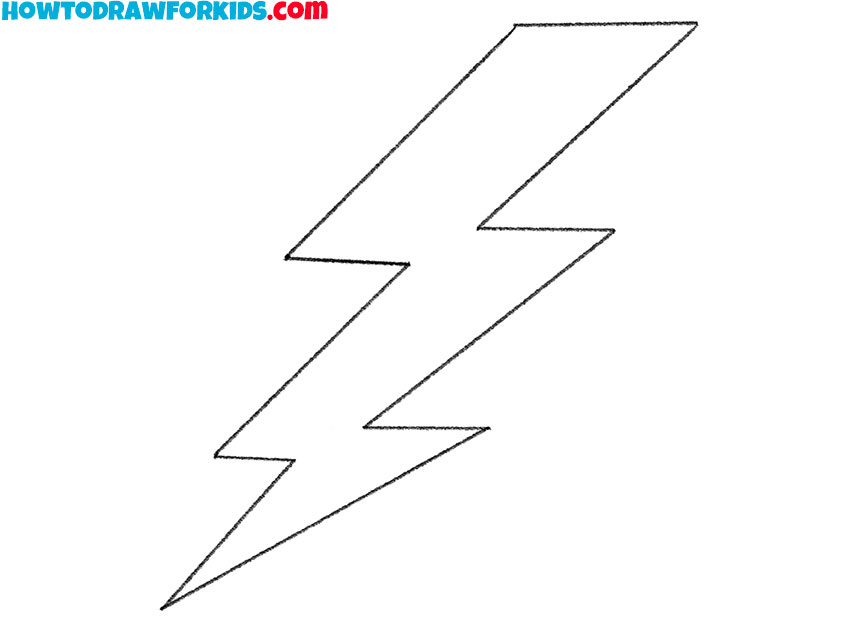
How to Draw a Lightning Bolt
- Draw the top of the lightning.
Depict a quadrilateral with four straight lines, as shown in the figure.

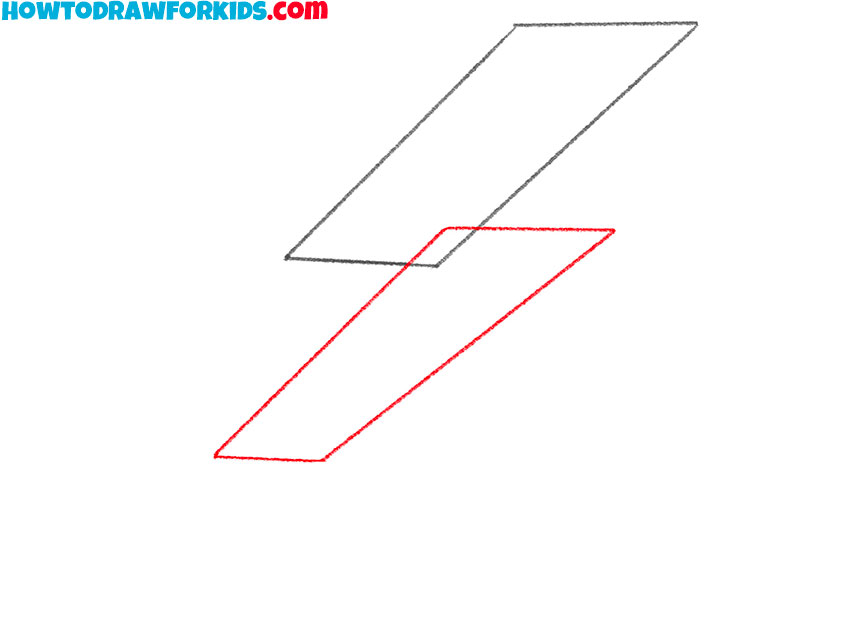
- Add the middle part of the lightning.
Below the previously drawn quad, add another quad.
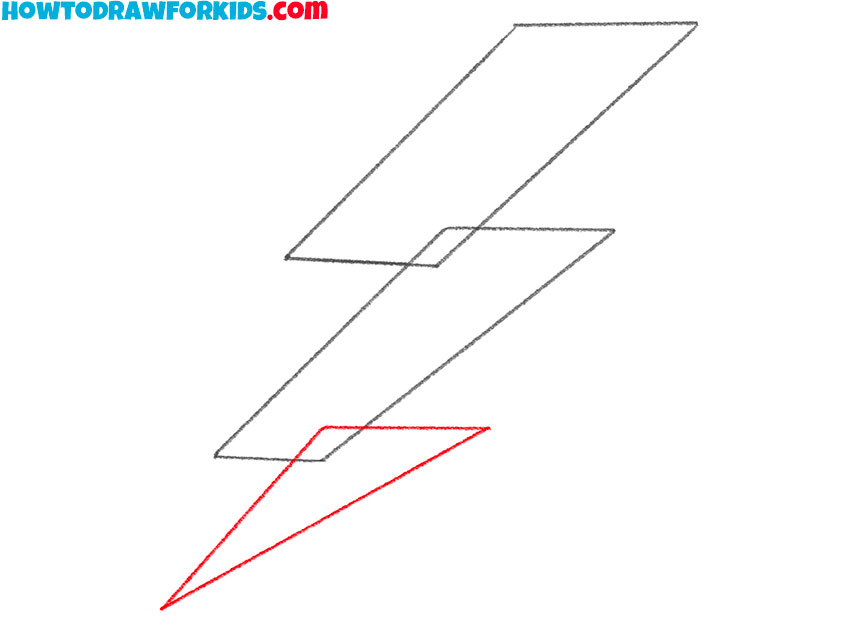
- Depict the bottom end of the lightning.
Now add the lower part of the zipper in the form of a triangle using straight lines.
- Correct inaccuracies.
Use the eraser to remove any unnecessary guidelines.
- Color the drawing.
To color this lightning bolt, I recommend you use yellow.

For your convenience, I have prepared a PDF file that contains all the important information from this lesson, as well as additional training materials that will make it easier for you to complete it. You can download this file right now, so you don’t lose this lesson in the future.


