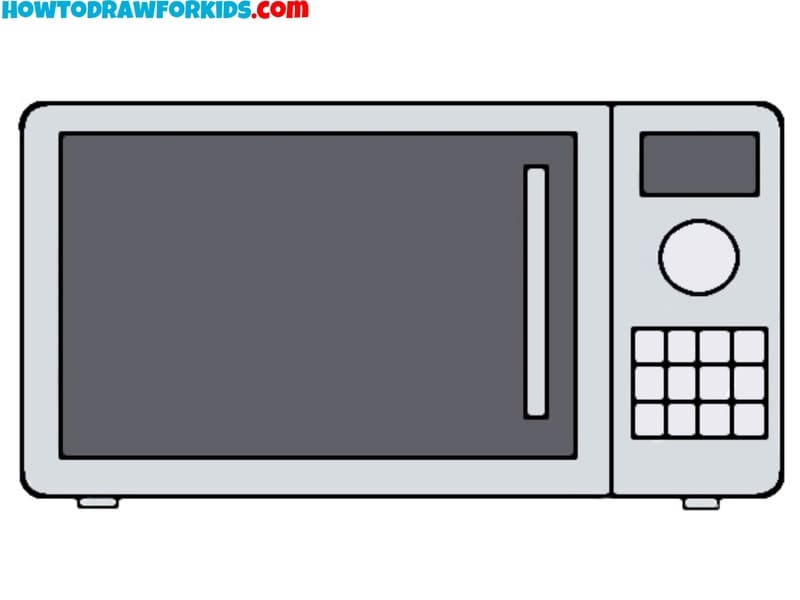
How to Draw a Microwave
This easy step-by-step drawing guide will teach you how to draw a microwave oven, an essential appliance in any modern home.
How to Draw a Microwave: Introduction
Greetings dear readers and welcome to the guide about how to draw a microwave for kids! The lesson about the microwave continues a series of super simple drawing lessons, especially for beginning artists.
By following the instructions of this microwave drawing tutorial, young artists will practice drawing straight and curved lines, perfecting shapes, and understanding proportions – skills that are very important in all forms of art.
The tutorial encourages children to observe details, such as the texture and function of a microwave’s buttons and handle. This attention to detail is really important in art and helps young minds to capture more than just the basic form of objects in their everyday surroundings.
Completing the microwave drawing provides a sense of accomplishment. With each step designed to be achievable, children build confidence in their drawing skills, motivating them to take on more complex projects, for example a kitchen drawing or a still-life.
Microwave Drawing Tutorial
Materials
- Pencil
- Paper
- Eraser
- Coloring supplies
- Ruler
Time needed: 30 minutes
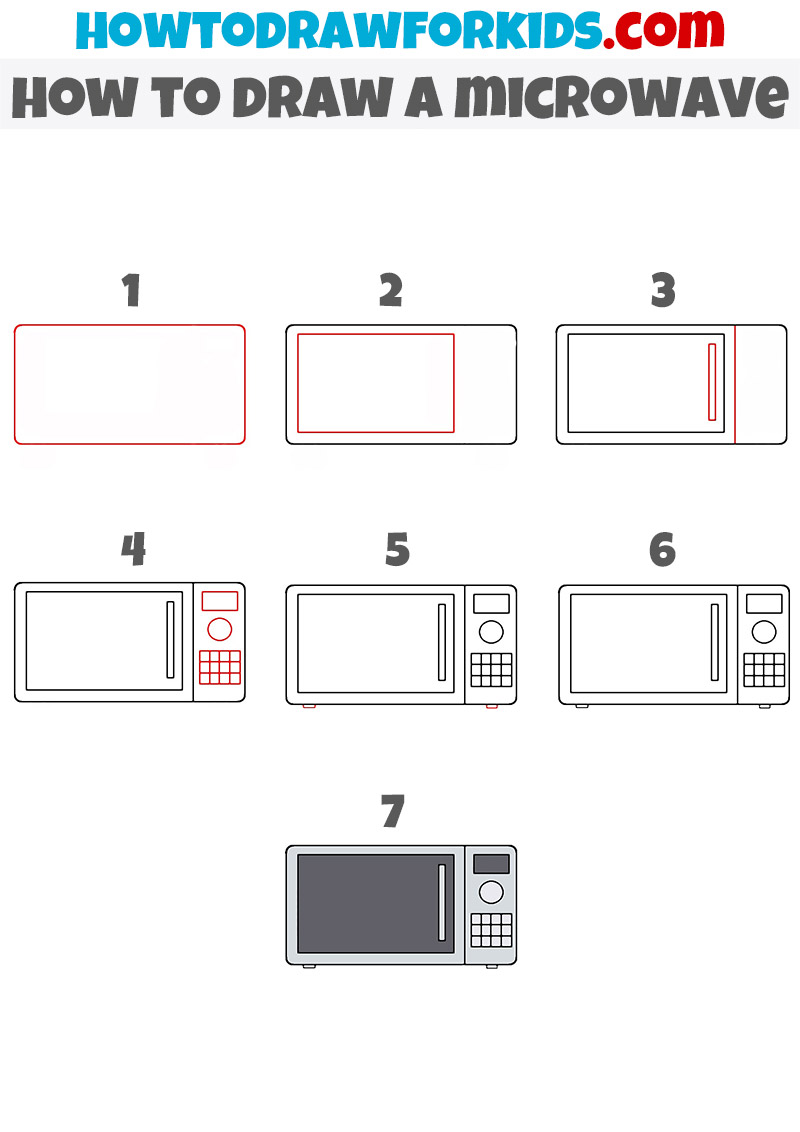
How to Draw a Microwave
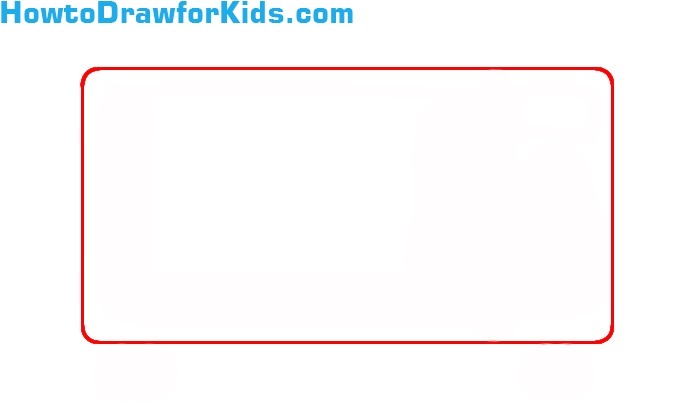
- Sketch the basic outlines of the microwave.
Initiate your microwave drawing by crafting a horizontal rectangle. Focus on getting straight, even lines as this will be the foundation of your appliance. This rectangle should be drawn with a length greater than its height, making sure the proportions are typical of a standard microwave’s front view.
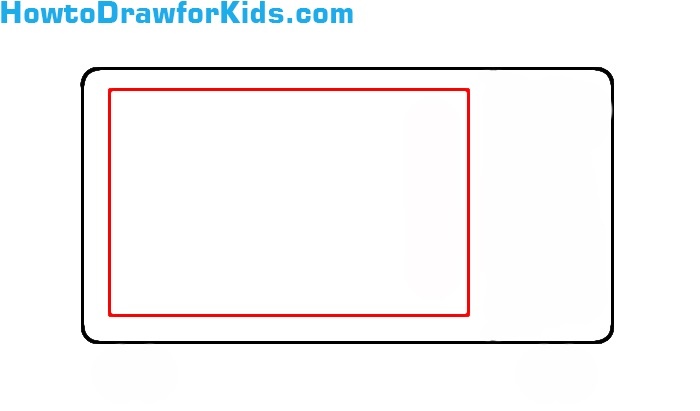
- Add the window.
Inside the initial rectangle, sketch a smaller rectangle. This inner shape represents the window of the microwave and should be centered within the larger rectangle. Ensure that the spacing between the inner and outer rectangles is even on all sides.
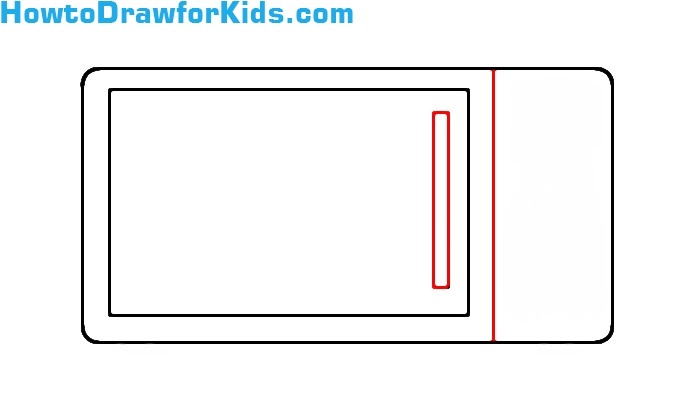
- Illustrate the door and handle.
Now draw a vertical line of the door on the right side of the microwave. Add the handle to the microwave by drawing a thin, vertical rectangle on the right side of the microwave window. Position it towards the edge of the window.
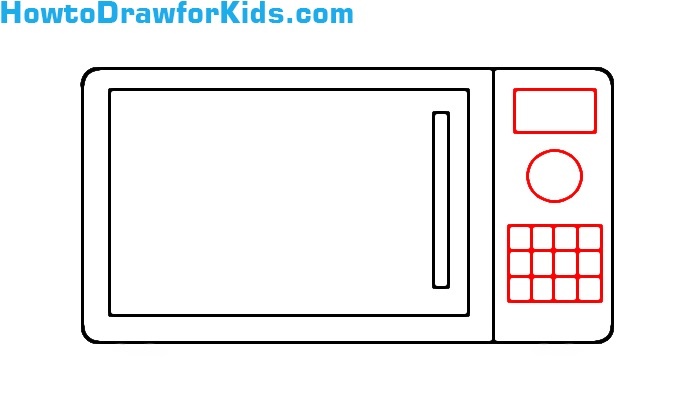
- Draw the controls of the microwave.
To the right part of the microwave, inside the first rectangle, create the control panel by drawing a series of squares and rectangles. These will symbolize the buttons and display screen of the microwave. Remember to leave space between the control panel and the door to keep a realistic proportion.
- Add the feet.
Now, refine the microwave drawing by adding legs to anchor it. At the base of the microwave body, draw two small squares to represent the feet. These should be proportional to the body and give the impression that the microwave could stand on a surface.
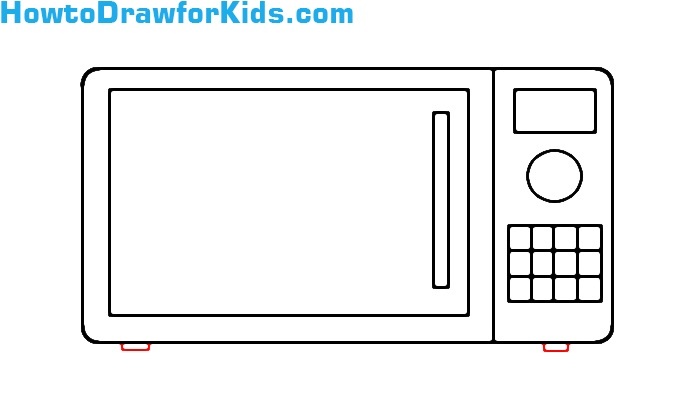
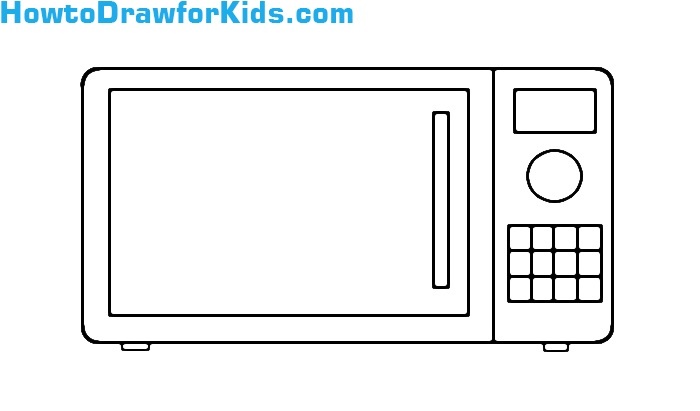
- Refine the microwave drawing.
Now, refine your illustration by erasing any superfluous guidelines that were used to construct the initial shapes. Clean up the sketch, removing these lines to clarify the final drawing. Carefully perfect the edges of the microwave, the control panel, and the door, enhancing the neatness of the drawing.
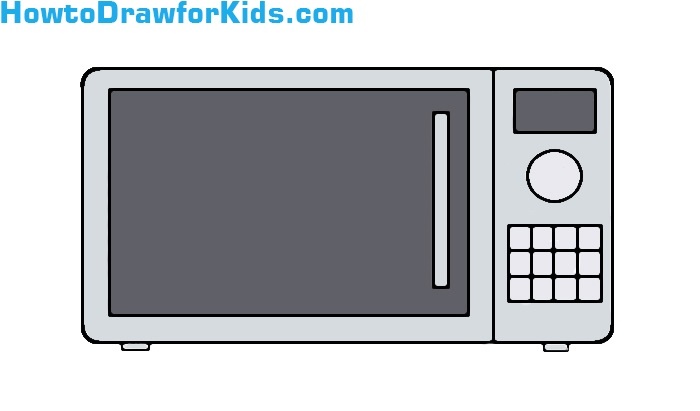
- Color your microwave drawing.
Choose a suitable shade for the body, typically a gray or silver to mimic the metallic finish of most microwaves. Gently shade the door’s window with a darker tone to represent the glass, making sure to leave some lighter areas for a gleaming effect. Apply a contrasting color to the control panel.
Conclusion
Do not forget to share this drawing lesson with your friends on social networks. Many of the readers of Howtodrawforkids.com ask me about why I create so many drawing guides about such simple objects. In fact, it is very important to be able to draw such objects that we can see around us. They consist of very simple shapes and lines, and it is not only easy but also interesting enough to learn how to draw it.