How to Draw a Mountain Lion
Today I will show you in detail how to draw a mountain lion. I am sure that this step-by-step guide will appeal to any aspiring artist.
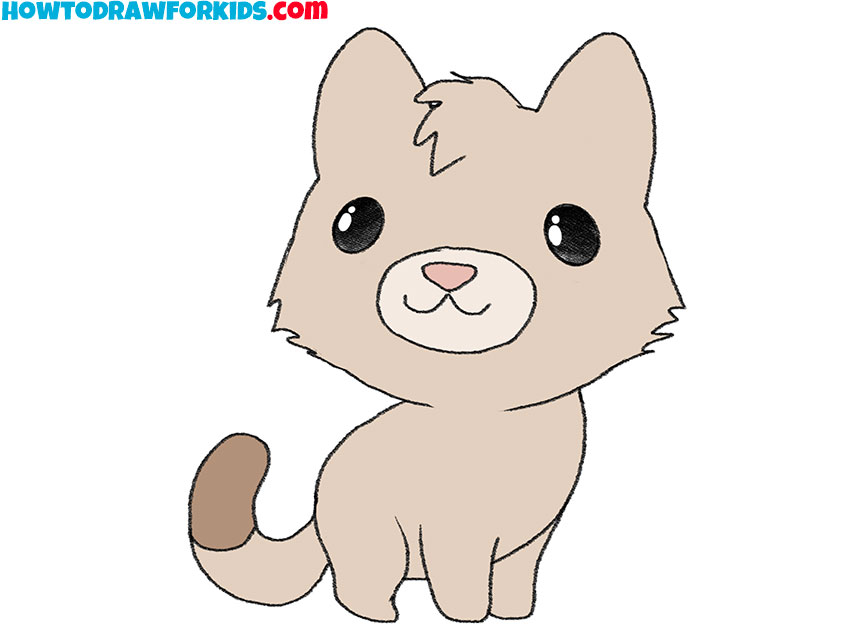
I’m glad you want to improve your animal drawing skills and here’s how to draw a mountain lion. This is a large graceful animal of the cat family.
This predator has a large size, round head and small erect ears. An adult animal has a solid color, but sometimes the lower part of the body may be lighter than the upper. The tip of the tail is usually darker.
In this tutorial, the mountain lion is presented in a cartoon form, so it looks unrealistic, but very funny. Try to keep these proportions in your drawing.
Mountain Lion Drawing Tutorial
Materials
- Pencil
- Paper
- Eraser
- Coloring supplies
Time needed: 30 minutes
How to Draw a Mountain Lion
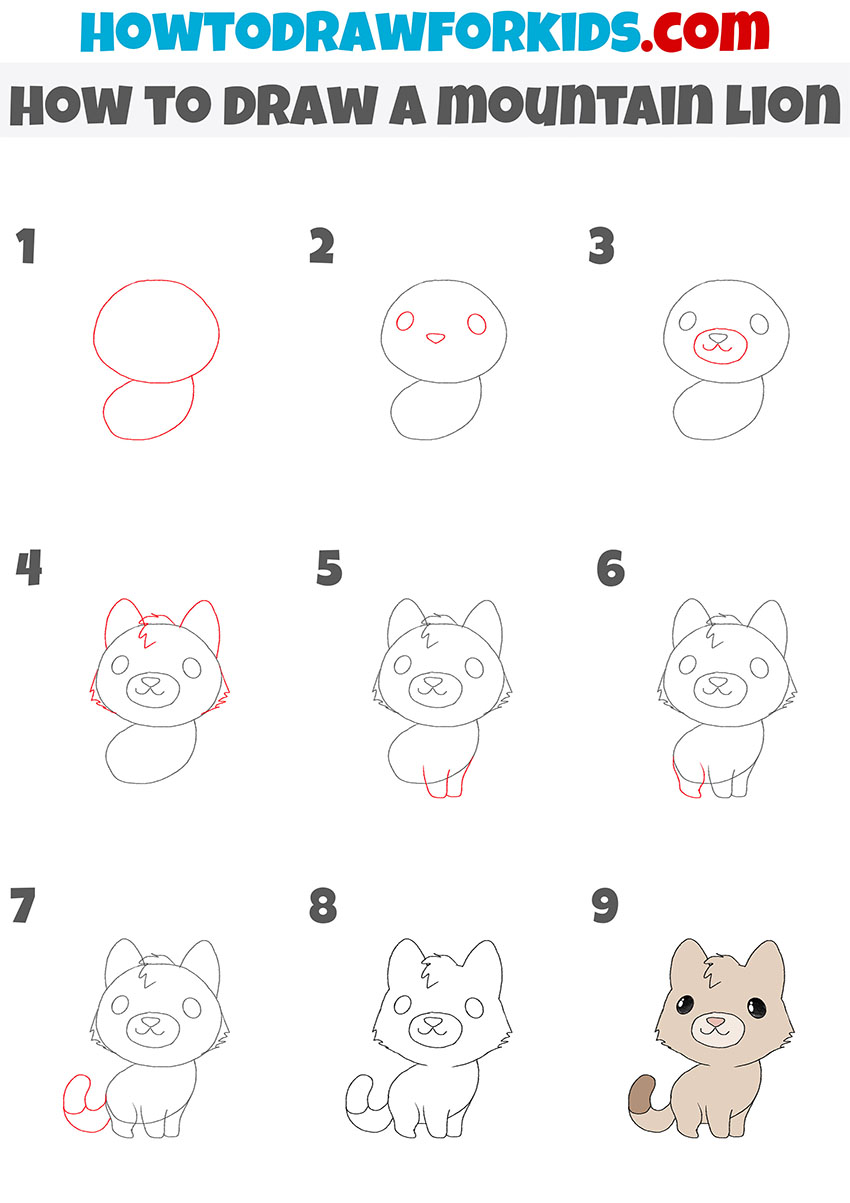
- Draw the head and torso.
Depict the head which is shaped like an oval and then add the small torso.

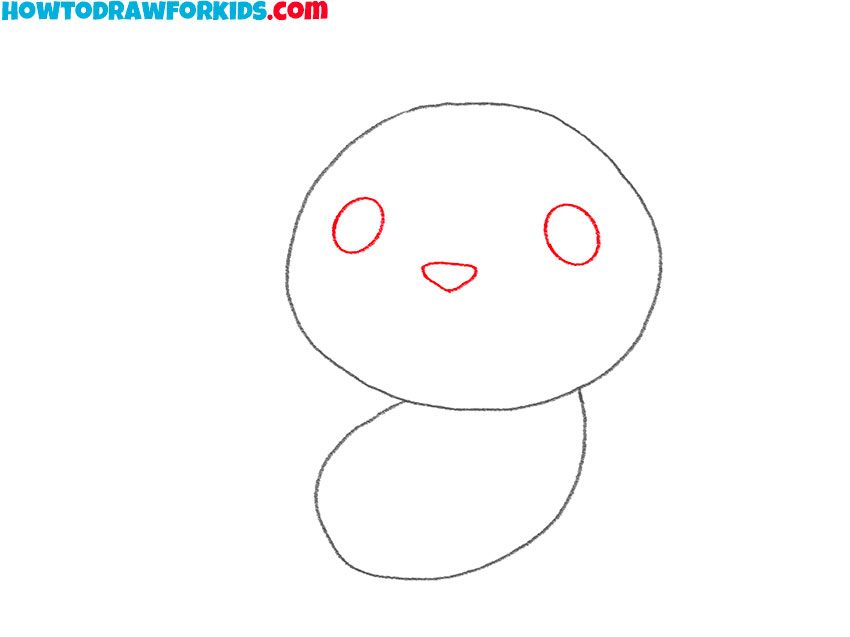
- Start drawing the elements of the muzzle.
Draw the eyes in the form of two ovals and draw the triangular nose in the middle of the head.
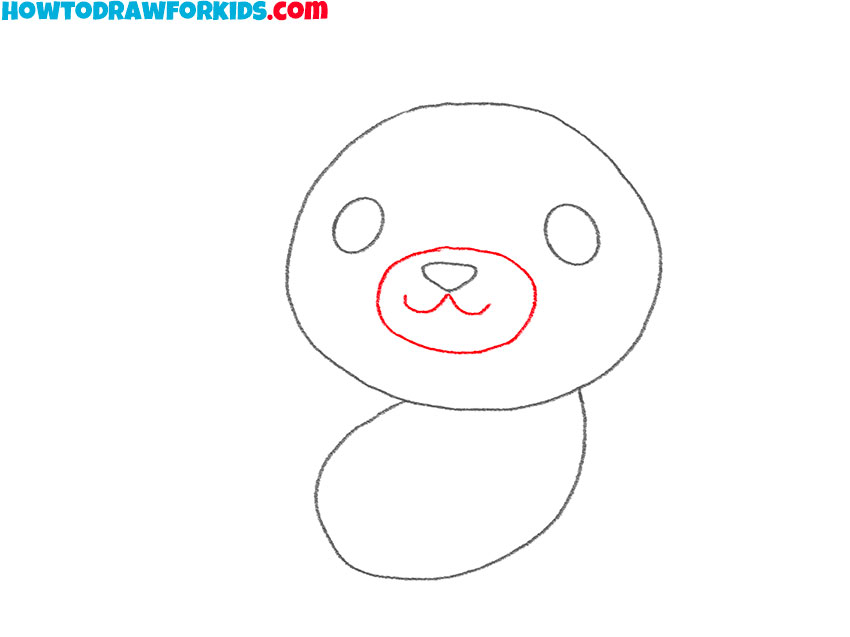
- Add the rest of the muzzle.
From the nose, draw two curved lines to draw the mouth and outline the front of the muzzle.
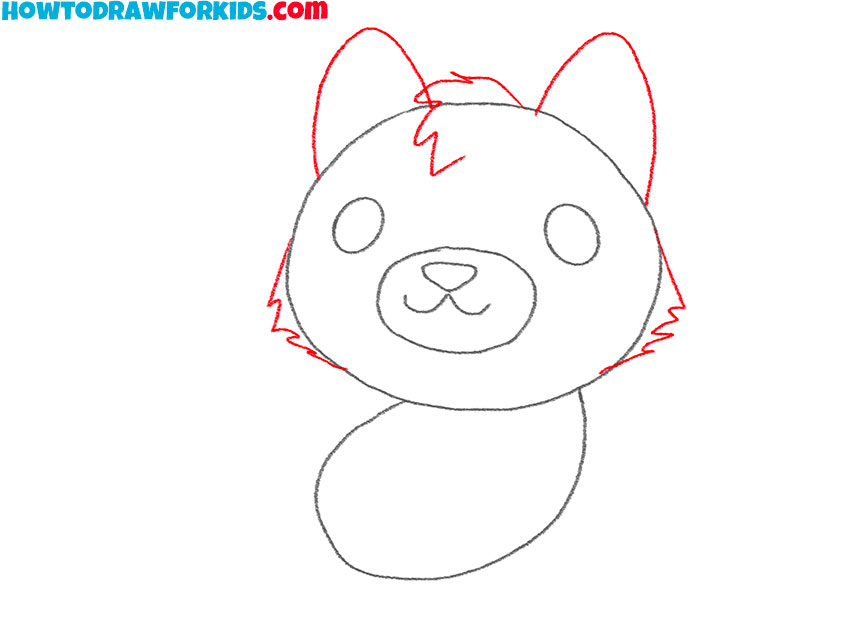
- Depict the ears and fur.
Add small ears on top. Depict the hair on the forehead and on the sides of the head.
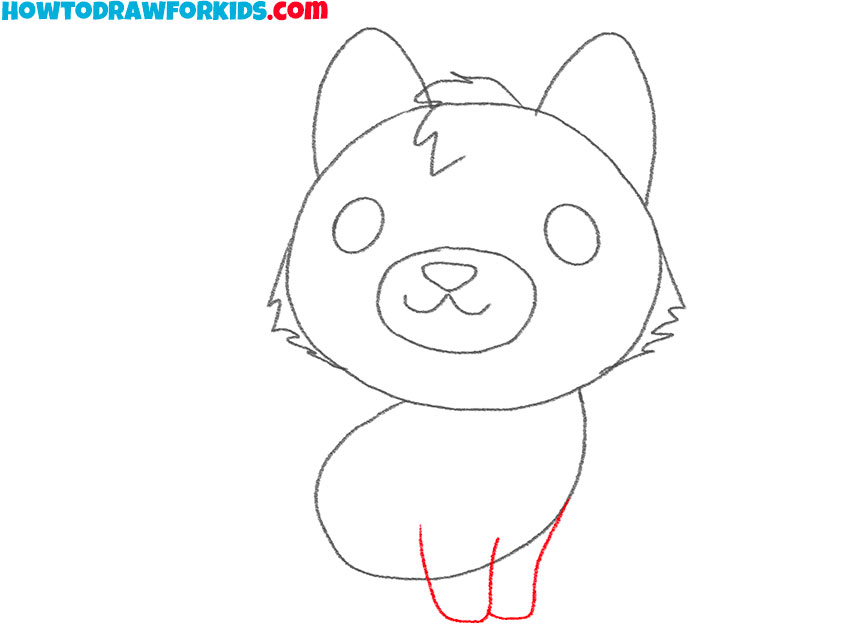
- Sketch out the front paws.
In the lower part of the body, draw two short legs that are located together.
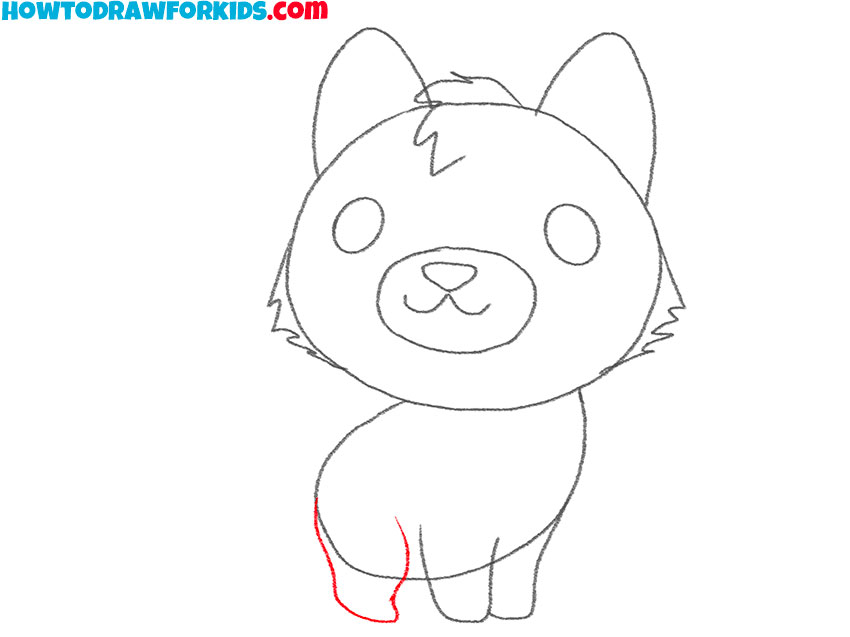
- Draw the back paw.
With the help of curved lines draw one hind paw.
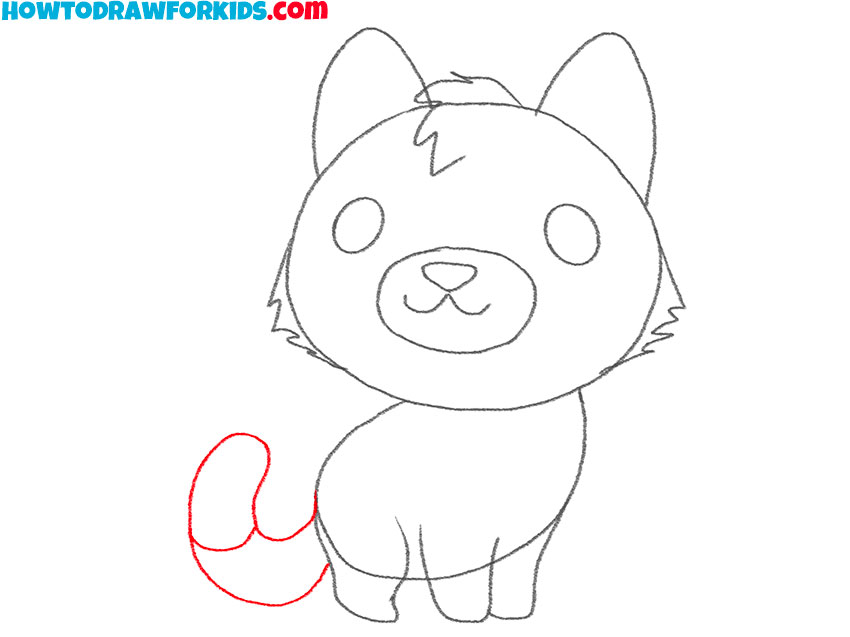
- Depict the tail.
Behind the body, draw the tail raised up. Mark the tip of the tail with a transverse line.
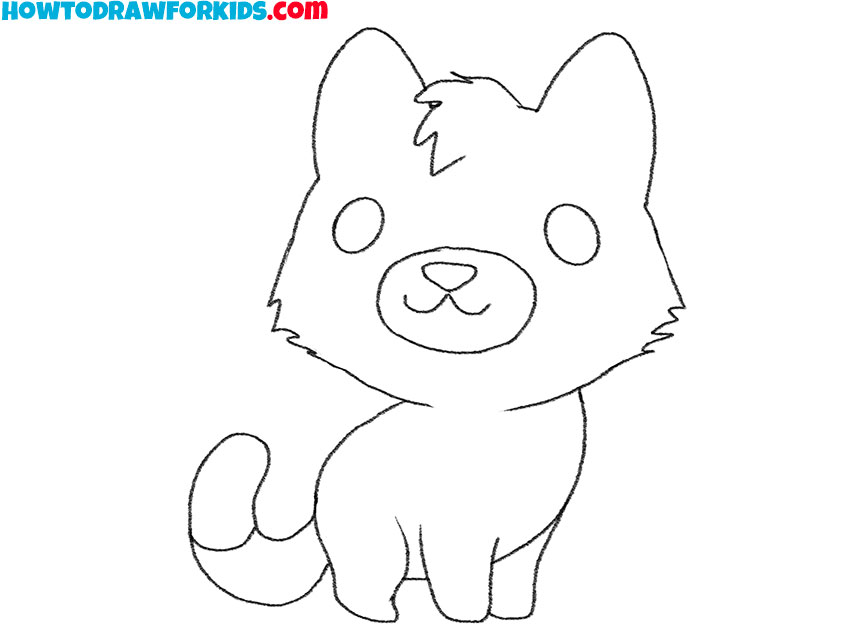
- Correct inaccuracies.
Remove any extra lines in your drawing and correct the mistakes if necessary.
- Color the drawing.
Use different shades of brown. Color the eyes black and add highlights.
So this fascinating drawing lesson has come to an end. I would be interested to know your opinion about this tutorial, and I will ask you to leave a little feedback in the comments. Now you can download a free PDF file with a short version of the lesson and draw at any convenient time.