How to Draw a Pansy
I suggest you complete a drawing lesson in which you will learn how to draw a pansy step by step. This lesson consists of eight simple steps.
So, I am glad to bring to your attention this very simple and useful drawing lesson in which I will tell and show you how to draw a pansy step by step. This lesson does not contain any complex elements, so any novice artist or child can easily handle it.
Carefully follow my instructions, and then you will definitely get a great drawing. Having learned how to draw a pansy, you can easily depict it in the future as the main object of your drawing, and you can also complement any natural landscape, meadow, flowers or any other drawing you have drawn.
If you want to achieve the perfect result, you can try to draw this drawing several times. I wish you good luck with this drawing tutorial and I hope you have a great time and enjoy the creative process.
Pansy Drawing Tutorial
Materials
- Pencil
- Paper
- Eraser
- Coloring supplies
Time needed: 30 minutes
How to Draw a Pansy
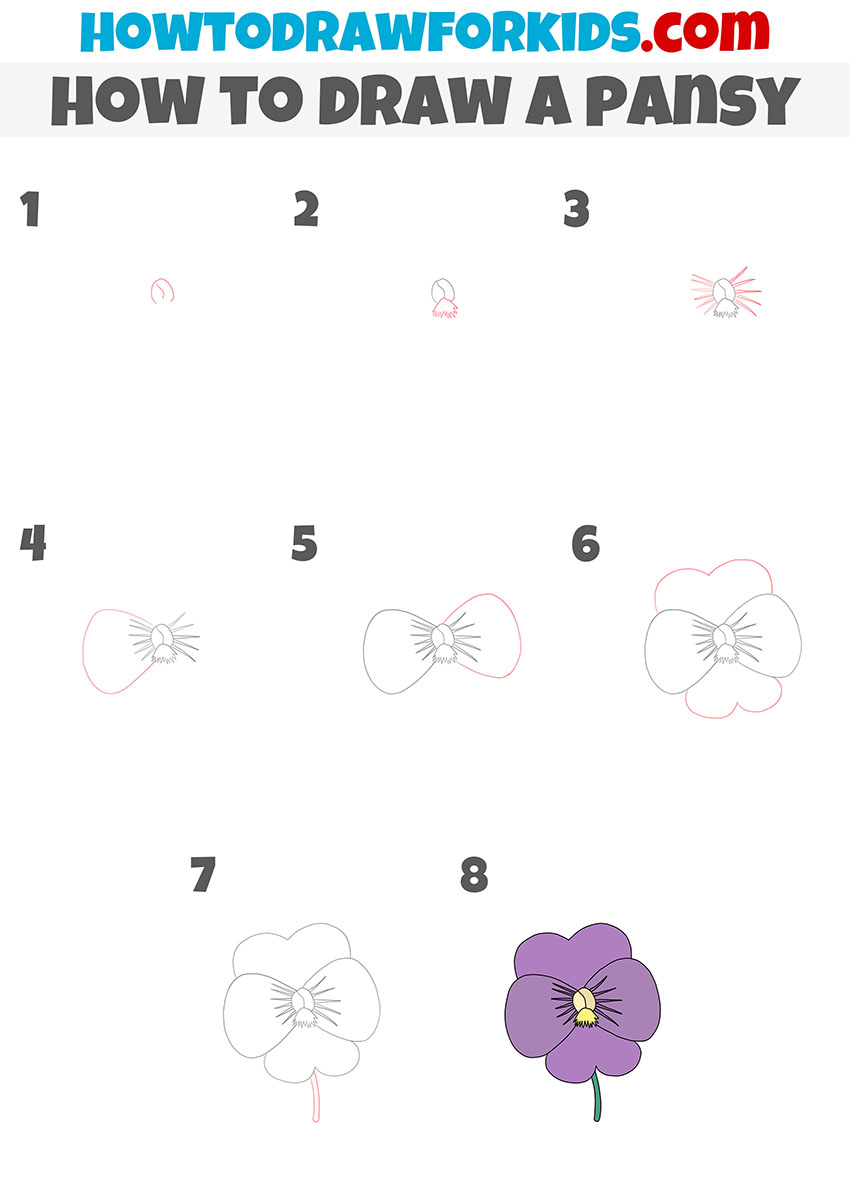
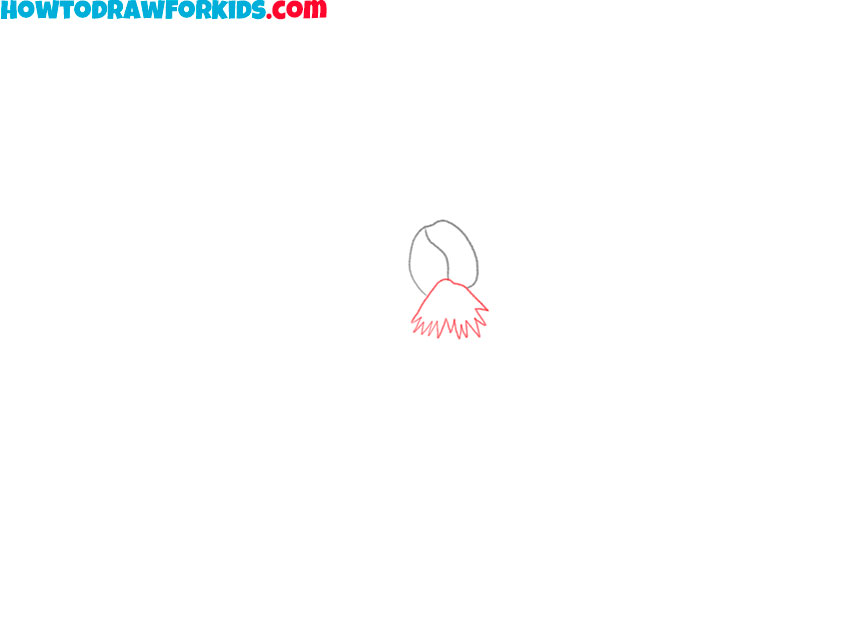
- Start drawing the inside of the flower.
To draw the ovary of the flower, you need to draw curved and wavy lines, as in the picture.

- Finish drawing the inside of the flower.
Below the previously drawn lines, add curved as well as zigzag lines of varying lengths.
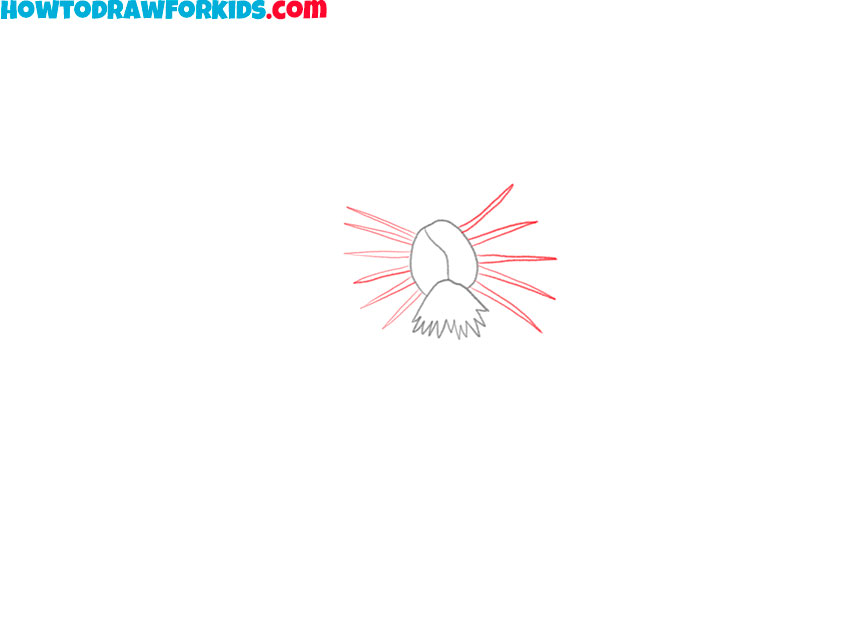
- Depict the veins on the petals of the pansy.
On the right and left sides of the lines drawn in the first step, add curved lines as shown.
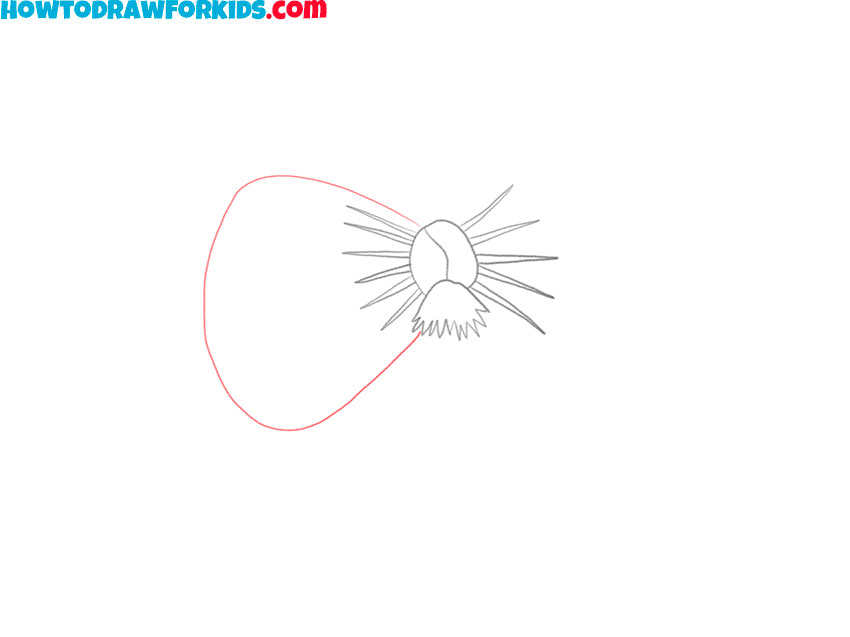
- Add the outline of one petal of the pansy.
On the left side of the central part of the flower, draw one petal using a long, curved line.
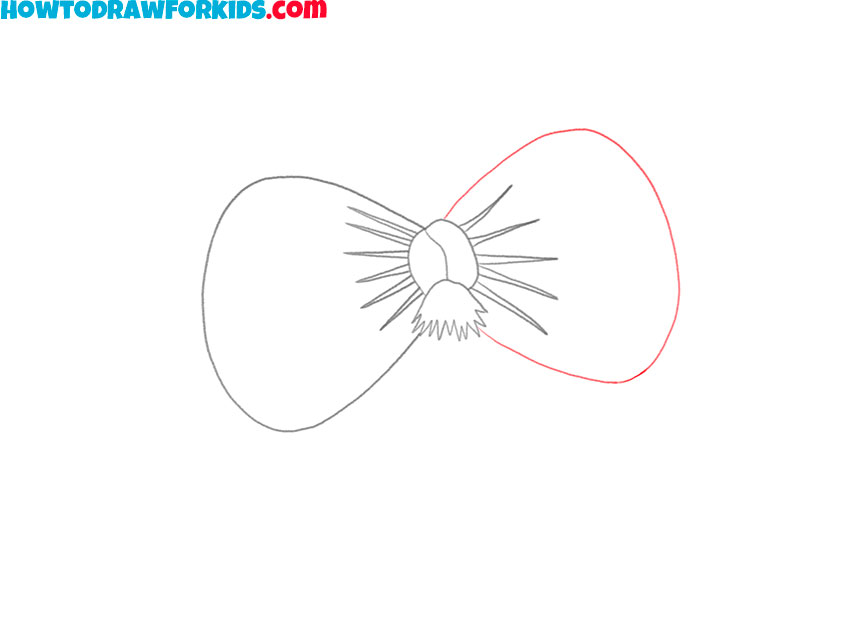
- Sketch out the outline of another petal.
Now you should depict the same petal as previously drawn, placing it on the right side.
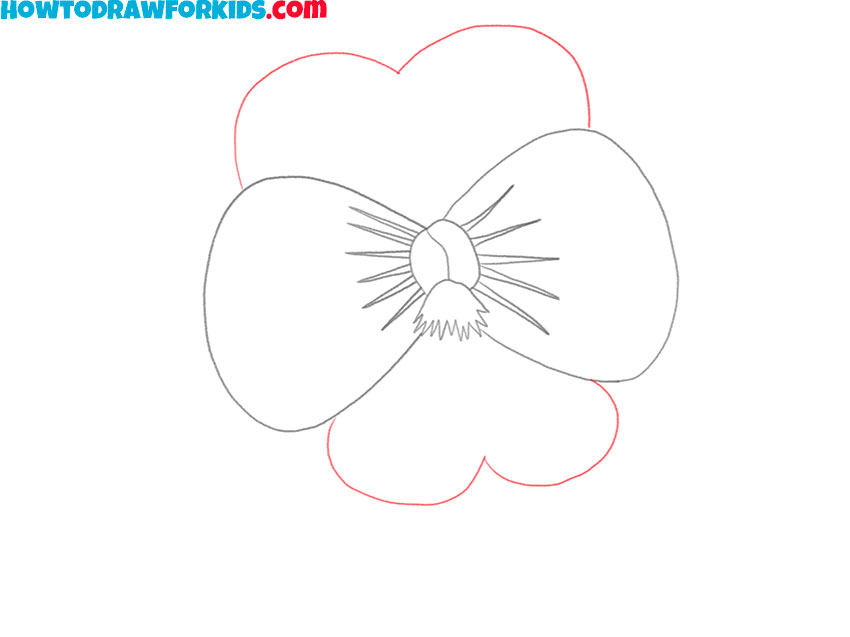
- Add the outlines of the rest of the flower petals.
At the top and bottom of the flower, add arcs of varying sizes to complete the pansy’s petals.
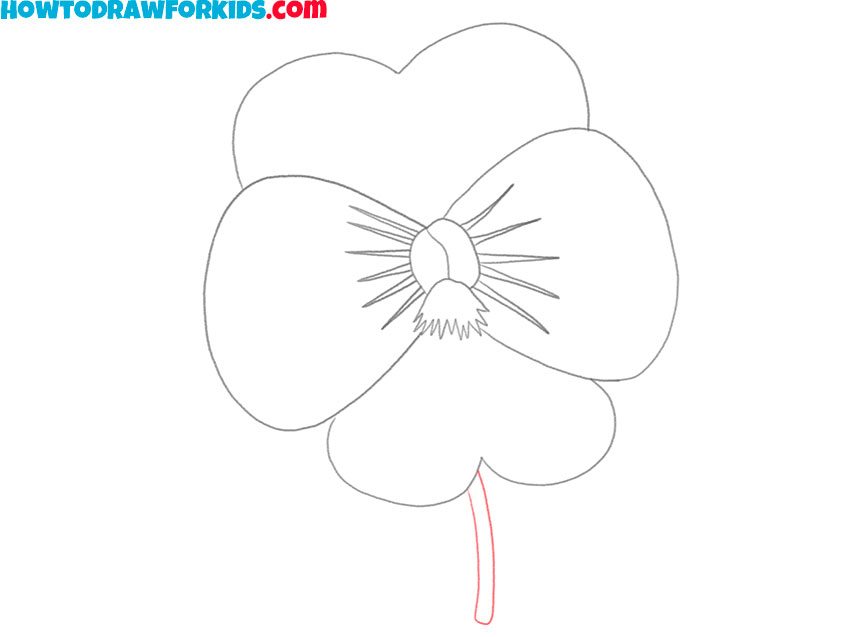
- Depict the outlines of the stem of the pansy.
Below the previously drawn flower, draw curved lines, as shown in the figure.
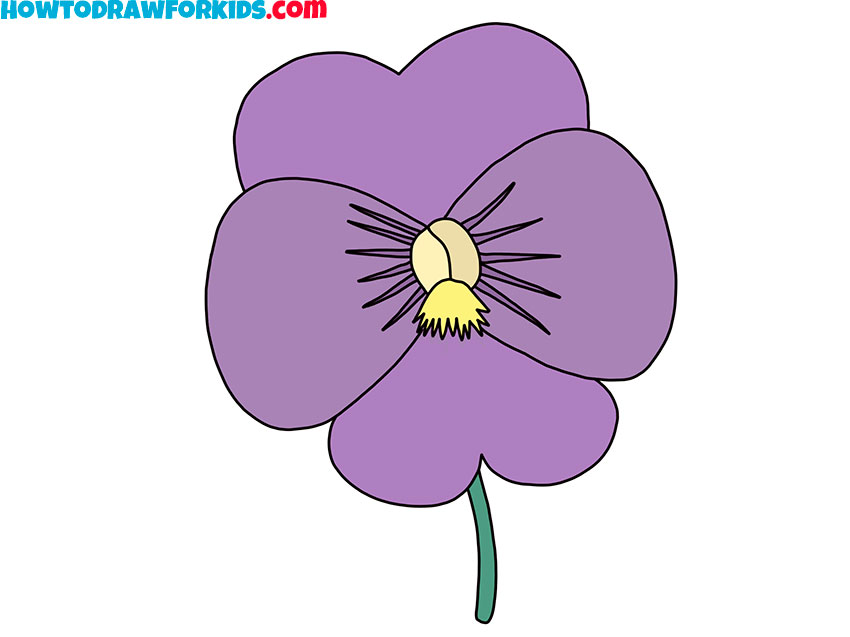
- Color the drawing.
To color the pansy you’ve drawn, use shades of purple, shades of yellow, and also green.
I remind you that you can download the PDF file that I have prepared especially for your convenience. This file contains a short version of this lesson and has additional useful training materials. Download this file so as not to lose it and return to this lesson at any time convenient for you.