How to Draw a Phone
This step-by-step lesson will especially appeal to electronics lovers, because here I will show how to build a mobile phone.
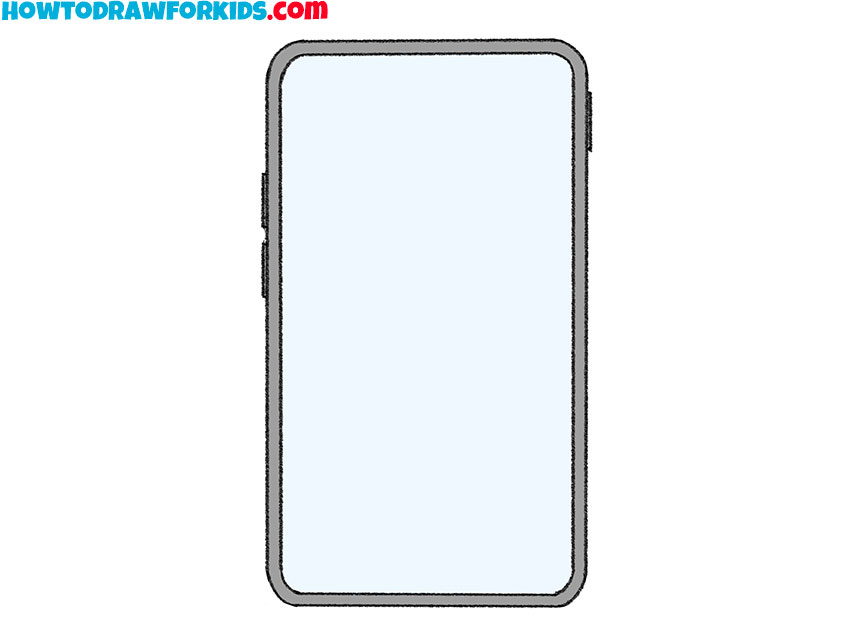
In this drawing lesson, you will learn how to draw a phone step by step. I am sure that this lesson will be very useful for you and you will be able to apply the acquired skills to create your future paintings.
This drawing lesson is dedicated to drawing objects that we deal with every day. A telephone is a device for transmitting and receiving sound over a distance. It is known that modern telephones carry out data transmission by means of electrical signals.
In this lesson, you will draw a touchscreen phone with a large screen. I am sure that you will not have any difficulties when completing this lesson, since this lesson is designed specifically for beginner artists and children.
To draw a phone using this tutorial, you should be able to draw straight lines. If you want your drawing to look more perfect, then you can use a ruler while drawing.
Materials
- Pencil
- Paper
- Eraser
- Coloring supplies
Steps on How to Draw a Phone
Time needed: 20 minutes
How to Draw a Phone
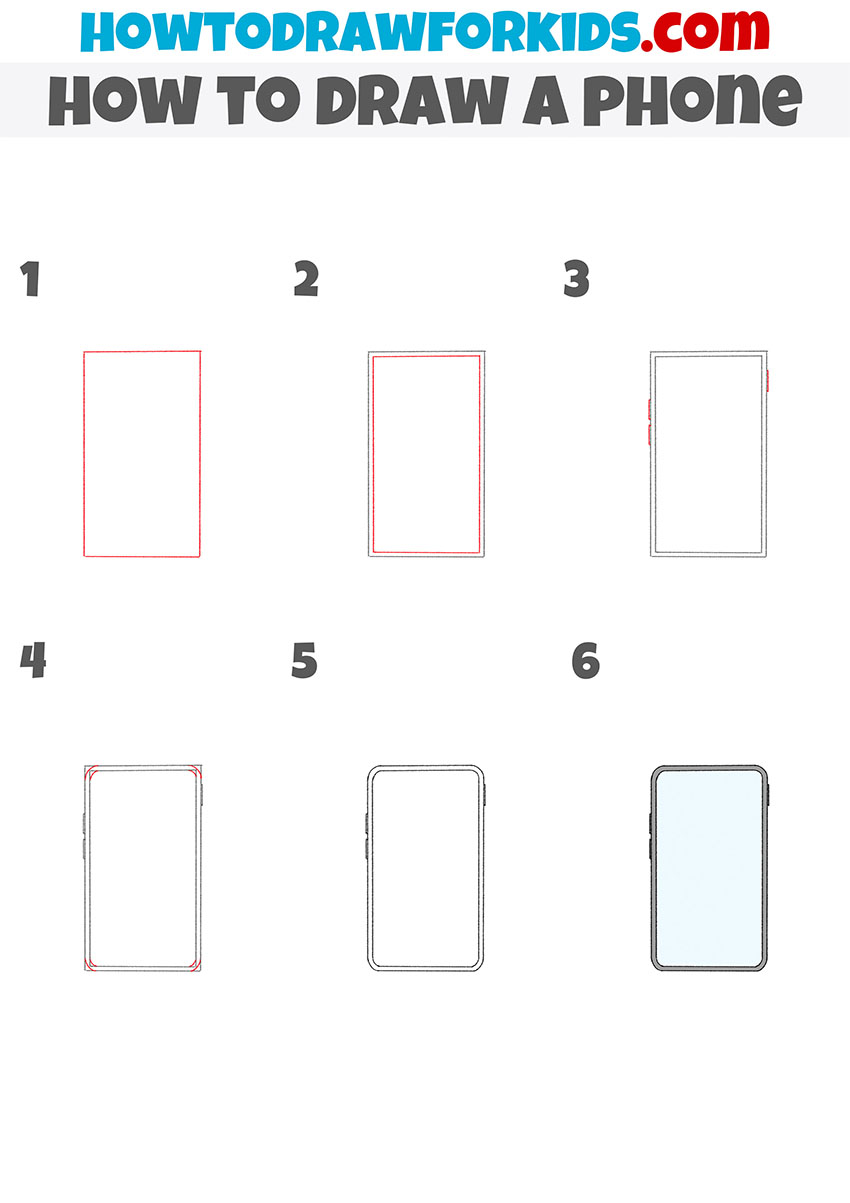
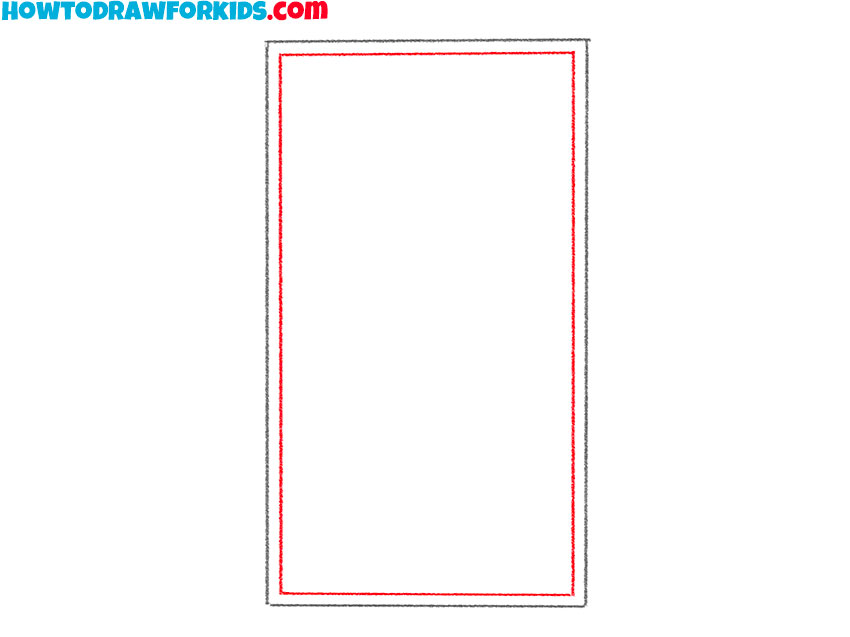
- Draw the outer outline of the phone.
First, you need to draw one big rectangle using straight lines.

- Add the outline of the phone screen.
Inside the previously drawn rectangle, draw another slightly smaller rectangle.
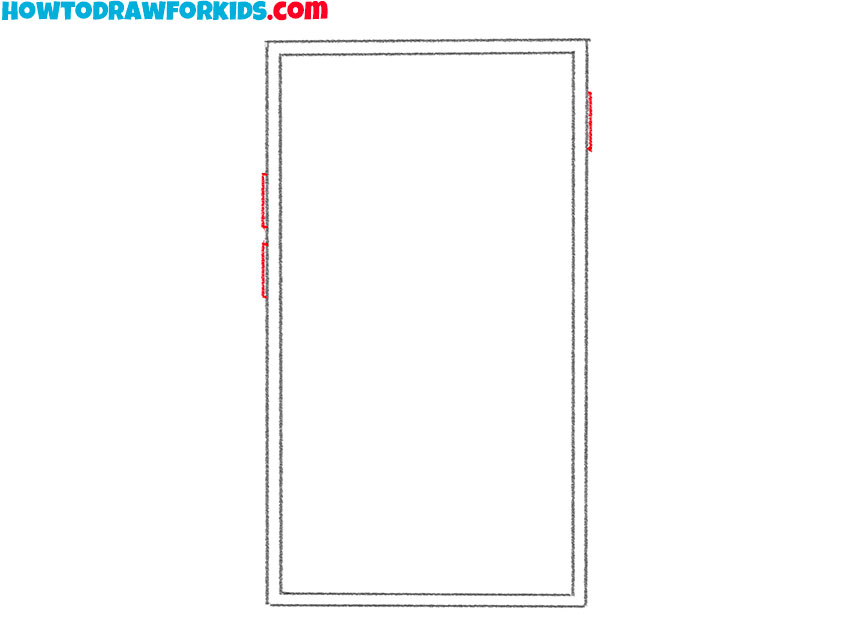
- Sketch out the phone buttons.
On the left side, draw two buttons using straight lines and add the button on the right.
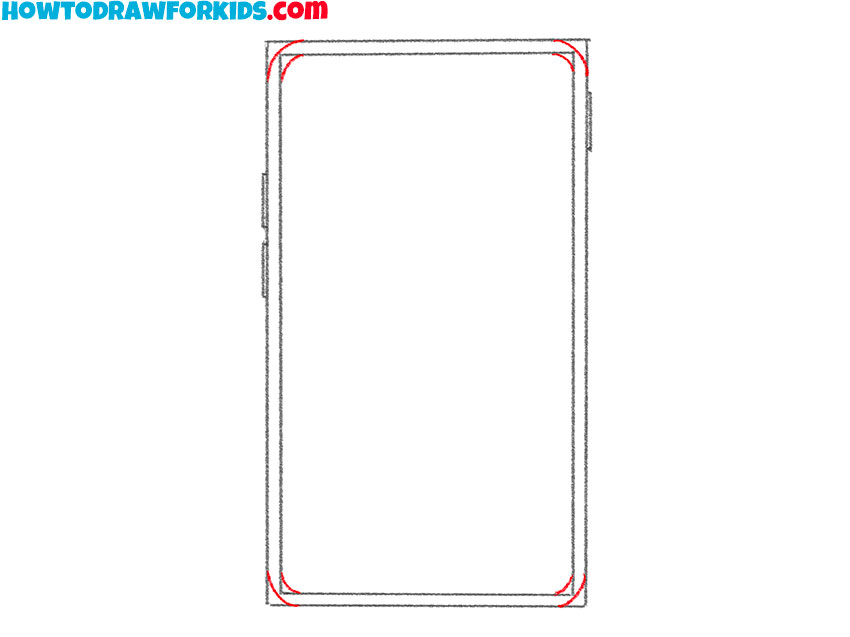
- Depict the outlines of the phone and the screen.
Near the corners of the previously drawn rectangles, draw rounded lines, as shown in the figure.
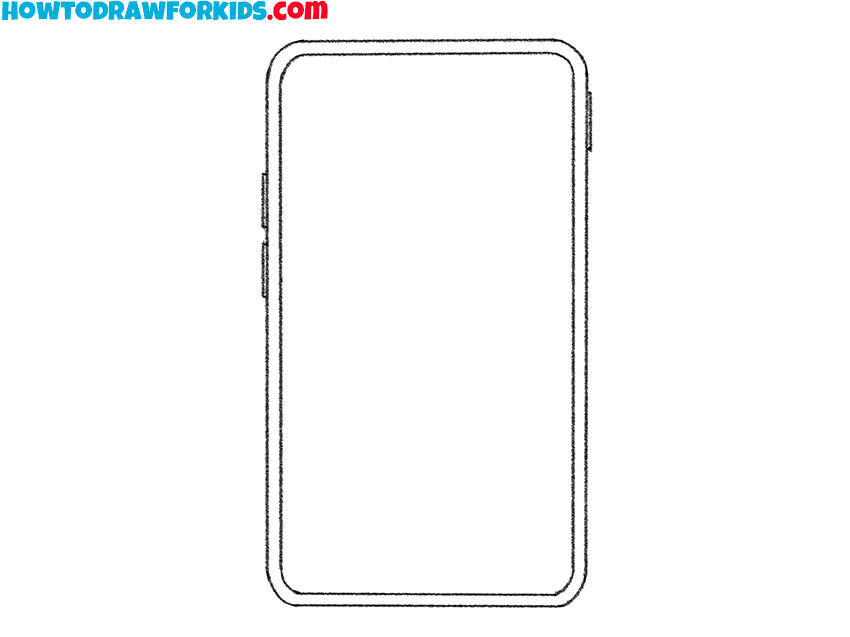
- Correct inaccuracies.
Use the eraser to remove any unnecessary guidelines.
- Color the phone.
Use shades of gray and blue to color this phone.

Finally, I suggest you download the PDF file, which I have prepared specifically for your convenience. This file contains all the necessary useful materials for this lesson, so you will not lose this lesson if you do not have an Internet connection.


