How to Draw a Pig
Welcome to the whimsical world of pigs and pencils! My how to draw a pig tutorial is just what you need to start your artistic journey. Learn to combine simple shapes to craft your very own farmyard friend, making each curve and line count towards a masterpiece in the making.
As you explore each of the five methods to draw a pig, you’ll discover new techniques and tricks to bring your drawings to life. Whether it’s a piglet or a full-grown hog, my steps will help you create characters full of charm and personality.
How to Draw a Pig: Basic Information
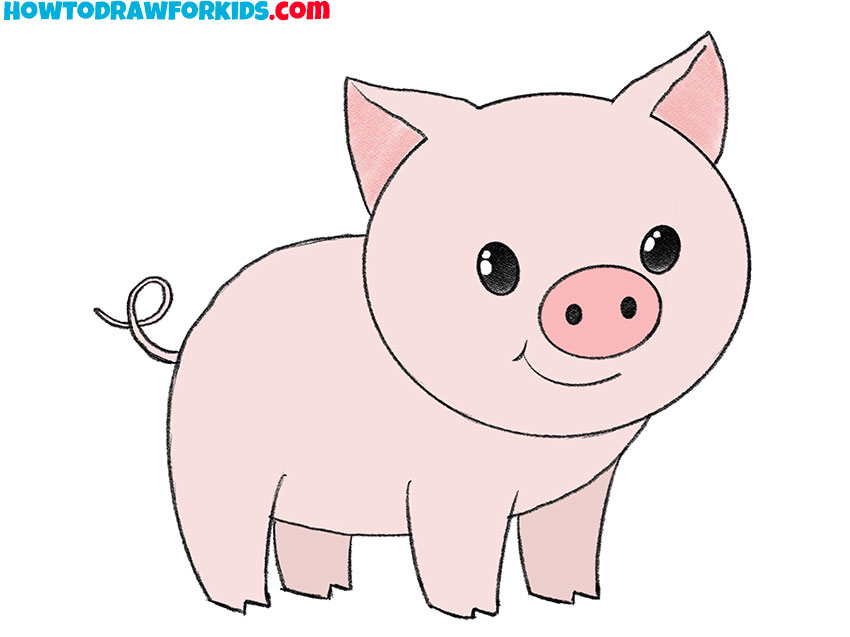
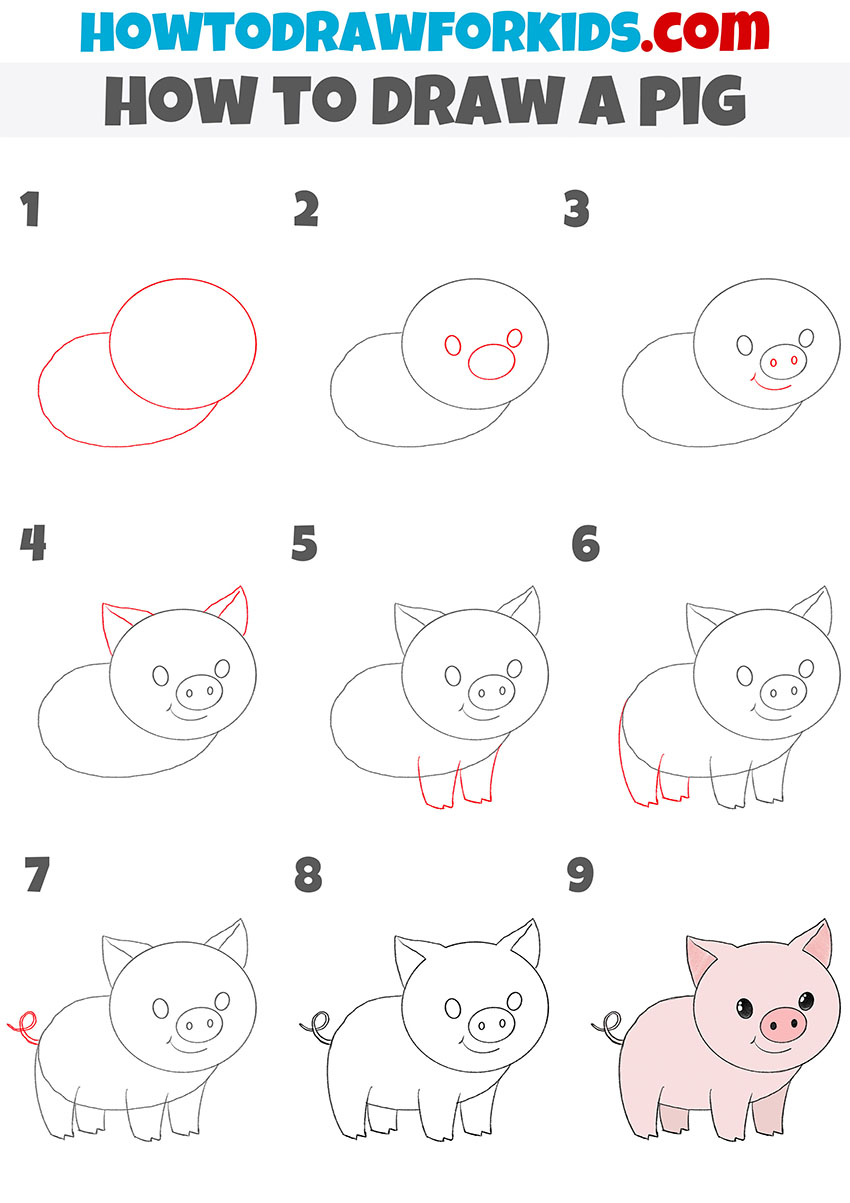
Here’s a whimsical invitation to all aspiring artists to learn how to draw a pig with a touch of fun and simplicity. This lesson unfolds a friendly piglet, piece by piece, from round shapes to a cheery face. Notice how each step adds character, transforming simple circles into a pig with personality.
As we progress, pay attention to the gentle curves forming the pig’s snout and ears, giving life to our drawing. Each stroke you make brings you closer to creating a delightful pig. By breaking down the process into easy-to-follow stages, I ensure you can craft this farm favorite with confidence and joy.
So grab your pencils, and let’s draw a pig that’s as charming as it is simple. With each line and each detail, you’ll see your pig take shape and character. And when you’re done, you’ll have not just a drawing, but a new little friend sketched by your own hand. Keep practicing, and you’ll soon be able to draw pigs and more with just a few strokes!
Pig Drawing Tutorial
Materials
- Pencil
- Paper
- Eraser
- Coloring supplies
Time needed: 20 minutes
How to Draw a Pig
- Draw the outline of the pig’s head and torso.
Begin with two overlapping circles; the left one slightly larger for the pig’s head and the smaller right circle for the snout. Ensure the circles intersect a bit to create a solid foundation for the figure.

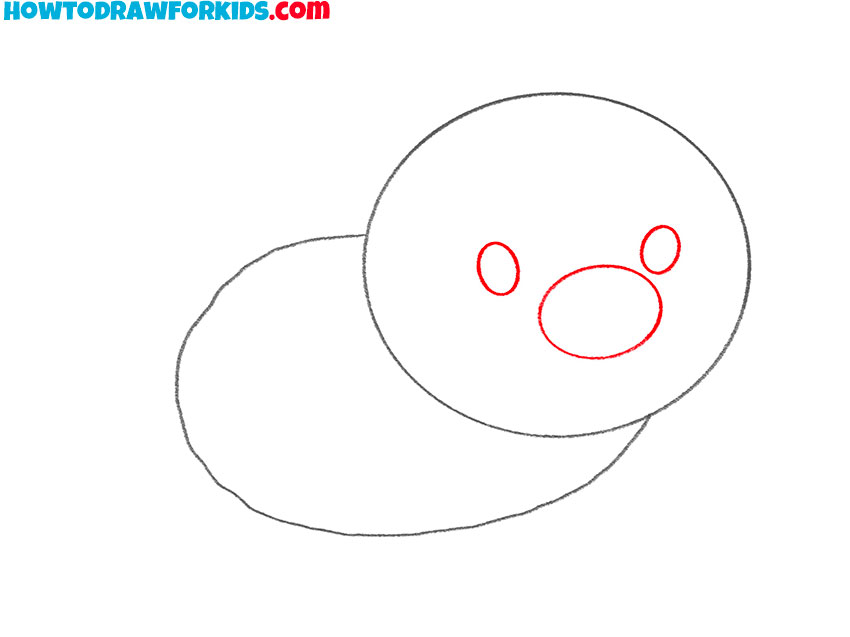
- Add the pig’s eyes and nose.
Add two smaller circles inside the snout circle for the eyes, and place them towards the center. Also, place a large oval nose between the eyes.
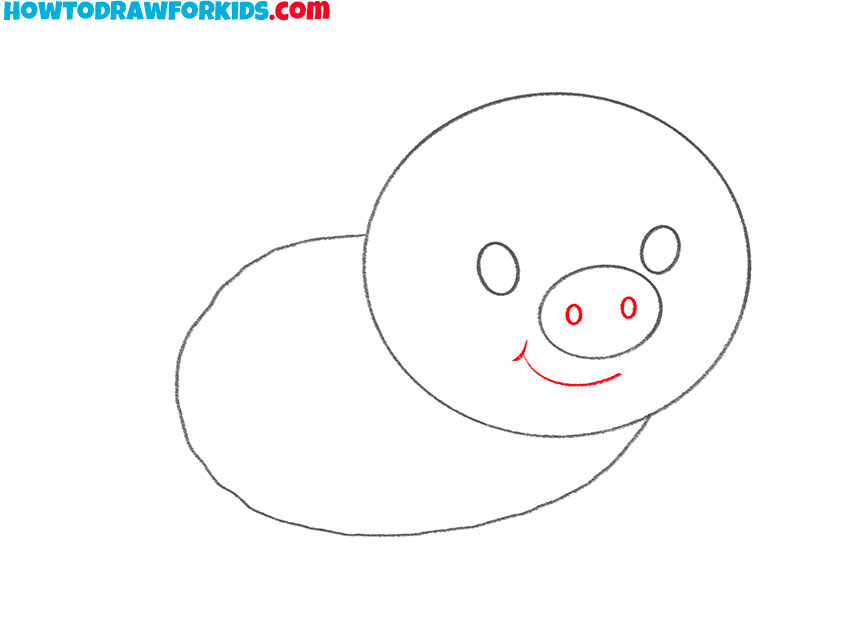
- Draw the nostrils and mouth of a pig.
A couple of circles are what you need to depict the nostrils. Then add a tiny curved line for the mouth, giving your pig a happy expression. Use a soft touch with your pencil.
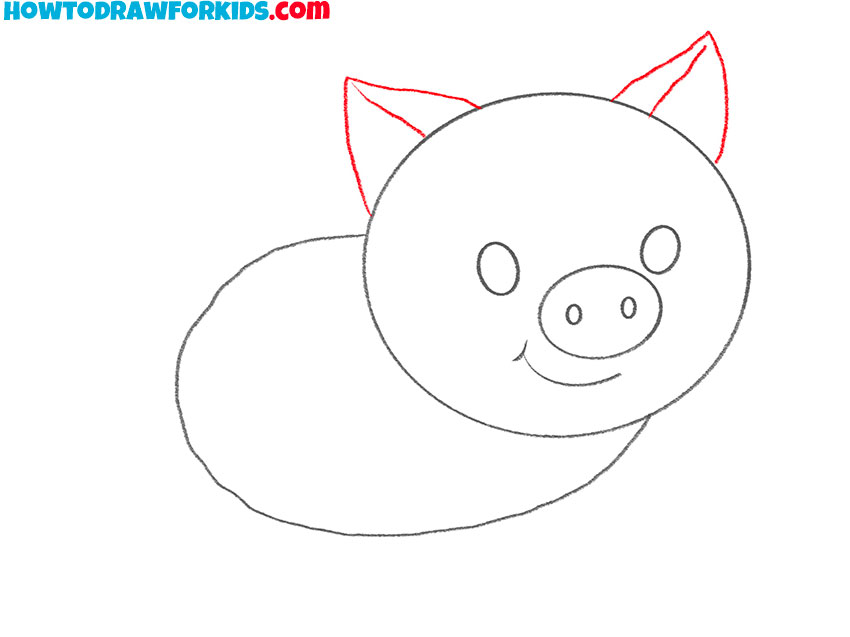
- Picture the pig’s ears.
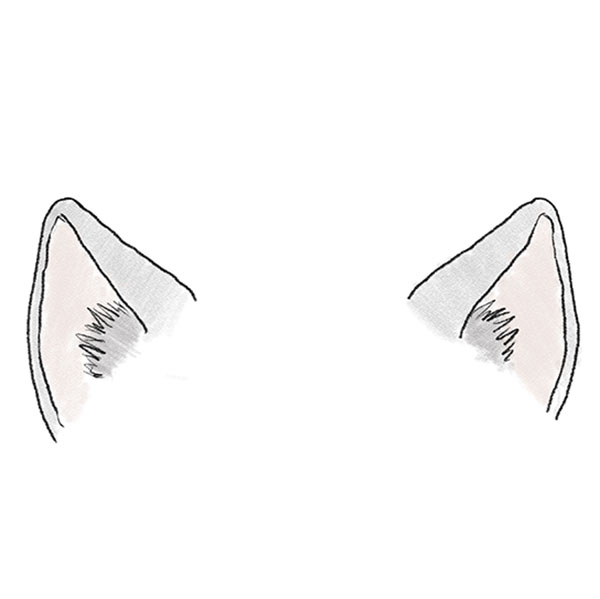
Sketch two pointy ears, one on each side of the larger circle. They should be triangular with a slightly rounded base, adding recognizable shape to the pig’s head.
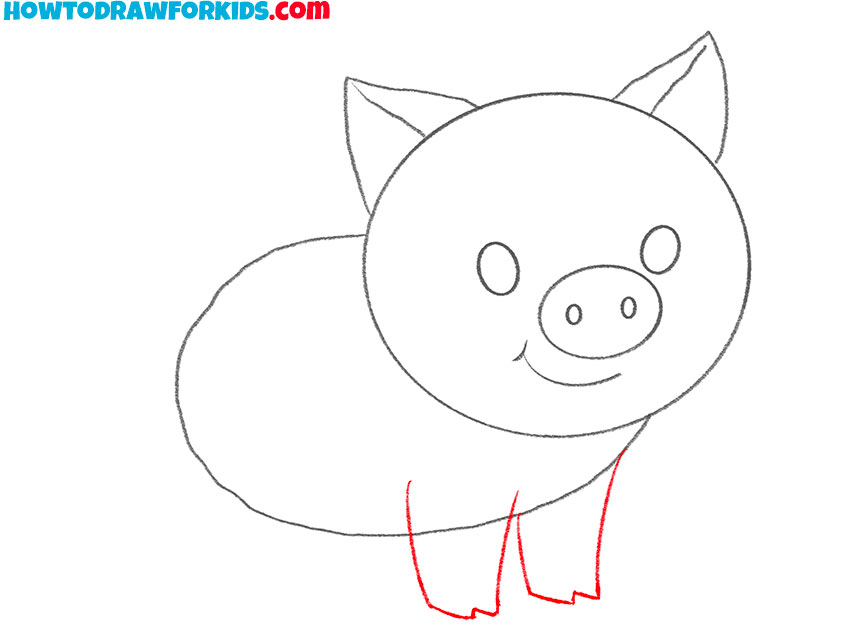
- Outline the pair of paws of the pig.
Add the outlines of the front pair of legs of our cute pig. These are short, thick limbs that taper slightly downwards and have a slight bend.
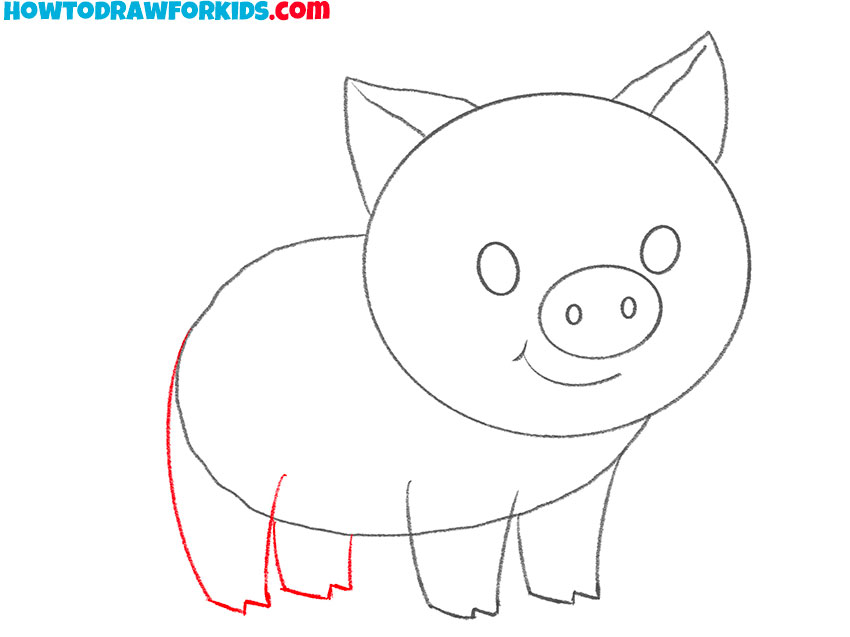
- Add the second pair of paws.
Draw the pig’s back legs. Start with two vertical lines from the body circle and add two small oval shapes at the bottom for the hooves. Ensure the legs are stout and sturdy.
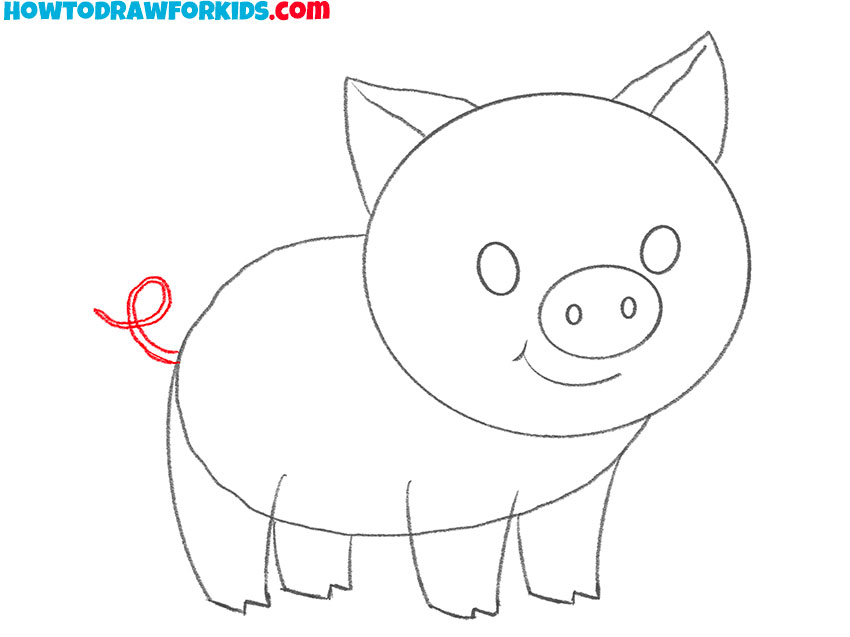
- Draw the tail of the pig.
This is a fairly simple element, but it is very important that it is drawn correctly and accurately. Notice the curl and how the tail line tapers towards the tip.
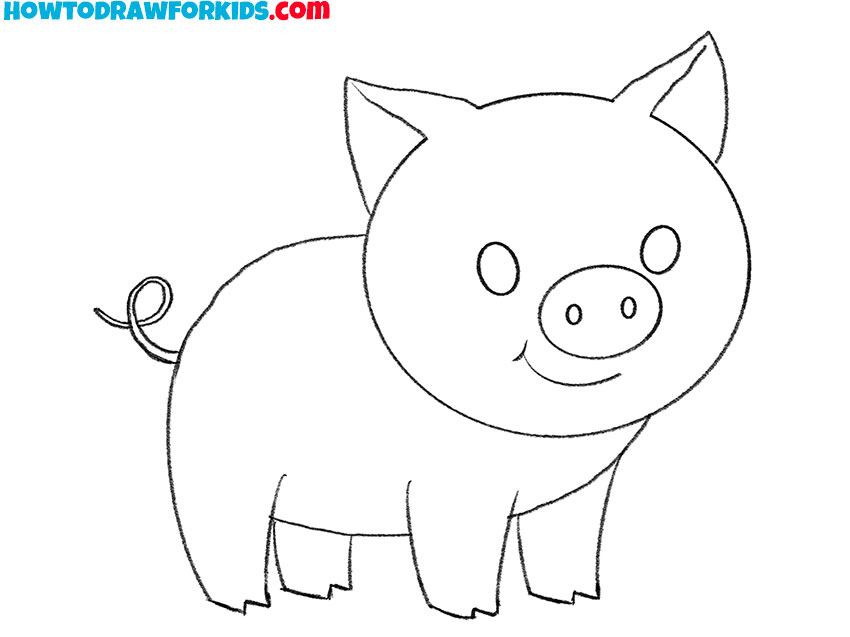
- Erase unnecessary lines.
Remove extra lines from the entire drawing. Check out the proportions of this beautiful pig and move on to coloring.
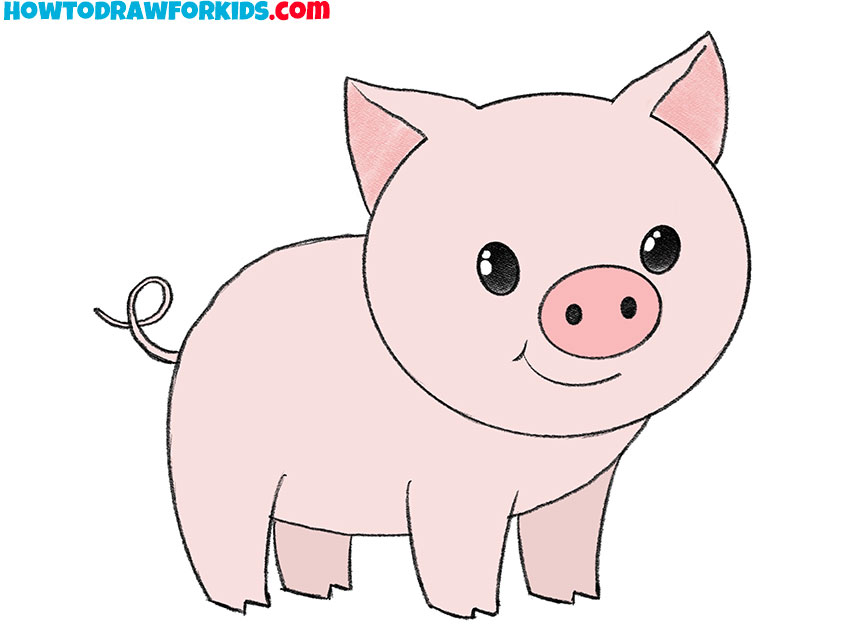
- Color the drawing.
Finalize the drawing by adding color. Choose a light pink shade for the pig’s body, a darker pink for the snout, ears, and hooves. Add a little blush to the cheeks for a lively touch.
Additional Content
Art knows no bounds, and neither should your learning. That’s why, as a supplement to our interactive lesson, I’ve put together a free PDF file for you. It’s a shortened version of the pig drawing tutorial, ideal for quick studying or on-the-go practice.
No internet? No problem. Download this guide and you can continue to refine your drawing technique, whether you’re nestled at home or out in the world. This PDF is a treasure trove of tips and steps, ensuring that your creativity never has to pause.
Alternative Drawing Methods
To further enrich your art journey, I’ve developed several alternative techniques for drawing pigs, offering you more opportunities to practice and perfect your skills. These methods are designed to challenge you a little more with each attempt, helping you to understand the subtleties of porcine anatomy and expression.
By trying out these varied approaches, you’ll not only enhance your artistic repertoire but also gain a deeper appreciation for the art of illustration.
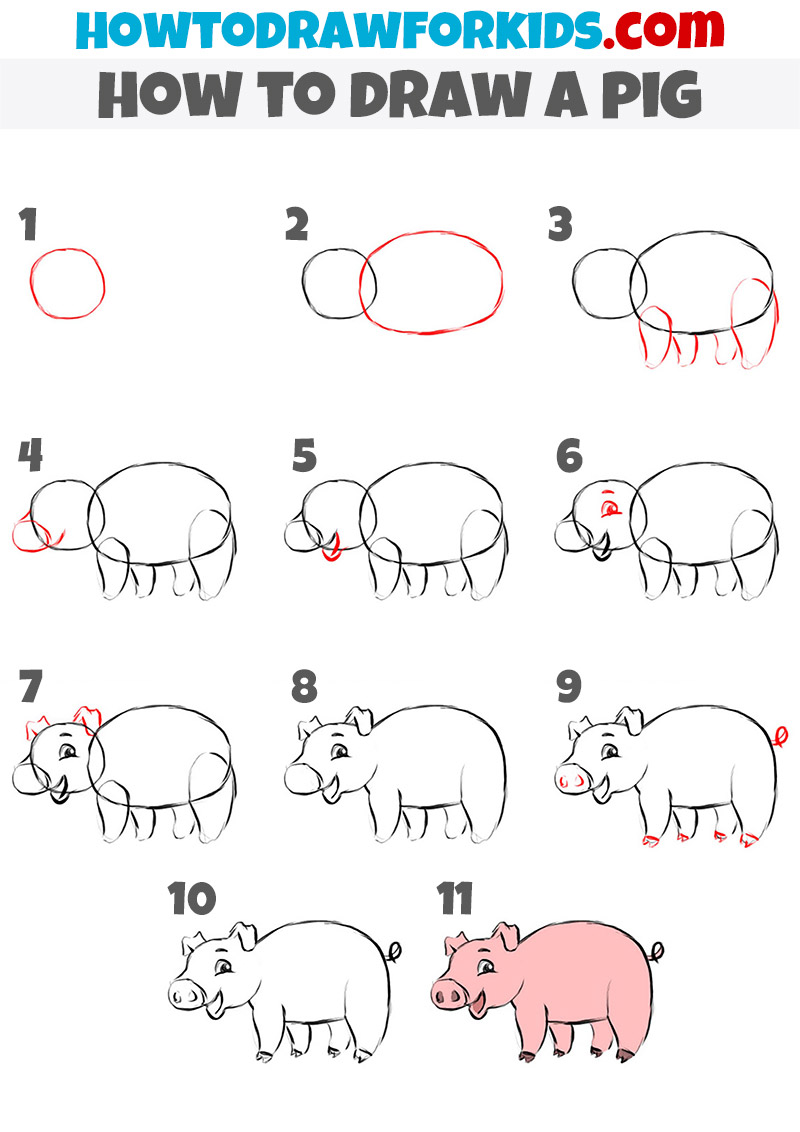
How to Draw a Realistic Pig
The method illustrated here provides an intricate, step-by-step tutorial on creating a realistic depiction of a pig. Designed for those who have already developed their basic drawing skills and are ready to tackle more challenging subjects, this 11-step process focuses on capturing the true essence and anatomy of the pig.
This technique is excellent for honing precision and attention to detail, essential skills for any aspiring artist aiming to achieve lifelike results in their drawings.
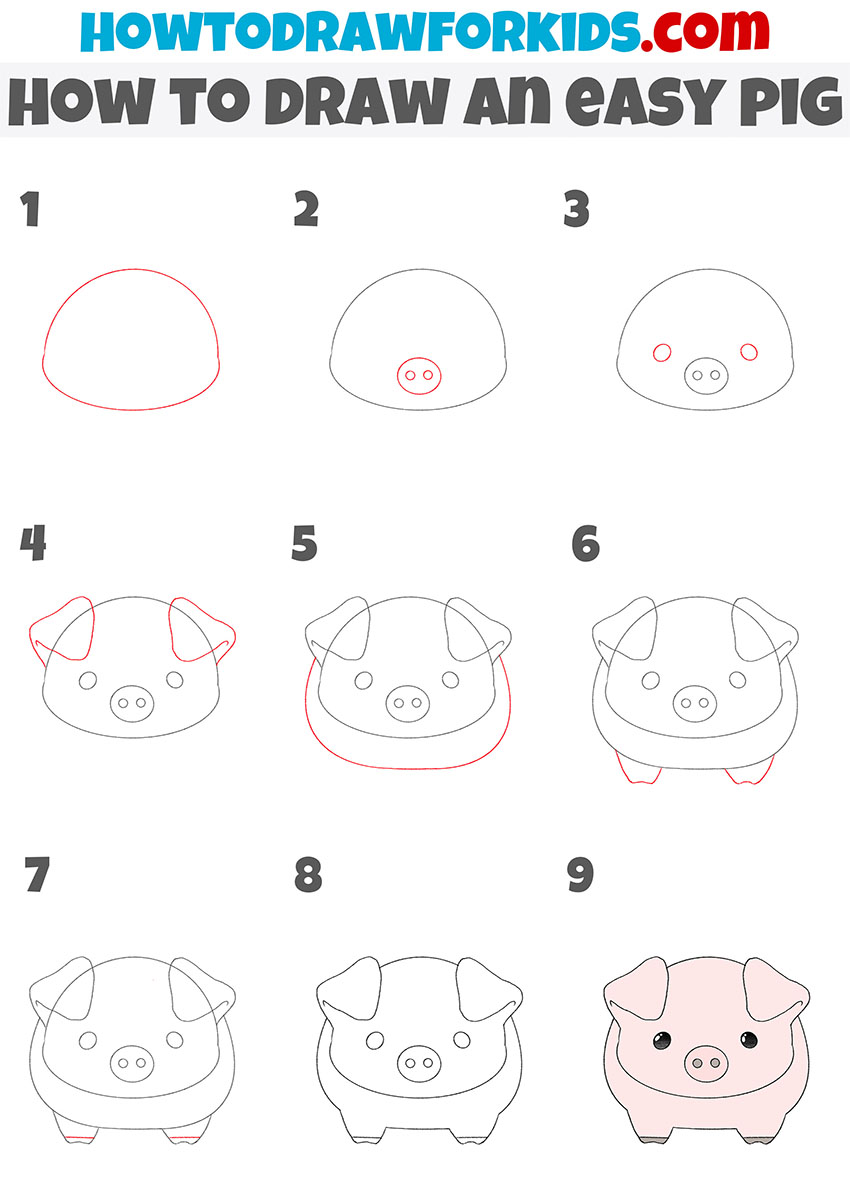
Drawing a Pig from a Front View
This technique presents a front view perspective, offering a direct and engaging angle that simplifies the subject into basic shapes and lines. It’s an approachable start for anyone learning to draw, focusing on creating a recognizable image with minimal complexity.
By reducing the pig to essential elements, the method encourages a clear understanding of form without overwhelming details, making it ideal for young learners or beginners. Each step is designed to build confidence and skill, providing a solid foundation for more complex drawings in the future.
How to Draw a Cartoon Pig
So, this method is designed to guide you through the process of drawing a charming, cartoon-like pig. The steps are simple and playful, aimed at capturing the essence of a cute and friendly pig character. Starting with a basic oval shape, we add key features such as the eyes and nose in a way that emphasizes the pig’s endearing qualities.
Each subsequent step builds upon the last, gradually forming a complete and delightful piglet that radiates warmth and personality. This approach is perfect for those who wish to explore character design or bring a touch of whimsy to their artwork.

Pig Drawing Kindergarten
This final drawing method simplifies the pig into its most basic elements, ideal for a young child’s first foray into art. The approach is streamlined to just five uncomplicated steps, starting with a basic oval shape for the body, adding circles for the head and snout, and then cute little details like ears, facial elements, tail and feet.
The simplicity of this method ensures success, providing a joyful and confidence-boosting experience for little ones just starting to explore their creative skills. Each stroke is designed to be clear and manageable, making it a perfect fit for a kindergarten-level drawing exercise.

Conclusion
And here we are at the end of our drawing journey! You did a great job with the pig drawing, but there’s so much more to explore. My website is brimming with lessons that’ll flex your artistic muscles even further. Why not try your hand at sketching an anime face or crafting your very own cloud?
And don’t forget to follow my social media channels so you won’t miss out on any new content drops. Keep drawing, keep dreaming, and most of all, keep having fun with your creations!


I love it
I like piggy