How to Draw a Playground
Let’s learn how to draw a playground with swings and a slide, with step-by-step instructions and an extra version to try.

How to Draw a Playground: Introduction
In this tutorial, I will show you how to draw a playground. Young children enjoy spending time on the playground; this is a favorite place for entertainment and recreation. Playgrounds can vary in size and can contain different game objects. Usually, the playground has a swing and a slide. In this picture, you can also see these objects. You can easily and quickly draw a playground, even if you have no experience in drawing.
The walkthrough is designed in such a way that any aspiring artist can quickly get through this task. There are some simple elements here that you will draw in sequence. Use my tips when doing this.
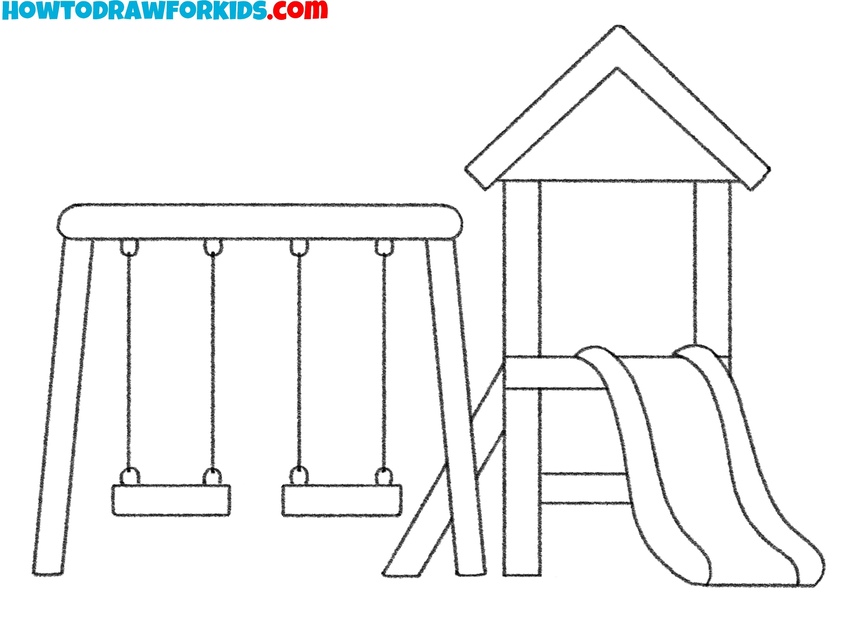
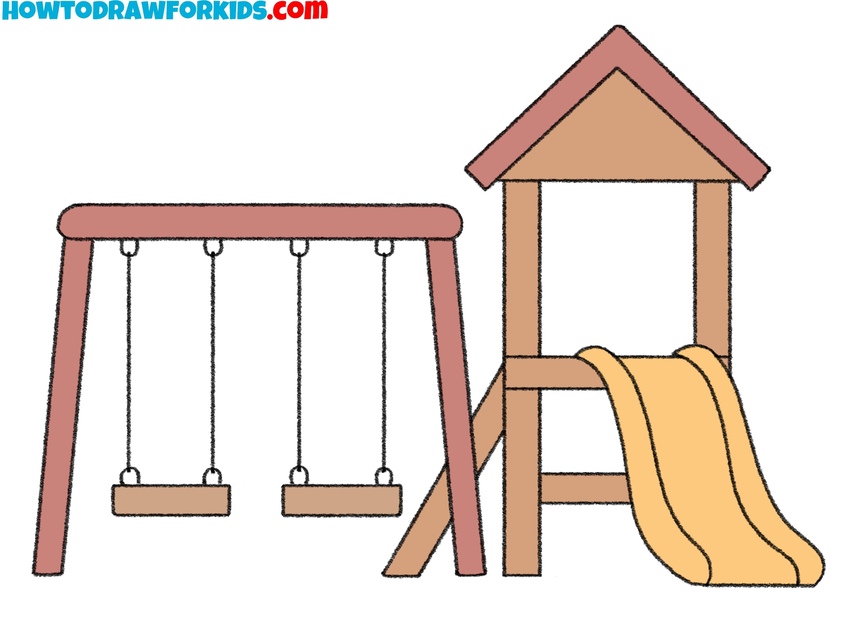
The playground looks very attractive. The slide is made in the form of a small house with a roof. As you can see, bright colors are used here. You can paint the site with the same colors as in the example, or you can get creative and use different colors. In any case, I recommend choosing the brightest shades.
Playground Drawing Tutorial
Materials
- Pencil
- Paper
- Eraser
- Coloring supplies
Time needed: 30 minutes
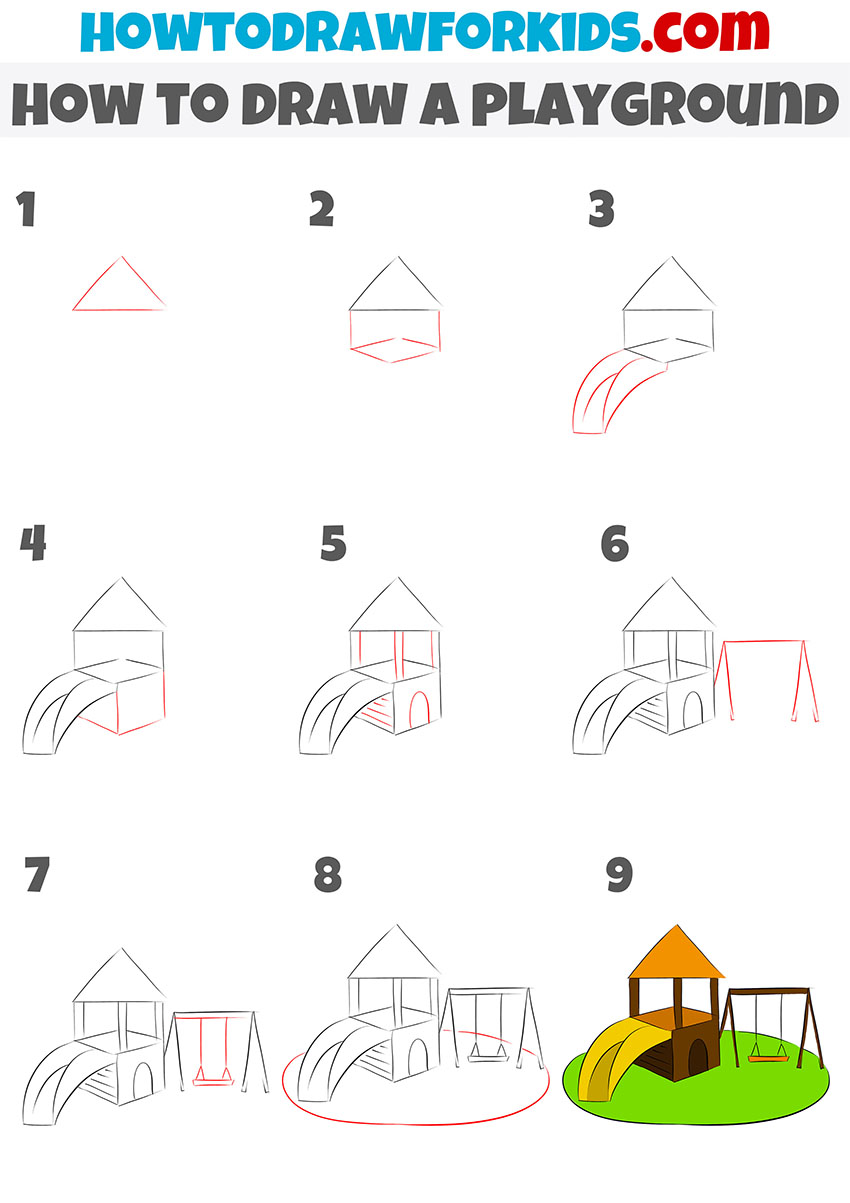
How to Draw a Playground
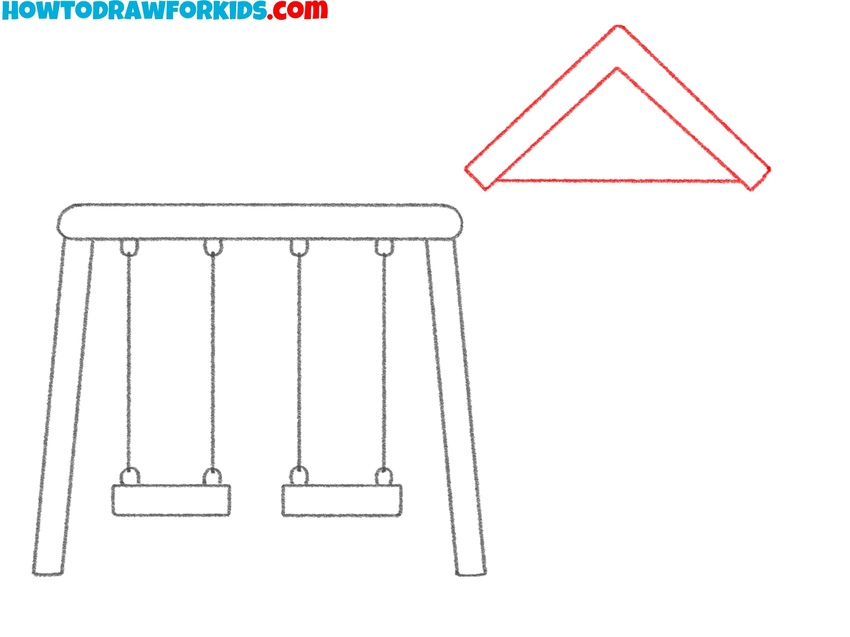
- Begin to draw a playground frame.
To draw the playground’s main frame, make two straight legs that are slightly wider at the bottom than the top. Connect the tops with a long beam, rounding the ends. Keep the legs the same length. A light line at the bottom can help check that the bases are level. For variety, the frame can be drawn thicker or thinner.
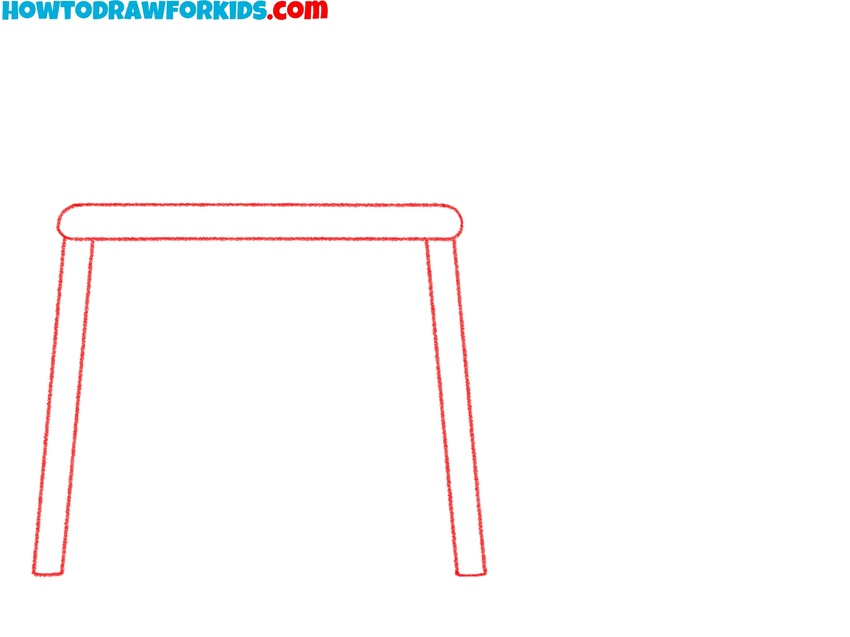
- Add seats to your playground.
Under the top beam, place two small seats. Each seat can be drawn as a rectangle with rounded corners. They should be the same size so the playground looks neat and planned. When you draw a playground, keeping parts proportional helps the whole picture look correct.
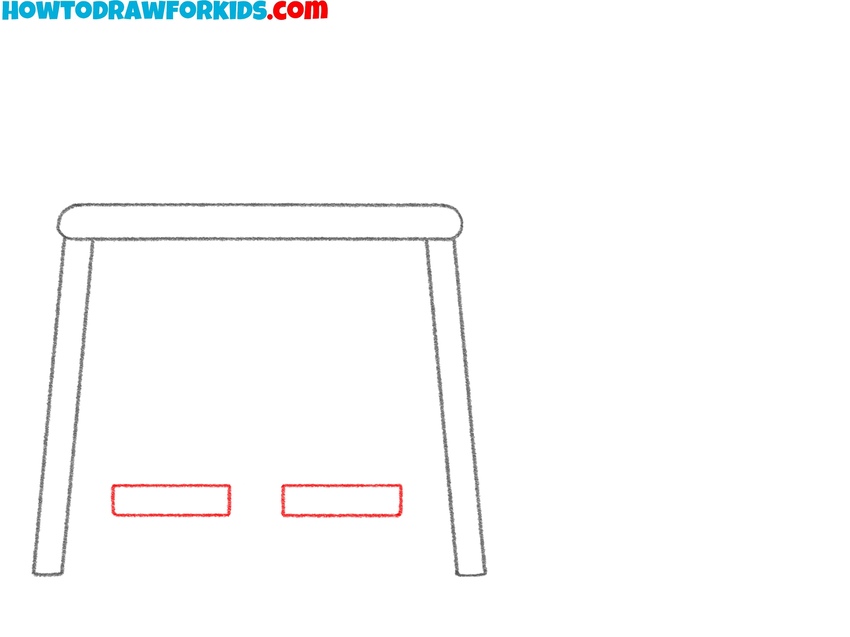
- Draw the playground swing ropes.
From the beam, add two lines down to each seat. Keep the lines parallel. Attach the lines to the beam with small connectors and to the sides of the seats. Both swings should be the same length, and the lines should not lean unless you want to show movement.
- Draw the playhouse roof.
On the right side of the swings, sketch a triangle for the playhouse roof. Add another outline around it to give the roof some thickness. When you draw a playground with a roofed section, make sure the slope is even and symmetrical on both sides.
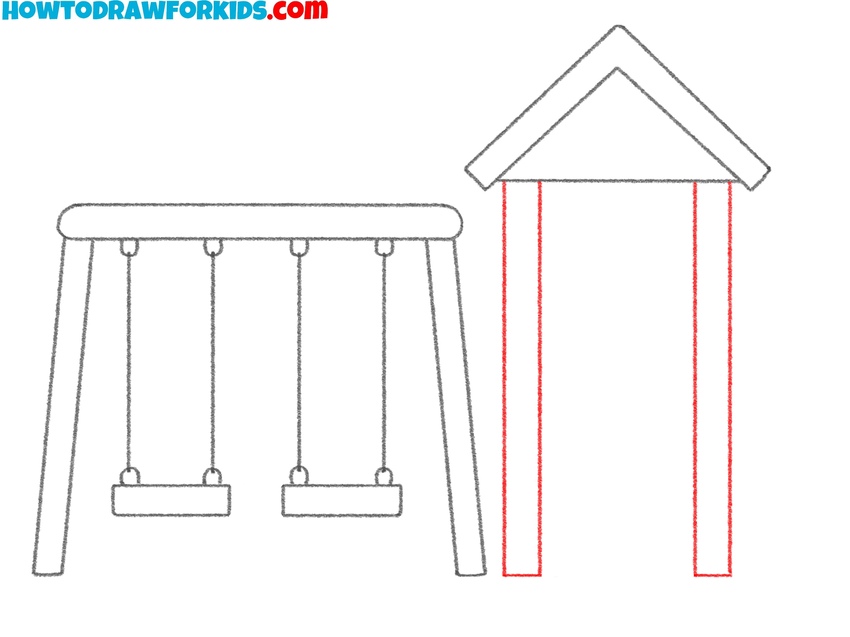
- Build the playhouse frame.
From the bottom corners of the roof, draw two vertical posts. Keep them parallel and the same height. These will support the platform under the roof. In playground drawings, the posts should be wide enough apart to fit a child inside. You can make them thicker to look stronger.
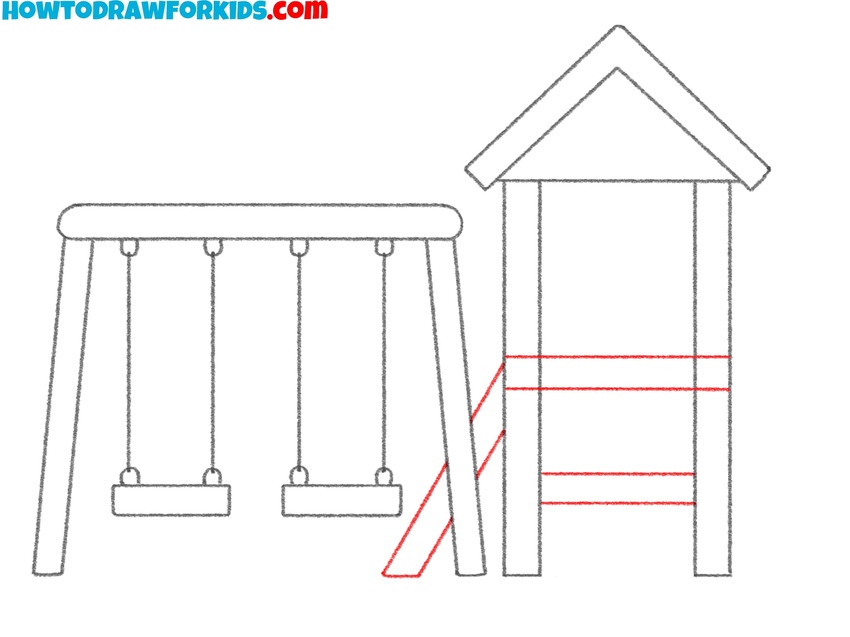
- Sketch the ladder.
On one side of the posts, sketch the ladder. Use two diagonal lines for the side edge of the ladder. You can also add horizontal steps. Then, sketch horizontal bars for the slide base. In to make your playground drawing look more unique, you can add other elements and details.
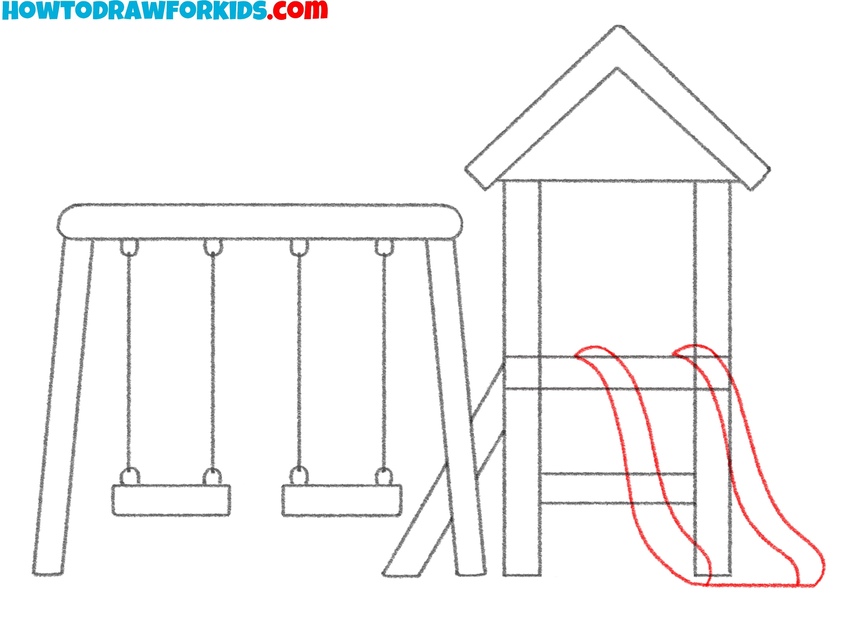
- Sketch the slide shape.
Add the second edge of the slide so it has width. Draw raised sides along the slide for safety. The shape should start at the platform and end on the ground with a slight curve. If you sketch a playground with more variety, you can make two slides next to each other. Keep the lines smooth.
- Prepare the sketch for coloring.
Go over the whole drawing and make the lines clear. Remove extra sketch marks and check that all parts connect – swings to the beam, ladder to the posts, slide to the platform. You can add small extras like bolts, texture on the posts, or light shading.
- Add color to your playground.
Finally, color your playground drawing. Bright colors work well, for example, red or brown for the swing frame, yellow for the slide, and a contrasting color for the roof. In my own classes, I often suggest to add shading on one side of each part to make it feel less flat without making it too complicated.
Simple Playground Drawing Tutorial
This is an additional playground drawing tutorial that is simpler than the main version. It places the playground elements in a different position and follows another sequence of steps. The main structure here is a small playhouse with a roof and slide, accompanied by a swing set to the side. The steps are arranged so that the main elements are built first, with smaller features and the base added later.
Create a triangle for the roof and a base shape for the upper part of the playhouse. Add the lower section, shaping it as a box that supports the rest of the structure. Draw the curved slide extending from the front, using two parallel lines for its sides. Complete the lower section with the back wall and front opening.
Add thin vertical supports for the roof, then sketch the swing set using two side supports and a horizontal bar. Draw the seat hanging from two straight lines. Outline the ground area with a large oval to set the playground in place. You can also draw a child playing on this playground. Trace all lines clearly and color the roof, slide, swing, and ground with simple colors.
Conclusion
The playground is ready! Do not forget to subscribe to us on social networks and leave your comment on the lesson. For your convenience, I have prepared a short PDF version of the manual. Hurry to download the file and complete the lesson at any convenient time.