How to Draw a Self-Portrait
The exercise of learning how to draw a self-portrait is very important in the process of learning fine art. In this article I will tell you how to do it correctly.

How to Draw a Self-Portrait: Introduction
In this lesson, I want to take a deeper look at portrait drawing by focusing on one of the most interesting forms of portraiture encountered by artists: the self-portrait. This type of drawing is not only a valuable exercise in observation but also an important artistic tradition. It allows you to study your own features and better understand facial structure through direct observation.
It’s important to note that this lesson is a continuation of the broader series of tutorials on drawing people – specifically, it builds on the portrait drawing tutorial. In this self-portrait drawing lesson, we’ll explore the most important differences between drawing someone else and drawing yourself. We’ll also look at how artists in the past approached self-portraits and how modern tools and technology can assist in making the process easier today.
If you’ve already learned how to draw faces, you’ll have a big advantage. But if you haven’t yet, I recommend checking out the face drawing lesson on this site. It’s one of the most foundational tutorials available here. There, I explain everything about drawing a face in a very simple and easy-to-follow style.
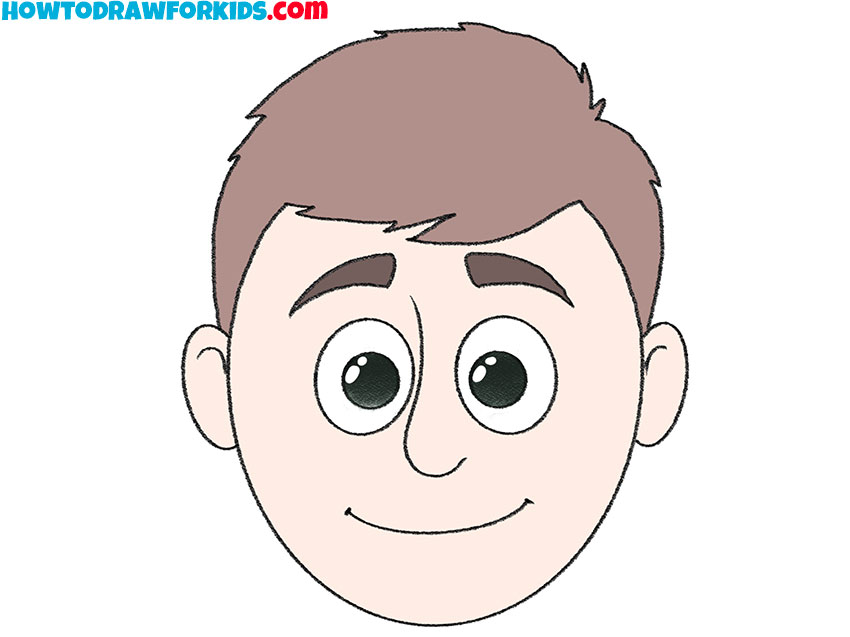
And perhaps the most important thing to mention is that in this lesson, I intentionally use very cartoon-like facial features to create a basic formula for a self-portrait, so that at each step, you can adjust the features to match your own as closely as possible.
Self-Portrait Drawing Tutorial
Materials
- Pencil
- Paper
- Eraser
- Coloring supplies
Time needed: 40 minutes
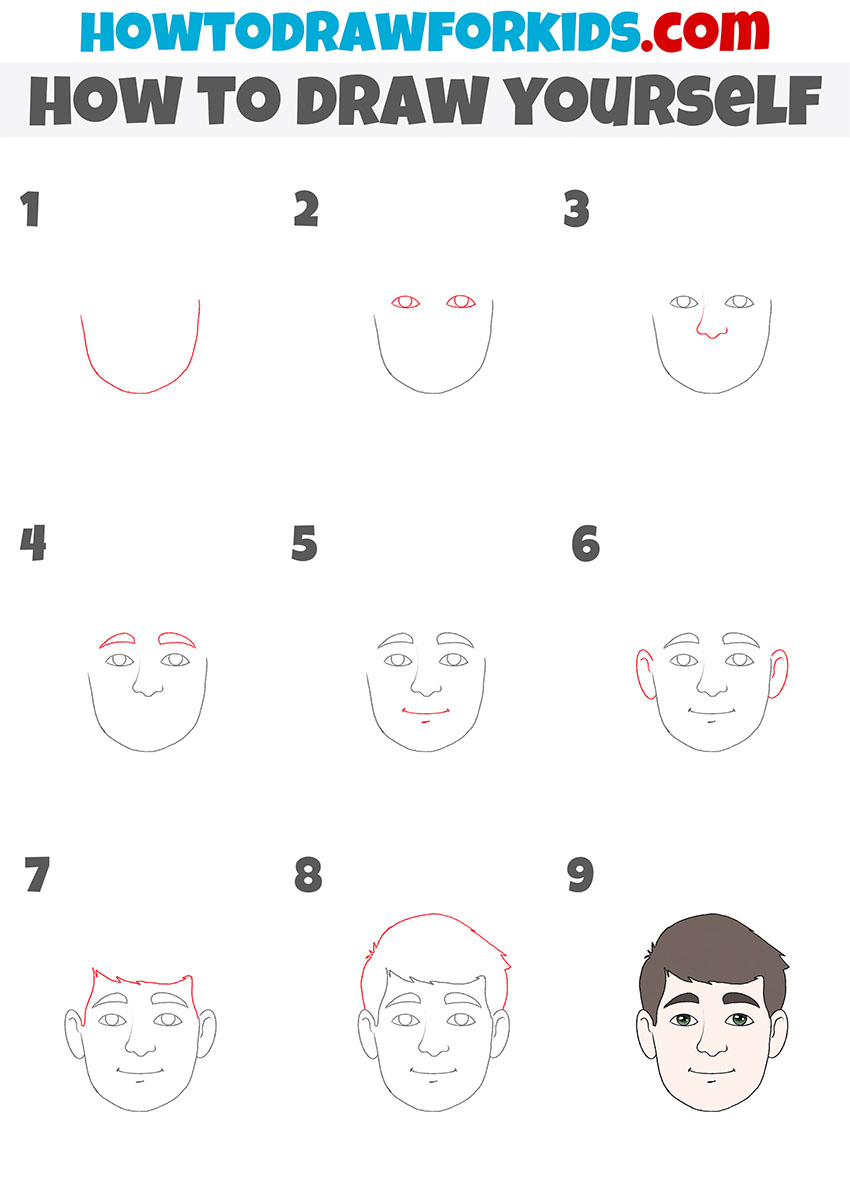
How to Draw a Self-Portrait
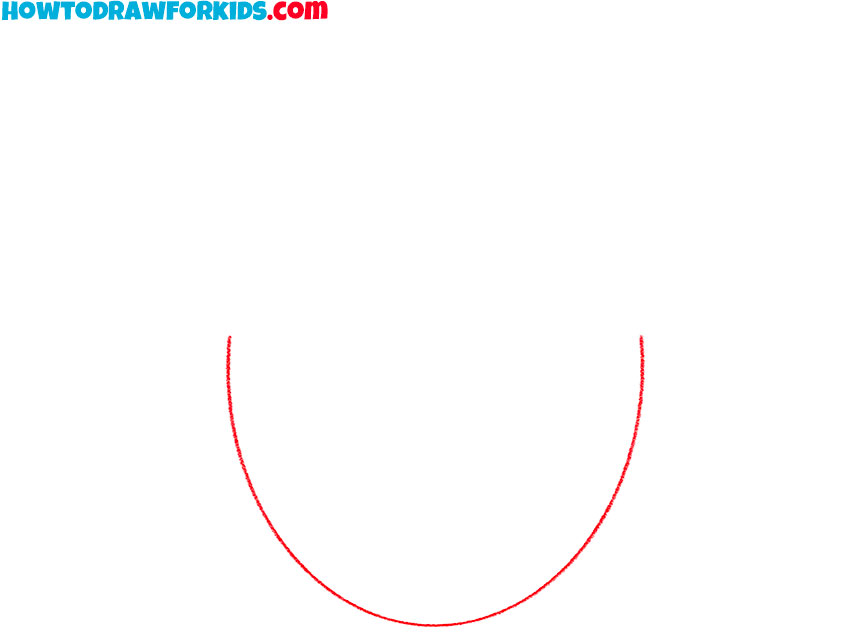
- Draw the shape of your face.
Start by drawing a wide U-shaped curve to create the lower half of your face. Since you’re drawing yourself, think about the general shape of your own face – is it more round, oval, or square? While this tutorial uses a simple rounded shape for ease, you can adjust it slightly to reflect your actual facial structure.
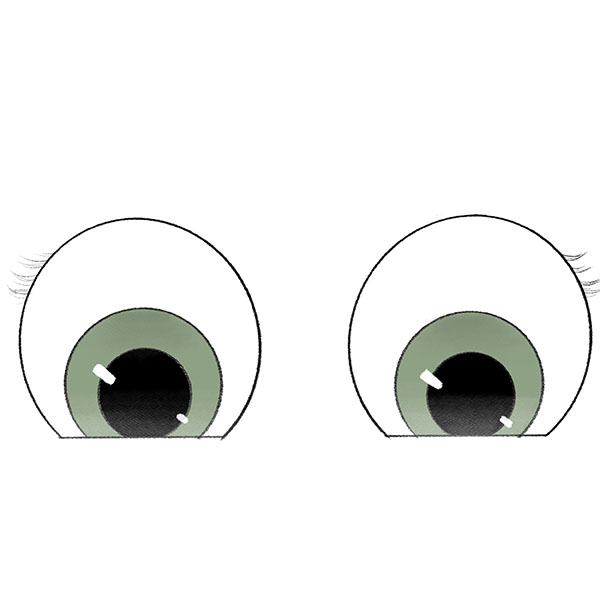
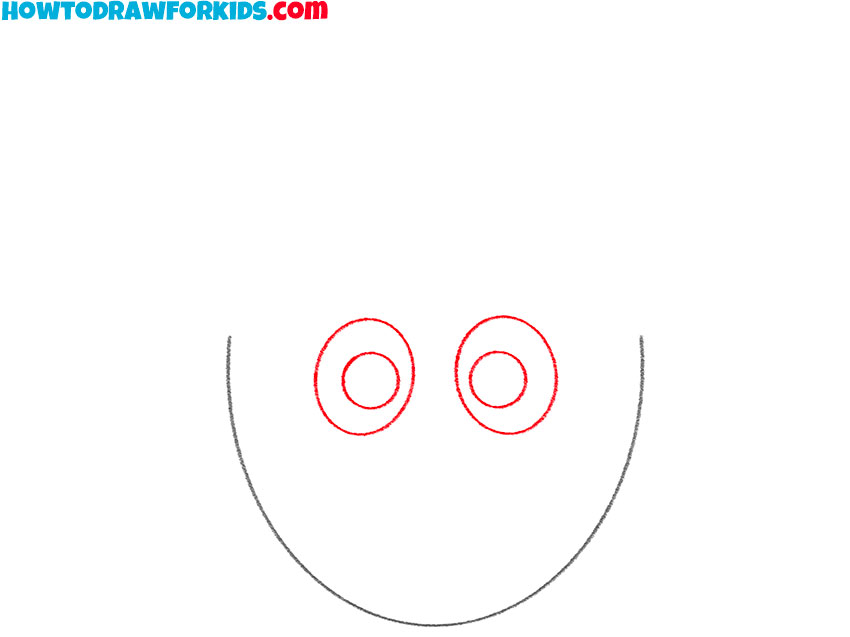
- Draw your eyes.
Next, sketch two large circles near the upper center of the face to represent your eyes. Inside each one, add a smaller circle for the iris and an even smaller one for the pupil. While this style is simplified and cartoon-like, try to place the eyes in a way that feels right for your own features.
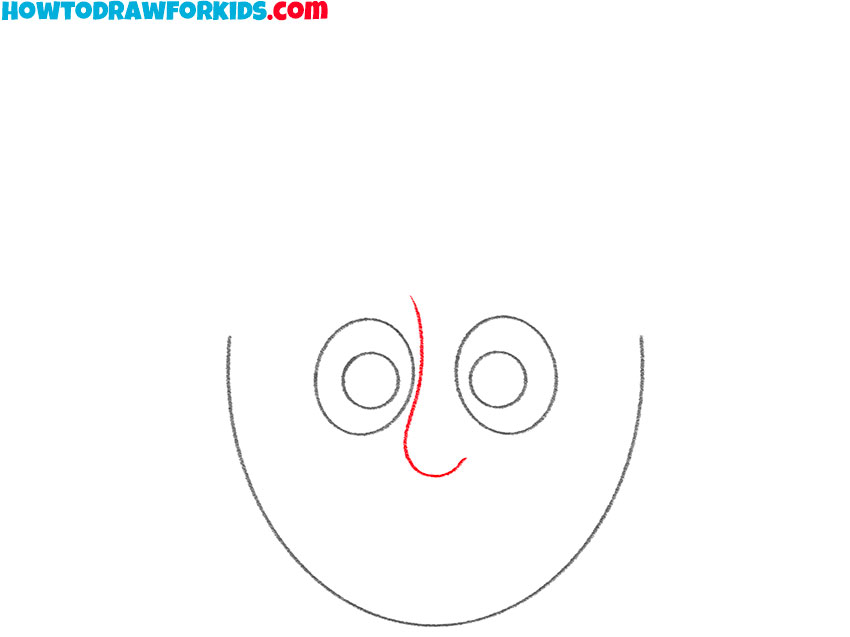
- Add your nose.
Now draw a simple curved line between your eyes to represent your nose. In real self-portraits, noses can be quite detailed, but here we’re keeping it minimal. Still, think about the shape of your nose – whether it’s long, short, rounded, or pointy – and place the line where it feels most accurate for you.
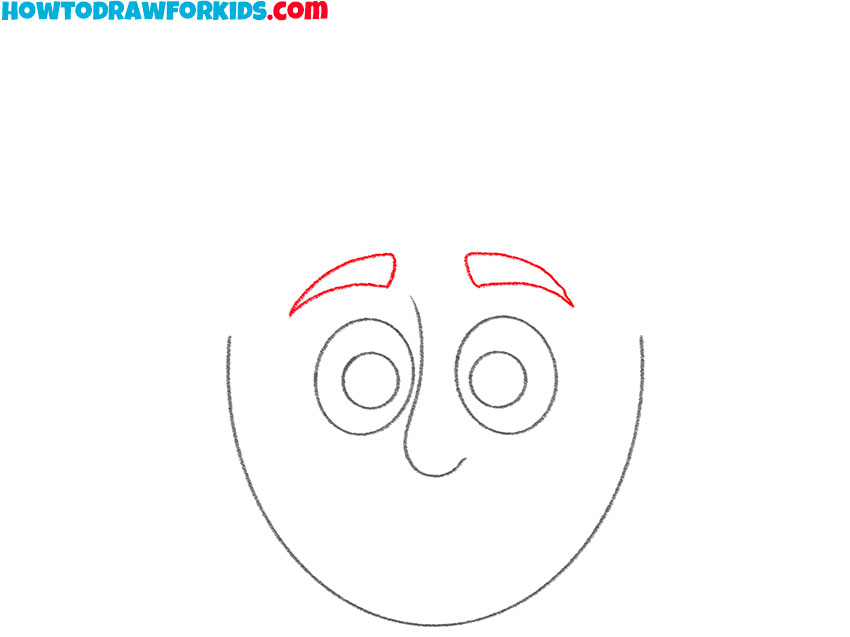
- Draw your eyebrows.
Add two curved lines above the eyes to form your eyebrows. Position them evenly and try to match the angle and thickness to your actual eyebrows. In this simple cartoon style, you won’t be drawing every hair, but shape matters. Are your brows straight or arched? Thick or thin? Try to convey the shape on your drawing.
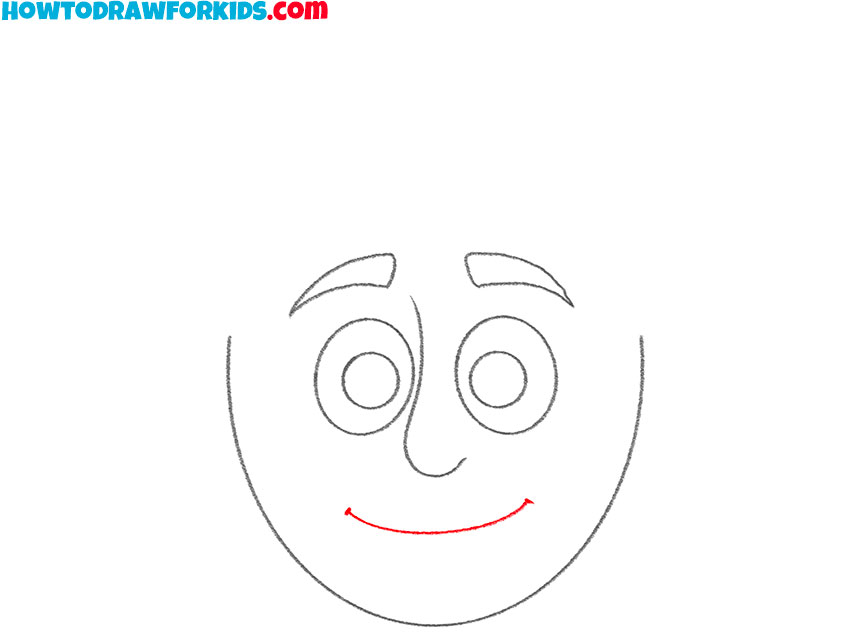
- Draw your mouth.
Below the nose, draw a curved line for the mouth. For this self-portrait, we’ll go with a soft smile, but feel free to adjust it to better reflect your natural expression. Do you usually smile wider? Or maybe your lips are thinner or fuller? Think about what kind of expression feels most natural to include.
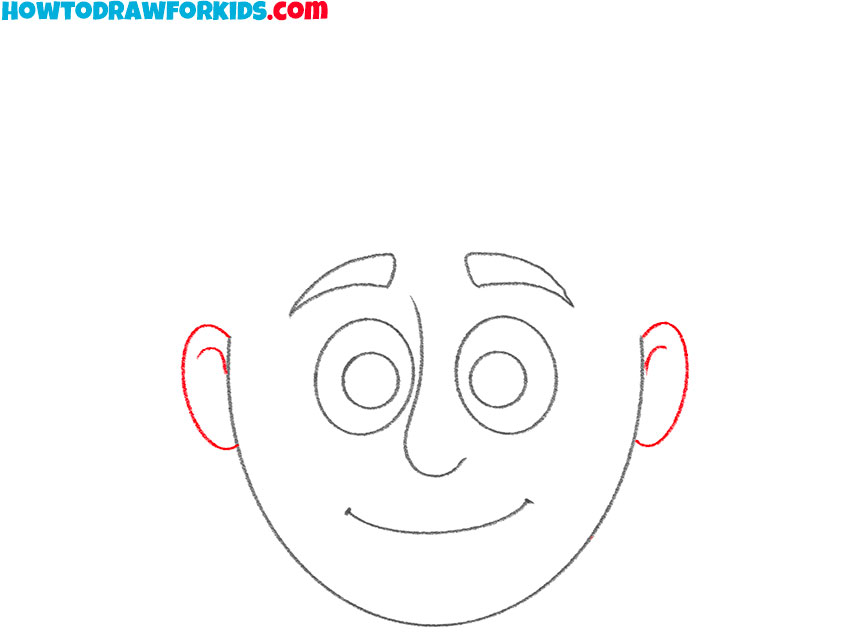
- Add your ears.
On each side of the head, draw a small curved ear. Place them at the same height as the eyes and mouth to follow standard facial proportions. Your own ears might stick out more or be closer to your head, and while this version is stylized, you can still adjust their shape a little.
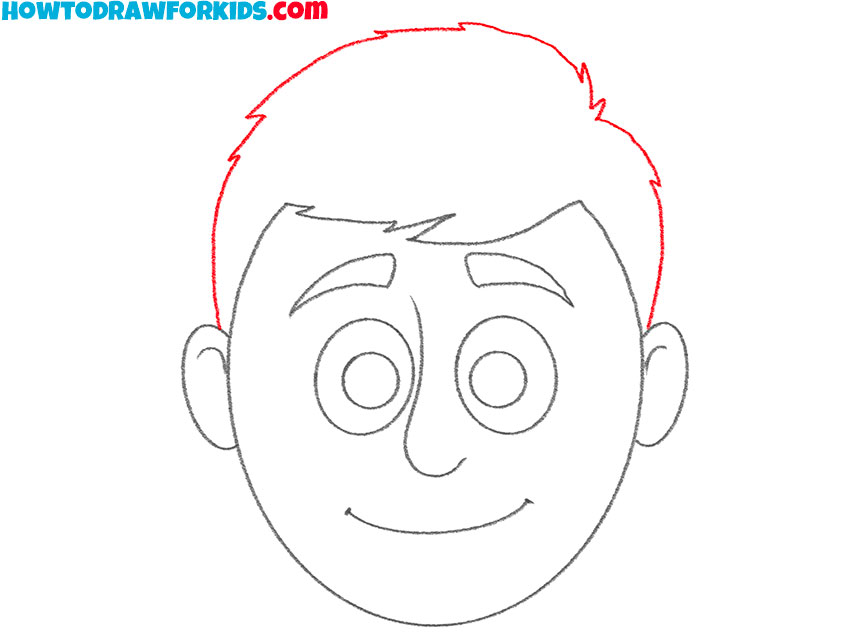
- Sketch the front of your hairstyle.
Now it’s time to start drawing your own hairstyle. Begin with the part that frames your face – the hairline. Use curved or jagged lines above the forehead that reflect your hair’s length and shape. Is your hair straight, curly, wavy, or spiky? Maybe your hair is much longer than in my example? Try to convey it in your drawing.

- Complete your hairstyle.
Continue the hairstyle by drawing the top and sides of your head. Extend the lines from the hairline up and around to form the full shape of your haircut. Whether your hair is short or long, close to the head or full of volume, use this step to match what you see in the mirror or remember about your own look.
- Color your self-portrait.
To color yourself, use a skin tone that matches your own, then color your eyes and hair as accurately as possible. This is your chance to make the drawing truly yours. Add highlights or shading if you’d like, or keep it simple and clean. The final touches of color will make your self-portrait reflect your real-life appearance.

Additional Content
For your convenience, I’ve prepared a PDF file that includes all the important information from this self-portrait drawing tutorial, along with additional practice materials to help you improve your drawing skills. Download the file now so you won’t lose access to the tutorial and can return to it anytime, even without an internet connection.
How to Draw Yourself
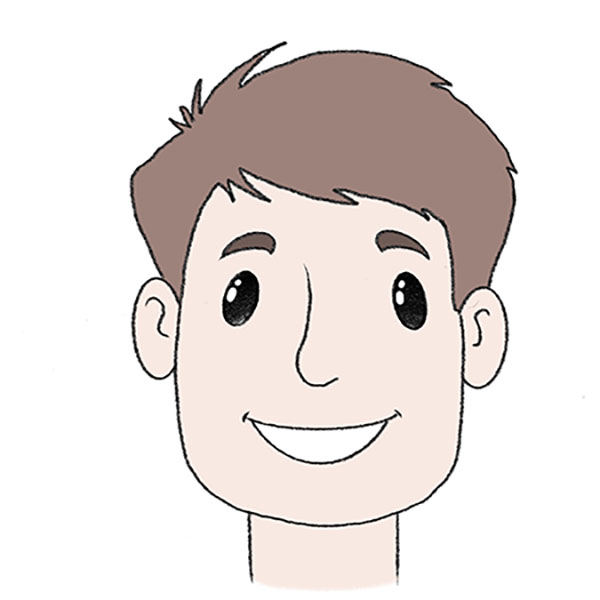
This tutorial on how to draw yourself stands out from the first self-portrait drawing tutorial by taking a more realistic and detailed approach to facial features. While the original tutorial used very cartoon-like shapes and wide, circular eyes, this version includes almond-shaped eyes, a defined nose, and a more realistic hairline. The steps offer more subtlety in expression and proportions. It makes this version ideal for students ready to practice a slightly more lifelike style while still keeping the process beginner-friendly.
To follow this version of the tutorial on how to draw a self-portrait, begin by sketching the outline of your face with a smooth U-shaped curve. Add almond-shaped eyes near the center of the face. Draw a simple nose between the eyes, using a combination of curves for the bridge and nostrils. Above the eyes, draw slightly arched eyebrows.
Sketch a gentle curved line for the mouth. On each side of the head, draw ears in line with the eyes. Begin forming the hairstyle with short, curved strokes for the hairline, then complete the top and side of the head. Use soft lines to keep the features clean and natural. Finally, color the drawing using realistic tones for the skin, eyes, and hair.
Conclusion
So today we learned how to draw a self-portrait using two different, yet simple methods, just as I usually do on the pages of my website. As I mentioned earlier, modern technology makes drawing self-portraits much easier. In the past, artists had to use a mirror, constantly glancing at it while transferring their reflection onto the canvas. Today, you can use a printed photo or an image on your screen, which greatly simplifies the self-portrait process.
That said, I strongly recommend also trying the traditional approach used by classic artists – drawing yourself by observing your reflection in a mirror. This helps you explore more original methods, practice additional techniques, and gives your artistic abilities a solid challenge.
In general, drawing yourself with the help of a mirror is not only educational but also a very engaging and interesting experience.