How to Draw a Shiba Inu
One of the cutest dogs that has already conquered the Internet along with cats is the Shiba Inu, and in this tutorial I want to show you how to draw a Shiba Inu step by step.
How to Draw a Shiba Inu: Basic Information
Here, I demonstrated four different methods for drawing a Shiba Inu dog. Each method has its unique approach, highlighting that while techniques may vary, the fundamental principle remains the same: start with broad, general shapes and progressively add finer details.
So what will you see and what will you learn in this lesson?
Each breed has unique characteristics, and the Shiba Inu is no exception. This tutorial helps artists to observe and draw these breed-specific traits, such as the thick neck, compact body, and fluffy tail. Developing this observational skill is important for accurately drawing any animal.
In this lesson, the Shiba Inu is depicted in a cartoon style, making it look unrealistic but incredibly cute. Despite the simplicity of all the drawing elements, the Shiba Inu breed remains easily recognizable.
The Shiba Inu has a compact and well-proportioned body. This tutorial will show you how to understand and replicate these proportions accurately. Artists will learn to balance the cartoonish body structure, ensuring that the head, torso, legs, and tail are proportionate.
Shiba Inu Drawing Tutorial
Materials
- Pencil
- Paper
- Eraser
- Coloring supplies
Time needed: 30 minutes
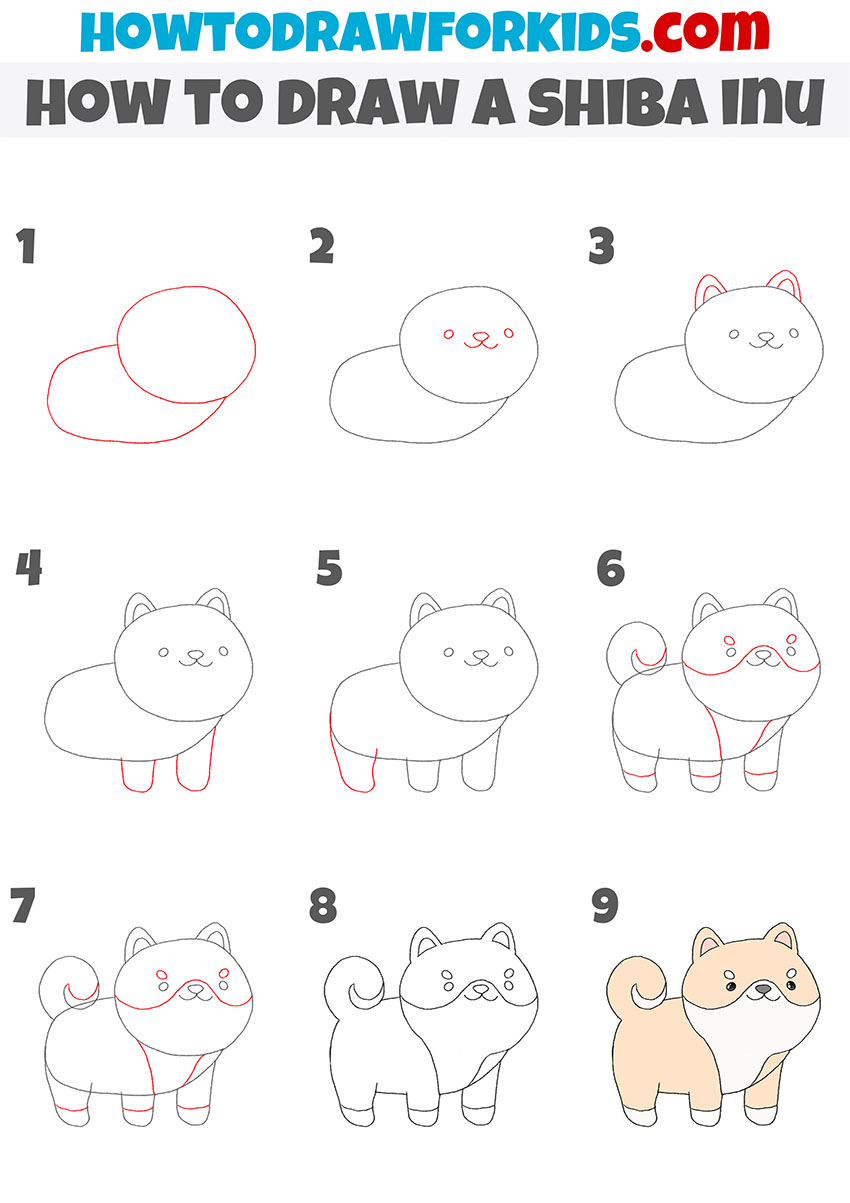
How to Draw a Shiba Inu Step-by-Step
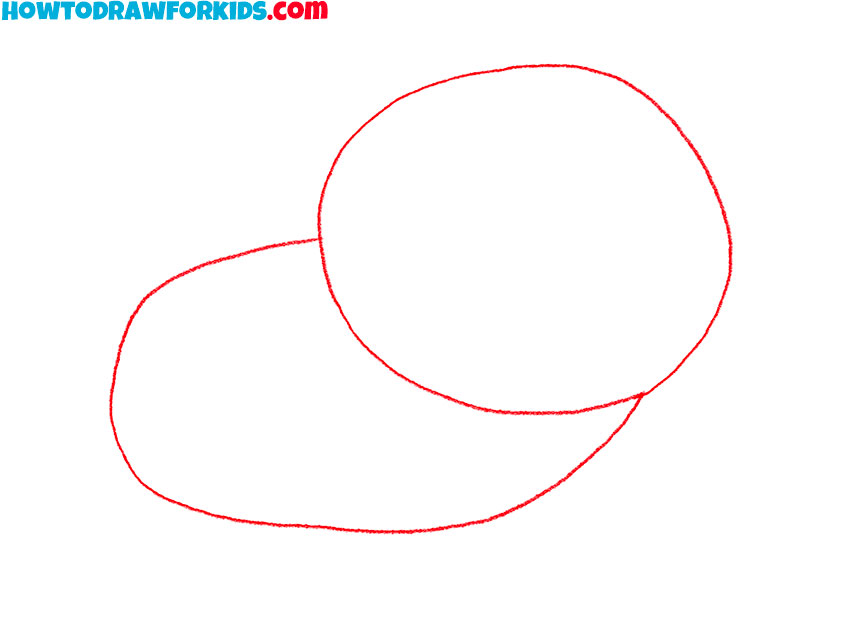
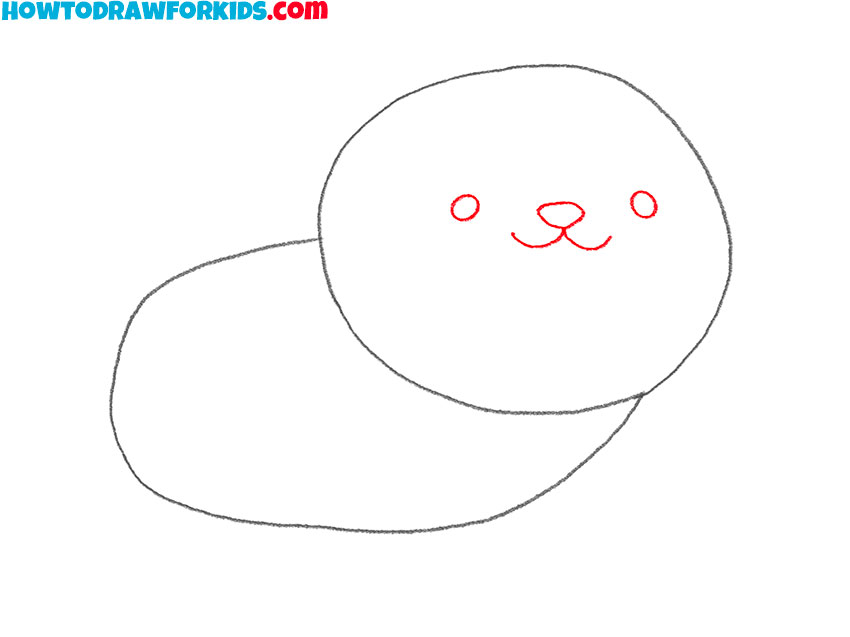
- Sketch the head and torso of the dog.
Begin by sketching the basic shapes for the Shiba Inu’s head and body. Draw two overlapping ovals-one larger horizontal oval for the body and a smaller vertical oval for the head. Position the smaller oval slightly overlapping the upper left side of the larger oval.
- Add the elements of the dog face.
Draw two small circles for the eyes, spaced evenly apart and positioned near the middle of the dog’s face. Below the eyes, add a small oval for the nose. From the bottom of the nose, draw two short curved lines extending downward and outward to form a smiling mouth.
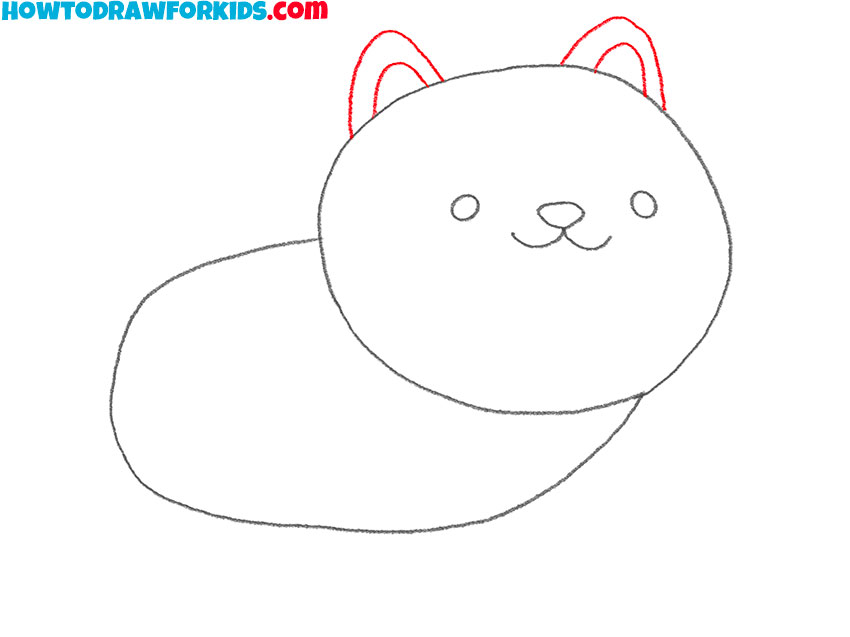
- Draw the ears of the Shiba Inu.
Create two triangular shapes with slightly rounded tips, positioning them symmetrically on either side of the top of the head oval. Next, repeat the same rounded triangulars inside the contours of the ears to add detail to this part of the body.
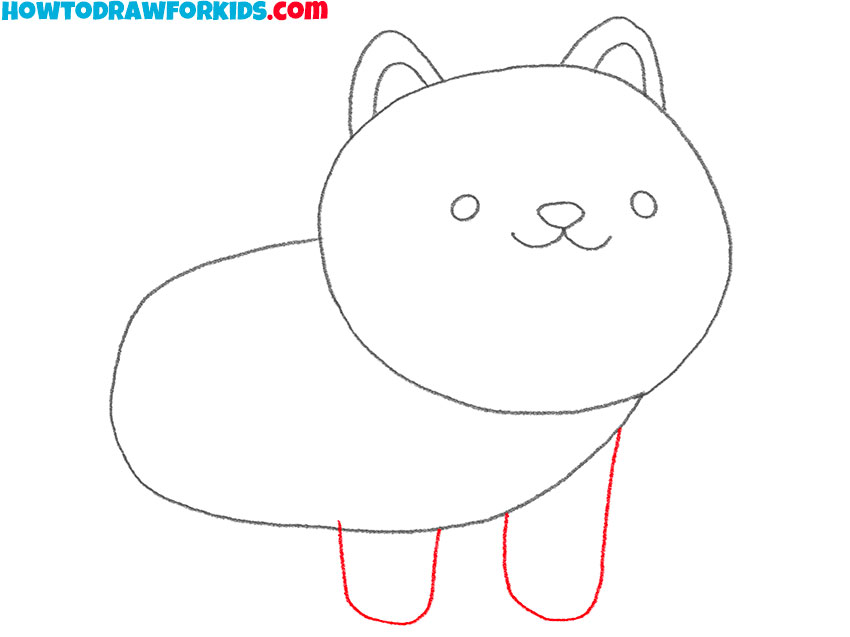
- Illustrate the front legs.
Proceed to draw the front legs of the Shiba Inu dog. From the front part of the body oval, extend two vertical lines downward for each leg, slightly curving₽ at the bottom to create a natural cylindrical shape. To convey the cartoonish nature of this dog drawing, make the legs small and chubby.
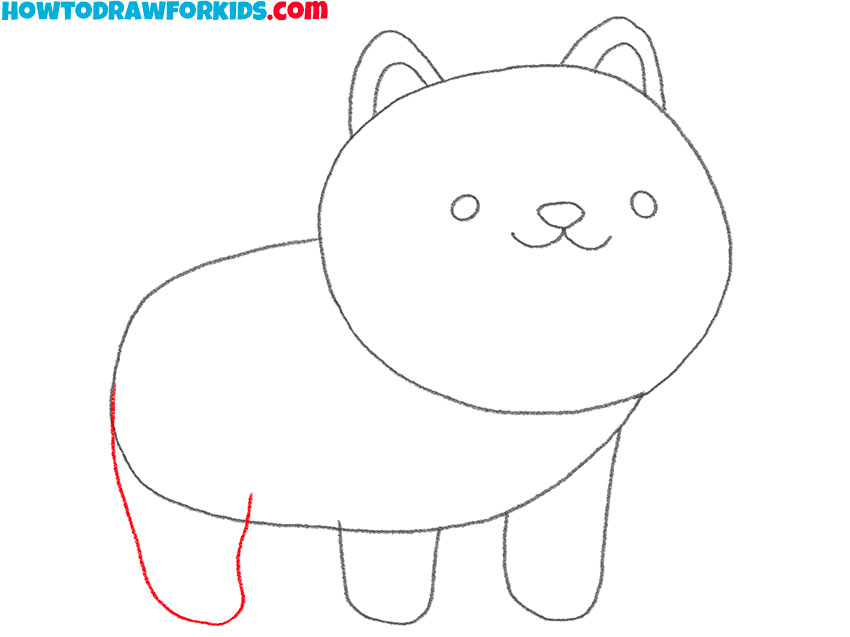
- Draw the hind leg of the dog.
Following the same method as the front legs, draw the hind leg. Extend a vertical line downward from the back part of the body oval, curving at the bottom to form the leg. Here we are drawing only one hind leg because the second leg is hidden behind the dog’s front leg.
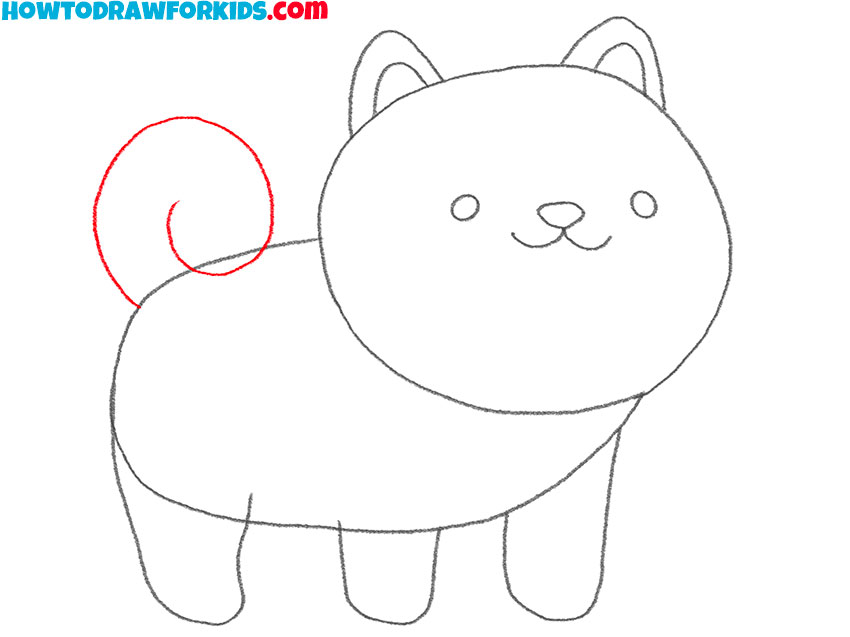
- Add the curved tail.
Add the Shiba Inu’s distinctive curled tail. From the back of the body oval, draw a curved line that loops upward and inward, forming a fluffy, spiral tail. The tail should have a thick base and taper slightly towards the tip, giving it a soft, bushy appearance.
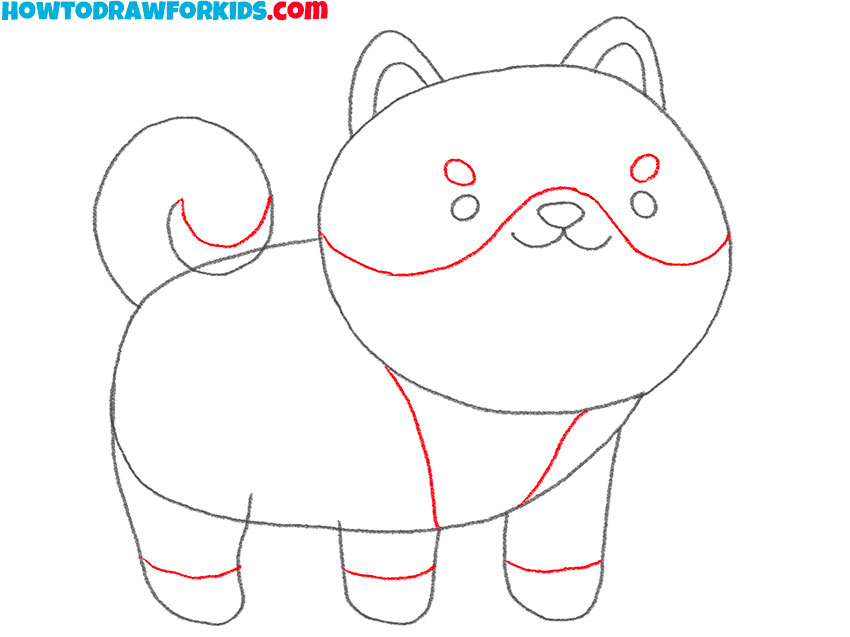
- Detail the Shiba Inu artwork.
Draw two small curved lines above the eyes of the Shiba Inu to represent the eyebrows, giving the dog a more expressive and cute look. Draw curved lines across the middle of the face, chest and limbs to illustrate the fur’s texture and direction.
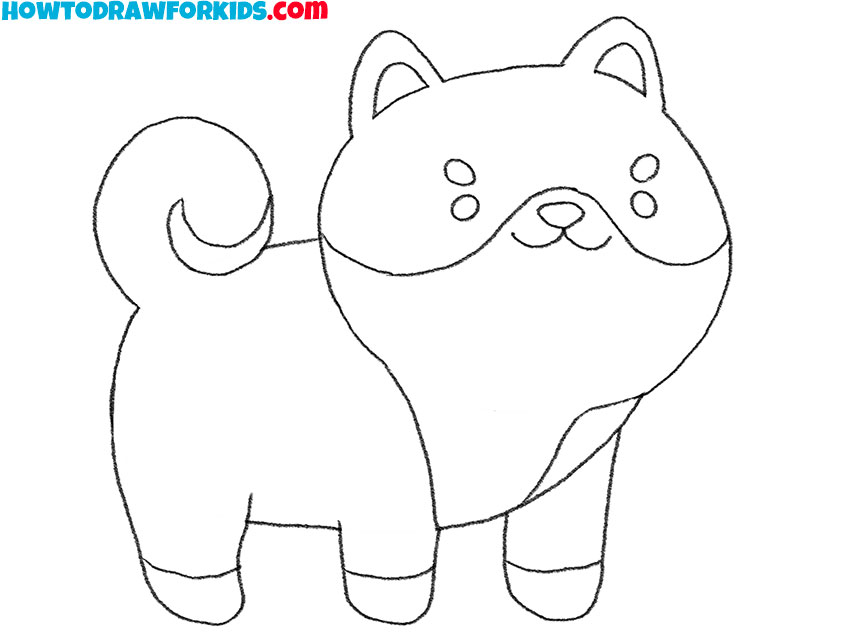
- Review the sketch and erase the guidelines.
Carefully trace the head, body, legs, ears, and tail to define the shapes clearly. Once the main lines are darkened, erase any unnecessary guidelines or overlapping lines from the initial sketch. This step will clean up your drawing, leaving a neat and finished outline of the Shiba Inu.
- Color the Shiba Inu drawing.
Use shades of tan and white to color the body, following the typical color pattern of a Shiba Inu. Use black for the nose and eyes. To give the Shiba Inu’s face a more finished look, draw highlights inside the eyes using an eraser or white paint.

Additional Content
We’ve reached the end of this lesson, and now you know how to draw a Shiba Inu dog. I hope you enjoyed the process and had a great learning experience. For further practice, I recommend downloading the free PDF file, which includes a concise guide and additional training materials to train your drawing skills.
How to Draw a Shiba Inu: Alternative Methods
In addition to the Shiba Inu tutorial that you may have seen above, I offer you three additional ways that will complement your skills and take them to an even higher level.
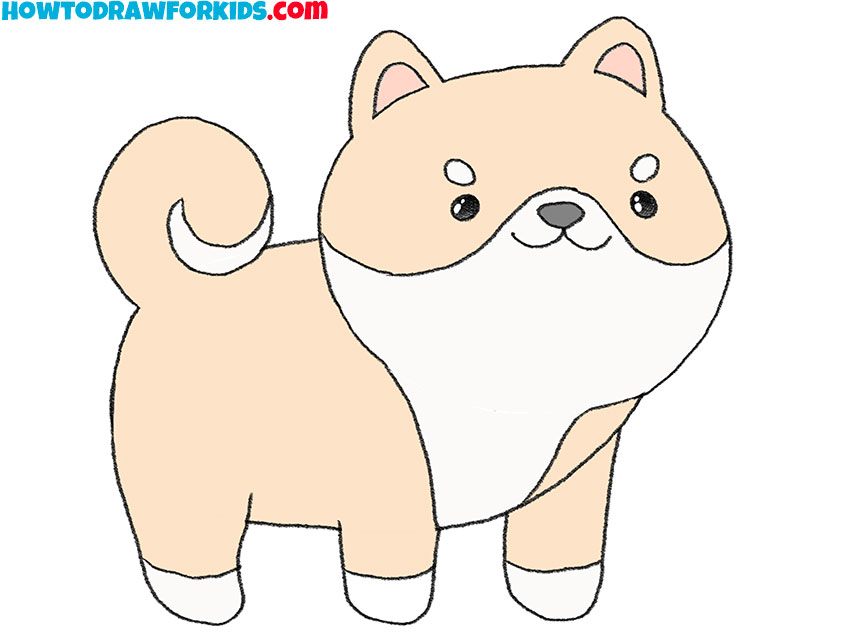
Drawing a Smiling Shiba Inu
In the picture, the shiba inu dog looks very funny. Pay attention to its body proportions: the Shiba Inu has a rounded body, very short legs, and a fluffy tail that curls into a spiral. These features give the dog its cute appearance.
To begin, draw the head of the dog with its fluffy outline and small, triangular ears. Then, add the body with smooth curves. Draw the legs with simple lines and shapes to ensure a sturdy stance. Add the distinctive curled tail and then focus on the facial features, ensuring a cute expression. Finally, add the last details and color your Shiba Inu drawing.

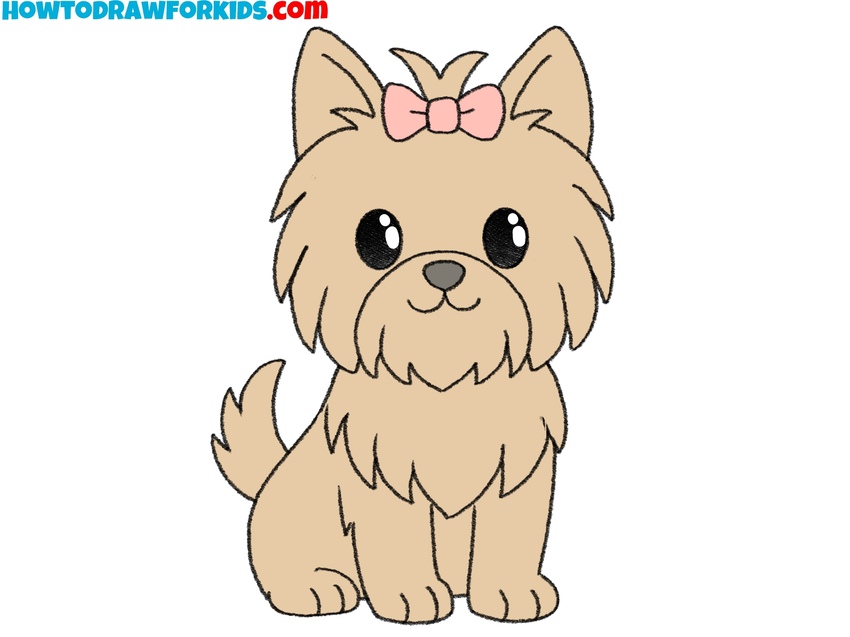
Drawing a Sitting Shiba Inu
This Shiba Inu drawing lesson is very simple. To create an adorable and simple Shiba Inu drawing, you’ll only need to follow 6 quick and easy steps. This process is designed to take very little time and effort, resulting in a charming final piece.
To start, draw the head and body outline using simple rounded shapes. Next, add the basic form of the legs, keeping the lines smooth and uncomplicated. The facial features are then added, focusing on simple, friendly expressions with large eyes and a small nose.
Ears are drawn as simple triangles, and the tail is a basic curved line. Finally, additional details such as a collar and some light shading are added to give the drawing character.

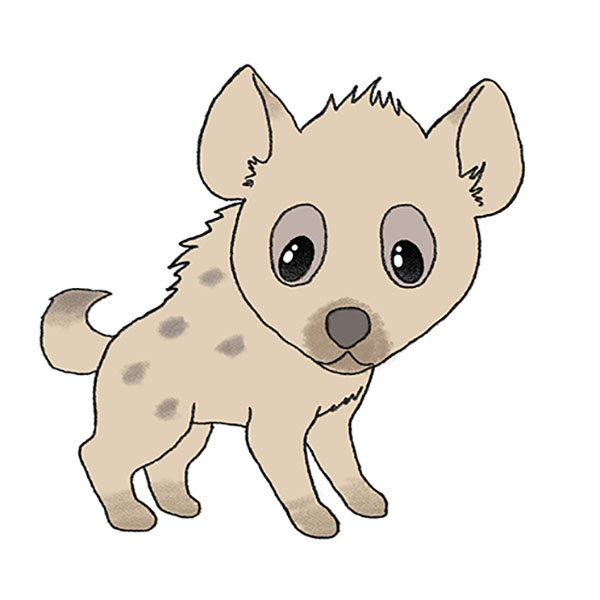
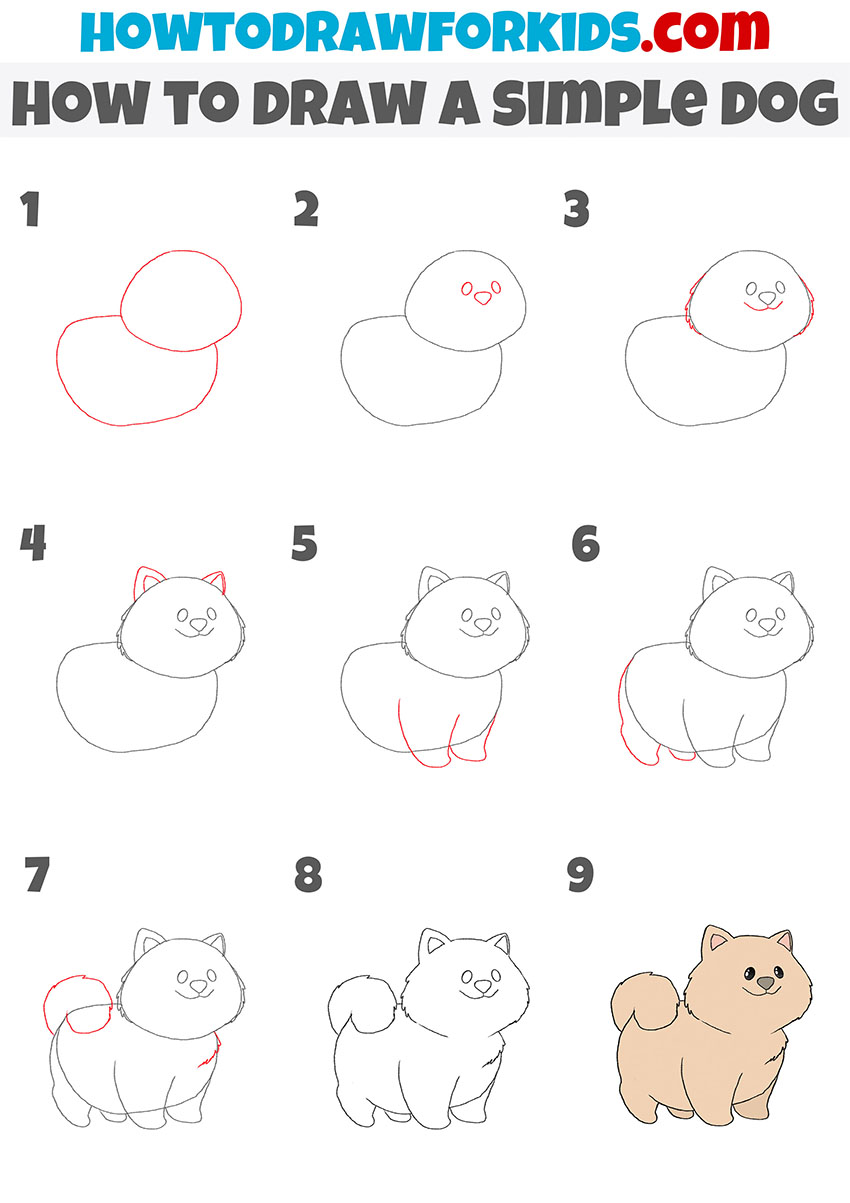
Drawing a Standing Shiba Inu
This Shiba Inu drawing lesson is structured into 9 steps, but despite the additional steps, it remains quite manageable and not significantly more challenging than previous lesson.
To begin, draw the basic shapes of the head and body using two overlapping ovals. Next, add the facial features of the dog, including the eyes, nose, and a smiling mouth. The tutorial then guides you to draw the ears as simple triangles and the legs with smooth, curved lines, ensuring a sturdy stance of the Shiba Inu.
The addition of a curled tail and minimal detailing around the face and body creates a cute and approachable dog drawing. Finally, the guide concludes with coloring the dog.
Conclusion
Today, I demonstrated four different methods for drawing a Shiba Inu. Each approach varies significantly, illustrating different techniques and styles. Regardless of which method you choose, it’s important to follow the steps carefully, starting with broader shapes and gradually adding smaller details.
If you liked this Shiba Inu drawing tutorial, don’t forget to subscribe to stay updated with more fun and easy drawing lessons. Share this lesson with your friends and family so they can draw this cute dog too. I want to hear your thoughts and see your drawings, so please leave a comment below and let me know how your Shiba Inu turned out.