How to Draw a Sleeping Dog
I promise that you will love the lesson on how to draw a sleeping dog. In this tutorial you will find very useful tips.
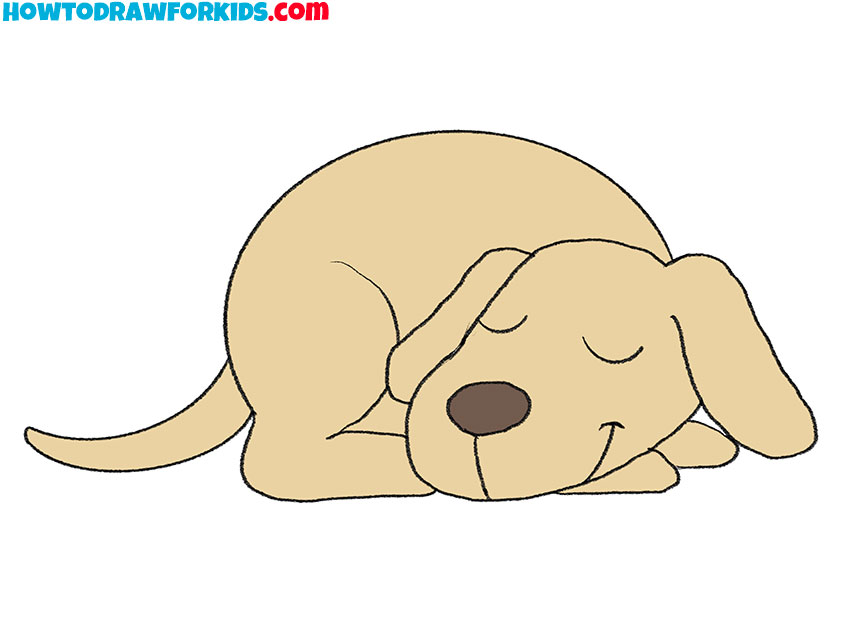
In this lesson, I will tell you and show you in detail how to draw a sleeping dog. Undoubtedly, you will like this lesson and you will have a good time.
Here the dog is shown in a lying position. You can see that the dog is curled up and resting its head on its front paws. You may not have had to draw a dog in this position before, and now you have the opportunity to learn this.
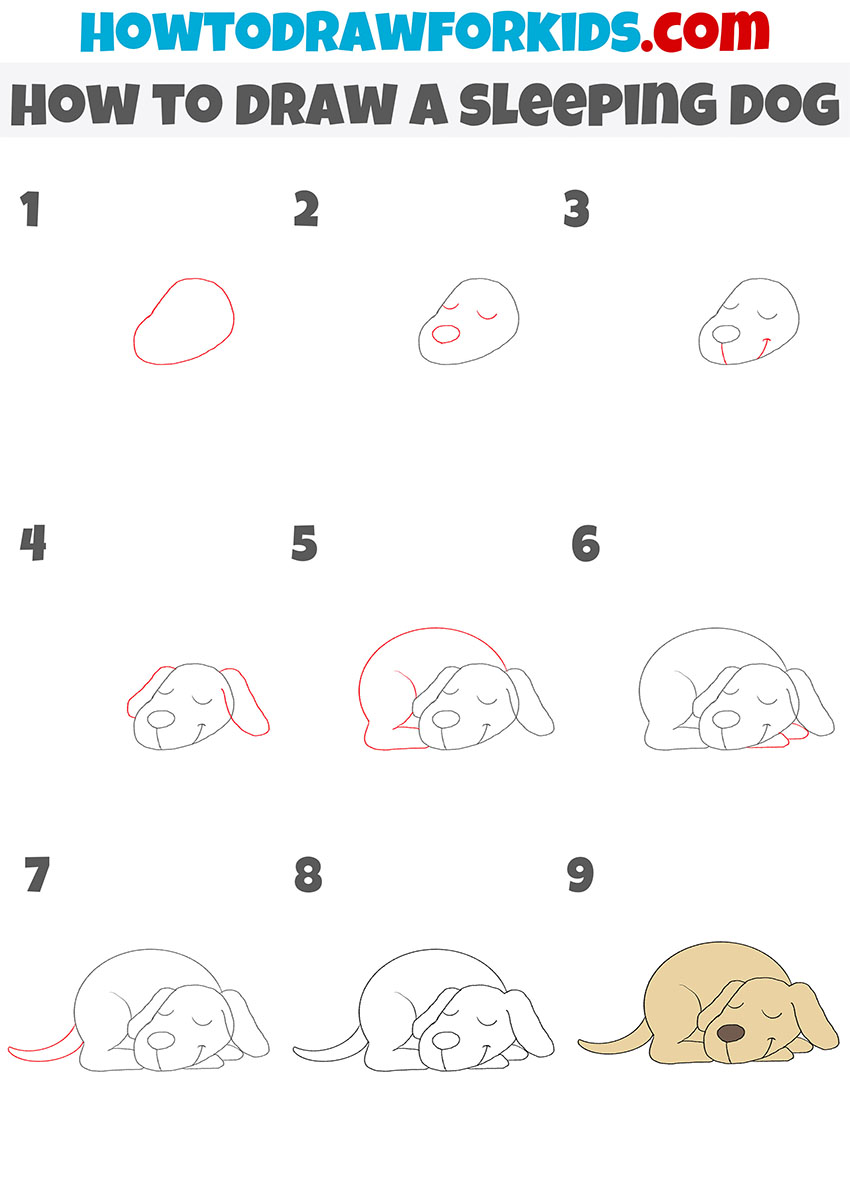
This step-by-step guide shows in detail how to draw a sleeping dog correctly. Each step is one simple action. Consistently follow all the drawing steps, be careful and accurate, then you will get an excellent result.
Materials
- Pencil
- Paper
- Eraser
- Coloring supplies
Time needed: 25 minutes
How to Draw a Sleeping Dog
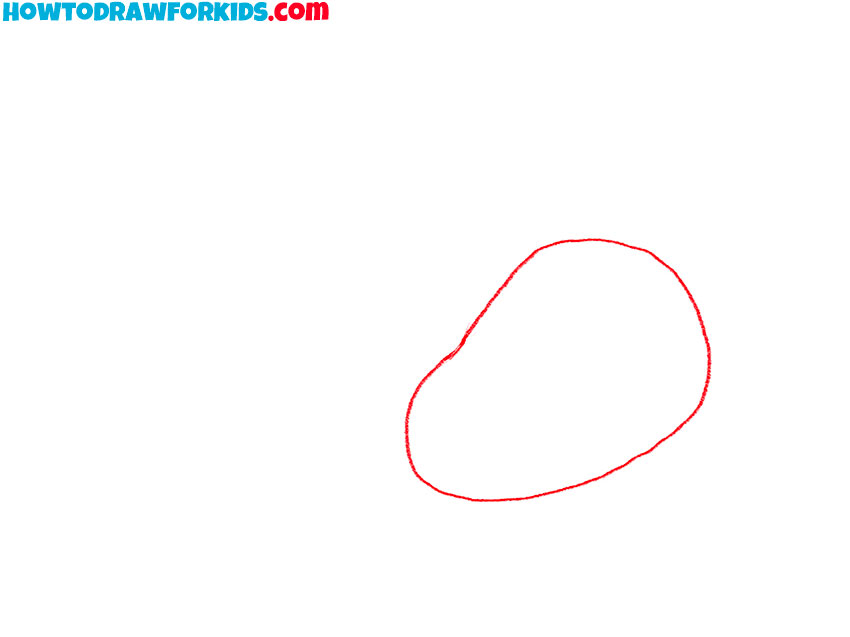
- Draw the outline of the head.
The head has an oval shape, while the front part is narrower.
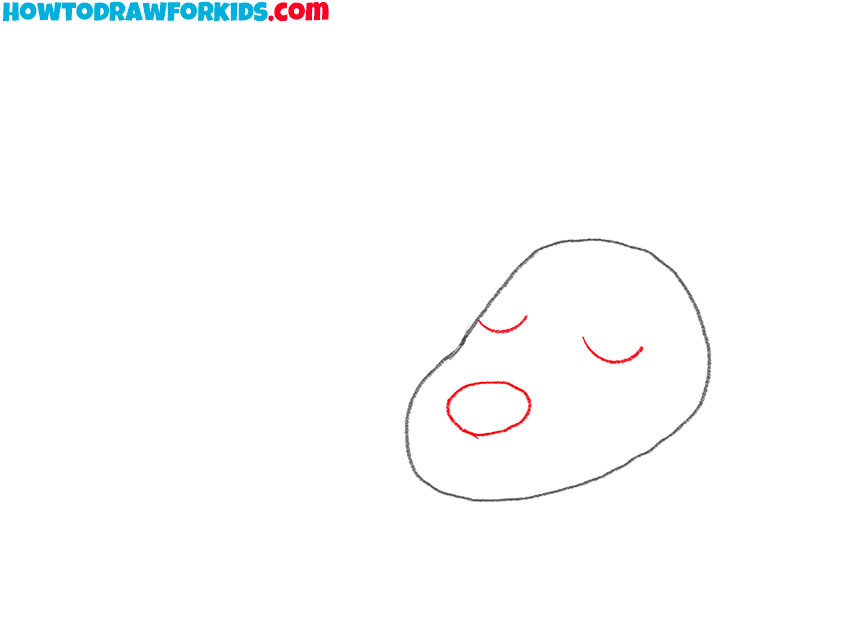
- Depict the eyes and nose.
Draw two short rounded lines – these will be closed eyes, draw the nose below.
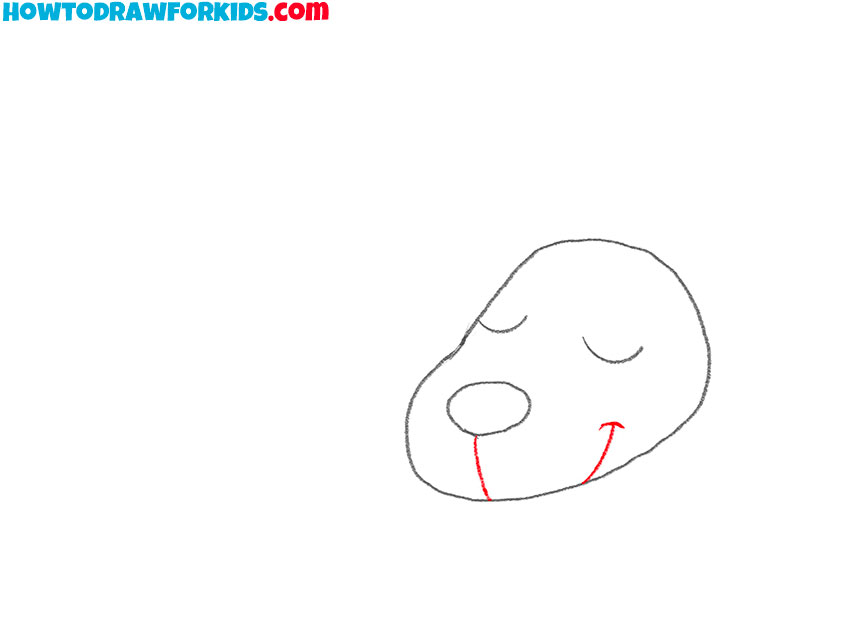
- Add a strip below the nose and mouth.
Draw a small line down from the nose. From the side, draw a smooth line to depict the mouth.
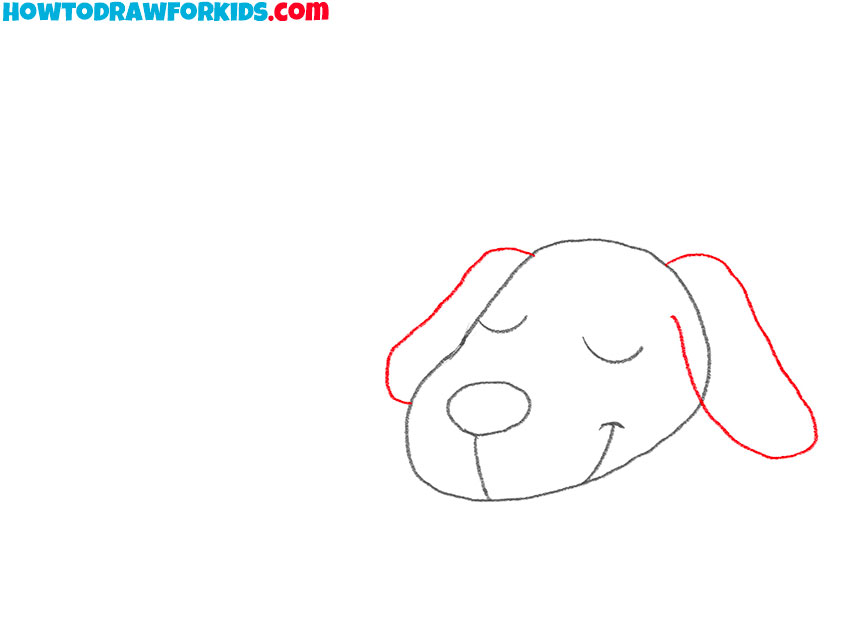
- Sketch out the ears.
Depict smooth lines on the sides to make long ears that hang down.
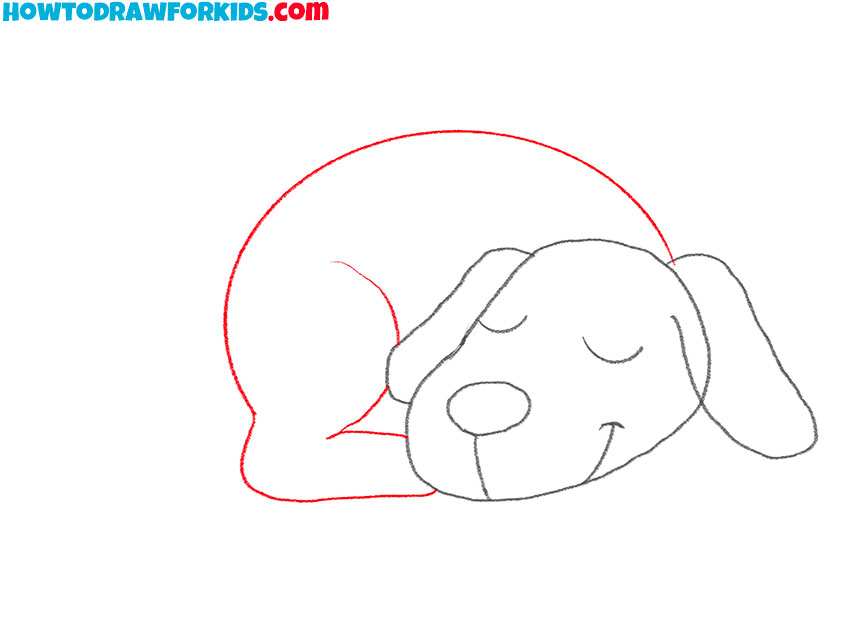
- Draw the torso and hind leg.
From the head, depict up a semicircular line that smoothly passes into the back leg.
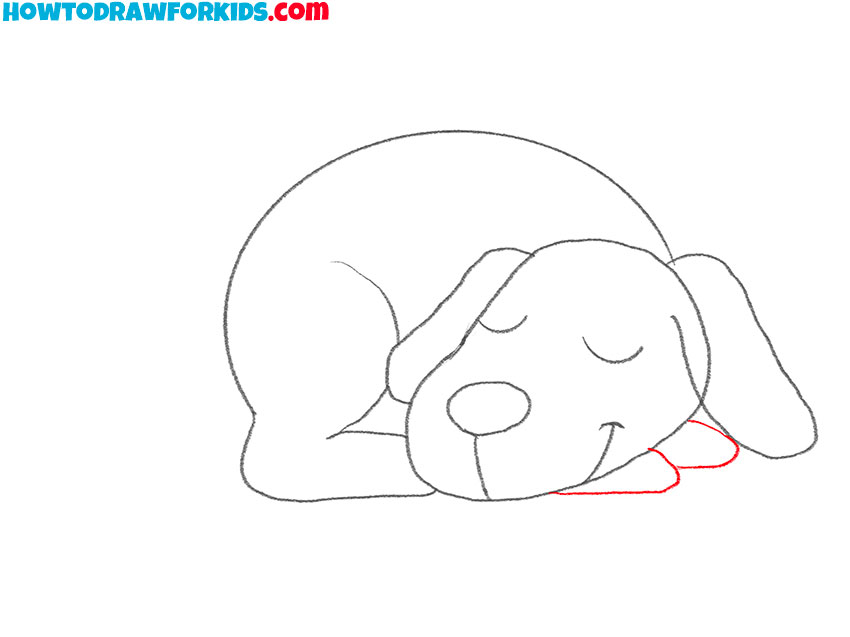
- Add the front paws.
On the side of the head, draw two smooth rounded lines.
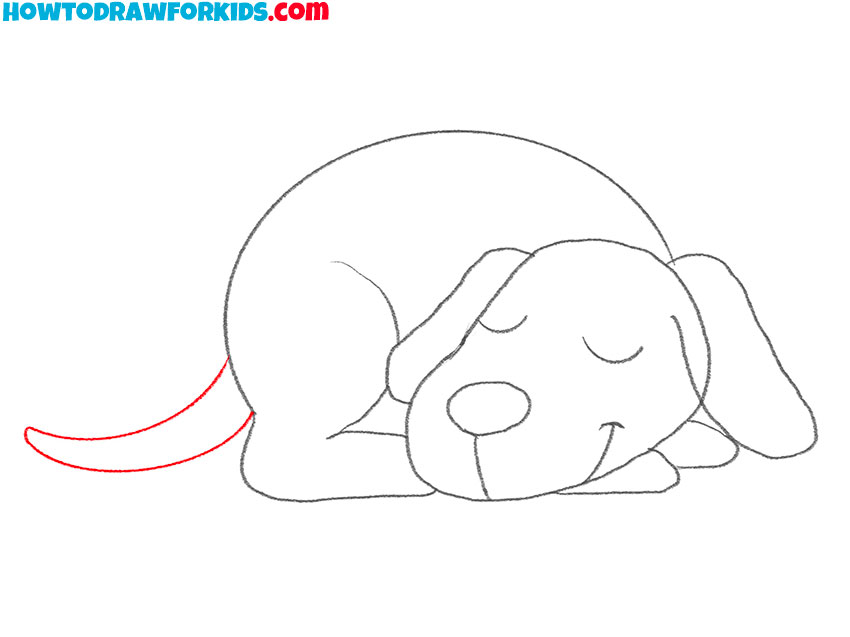
- Sketch out the tail.
On the side, draw the curved pointed tail.
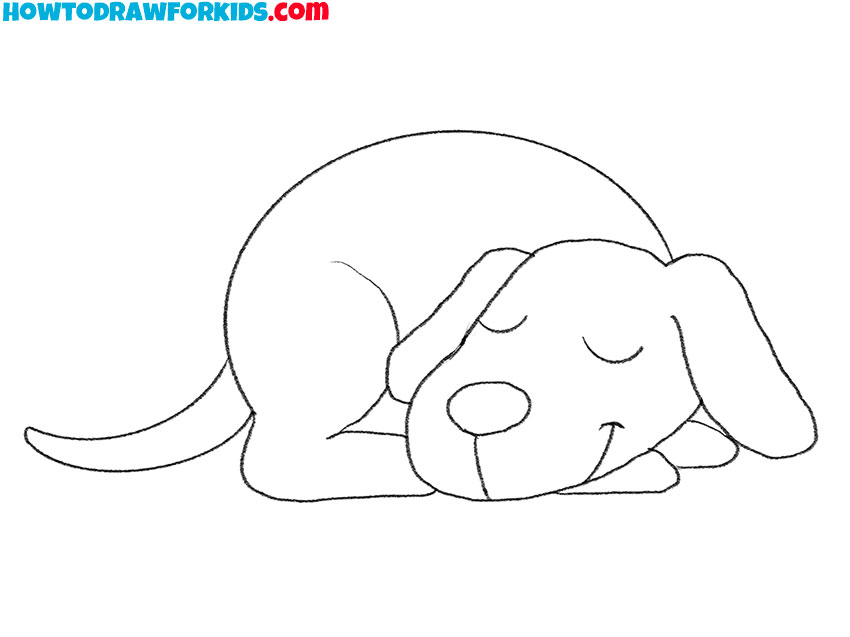
- Correct inaccuracies.
Delete extra lines and make the outline clearer.
- Color the sleeping dog.
Use a light brown to color the fur. Color the nose in dark brown.

Now you have the opportunity to download a PDF file with a short version of the lesson for free. Download the file so you can return to this lesson at any time.

