How to Draw a Standing Horse
In this lesson, I’ll first show you a horse standing on its hind legs. Then, I’ll show you how to draw a horse standing on all four legs.

How to Draw a Standing Horse: Introduction
So, dear young artists, what comes to mind when you hear the phrase “standing horse”? Is it a horse standing on two legs like a person, or a horse standing on all four legs, as expected of a horse? To avoid any compromises, this lesson will cover both versions, showing you how to draw a standing horse in both variations.
However, the horse’s stance and which legs it rests on aren’t the only differences between the two drawing lessons. In the first lesson, I’ll show you a slightly more realistic-looking horse, while in the second, the horse will have a more cartoonish and childlike appearance.
Nonetheless, both lessons are very simple and will teach you how to draw a horse in the easiest standing position.
This lesson is essentially an addition to the basic horse drawing tutorial, expanding a young artist’s skills and providing more techniques and tools for drawing these beautiful animals in a more detailed and well-rounded way.
Standing Horse Drawing Tutorial
Materials
- Pencil
- Paper
- Eraser
- Coloring supplies
Time needed: 35 minutes
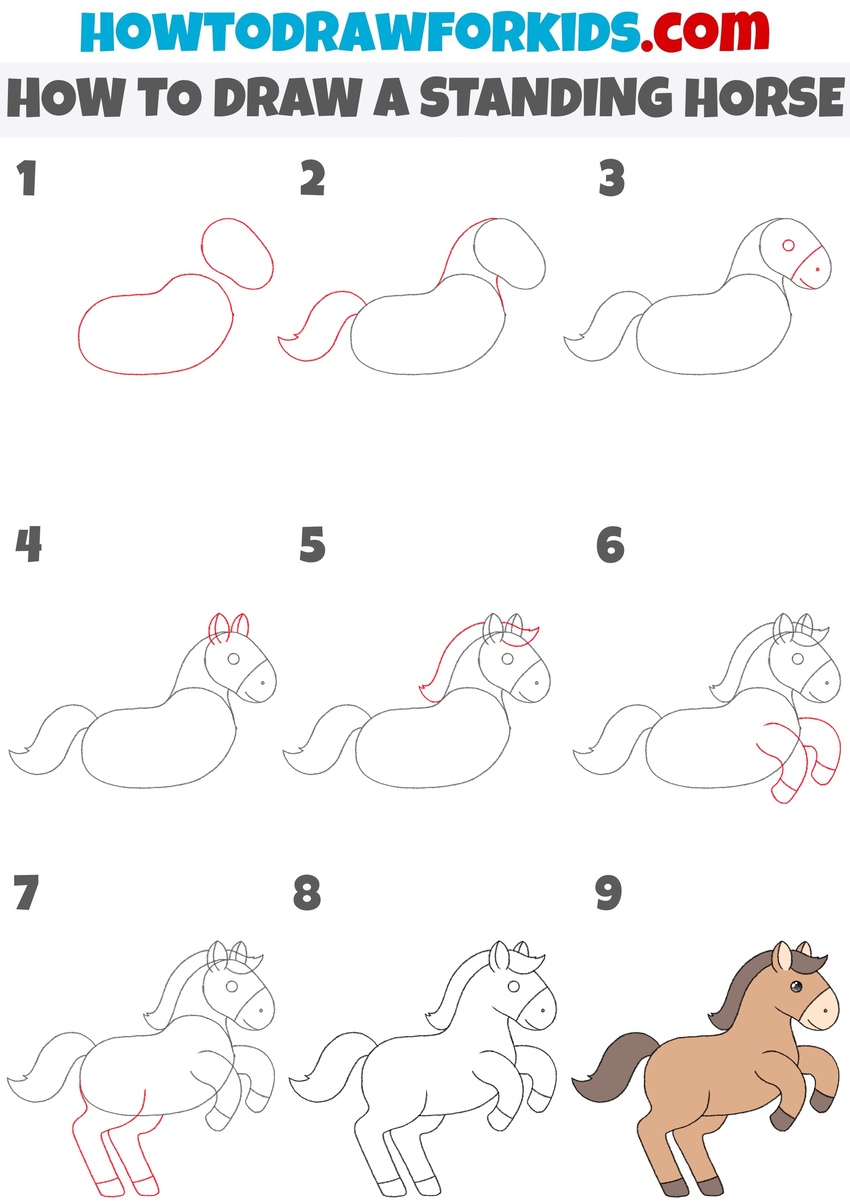
How to Draw a Standing Horse
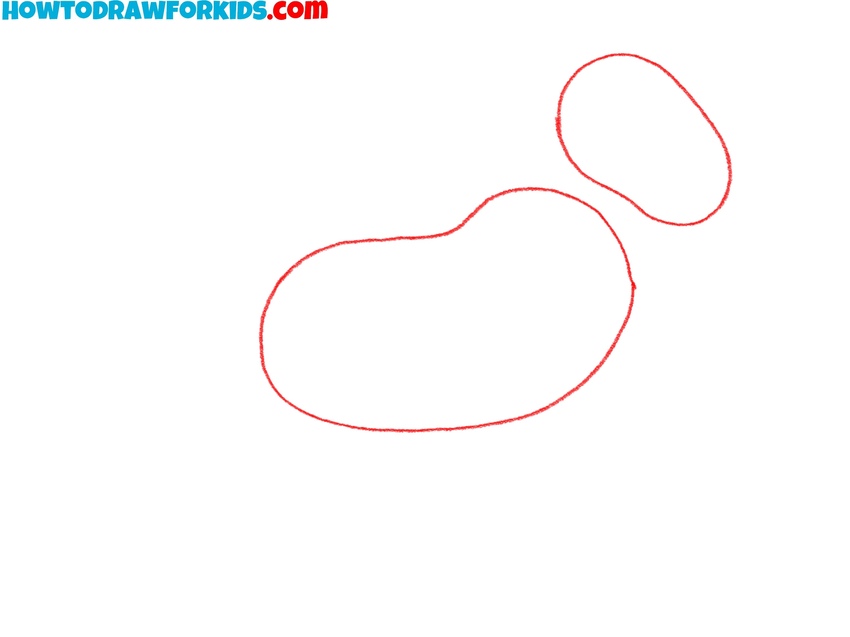
- Draw the basic body shapes.
Sketch two simple shapes to define the horse’s body. Draw a large, horizontally positioned oval to represent the horse’s torso. Then, slightly above and to the right of the torso, draw a smaller oval to form the horse’s head. Keep your lines light and simple.
- Sketch the neck and tail.
Now, connect the head and body by drawing the horse’s neck. Use two curved lines that flow smoothly between the ovals, forming a natural connection. The neck should have a characteristic curve to look natural. Next, draw the horse’s tail extending from the back of the body. The tail should be slightly wavy.

- Detail the horse’s head.
Now, sketch a small circle near the front of the head to form the nostril. Next, draw the horse eye as a small circle, positioning it near the upper part of the head. After that, define the muzzle with a short line and draw the mouth of the horse using a small curve.

- Draw the horse’s ears.
The ears should resemble rounded triangles. The ears play a crucial role in conveying emotion. If you want the horse to look alert and attentive, keep the ears standing up. If you prefer a more relaxed appearance, angle them slightly backward.

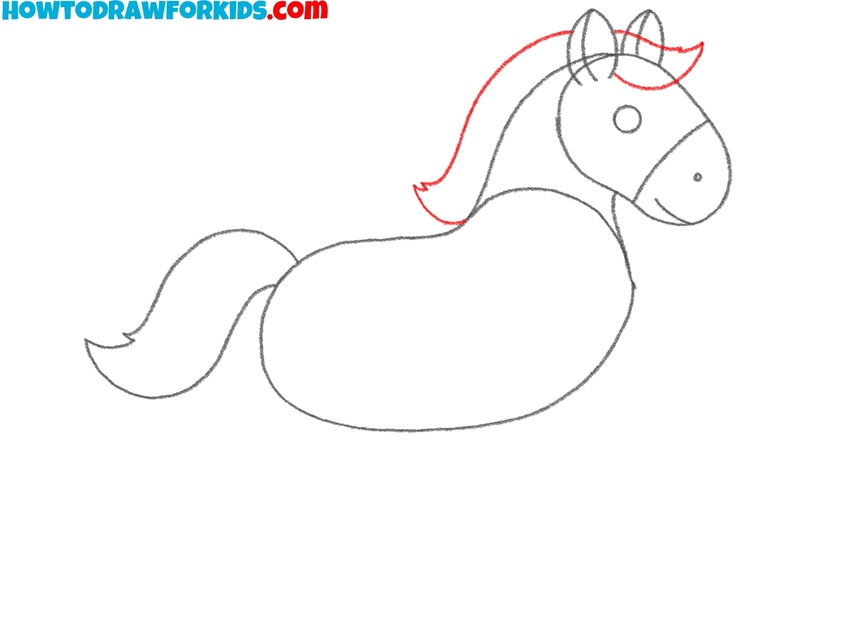
- Add the mane.
Sketch a few curved lines flowing from the top of the head down the neck. The mane should appear soft and slightly wavy. Depending on the style you prefer, you can make the mane short and neat or long and flowing. Keep the lines smooth and simple, and avoid making the mane too detailed.
- Sketch the front legs.
Begin adding the front legs by drawing two curved shapes extending from the front part of the body. The legs should be bent at the knees to illustrate the horse’s rearing position. At the bottom of each leg, draw small rounded hooves.

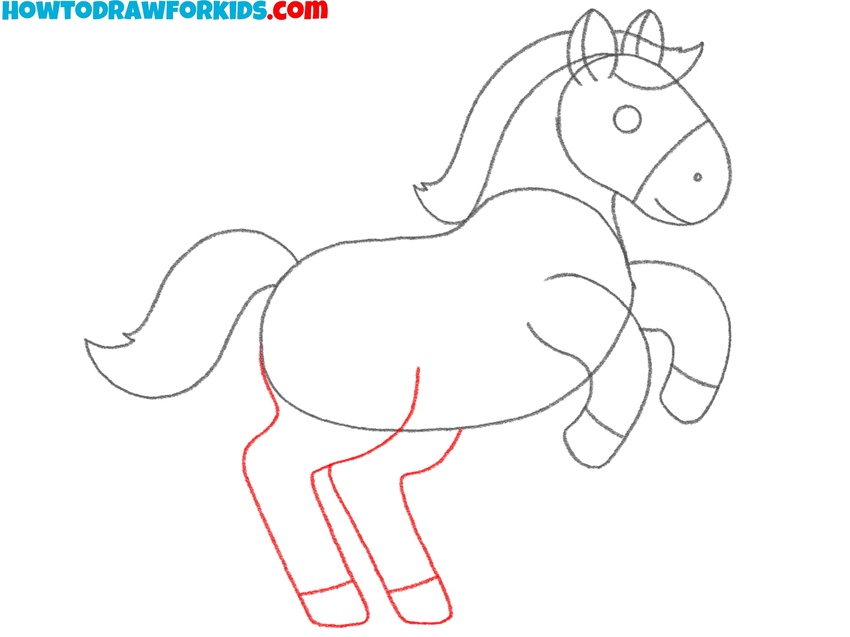
- Draw the hind legs.
Now, sketch the hind legs to complete the basic structure of the horse. The back legs should also be bent. Similar to the front legs, draw small, rounded hooves at the ends. The back legs should be slightly thicker and have a slightly different shape.
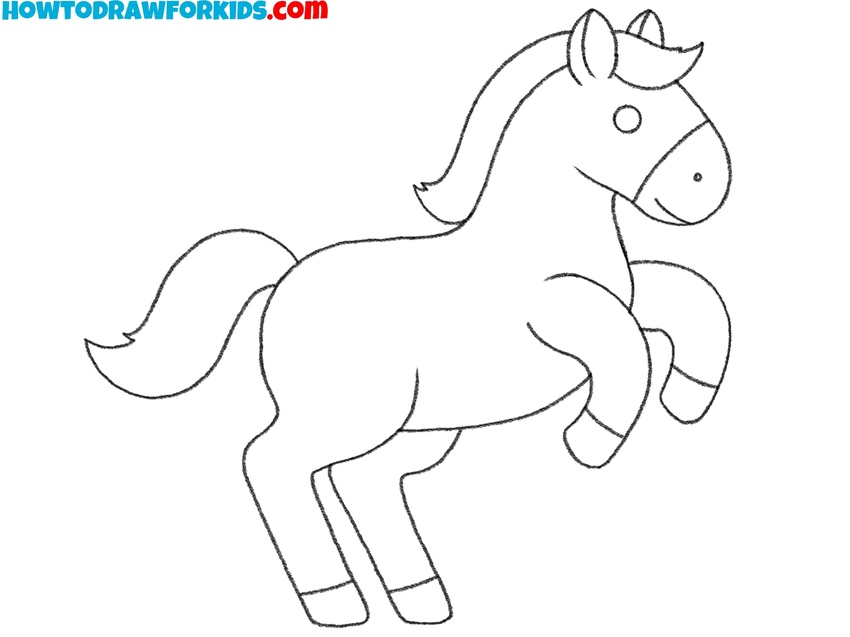
- Finalize the sketch.
Now, erase any unnecessary guidelines from your standing horse drawing that you used in the earlier steps. At this stage you can add small details. This is also a good time to check the overall pose and composition. Once you’re satisfied with the shape, darken the main lines to prepare for the final step.
- Color the standing horse drawing.
Choose a light brown or tan shade for the body and a darker brown for the mane and tail. The hooves can be a slightly darker shade. Use a soft pink or gray tone for the muzzle and a black for the eye. You can also add subtle shading to give the horse more realistic look.

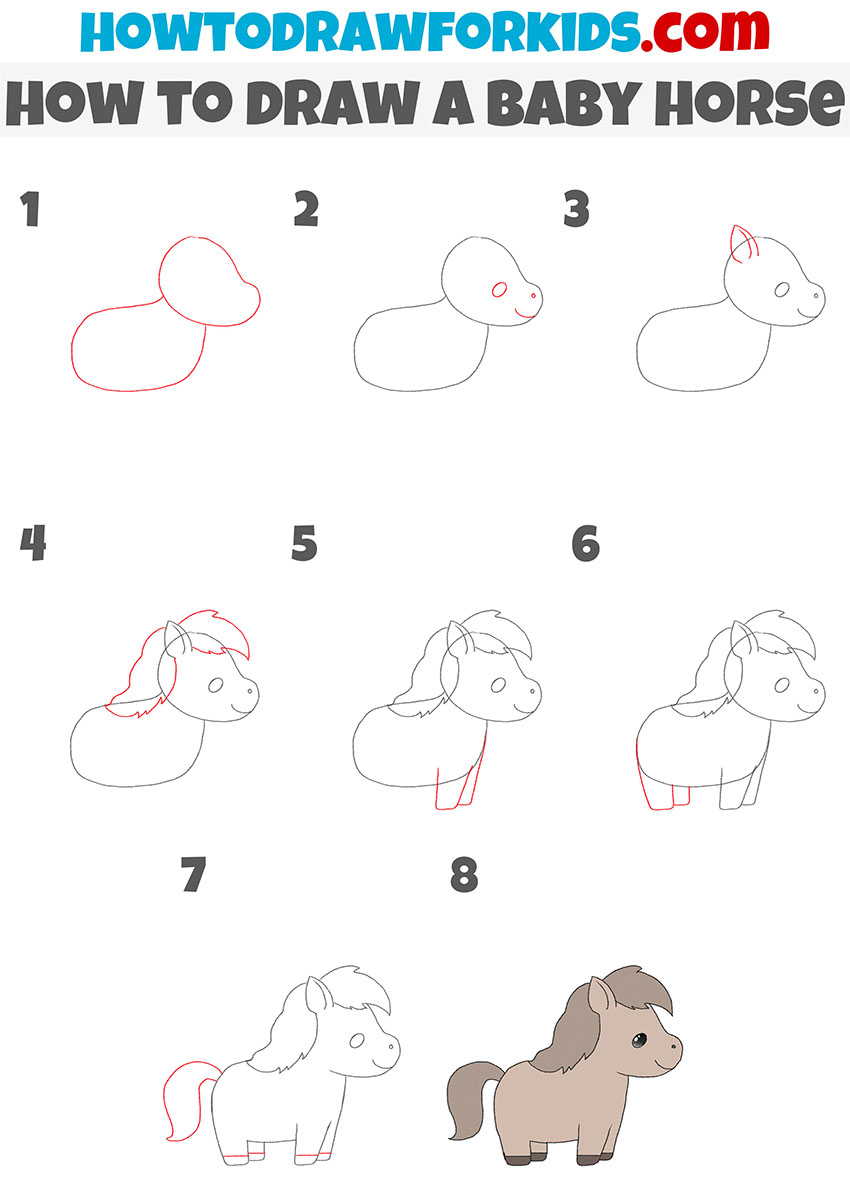
How to Draw a Horse Standing on Four Legs
This method draws a baby horse with a simplified, rounded shape. Unlike the first tutorial, where the horse is rearing on its hind legs, this baby horse stands on all four legs. The shapes are softer, the proportions are more compact, and the legs are shorter.
Start this tutorial on how to draw a standing horse by sketching two ovals – one for the body and one for the head – positioning the head slightly above and to the right of the body. Add a small circle for the eye and a small dot for the nostril. Draw a pointed ear on top of the head. Sketch the mane using curved, jagged lines, extending from the forehead to the back of the neck.
Outline the front legs as straight, slightly tapered rectangles attached to the lower part of the body. Draw the hind legs similarly, keeping them short. Add a curved, flowing tail at the back of the body. Review the entire outline, erase unnecessary guidelines, and refine the shapes. Darken the final lines and color the baby horse with a light brown body, a darker brown mane and tail, and black hooves.
Conclusion
So, young artists, as well as those who came to this page to learn how to draw a standing horse, write which variation seemed the most natural and suited your interest? Also, please let me know how these lessons have helped you learn to draw a horse overall.
Perhaps some of your friends also want to draw a standing horse. Or maybe you know someone who believes that a standing horse is only one that stands on two legs or only one that stands on four. Be sure to share this lesson with them and ask for their opinion on the matter.