How to Draw a Tiger Nose
This tutorial will teach you how to draw a tiger nose in just nine very easy steps. Start the guide and enjoy drawing!
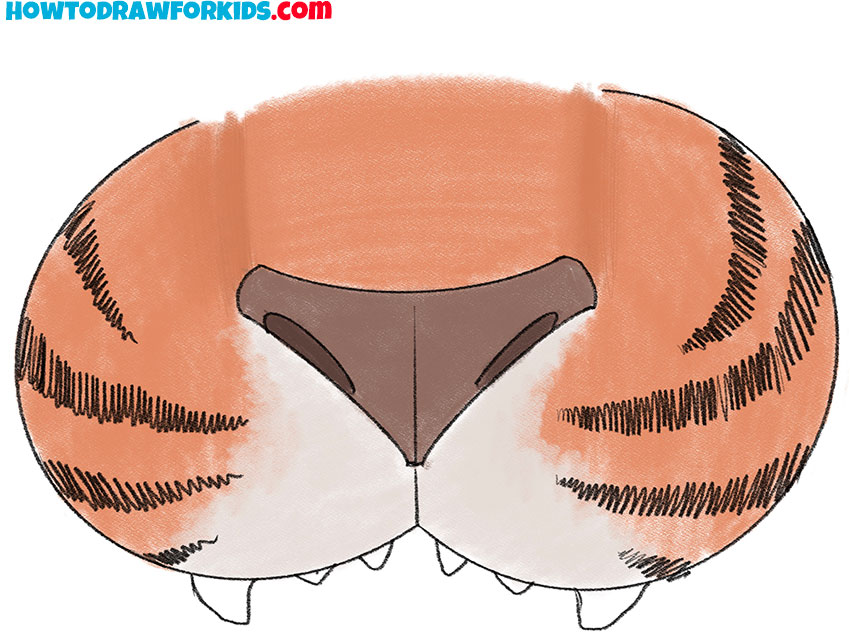
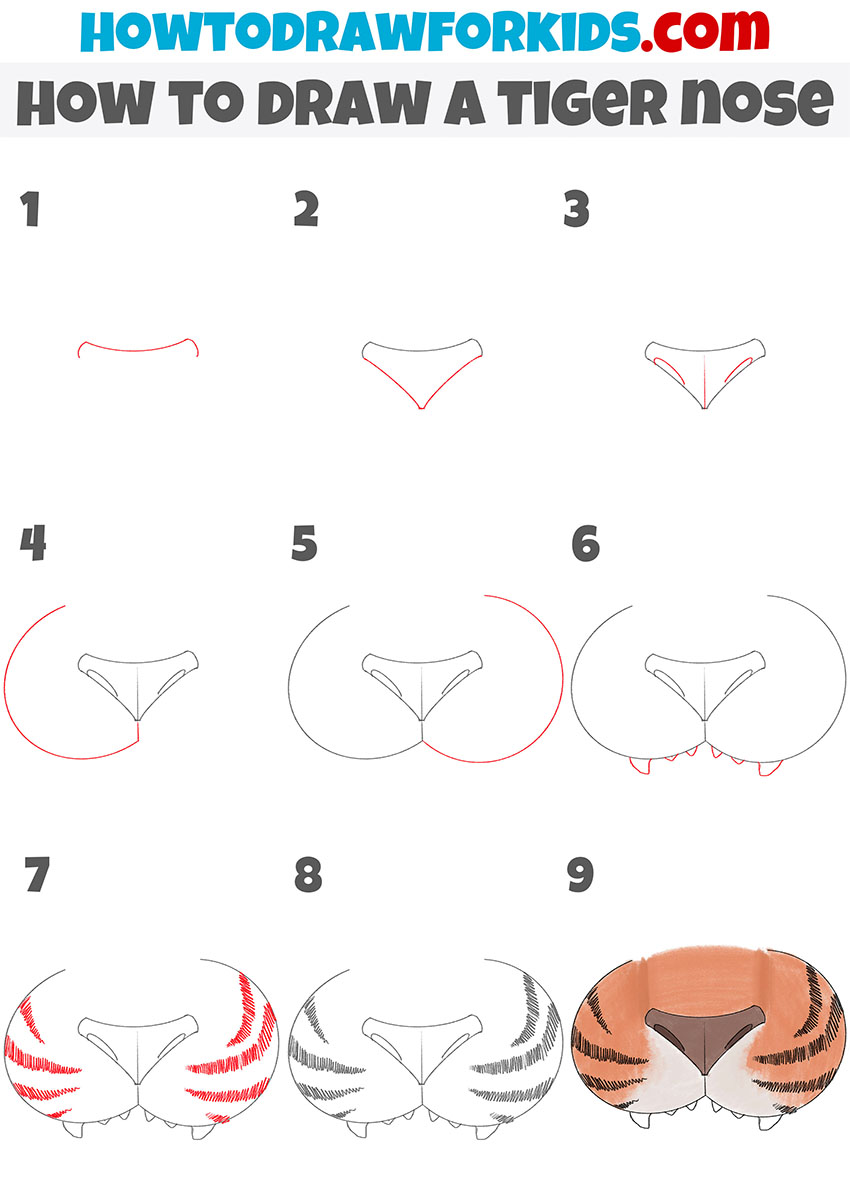
In this tutorial, you will learn how to draw a tiger nose. Each step in this manual is visualized and supplemented with a small hint.
The tiger is a strong, self-sufficient and brave predator, besides it is a very attractive animal. Therefore, it is not surprising that the image of a tiger can be seen very often.
Here is a very easy way to draw a tiger nose. If you learn how to draw individual elements, you can easily draw the whole animal as a whole. Therefore, the lesson will be useful for you, and you can apply the acquired skills in the future.
The instructions are very simple and will allow you to get excellent results in a short time. It uses simple lines that any novice artist can easily repeat.
Materials
- Pencil
- Paper
- Eraser
- Coloring supplies
Time needed: 30 minutes
How to Draw a Tiger Nose
- Draw the top outline of the nose.
Depict a smooth rounded line and add an outline on the sides.

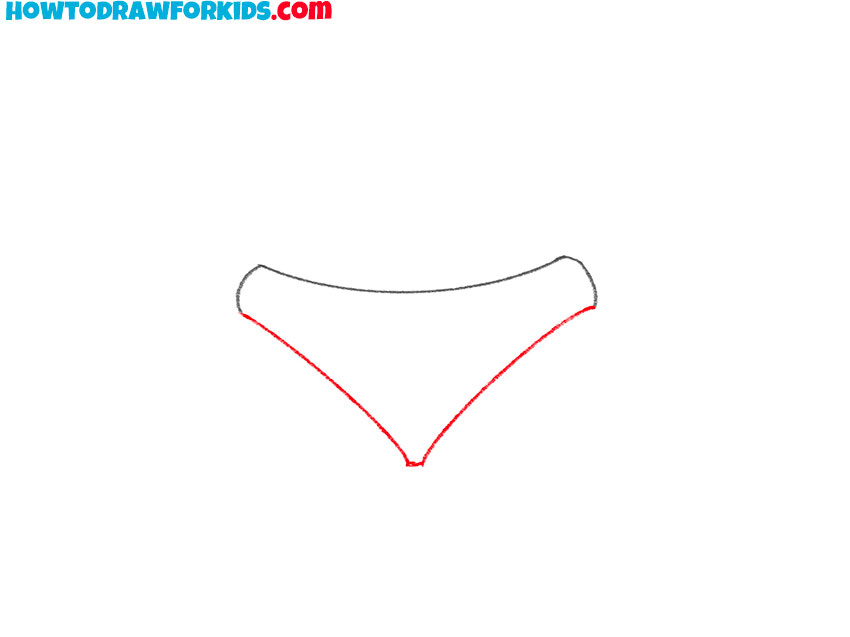
- Add the rest of the nose.
On each side, draw two lines that converge at one point. Thus, a closed loop should be obtained.
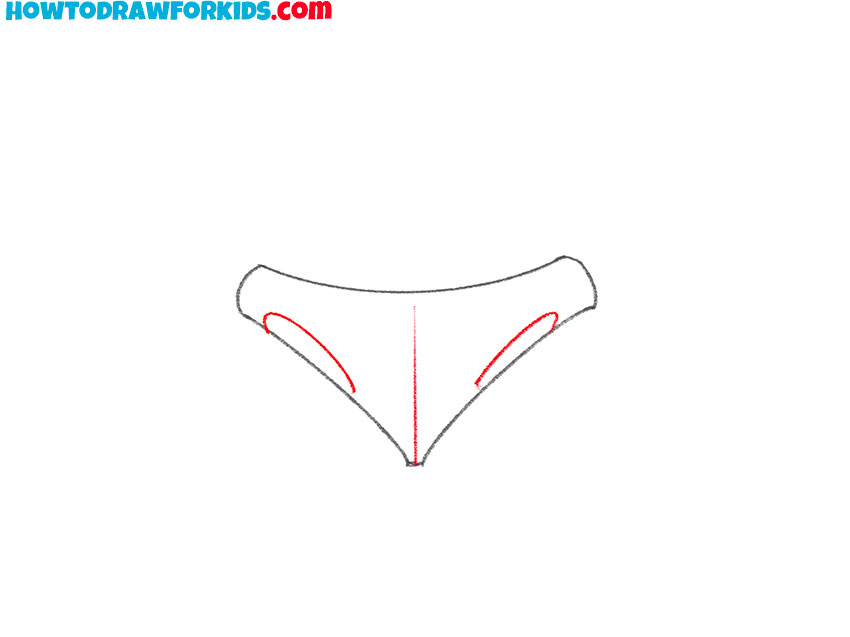
- Depict nose holes and the crease in the middle.
Draw the nasal openings on each side. Add a thin vertical line in the middle to depict the crease.
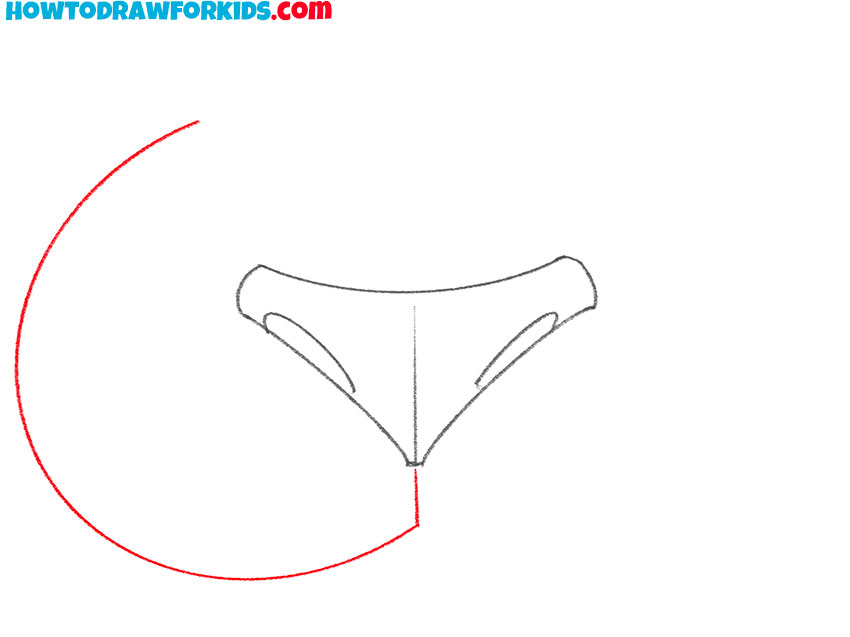
- Draw the front of the muzzle.
On the left side, draw a wide semicircular line.
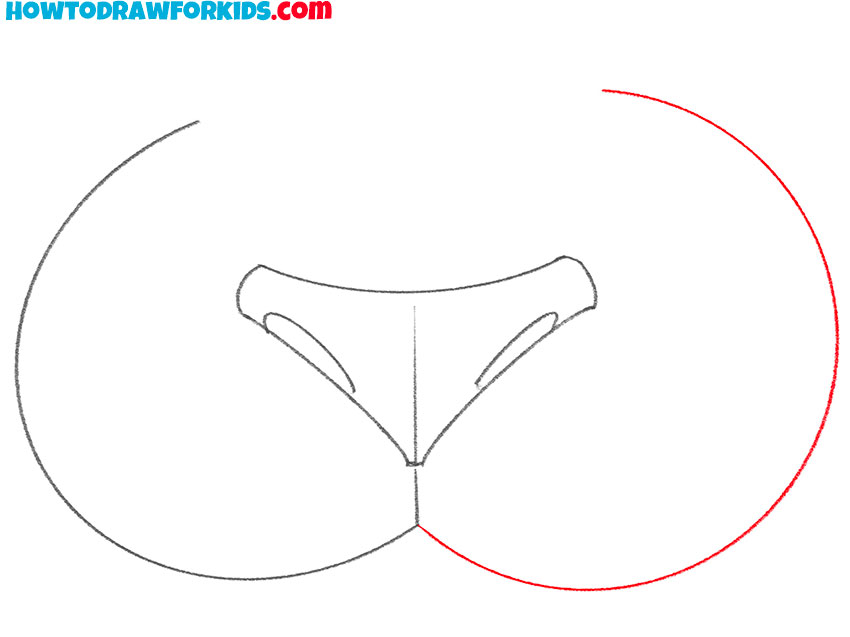
- Continue drawing the front of the muzzle.
Repeat the previous step and draw the same line on the right side.
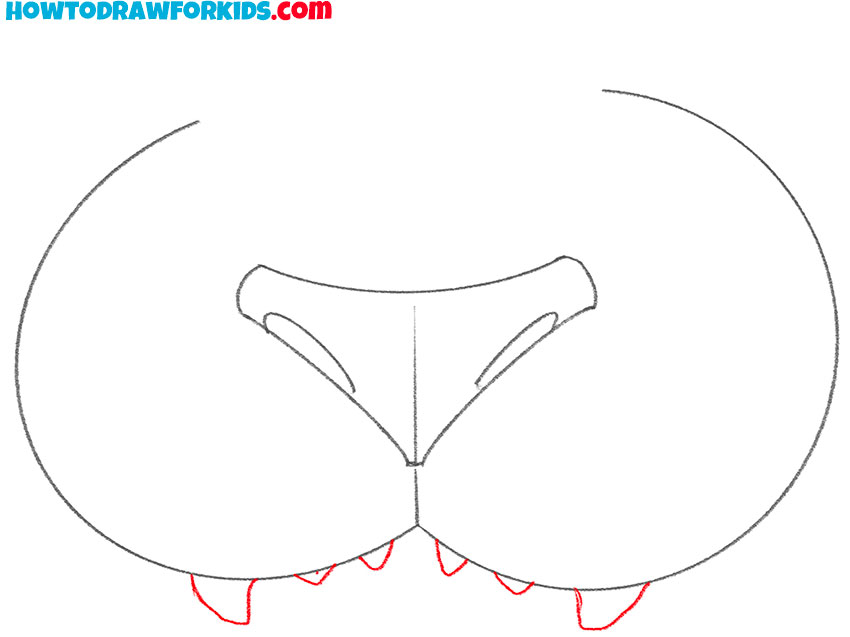
- Sketch out the teeth.
Draw two large, pointed fangs on the sides and four small teeth in the middle.
- Add the stripes.
Draw stripes on each side using zigzag strokes.
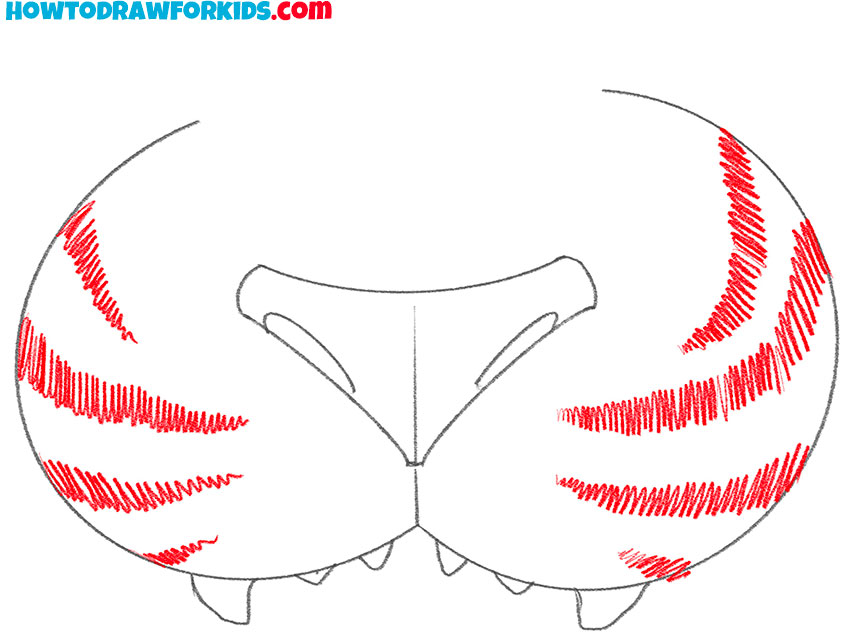
- Correct inaccuracies.
Check your drawing and correct inaccuracies if necessary.
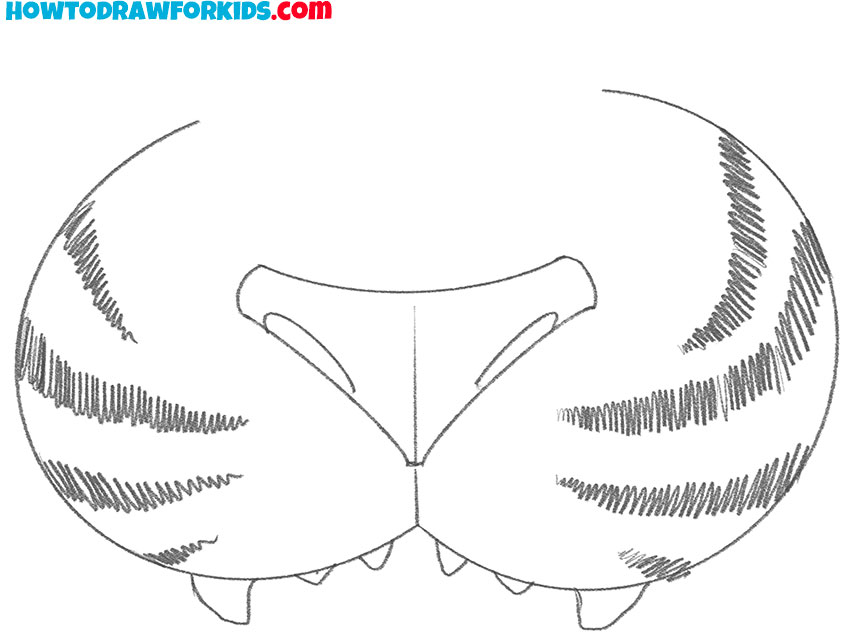
- Color the tiger nose.
You will need black, orange, and beige.

Don’t forget to download the PDF file that I have prepared especially for your convenience. This file contains a brief instruction and other useful content.


