How to Draw a Volcano
Learn how to draw a volcano using three simple methods. Improve your skills and select the style and technique that best suits you.

How to Draw a Volcano: Introduction
In this tutorial, I will show you how to draw a volcano that is spewing out very hot lava. I will present the basic lesson, which uses an easy style and technique. Then, I will demonstrate a simplified version for beginners, and finally, the simplest version suitable for preschoolers.
Drawing a volcano is a relatively simple process. A volcano resembles a mountain emitting lava and columns of smoke. Therefore, if you know how to draw a mountain, this volcano drawing lesson may appear even easier.
But first, what is a volcano? This is a formation in the earth that allows our planet to release many gases from itself at certain times. Just imagine what will happen if all volcanoes disappear. Probably our planet will simply explode from an overabundance of gas. Of course, they are very dangerous up close and make a strong impression.
It is for this reason that it is better to stay away from volcanoes, especially active ones, and admire them strongly at a distance. For example, on TV or in a picture. If the second option is closer to you, let’s start drawing as soon as possible. Perhaps you would like to print or save our volcano drawing tutorial? It is available for download and print below, in PDF format.
Volcano Drawing Tutorial
Materials
- Pencil
- Paper
- Eraser
- Coloring supplies
Time needed: 35 minutes
How to Draw a Volcano
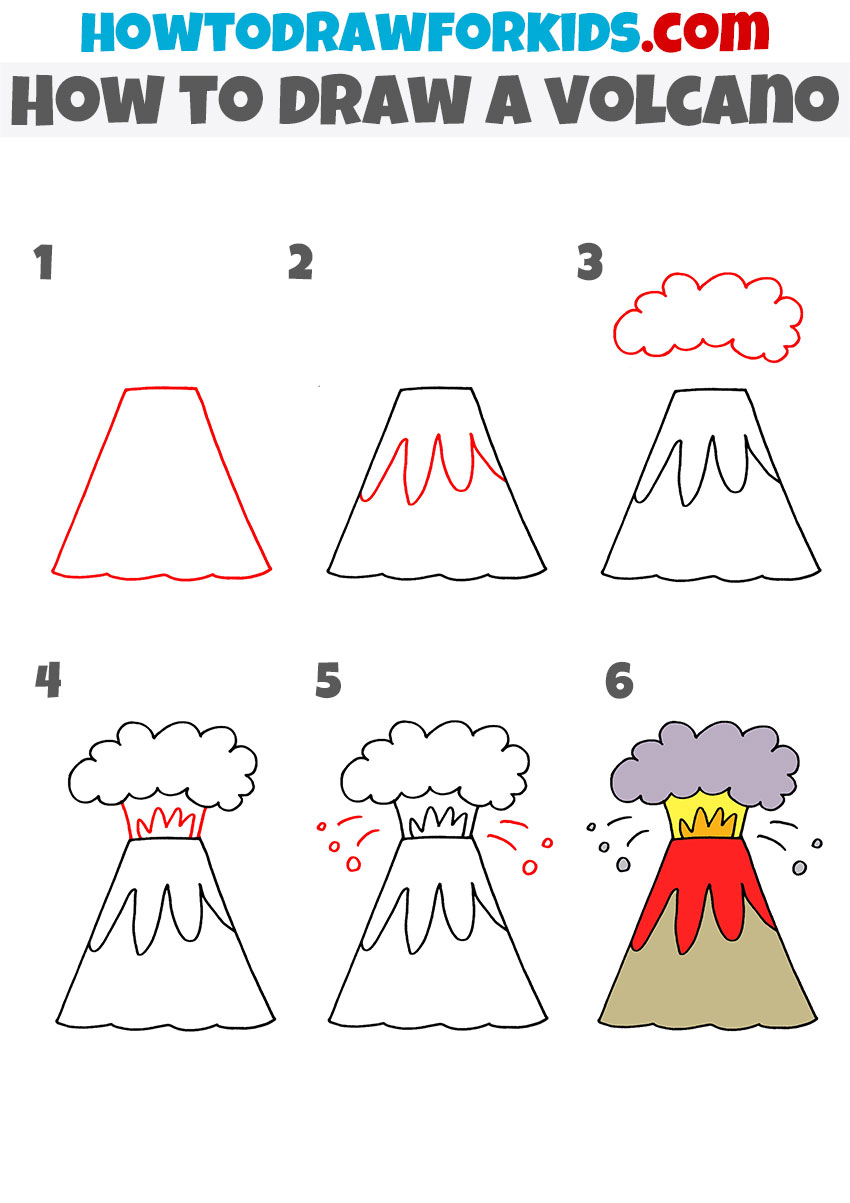
- Draw the outline of the volcano.
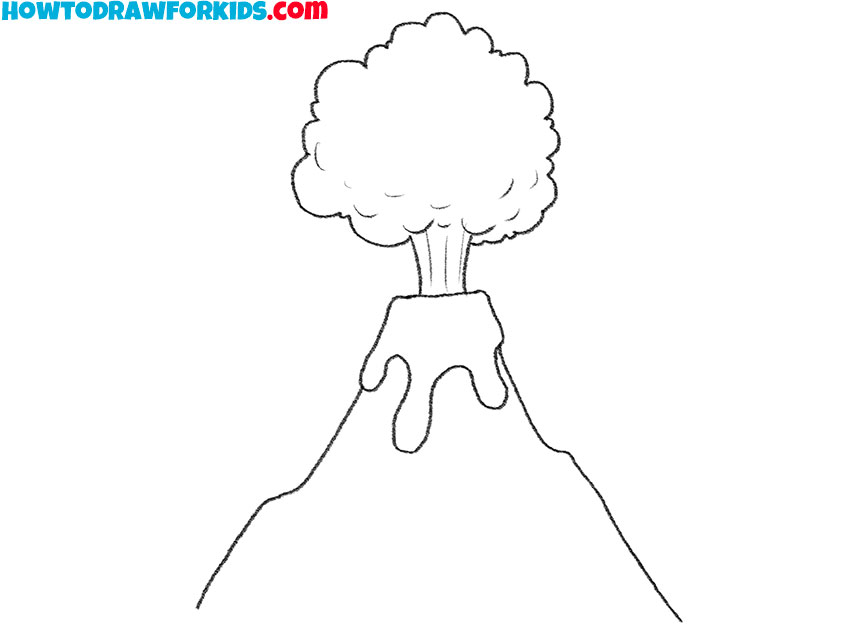
In this first step, begin drawing the base of the volcano. Start by sketching two slightly curved lines, one on each side, sloping down from a central point to form the outline of the volcano. The shape should resemble a mountain with a peak at the top and broadening at the base.

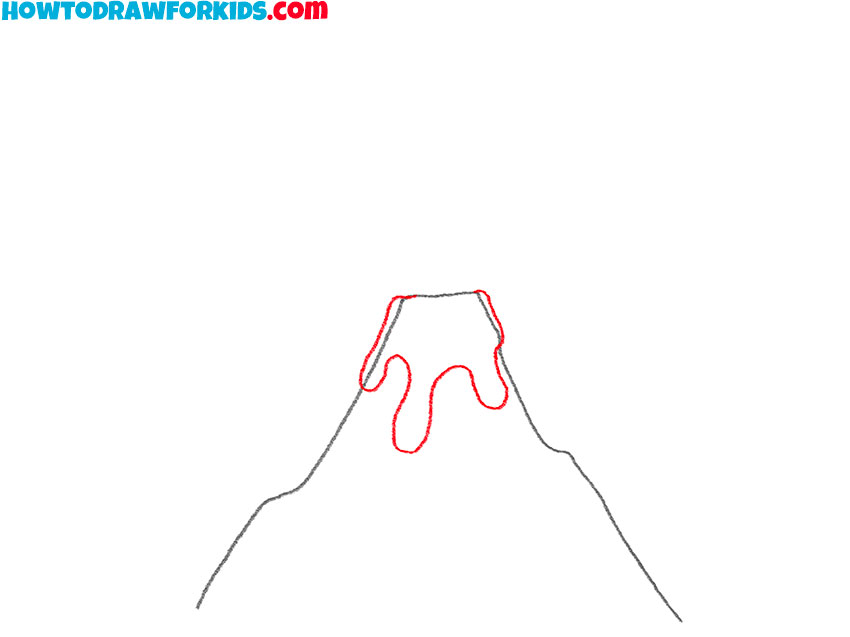
- Sketch lava flowing from the peak.
Sketch wavy lines at the peak of the volcano. These uneven geometric shapes should curve downwards. This creates the effect of hot lava erupting and descending from the peak. You can make these lines uneven and irregular to give the lava a natural, fluid look.
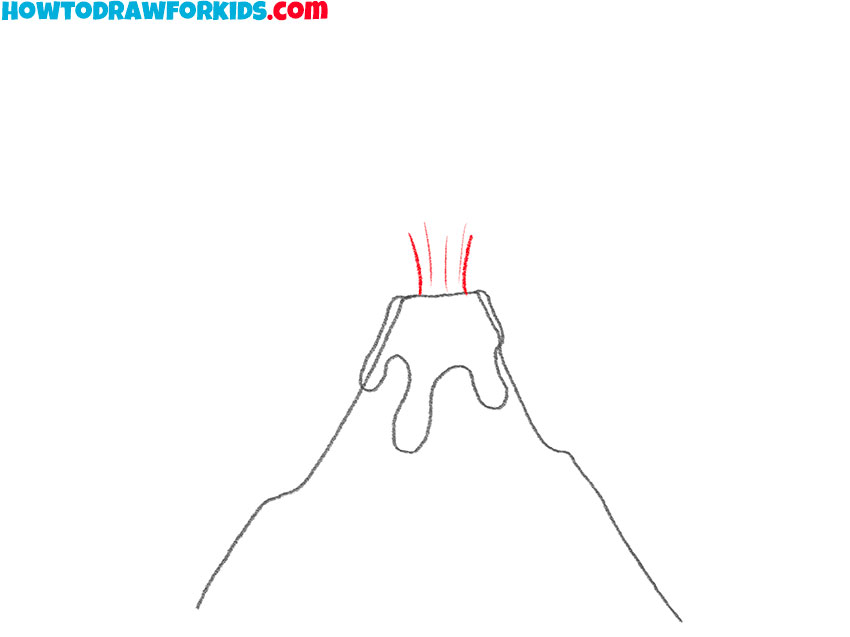
- Draw erupting lava.
To draw lava erupting from the top of the volcano, begin by sketching the left and right edges of the lava column with simple lines. Next, add detail to erupting lava by drawing vertical lines between the initial ones. These lines should slightly diverge outward as they extend upward.
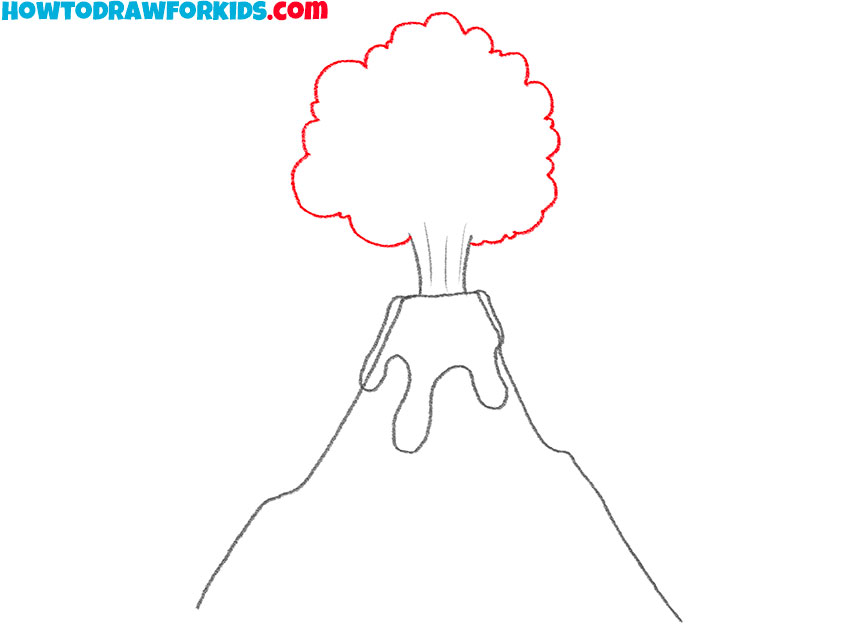
- Sketch the outline of the smoke cloud.
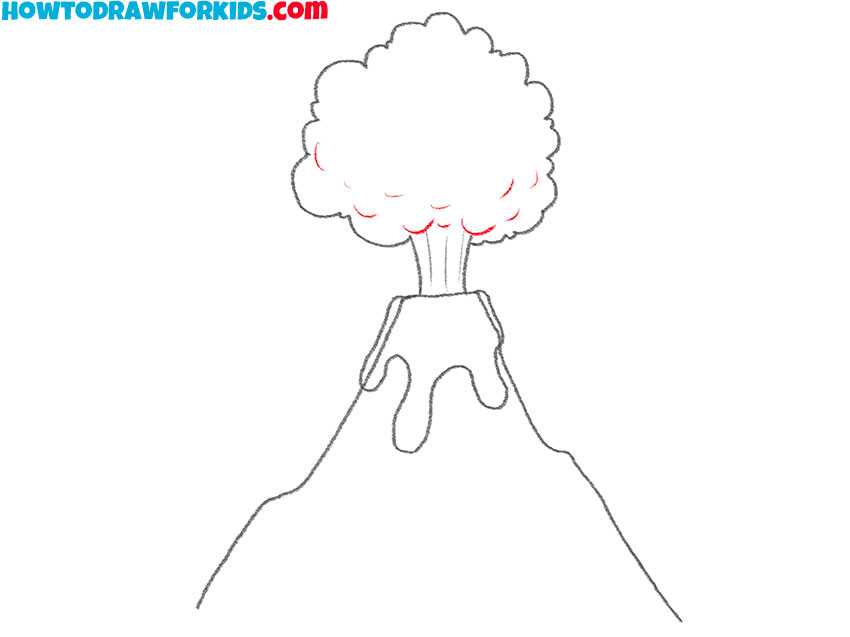
Draw a big, fluffy cloud shape above the crater, making it appear as though smoke is billowing upwards. The cloud should have an irregular outline with rounded edges to create the look of dense smoke. Make the cloud wider than the top of the volcano.
- Add details to the smoke cloud.
Draw some curved lines within the cloud to make it look more detailed. These lines should follow the shape of the cloud, detailing its appearance without making it too crowded. The added details will give the smoke a more three-dimensional look.
- Finalize the sketch of the volcano.
In this step, go over the entire outline of the volcano, lava, and smoke to clean up the drawing. Erase any extra or rough lines, giving the volcano drawing a polished appearance. This clean outline will help when it comes to adding color.
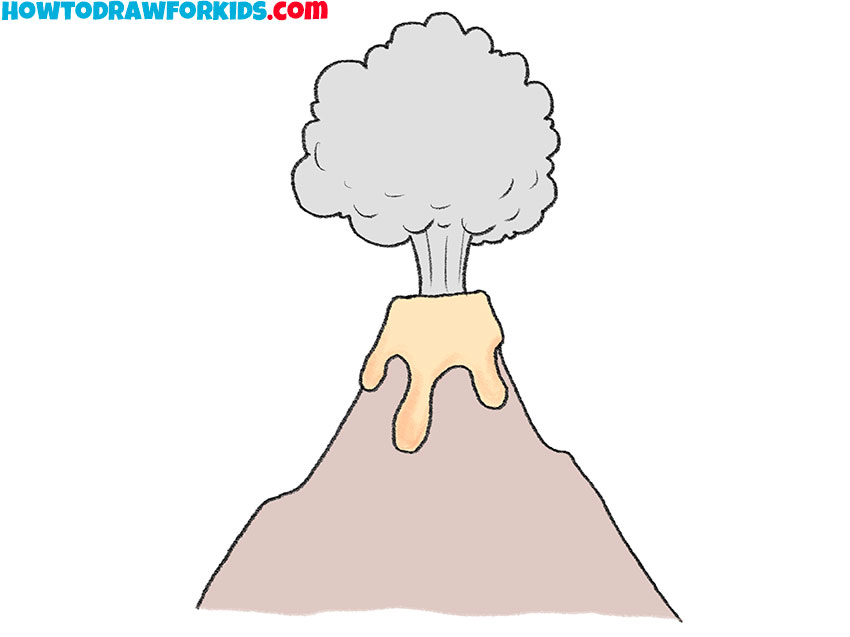
- Add color the the volcano drawing.
Use shades of brown or gray for the volcano base to resemble rocky textures. Color the lava in bright reds and oranges to make it look natural. For the smoke cloud, use gray tones to give it a smoky look. The lava should have a darker reddish color on the edges and yellow closer to the center.

Additional Content
This tutorial demonstrates how to draw a bright and realistic volcano. The steps are simple, making it really easy for various skill levels. For those interested in drawing on the go, a PDF version of the volcano drawing tutorial is available for download.
Simple Volcano Drawing Tutorial
The main difference between this volcano drawing tutorial and the first is in the simplicity and style of elements used to depict the eruption. This version uses broader, simpler shapes for the lava and smoke, making it more suitable for young children or beginners.
To draw a simple volcano, start by sketching a large, triangular shape with a slightly wavy base to form the volcano’s body. Then, add lava flowing down from the peak by drawing a few curved, wavy lines at the top. Above the volcano, draw a cloud shape to represent the smoke from the eruption. Next, add lines between the crater and cloud to indicate the erupting lava, and draw small droplets around the crater to show lava flying out.
For the final touches, color the volcano body in brown or red, the lava in bright yellow or red, and the smoke in gray or purple to complete the effect of an erupting volcano. This tutorial on how to draw a volcano is simple, and great for kids and beginners.
How to Draw a Volcano for Preschoolers
This version of the volcano drawing tutorial simplifies the process even further compared to the first two tutorials. It demonstrates only basic shapes and minimal details, making it especially suitable for young beginners and preschoolers. The eruption is illustrated with a simple column of smoke and basic lava flow.
To draw a volcano for preschoolers, start by sketching a large triangular shape with a slightly curved peak to represent the mountain. Next, draw wavy lines near the top to show lava flowing from the crater. Extend two straight lines upward from the peak to form a column representing the eruption.
Above this column, draw a cloud to represent the smoke coming from the volcano. Finish the drawing by coloring the volcano in brown or gray, the lava in red, and the smoke in gray. This simple tutorial on how to draw a volcano uses really simple lines and shapes, helping preschoolers create an erupting volcano without complex details.

Conclusion
This sketching guide is now complete, and you have learned how to draw a volcano. We covered three different lessons, and I hope you were able to follow each one successfully. Which one did you find most suitable?
Consider visiting the other tutorials to continue developing your skills and learn how to draw various objects. You can also follow me on Pinterest and YouTube for additional content.


Thanks for having this app is is the best when you really need it for a school project.
this app is a lifesaver hne it comes to school projects
MEE
This is very good. Helped me make a volcano for my project
app is i can draw a volcano by my self !!!!!!!!!!!!!!!!