How to Draw a Trout
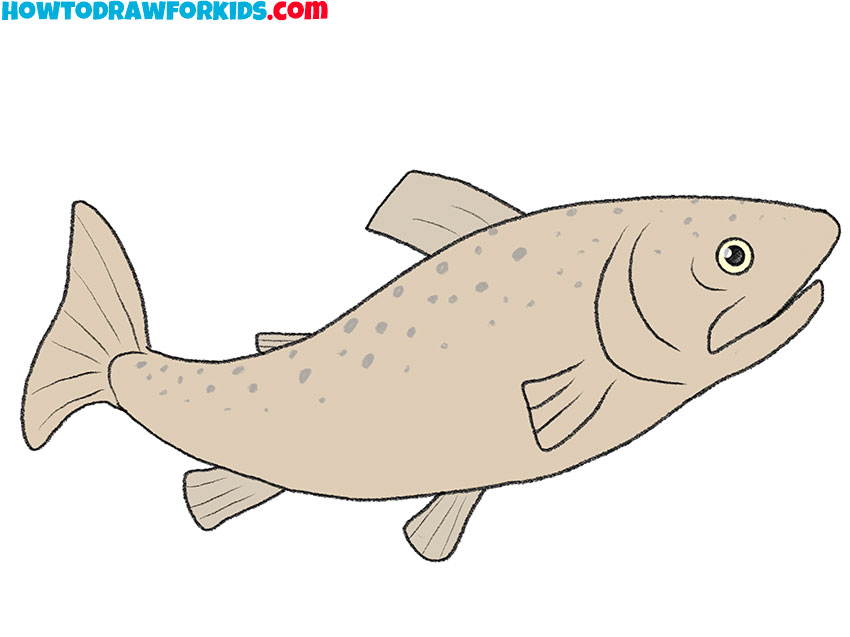
In this tutorial, I’ll show you how to draw a trout using simple lines and easy steps. We’ll draw the body, fins, tail, and a few details to create a recognizable freshwater fish.
How to Draw a Trout: Basic Information
A trout has many distinctive features, but its overall shape is quite similar to the fish from my fish drawing tutorial.
In this tutorial, however, I’ll show you a slightly more realistic version while still keeping the drawing process simple enough for beginners.
Lessons like this help young artists gradually become familiar with more realistic shapes and proportions without making the drawing too difficult. In this case, you’ll practice these skills by drawing a trout.
Step-by-Step Trout Drawing Tutorial
Materials
- Pencil
- Paper
- Eraser
- Coloring supplies
Time needed: 30 minutes
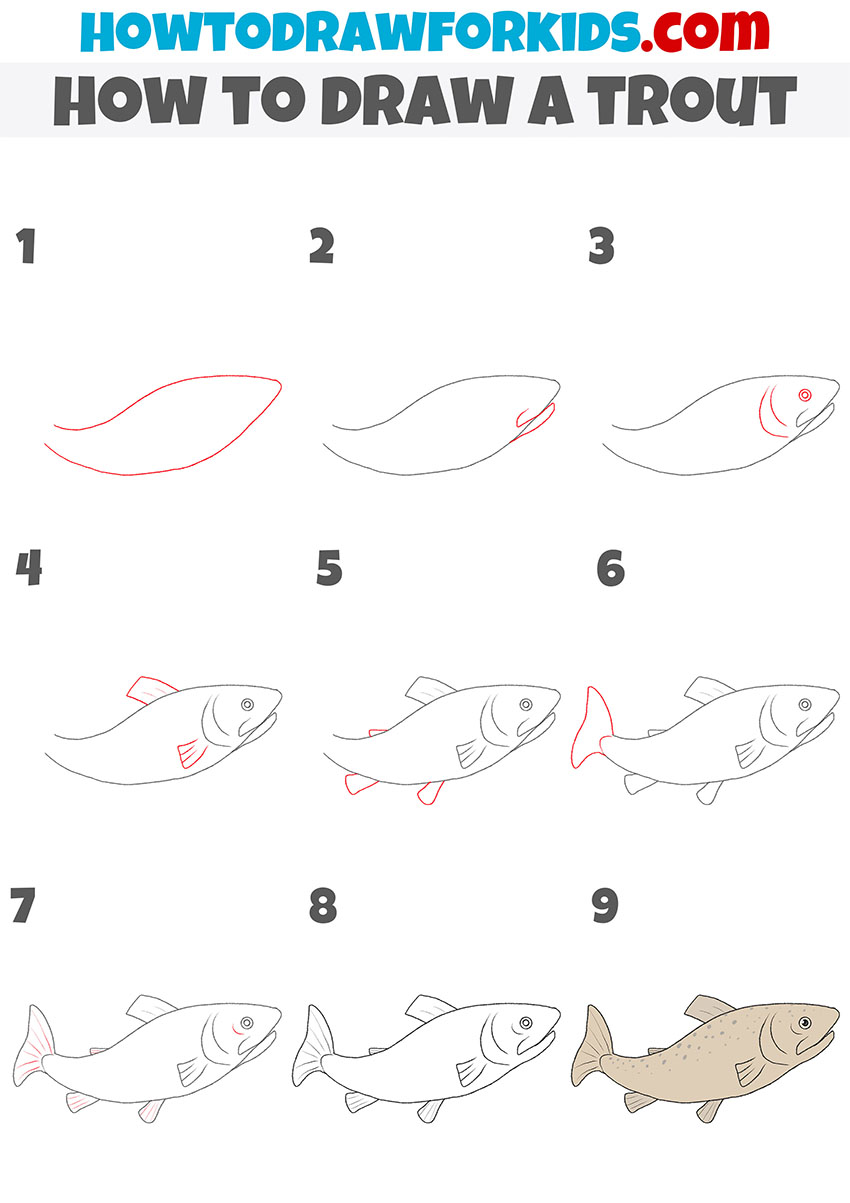
How to draw a trout step by step
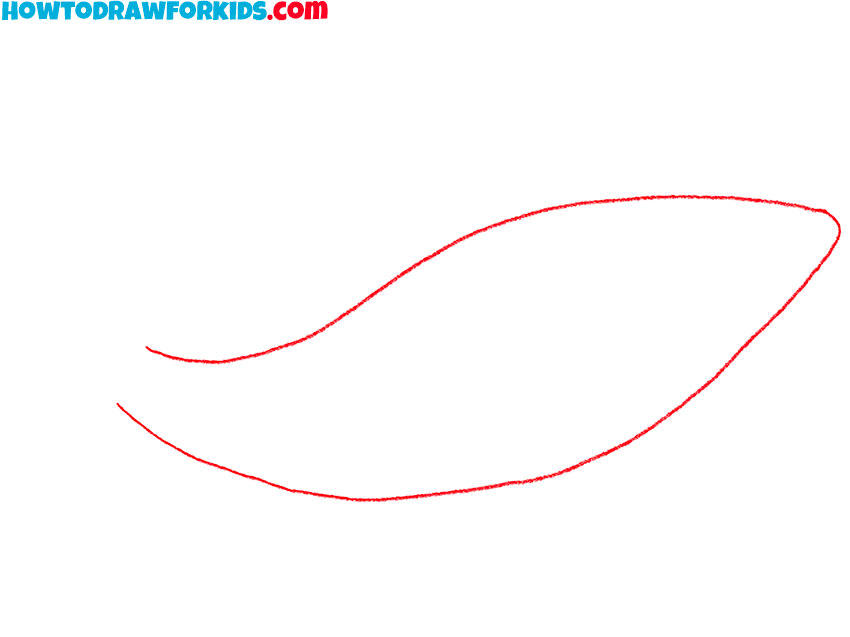
- Draw the outline of the body.
With the help of smooth curved lines depict the body of the trout, which tapers closer to the tail.
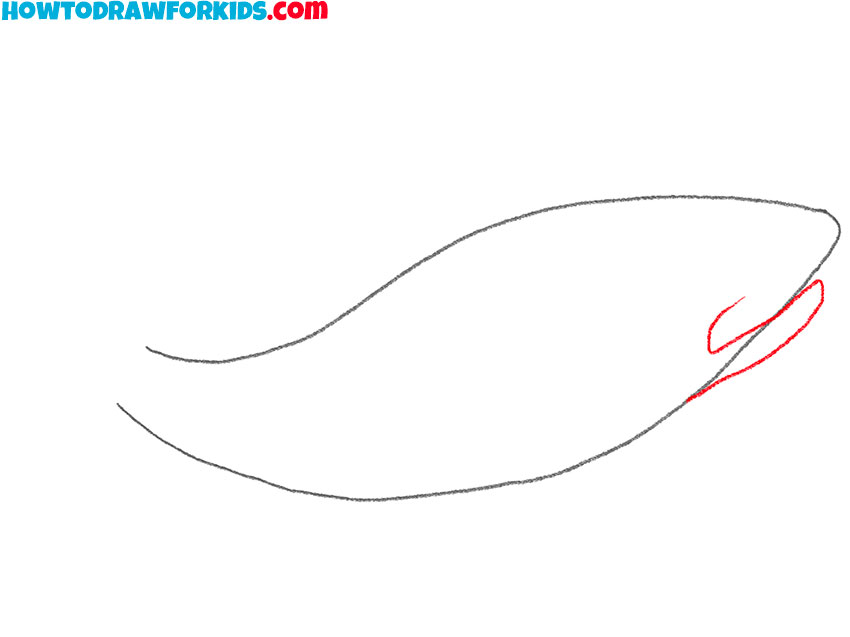
- Depict the mouth.
In front of the body, depict the mouth with a smooth line.
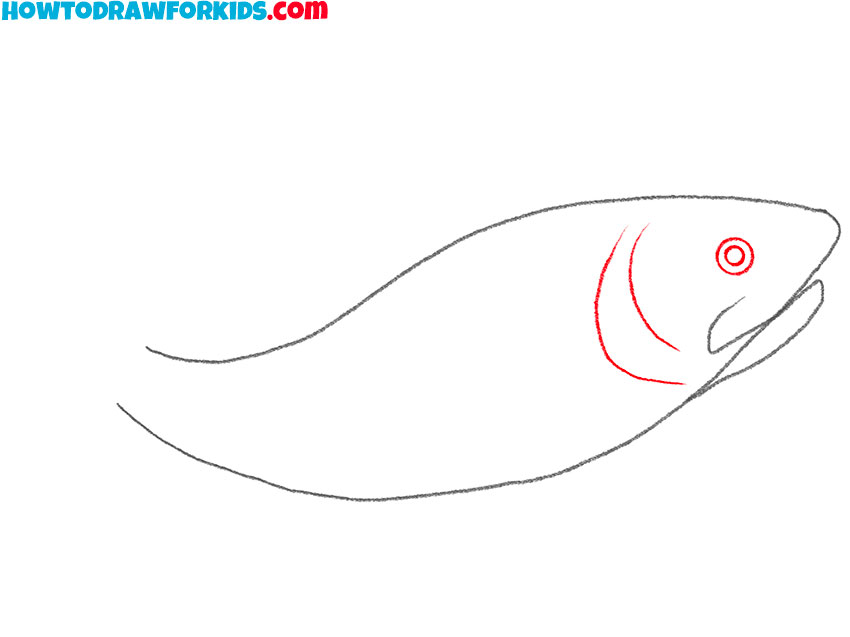
- Add the elements of the head.
Draw the eye using two circles of different sizes and add the gills on the side of the head.
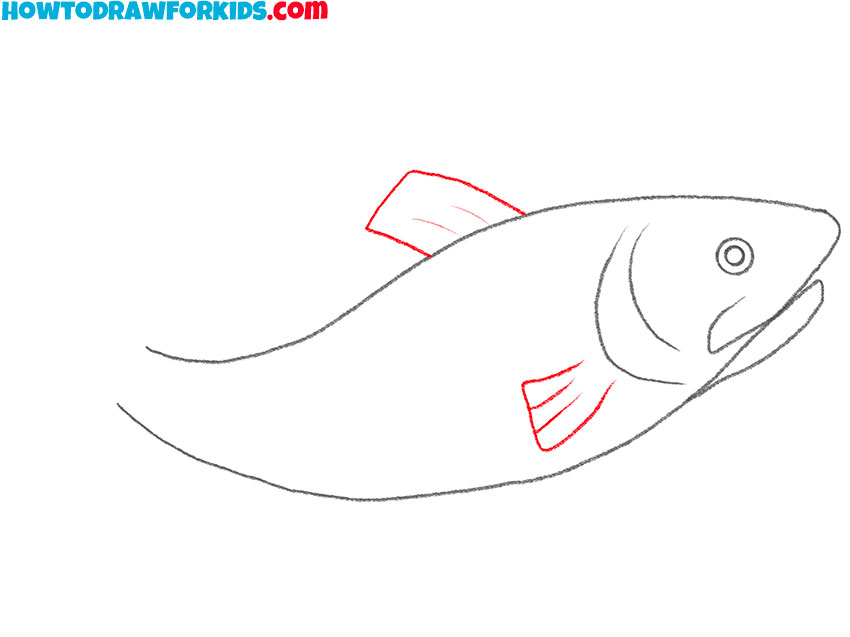
- Sketch out the fins.
Draw the dorsal and lateral fin of the same shape as in my example.
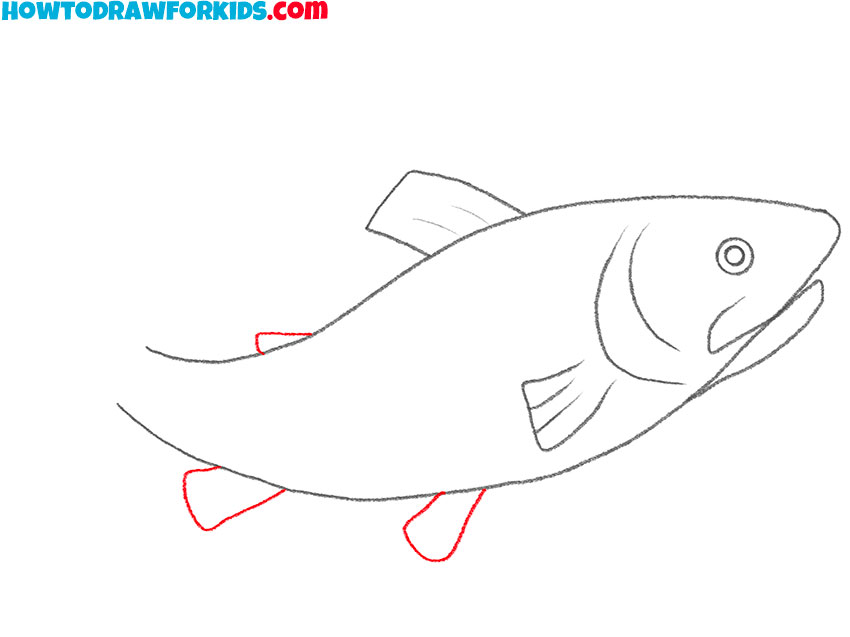
- Draw the rest of the fins.
Add one small fin on the back and draw two more fins at the bottom.
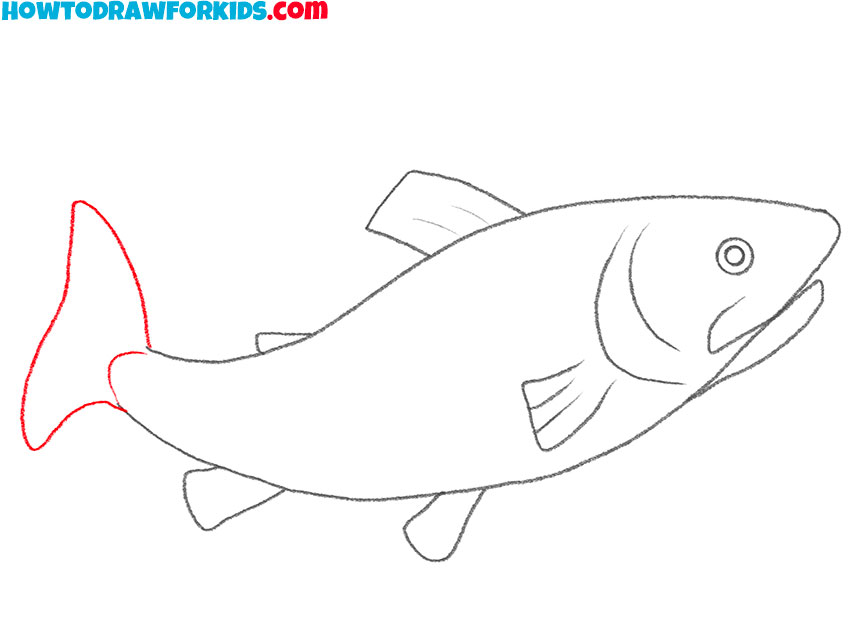
- Depict the tail.
Draw the tail with smooth lines, the ends of which are directed in different directions.
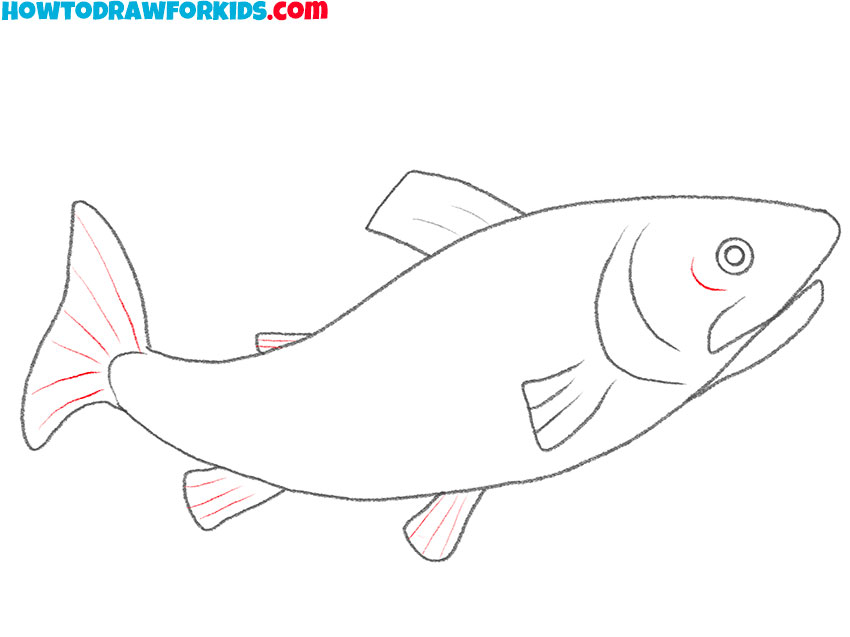
- Add the details.
Draw the small line near the eye, detail the fins and tail.
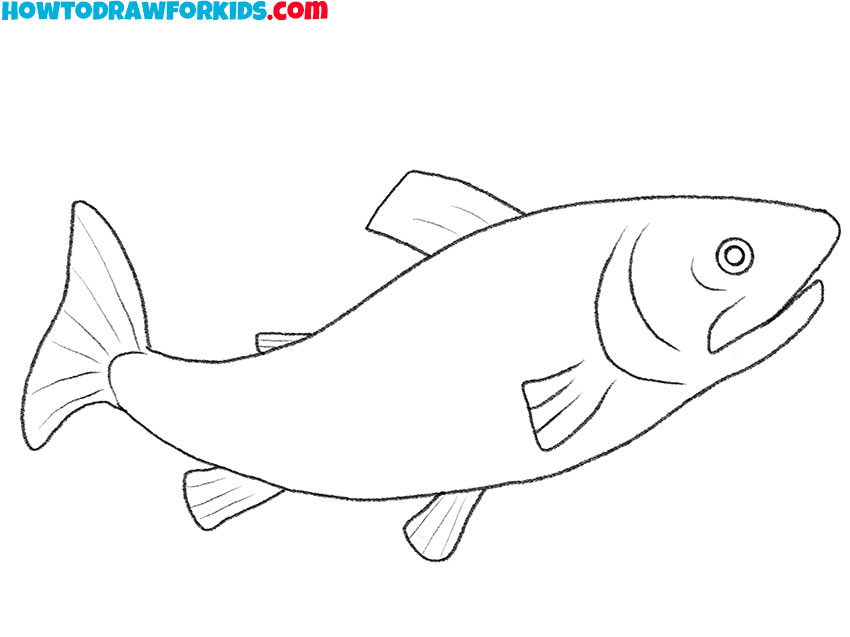
- Correct inaccuracies.
Delete all the extra lines on the drawing and correct the mistakes.
- Color the drawing.
For coloring, use different shades of brown.
Additional Content
I’ve created a free PDF file for this trout drawing tutorial, so you can learn to draw a trout anytime and anywhere! This easy-to-follow guide is packed with helpful tips and steps, and it’s yours to use and enjoy without any cost.
Just download it, print it out, and you can start practicing how to sketch the perfect trout, whether you’re at home or on the go. Happy drawing!
Advanced Tips for Trout Drawing
If you’d like to make your trout drawing look more realistic, try studying reference photos to see the shape of the fins, the pattern of the spots, and the proportions of the body.
You can also add a few light pencil strokes to suggest the texture of the scales and use simple shading to give the fish a little more volume.
Once you’ve finished this lesson, try drawing trout in different positions or from different angles. Repeating the same subject several times is one of the best ways to improve your drawing skills.
What’s Next?
Now you know how to draw a trout and can use the same techniques to draw many other aquatic animals. If you’d like to continue practicing, my goldfish drawing tutorial is a good place to start.
You can also try the shark drawing guide if you’d like to draw something with a completely different body shape. If you enjoy marine animals, be sure to take a look at the dolphin drawing instructions as well.
Follow me on social media to stay updated whenever I publish new drawing tutorials. If there’s another fish or aquatic animal you’d like to see on the site, leave a comment below. I’m always looking for ideas for future lessons.