How to Draw a Volleyball
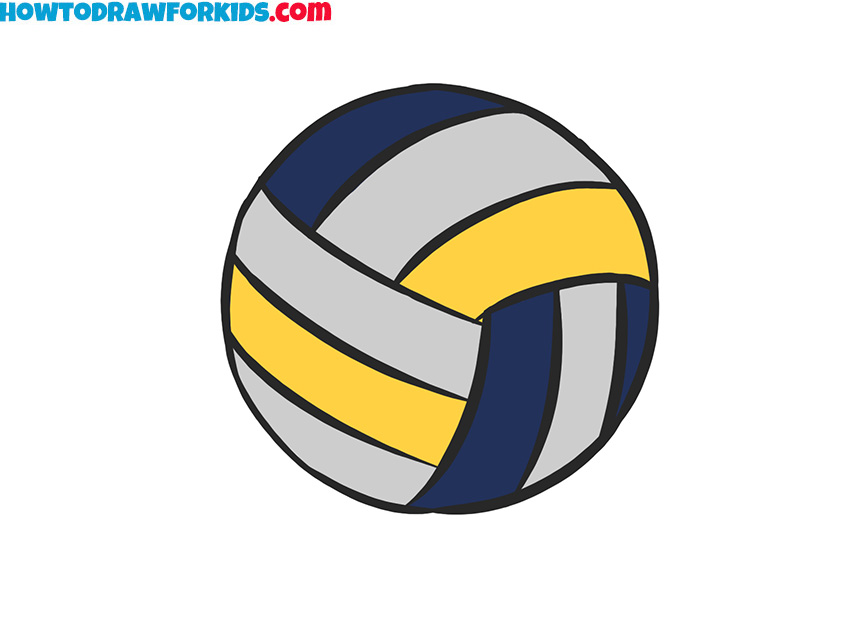
This tutorial will be especially interesting for those who love ball games, because here we will learn how to draw a volleyball.
How to Draw a Volleyball: Introduction
Drawing a volleyball may seem simple, but there are key aspects to focus on that can help ensure your drawing looks accurate and believable.
One of the main challenges is drawing a perfect circle, which serves as the foundation for the volleyball’s shape. You’ll want to take your time with this step, as the symmetry of the circle is the most important thing for the final look. If freehand circles are difficult, you can use a circular object as a stencil.
As you work on the lines that define the volleyball’s sections, focus on keeping the lines evenly spaced and curved. The segments should follow the contours of the ball, giving the impression of a three-dimensional object. Pay attention to the way these lines interact with each other at the ball’s poles and edges. They should give a sense of curvature, so avoid drawing them as flat or straight.
Another tip is to regularly check the proportions of your volleyball drawing. As you sketch, it’s easy to become too focused on one part, which might lead to imbalances in other areas. Periodically take a step back, or use a mirror, to review the overall symmetry. This will help you catch any errors early on and make necessary adjustments without having to rework large portions of your volleyball drawing.
Volleyball Drawing Tutorial
Materials
- Pencil
- Paper
- Eraser
- Coloring supplies
Time needed: 25 minutes
How to Draw a Volleyball
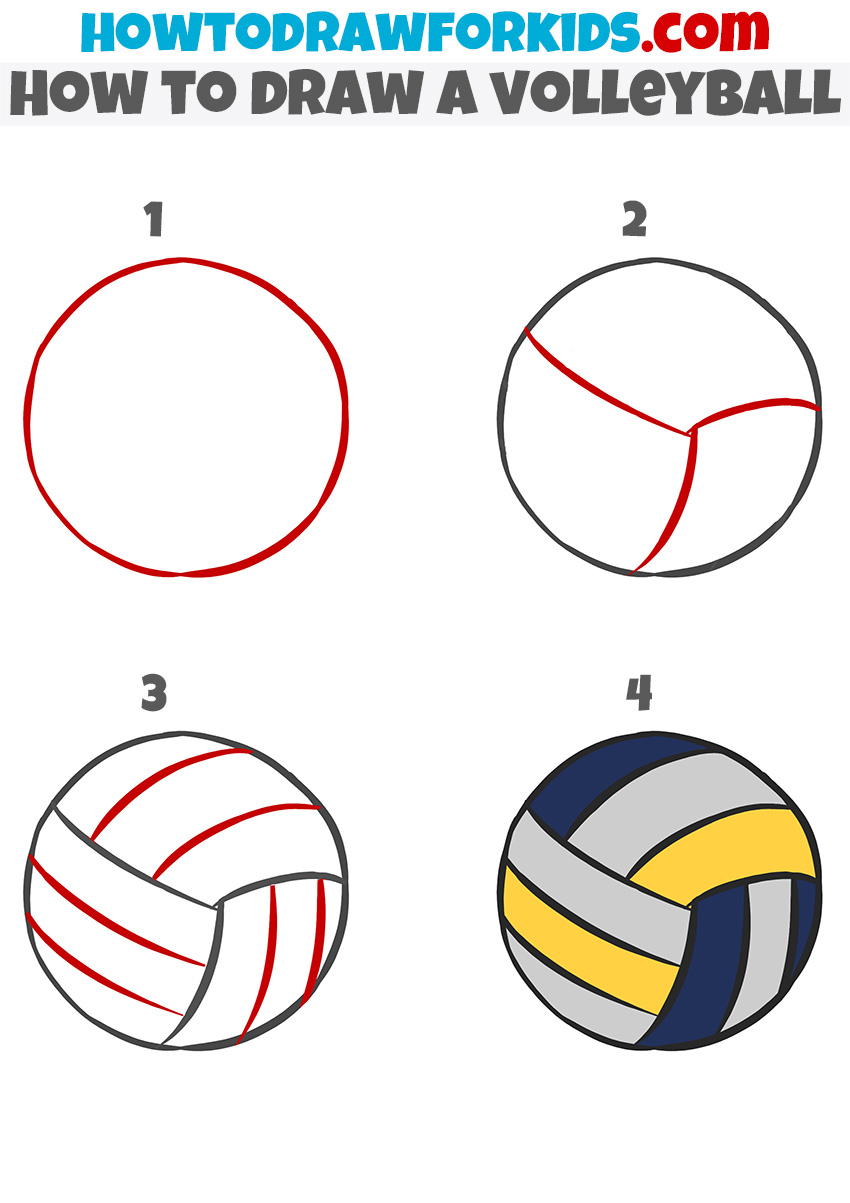
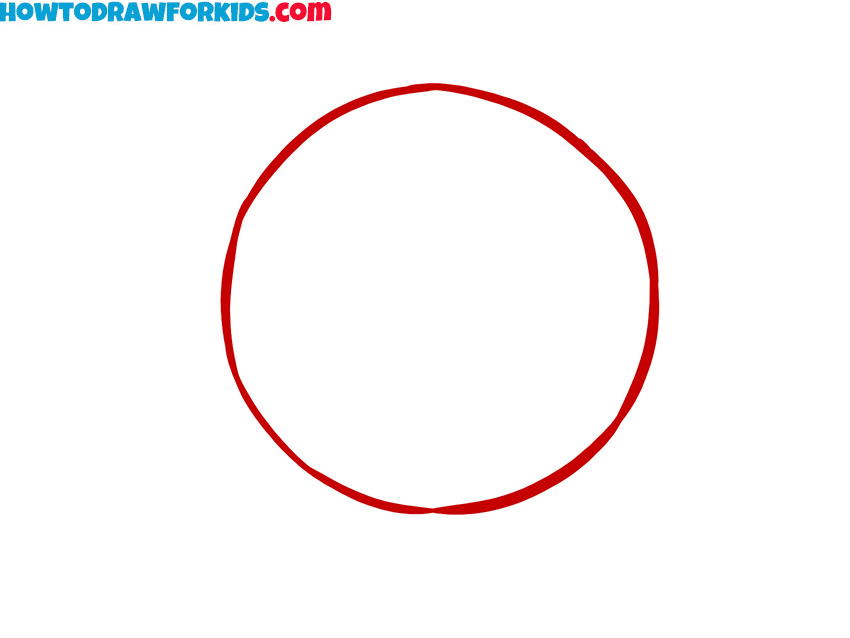
- Draw the outline of the volleyball.
Start by drawing a large circle that will serve as the outline of the volleyball. Try to make the circle as even as possible, but don’t worry too much if it’s not perfectly round. You can use a pencil to draw lightly at first so you can adjust the shape easily if needed.
- Start sketching the panels of the ball.
Next, start adding the first set of curved lines inside the volleyball outline. These lines represent the seams between the different panels of the volleyball. To create these seams, draw three slightly curved lines of equal size that converge in the center of the volleyball.

- Add more curved lines to complete the pattern.
Now, draw lines inside the panels from the previous step. Each new line should follow the contours of the existing ones. Ensure the lines are curved to help create a three-dimensional and rounded appearance for your volleyball drawing.

- Color the volleyball.
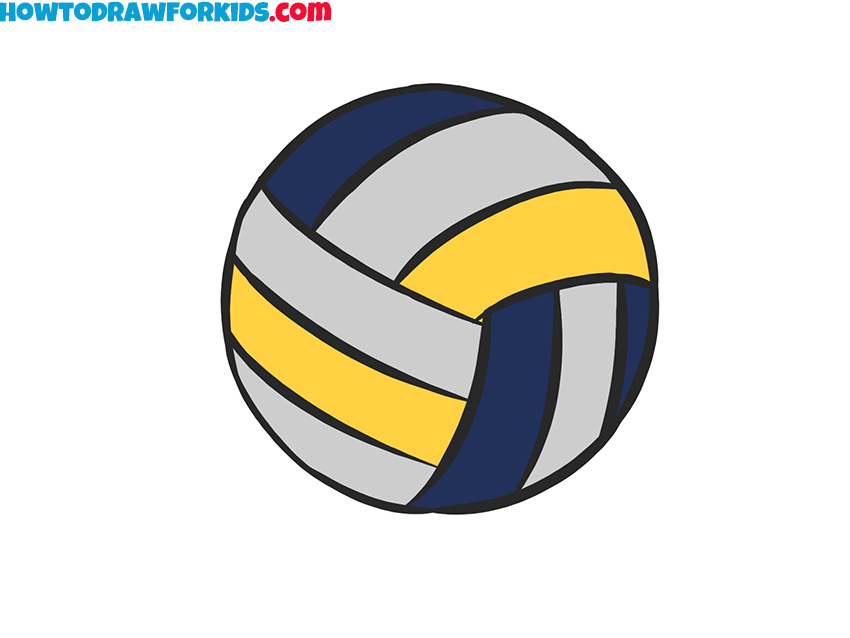
Finally, it’s time to add some color to your volleyball drawing. In this step, you can use blue, yellow, and gray to fill in the individual panels of the ball. If you want, you can experiment with other color combinations to give your volleyball a unique look.
Additional Content
This was a tutorial on drawing a volleyball, and I hope you found it both interesting and helpful. If you have any feedback or suggestions, please feel free to leave a comment in the section below this article.
Additionally, don’t forget to download and print the PDF version of this tutorial. In the PDF, you will find all the steps outlined above, along with a coloring page, a tracing worksheet, and a grid drawing worksheet for further practice.

