How to Draw a Wheel
Step into the driver’s seat of creativity as I guide you on how to draw a wheel, presenting two engaging methods. We’ll focus on creating smooth curves and realistic textures, ensuring your drawings have wheels that are ready to roll. It’s a fantastic way for kids to boost their drawing skills and bring their imaginative vehicles to life!
How to Draw a Wheel: Basic Information
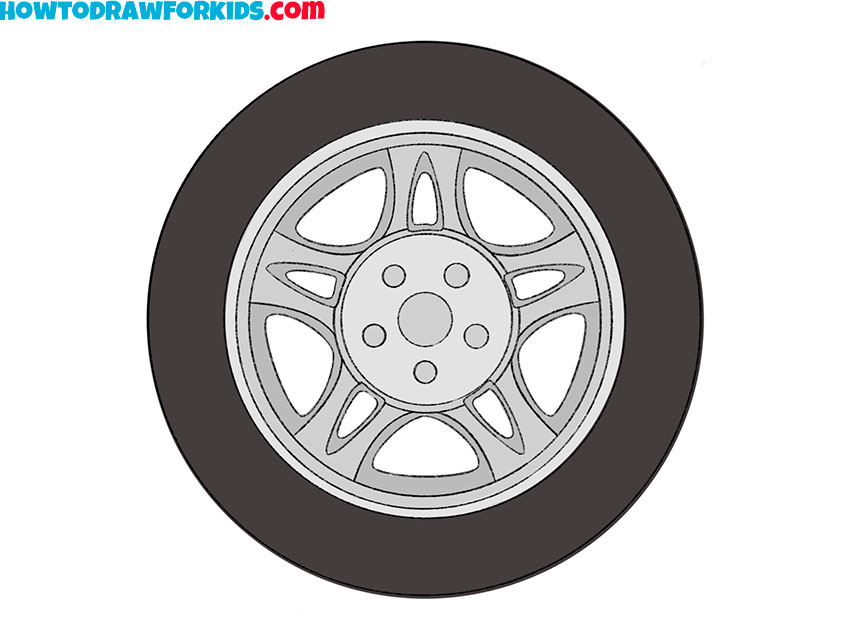
Today we’re rolling into the world of art with a focus on how to draw a wheel, a fundamental element in so many designs. In this lesson, we’re not just creating any wheel; we’re crafting a detailed car wheel with depth and dimension. I’ve broken down the complex shapes into simple stages to make it approachable for anyone.
As we move through the lesson, you’ll notice that starting with the central hub and working outward to the tire treads helps maintain proportion. Paying close attention to the subtle curves and circles is key. I’ve devised a method that uses these basic geometric shapes to build up the intricate parts of the wheel.
When we finish, you’ll have the skills to draw a wheel that looks as though it could spin right off the page. This lesson is designed to empower you to tackle what may seem complex at first glance and to instill confidence in your ability to master the art of drawing wheels.
Wheel Drawing Tutorial
Materials
- Pencil
- Paper
- Eraser
- Coloring supplies
Time needed: 30 minutes
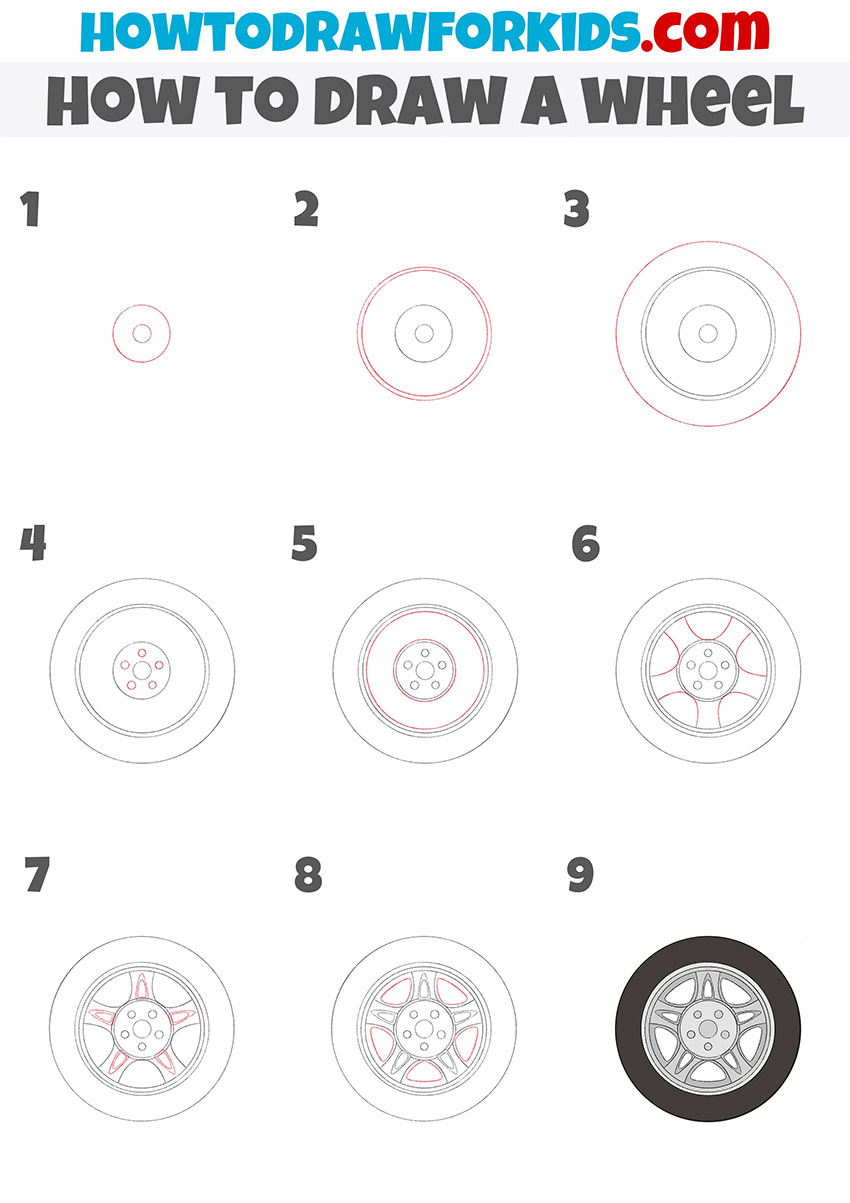
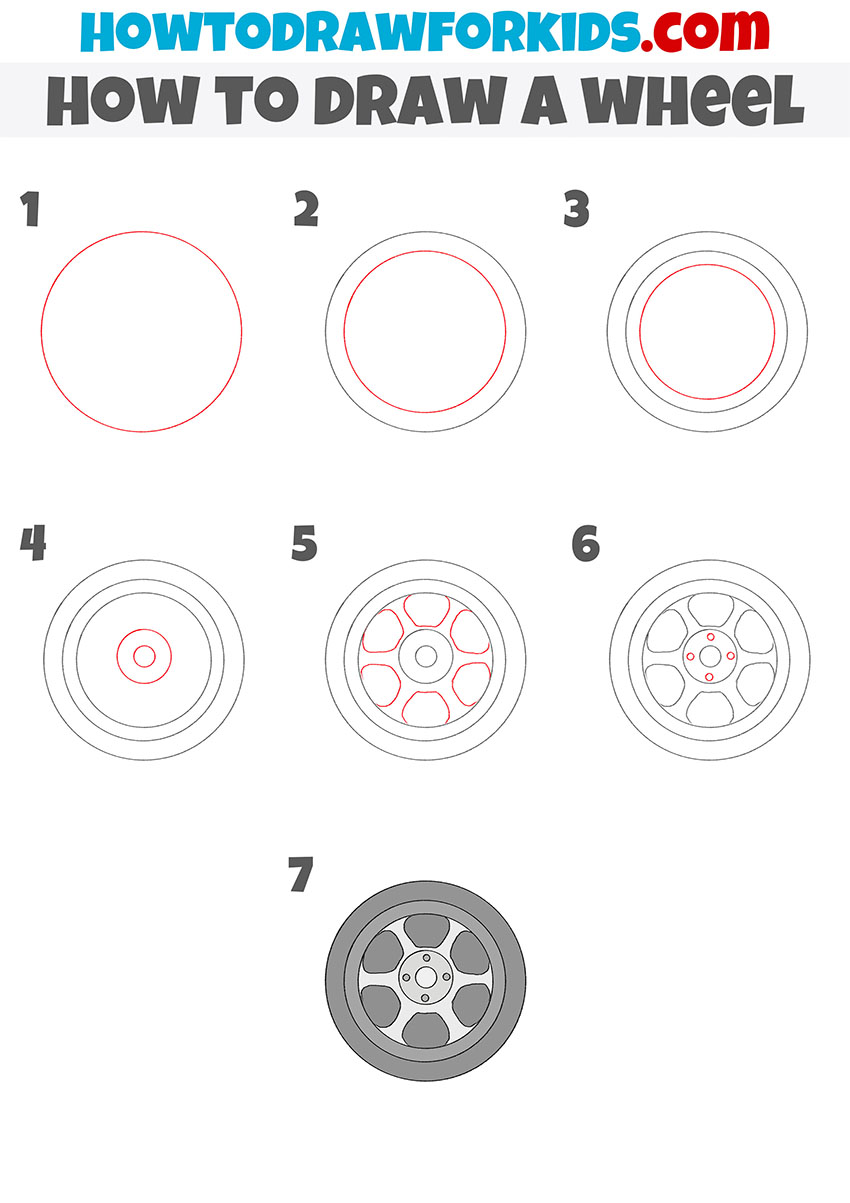
How to Draw a Wheel
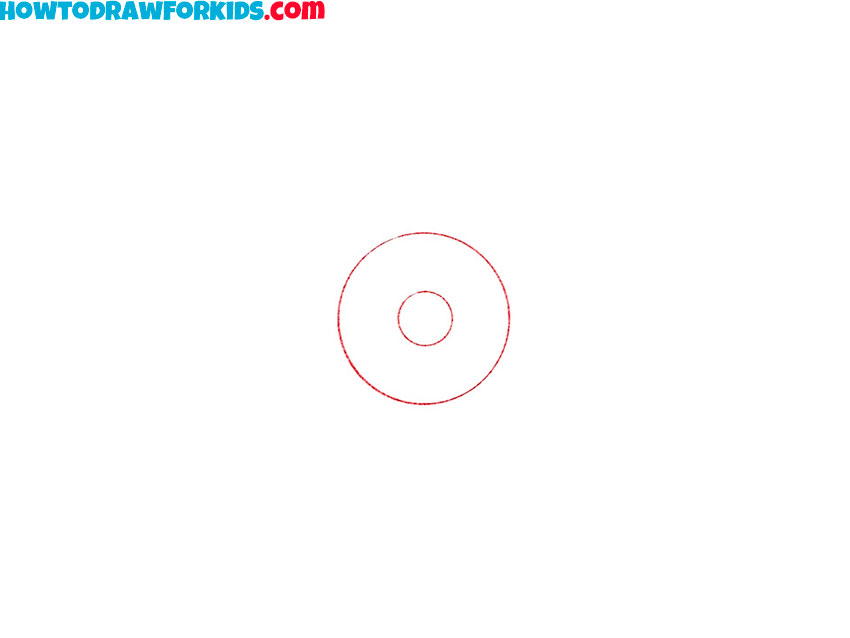
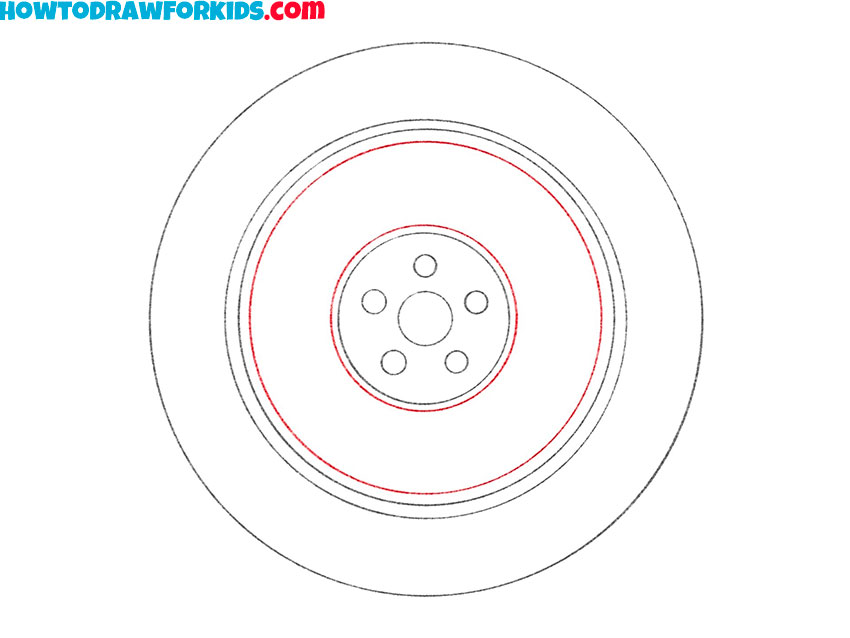
- Start drawing the inside of the wheel.
You need to draw two circles of different sizes, placing one inside the other.
- Finish drawing the wheel disk.
Depict two circles around the previously drawn circles, placing one inside the other.
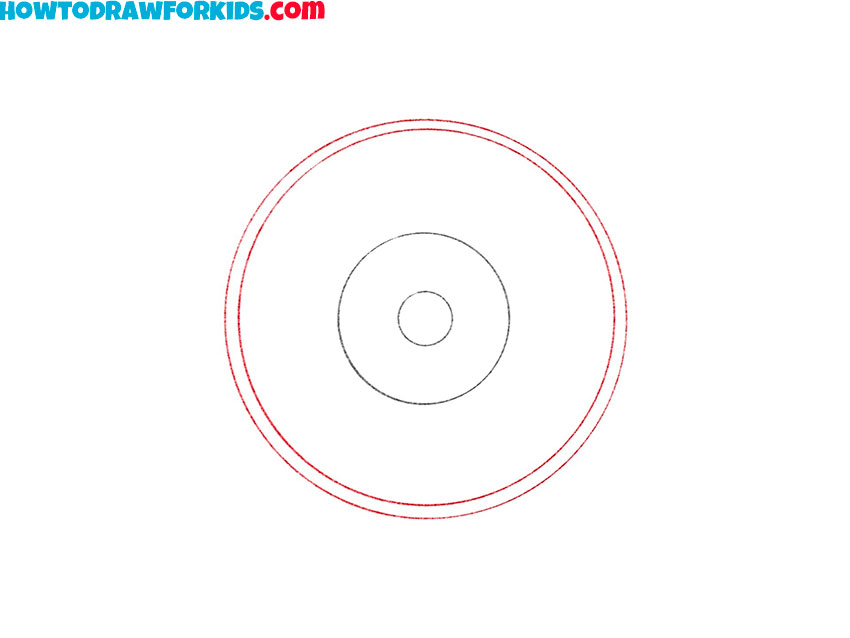
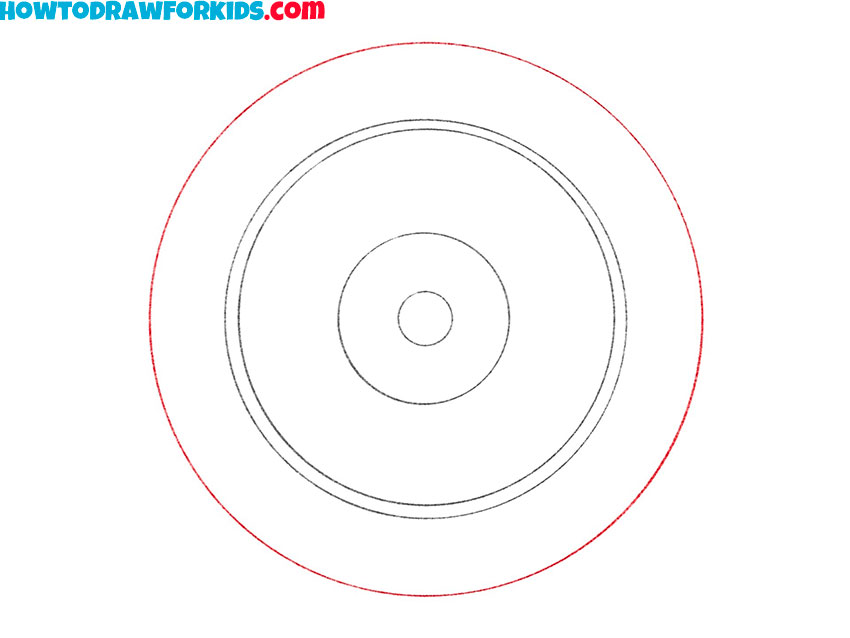
- Draw the outer outline of the wheel.
Now you should draw one larger circle than previously drawn.
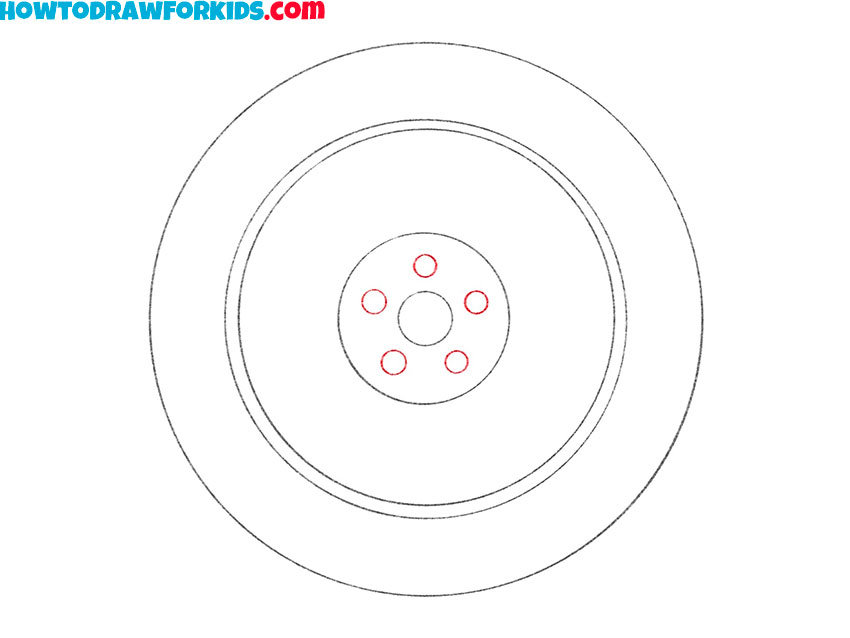
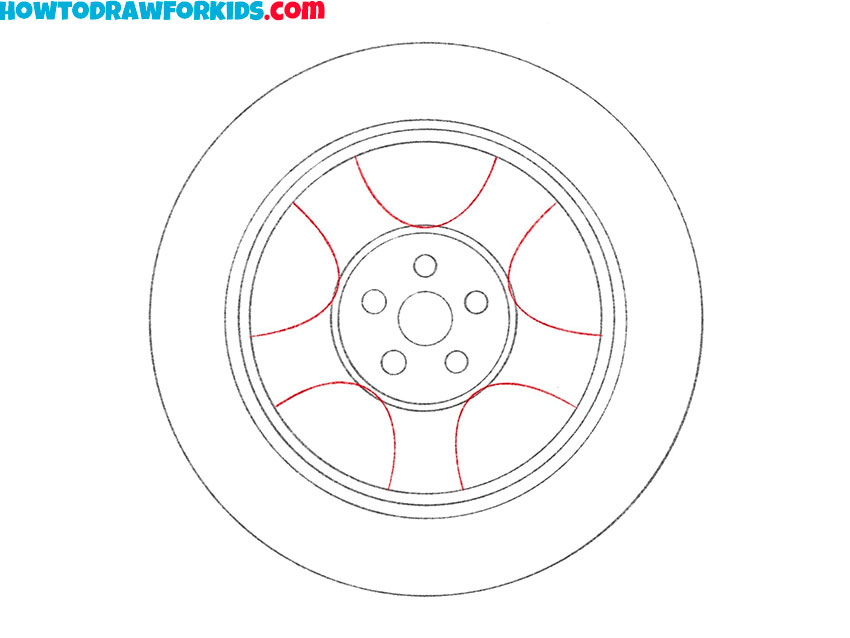
- Add the wheel disk elements.
Depict five identical circles of small size, as shown in the figure.
- Depict the few faces of the wheel disk.
Add two circles of different sizes, placing one inside the other.
- Sketch out the elements of the relief of the wheel disk.
Draw five identical arcs between the two previously drawn circles.
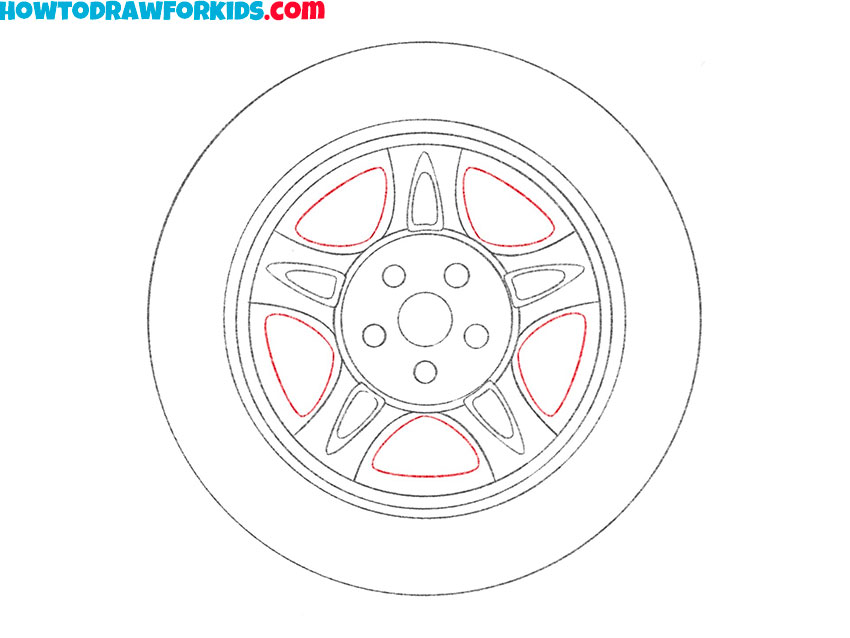
- Add some more elements.
Between the previously drawn arcs, place the same elements, as shown in the figure.

- Finish drawing the disk of the wheel.
Next to the previously drawn arcs, depict five identical shapes using curved lines.
- Color the drawing.
To color the wheel, use black and shades of gray.
Additional Content
For those eager to sketch and learn at their own pace, a free PDF file of this wheel drawing lesson has been crafted. This condensed version is a practical tool for offline learning, ensuring that the fun of drawing doesn’t have to pause – even when the internet does.
It’s a resource that young artists can return to time and again, whether to master the basics or to challenge themselves with more complex wheel designs. The PDF is designed to be user-friendly, encouraging repeated practice, which is the cornerstone of developing any new skill.
Alternative Drawing Techniques
To keep the wheels of creativity turning, I’ve introduced another alternative drawing technique for crafting a wheel. This new method adds a twist to the traditional approach, offering a chance to practice a different style and sharpen your artistic prowess.
How to Draw a Wheel for Kindergarten
This drawing method is ingeniously crafted to be so straightforward that it’s perfectly suited for kindergarten-aged children. With only seven simple steps to follow and a focus on the essentials, young artists can successfully depict a wheel without getting caught up in intricate details.
It encourages budding artists to engage with basic geometric shapes and understand the foundations of drawing, providing a satisfying and confidence-building activity for little ones just starting out on their artistic journeys.
Common Wheel Drawing Errors to Evade
Roll up those sleeves, young artists, because we’re about to fine-tune our masterpiece on wheels! Even the pros have a little bump in the road now and then, so let’s check out some common slip-ups to steer clear of next time:
- Not-So-Round Wheels: The secret to a great wheel is in its roundness. If it’s more oval, your car might look like it’s in a cartoon chase!
- Mismatched Rims: Each section of the rim should look like twins. If they’re uneven, your wheel might look like it’s winking!
- Forgetting the Hub: The hub is the heart of your wheel. Miss it out, and your wheel is like a donut without the jam!
There you go, friends! Steering clear of these little hiccups will have your wheels spinning in tip-top shape. Every line is a learning lane, and every mistake is just another mile on your journey to becoming a fabulous artist.
Conclusion
What a ride it’s been sketching out those wheels together! If you’re hungry for more, my website is just bursting with colorful lessons – like how to paint a vibrant rainbow or draw a beautiful princess.
I’m always sharing new and exciting stuff, so make sure you follow me on social media to catch all the artistic action. And remember, your ideas are the stars of our show; if you have a dream drawing you want to do next, leave me a comment below. Your wish might just be my next drawing mission.