How to Draw a Rainbow
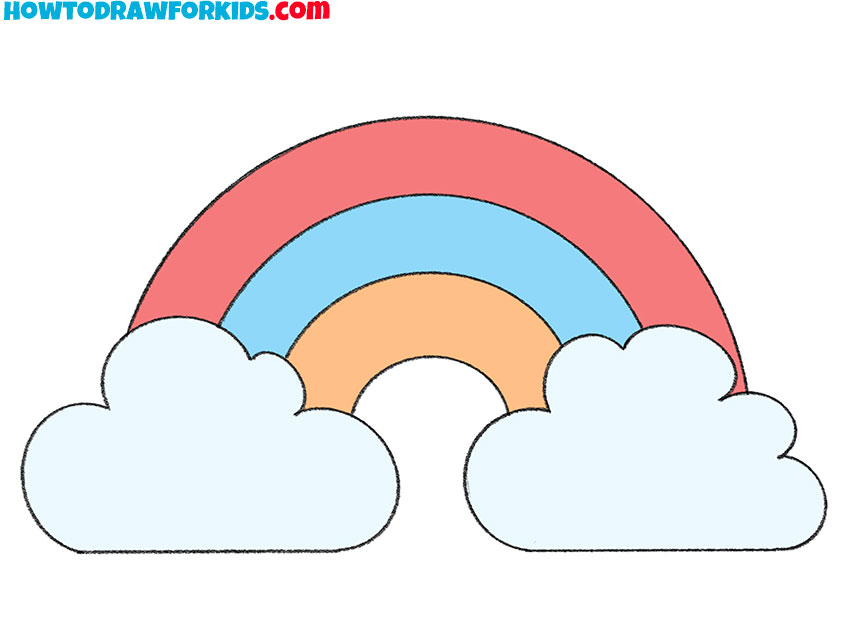
In this how to draw a rainbow guide, I aimed to transform the elusive arc of colors into a sequence of simple steps. This method is not just about drawing; it’s a way to translate the ethereal beauty of light refracted into joyous curves on your canvas. Each line you draw is a step closer to recreating nature’s own vibrant palette.
How to Draw a Rainbow: Basic Information
In the realm of artistic endeavors, the question of how to draw a rainbow with its effervescent hues often stirs a sense of wonder. I’ve crafted this lesson to demystify that process, laying out a path as clear as the arc in the sky. Through my unique method, readers are invited to discover the joy of bringing a rainbow to life, one simple step at a time.
This particular rainbow drawing features a distinctive technique, with clouds serving as the foundation for the rainbow’s arch. The red outlines I’ve incorporated are not just guides; they are the silent narrators of our creation story, ensuring each band sits in harmony with its siblings.
To draw a rainbow is to engage in an act of alchemy, transforming the mundane into the magical. As I share this method, we’re not merely sketching; we’re embarking on an artistic journey. With each line, we chase the elusive beauty of a rainbow, capturing it with pencil and paper for all to behold.
Rainbow Drawing Tutorial
Materials
- Pencil
- Paper
- Eraser
- Coloring supplies
Time needed: 20 minutes
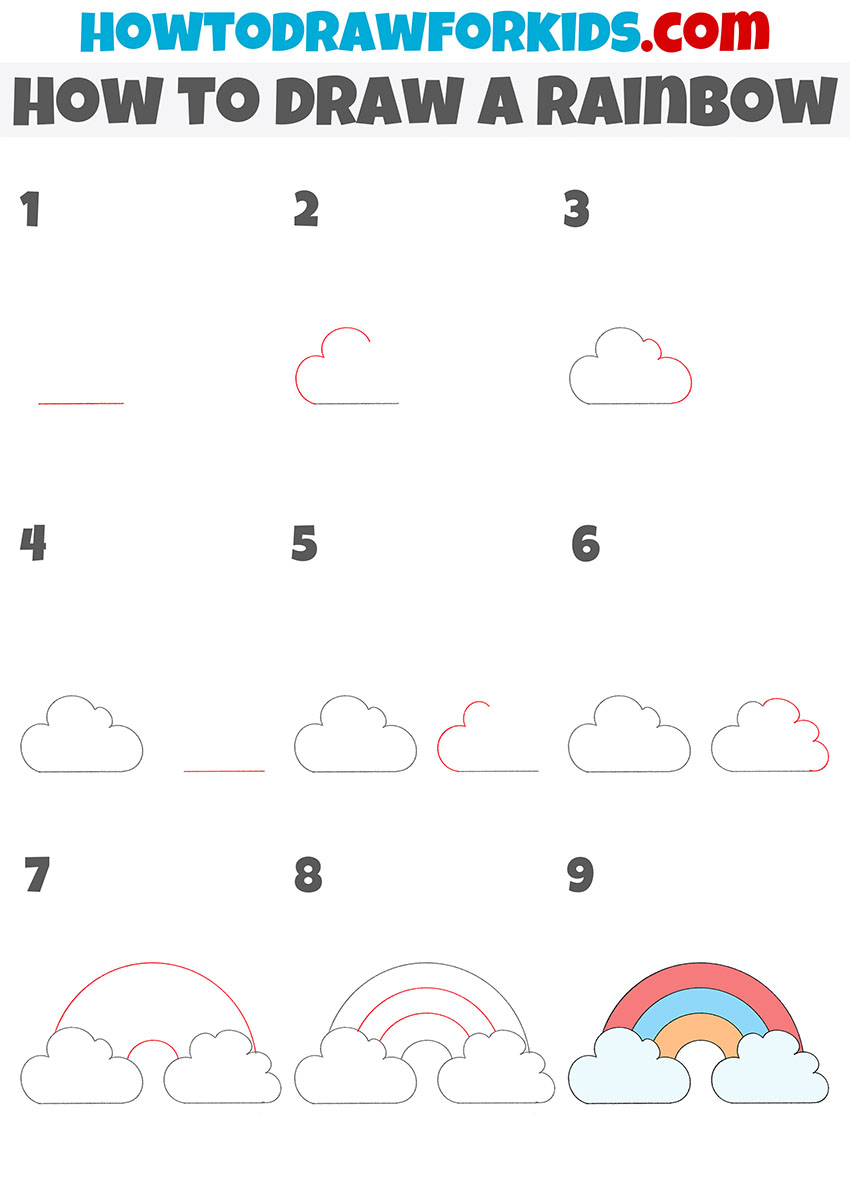
How to Draw a Rainbow
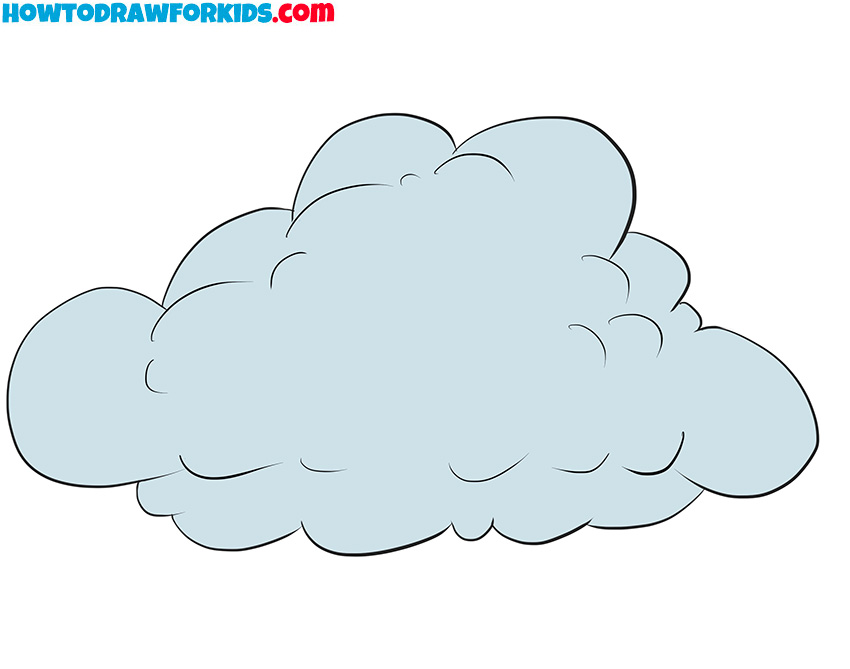
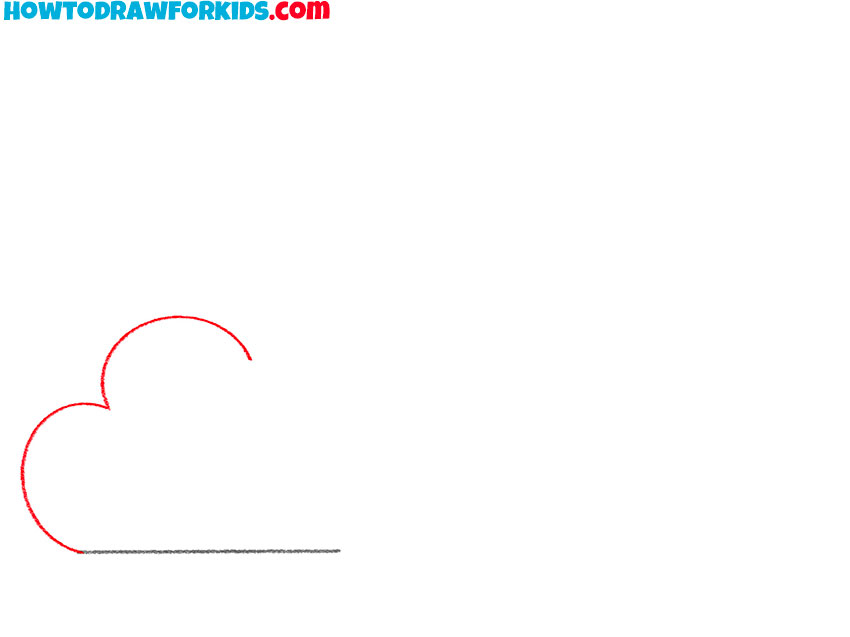
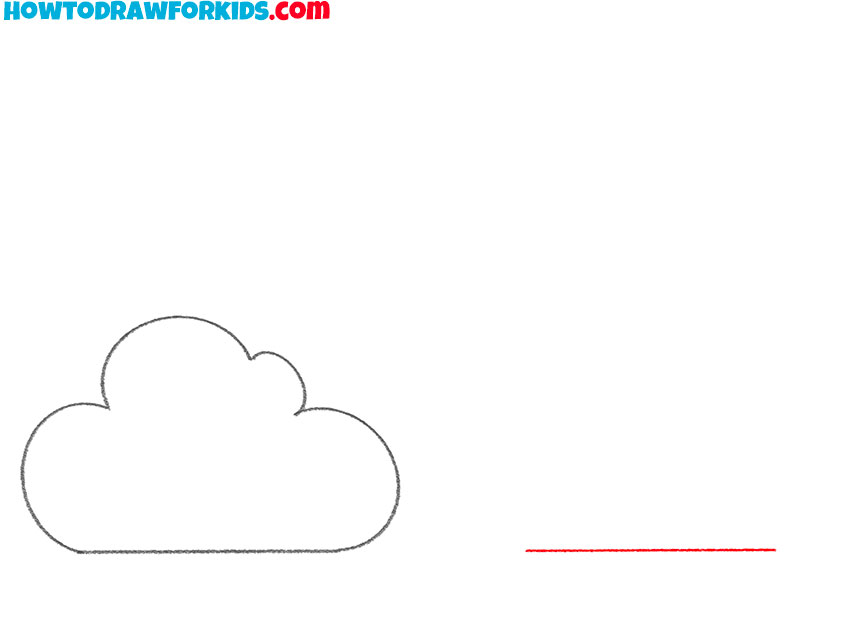
- Start drawing the clouds.
You should draw one straight horizontal line at the bottom left corner of your drawing.

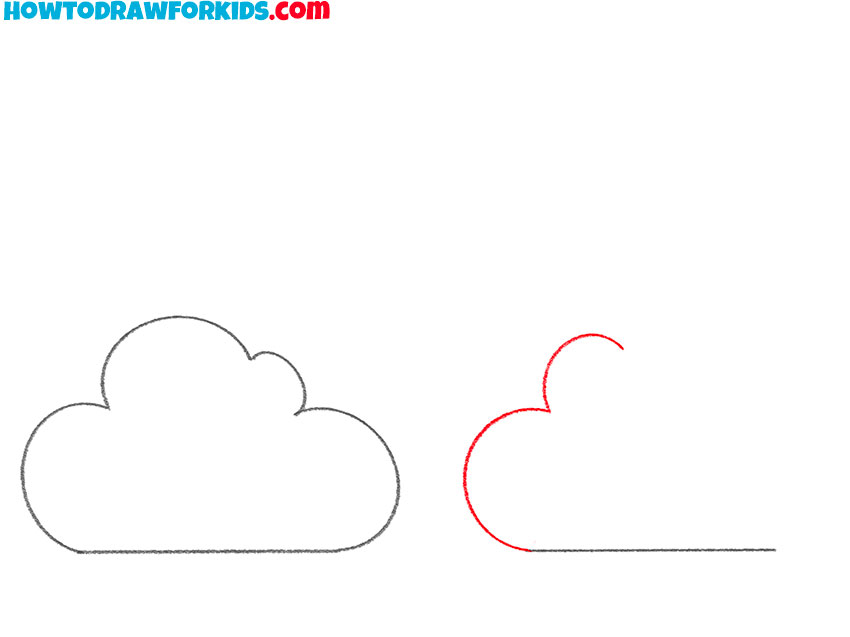
- Continue drawing this cloud.
From the end of the previously drawn straight line draw two arcs connected to each other.
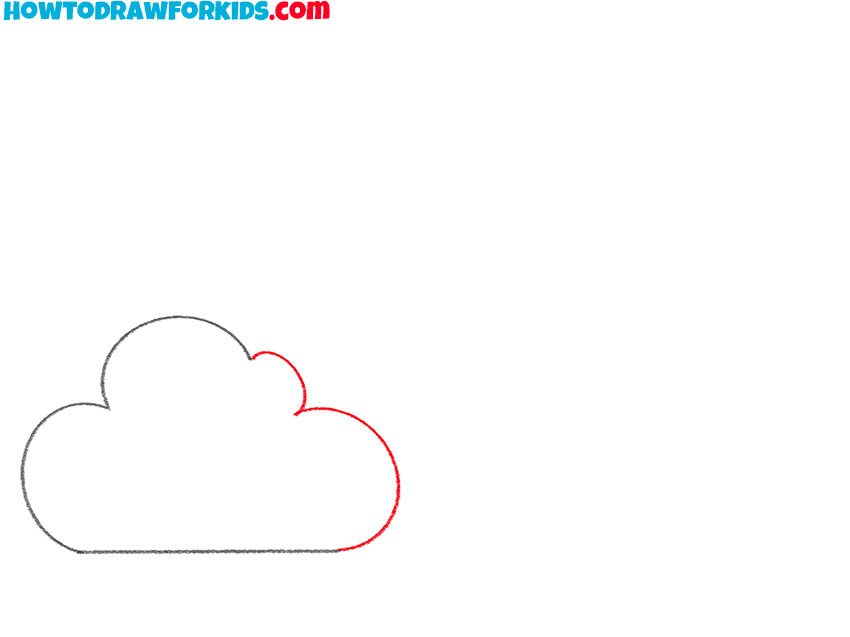
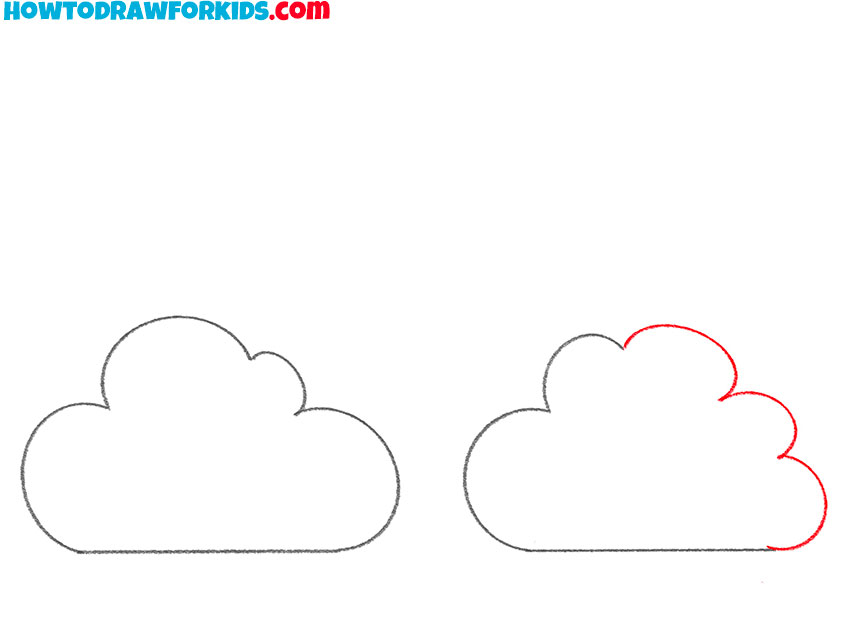
- Complete the drawing of this cloud.
Add two more arcs of different sizes to connect the previously drawn lines together.
- Start drawing the second cloud.
Add a straight horizontal line to the bottom right corner of your drawing.
- Continue drawing the second cloud.
Now you should add two arcs of different sizes continuing the previously drawn line.
- Complete the drawing of this cloud.
Add a few more rounded lines to connect the arcs you drew earlier and the straight line.
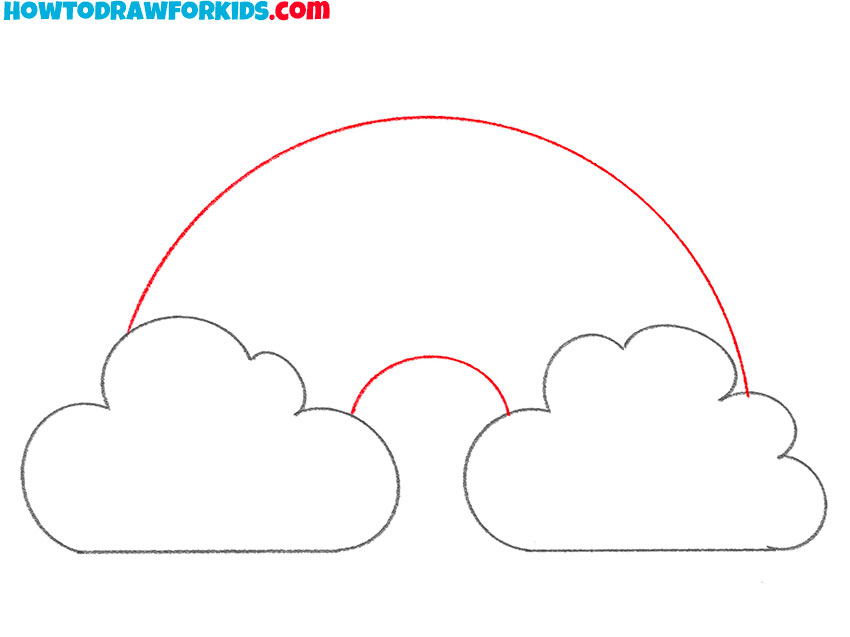
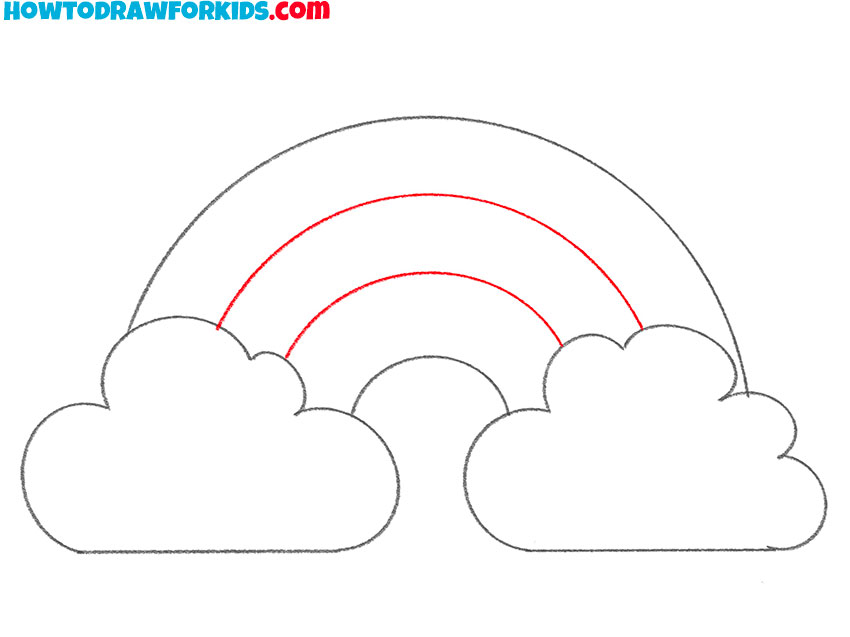
- Draw the outline of the rainbow.
Add two arcs of different sizes to connect the two previously drawn clouds.
- Add the inside of the rainbow.
Between the two previously drawn arcs of different sizes add two more arcs.
- Color the drawing.
To color this rainbow, use red, shades of blue, and orange.

Additional Content
As your artistic mentor, I’m excited to share that I’ve created a free PDF file to accompany our rainbow drawing lesson. This handy resource is perfect for practice on-the-go or in the comfort of your offline sanctuary. It’s packed with extra materials, aimed at further developing your drawing prowess after you’ve mastered the basics.
This PDF isn’t just another step-by-step guide; it’s the next chapter in your artistic journey. Consider it your personal sketchbook of inspiration, filled with exercises and challenges to refine your skills. The focus is on enhancing what you’ve learned, pushing your boundaries, and taking your creativity to new horizons.
I’ve tailored this PDF to be a constant companion in your art adventures, providing valuable content to revisit time and again. It’s a portable classroom, a reminder that your learning doesn’t stop once the main lesson ends. With this, I hope to encourage your continuous growth as an artist, beyond our initial rainbow drawing session.
Alternative Drawing Technique
In my quest to nurture your artistry, I’ve conceived a secondary rainbow drawing method that’s a breeze for beginners yet still engaging for seasoned artists. This technique strips down the complexity, providing a path to practice that’s as refreshing as a spring shower, ensuring your skills grow like a garden in bloom.
Embracing this novel approach will allow you to engage more deeply with the essence of the rainbow, focusing on the harmony of its arch rather than the intricacy of its form. It’s an opportunity to refine your artistic intuition, encouraging a more fluid connection between your vision and your hand’s movement.
As you wield this new method, you’ll find that mastering the rainbow’s arc becomes a joyful exercise in simplicity. It’s a testament to the power of less is more, challenging you to evoke the same splendor with a touch of minimalism, and in doing so, sharpen your artistic sensibilities to their finest point.
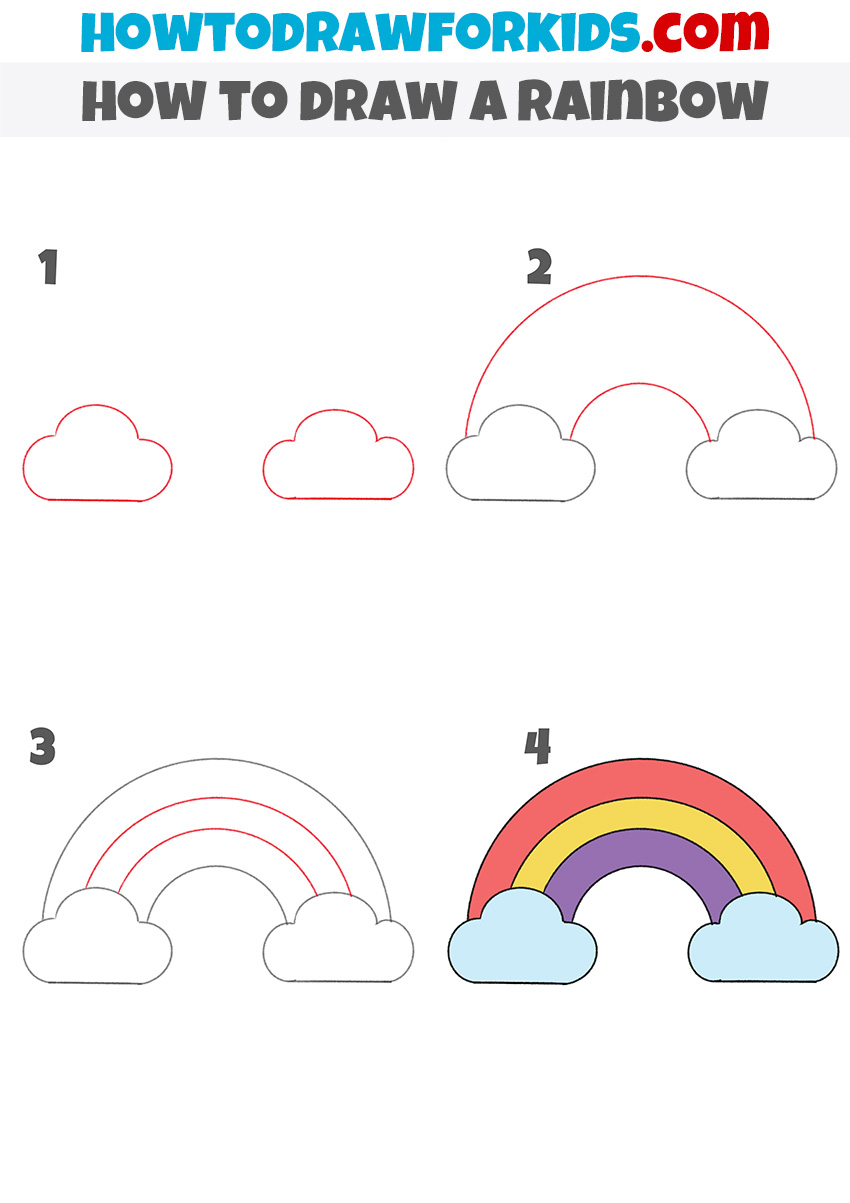
How to Draw a Rainbow for Kindergarten
Starting simply, step one of our alternative method invites the littlest artists to draw two clouds, employing basic shapes to build their confidence. It’s a gentle introduction to the concept of form, perfect for kindergarteners eager to express their creativity without the pressure of complex steps.
For step two, a singular bold arc springs forth, connecting the clouds. It’s a foundational stroke that introduces the concept of continuity in art. This simple act of drawing one arching line instills an understanding of structure, crucial for young minds beginning to explore their artistic potential.
Step three deepens the complexity just a touch, as children replicate the initial arc, adding layers to their creation. This repetition solidifies their grasp of the rainbow’s form. Step four is a burst of color, where they fill the arcs, each band a lesson in color theory and coordination, and a joyful conclusion to their artwork.
Fine-Tuning Your Rainbow Masterpiece
Embarking on this artistic voyage, we’ve unfurled the sails and navigated through the simple joy of rainbow creation. Yet, every journeyman requires a compass, and herein lie the tips and tricks to refine your craft, to elevate the humble arcs and colors into something that truly sings with the joy of expression.
- Begin with the clouds: Use a light touch with your pencil to create fluffy, billowing shapes. Consider them the soft pillows on which your rainbow will rest.
- Embrace the arc: When drawing your rainbow’s arch, keep your wrist loose for a smooth, flowing line. A relaxed hand yields the most natural curve.
- Maintain uniformity: As you add additional arcs, use your initial line as a guide to ensure each band of your rainbow is evenly spaced.
- Color with care: Select your colors in the order they appear in a natural rainbow, and fill in each section with gentle, even strokes to avoid heavy-handed marks.
- Experiment with blending: Try softly blending the edges of each color where they meet to create a subtle transition, much like the gentle merging of hues in the sky.
- Practice symmetry: Aim for your rainbow’s halves to mirror each other, creating a balanced and harmonious design that is pleasing to the eye.
- Patience is key: Take your time with each step, ensuring precision and care, fostering a sense of mindfulness that is as rewarding as the finished piece.
In closing, these guidelines serve as your toolkit to enhance the rainbow drawing process. Each tip is a stepping stone to mastery, and with every attempt, your hand grows surer, your eyes keener, and your art, a mirror to the wonders of the world. Let these beacons of advice illuminate your path as you continue to color your canvas with the splendors of the rainbow.
Adding Life to Your Rainbow Drawings
With the rainbow now vividly adorning your canvas, the journey through color and form doesn’t end here. To truly enhance your drawing, let’s expand the vista and add elements that bring context and life to your creation. Below are curated suggestions to elevate your artwork, each a doorway to further imagination and skill.
- Incorporate the Sun: Off to the side, where light originates, sketch a radiant sun. Use soft lines for the rays to suggest a gentle dawn or dusk, illuminating your rainbow.
- Dabble with the Rain: Underneath the arc, try adding delicate raindrops. Capture them mid-fall with fine, tapered lines, each a fleeting jewel descending from the clouds.
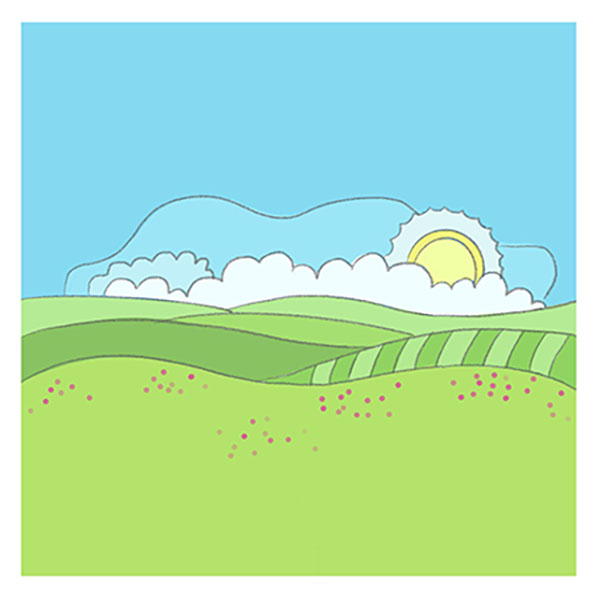
- Craft a Landscape: Imagine where your rainbow might touch down. Roll out green hills below, perhaps with a textured pattern to mimic grass, adding depth and grounding your scene.
- Add Flora: Flowers or trees at the rainbow’s ends could signify growth and life. Draw a variety of species, each with distinct leaves and petals, to create a botanical richness.
- Feature Fauna: Consider what wildlife might be admiring your rainbow. A silhouette of a bird in flight, or a rabbit poised in wonder, gives a breath of animation.
- Introduce Characters: Place a child or a whimsical creature gazing up at the rainbow. Show their interaction – maybe they’re reaching out or simply sitting in awe, adding narrative to your piece.
- Play with Weather Effects: Depict the transition from storm to sun by showing clearing clouds or the shifting light. Light pencil shadings can represent the fading rain.
- Enhance with Accessories: A kite caught in a gentle breeze or balloons escaping to the skies can add movement. These elements tell a story of play and freedom.
- Build a Scene: If a rainbow is over a village, sketch quaint houses, a church steeple, or even a winding path. Each structure should be simple, inviting the viewer’s gaze to meander.
In weaving these elements into your drawing, you not only practice and improve your skills but also breathe life into your art. Each addition is a narrative thread, a piece of a story that only your hand can tell. So let the colors of your rainbow be the beginning, not the end, and watch as your canvas becomes a world rich with life and stories untold.
Conclusion
With our rainbow now vividly sweeping across the sky, why stop there? Explore an array of other fascinating tutorials on my website, such as the playful art of drawing dogs or the delicate strokes needed for a rose. Each lesson is designed to spark your creativity and refine your technique in ways you’ve yet to imagine.
Don’t miss a single brushstroke of inspiration – follow me on social media to catch all the latest announcements and content updates. Feel free to leave comments under this lesson with any special requests or ideas for future tutorials. Your input helps shape our artistic journey together, crafting each course to your aspiring artist’s palette.