How to Draw a Witch
Let’s illustrate a magical character and learn how to draw a witch in her classic outfit with a recognizable wizard’s broom.


If you want to learn how to draw a magical character, then this fascinating witch drawing lesson will surely help you.
A witch is a woman who practices magic and has magical powers and knowledge. This character is often seen in movies and cartoons.
In this lesson, you will first draw the witch’s body, then her costume and broom, and then color the finished drawing. I created this lesson for kids and beginners, so it’s very easy and understandable.
We’ve drawn a wizard before, and this tutorial will be very similar to that one, so learning both will greatly help to boost your overall art skills. So, prepare the drawing materials and start sketching the witch, following my instructions carefully.
Materials
- Pencil
- Paper
- Eraser
- Coloring supplies
Time needed: 35 minutes
How to draw a witch step by step
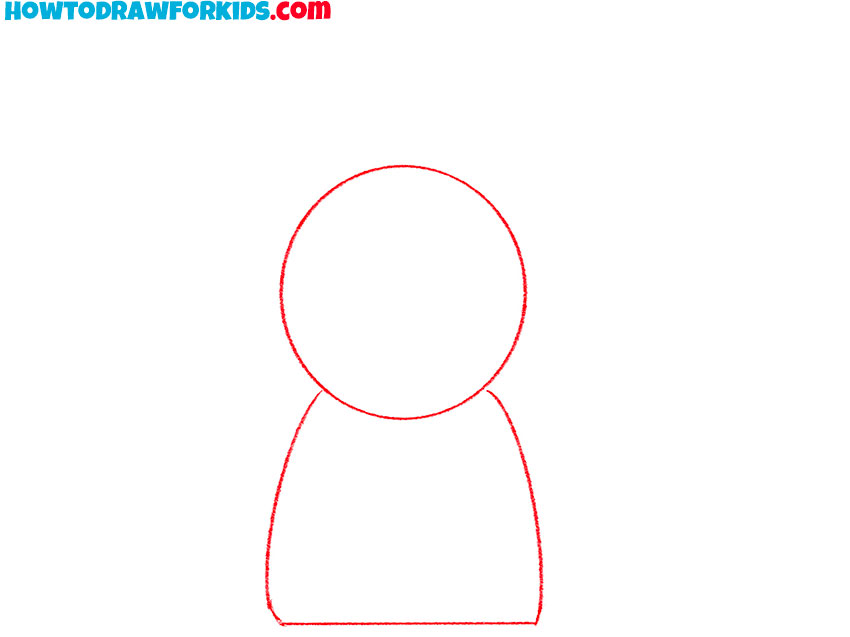
- Build the head and robe foundation.
Starting with the main shapes helps you place the character correctly on the page, so begin by lightly sketching two simple forms. Draw a smooth circle for the witch’s head, trying to make the lines light so you can adjust it later if needed. Then illustrate a rounded, bell-shaped body right beneath it, making the top slightly narrower.
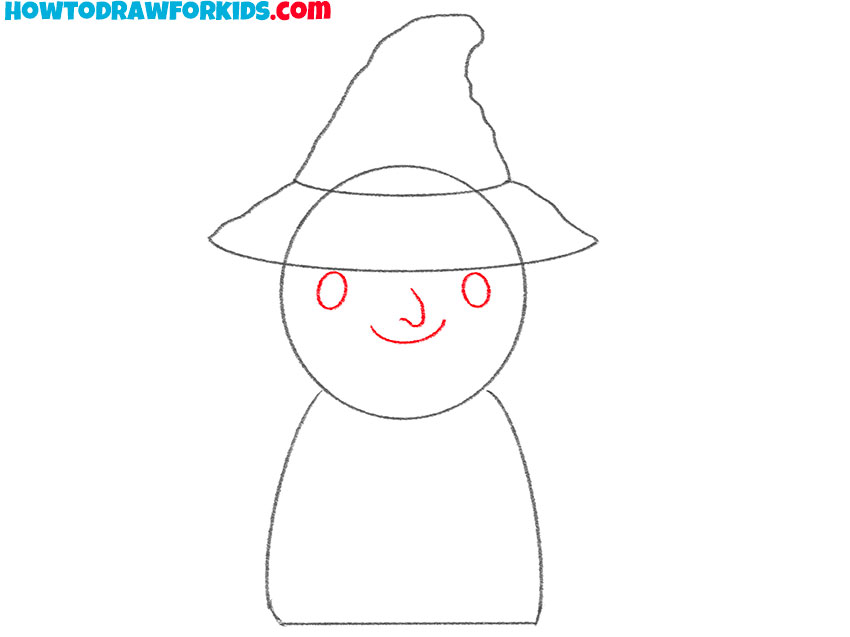
- Sketch the hat on top of the head.
The hat is one of the most recognizable parts of a witch drawing, so start sketching this part. To draw a witch hat, start by sketching a wide brim. Then illustrate the tall, uneven top of the hat. Let it bend slightly and include a few subtle bumps to give it a cloth-like feel instead of a stiff cone.

- Illustrate the witch’s facial details.
Begin by drawing the eyes as two small round shapes, trying to place them at the same height and give an equal spacing from the center. Then add a small hooked and curved nose in the middle and a simple smile. You can adjust the expression.
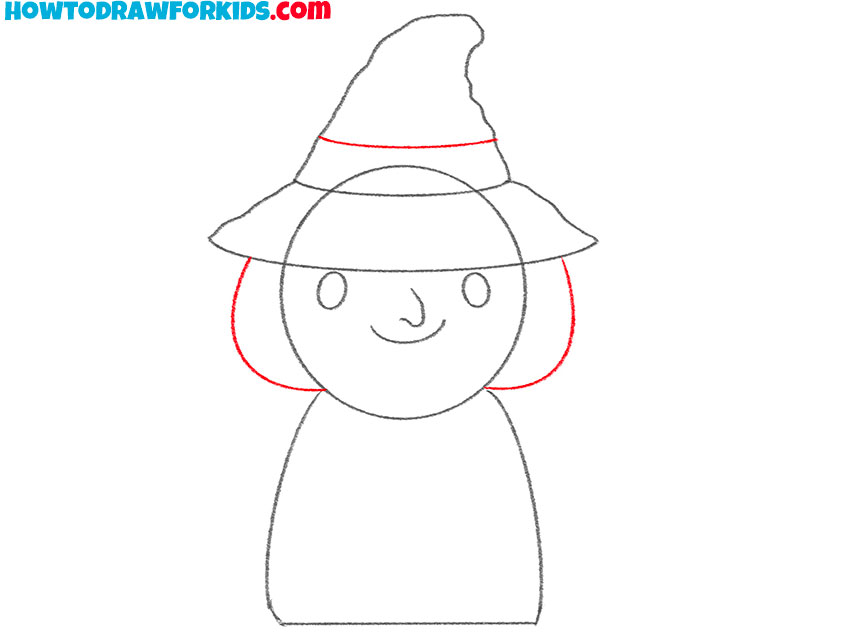
- Sketch the hair and make the hat band.
Begin by sketching two curved sections on the sides of the head, allowing them to peek out from under the brim of the hat. These shapes should follow the curve of the head closely. Keep the hair rounded and simple. You can draw the hair longer or shorter. Don’t forget to mark the brim on the hat.
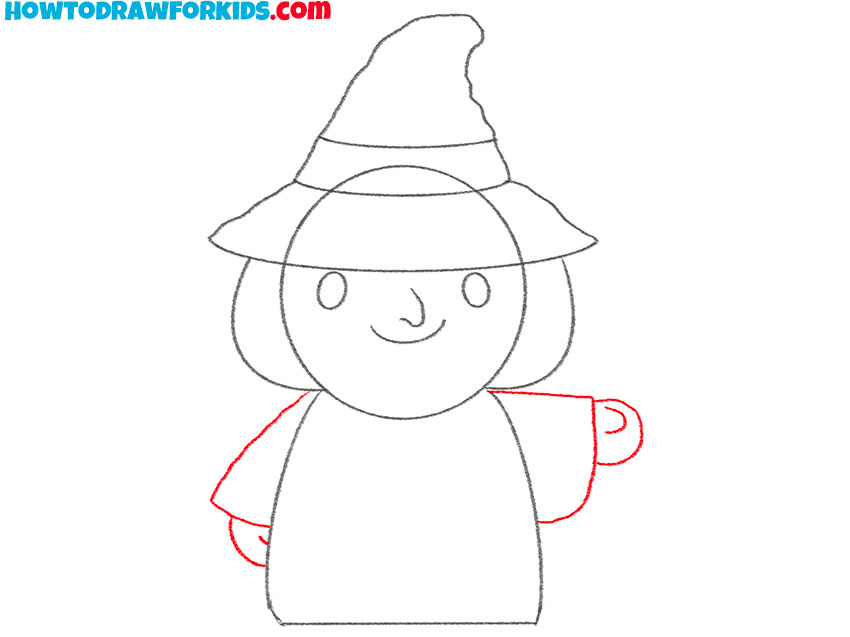
- Illustrate the robe sleeves and hands.
Begin by sketching rounded sleeve shapes on the witch’s left and right sides. Then draw the hands as small shapes emerging from the ends of the sleeves. Keep the hands simple – just rounded shapes with tiny thumb curves. Draw one arm slightly raised to later depict a broom.
- Draw the witch broom handle.
The broomstick is an important part of the character. To draw a witch broom, start by illustrating the handle as a long straight shape emerging from the hand. The lines on the left and right edges can be straight and symmetrical as in my illustration, but you can give the handle a more uneven shape.

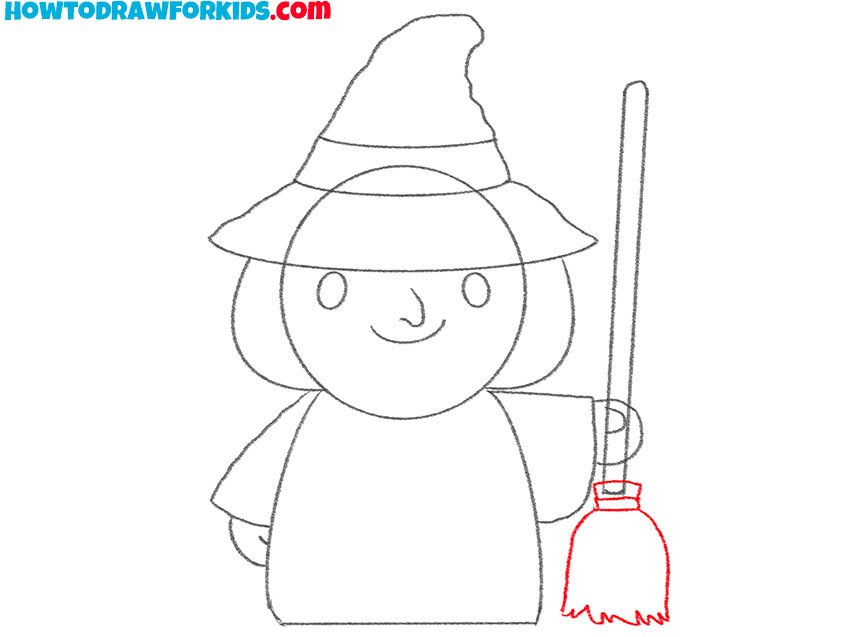
- Illustrate the broom bristles.
In the lower section, directly beneath the handle from the previous step, neatly outline the broom bristles, which consist of three parts. The upper part is the top edge of the bristles compressed by the binding. Just below it, draw the band that holds the bristles together. Under that, add the largest section of the broom brush, made up of many small bristles gathered into one form.
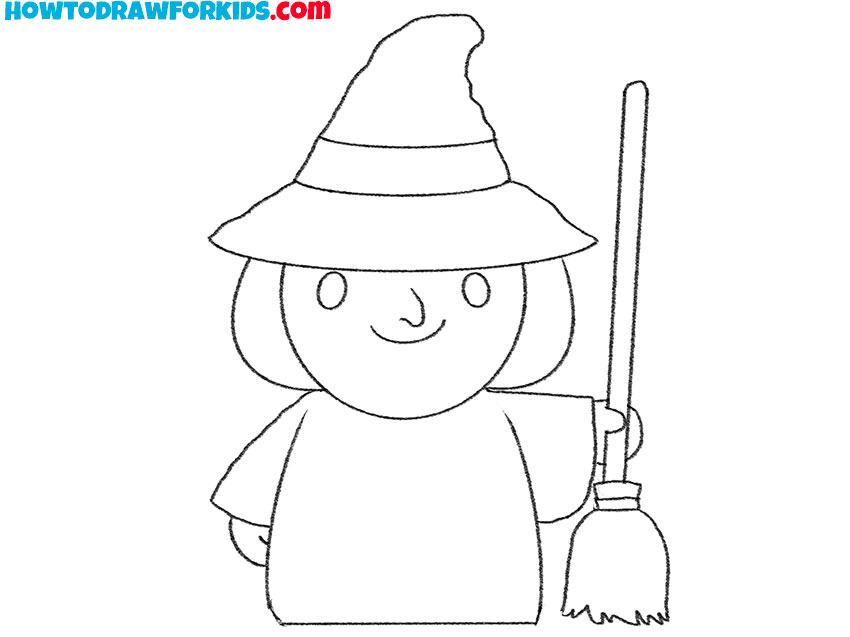
- Clean up the witch drawing.
Cleaning up the witch drawing helps it look finished and clear. At this stage, gently erase all unnecessary sketch lines – this includes overlapping construction shapes on the hat brim, any unnecessary marks inside the sleeves, and extra guidelines of the head. Keep the main outlines visible while removing anything that distracts from the clean final forms.
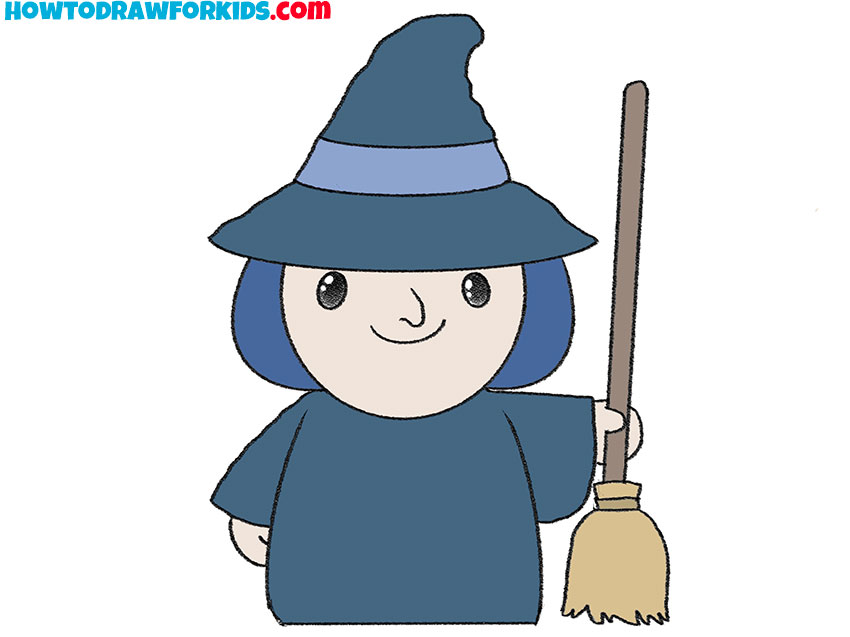
- Add color to complete the drawing.
Choose a soft palette, starting with the hat and robe in a matching or complementary color. Paint the hat, remembering to fill the band a different shade. Color the hair and face using any tone, from natural colors to more unusual shades. For the broom, use a natural brown for the handle and a lighter yellow or tan for the bristles.
Great job! I’m sure you did really well at drawing a witch. Don’t forget to download the PDF file which contains a short version of this drawing lesson and some additional useful materials.