How to Draw an Apple
Learn how to draw an apple in this easy tutorial, which offers four simple methods for sketching this juicy fruit.

How to Draw an Apple : Introduction
Among all the popular objects that interest young artists, the apple probably holds one of the very first places. This simple subject attracts attention because it is easy to draw, containing basic shapes that are simple to repeat and can give a nice result.
In addition, drawing an apple is one of the best ways to begin learning the art of still life.
Of course, there is no single way to draw an apple, and to show you this, I decided to supplement the main lesson with additional instructions that use completely different methods.
Apple Drawing Tutorial
Materials
- Pencil
- Paper
- Eraser
- Coloring supplies
Time needed: 20 minutes
How to Draw an Apple
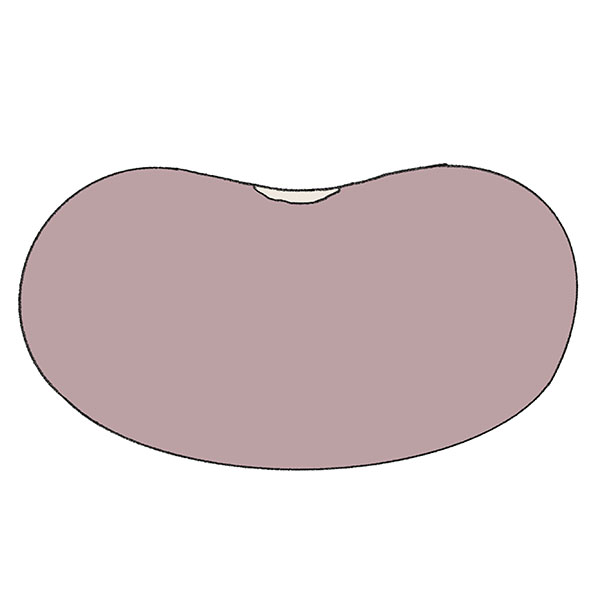
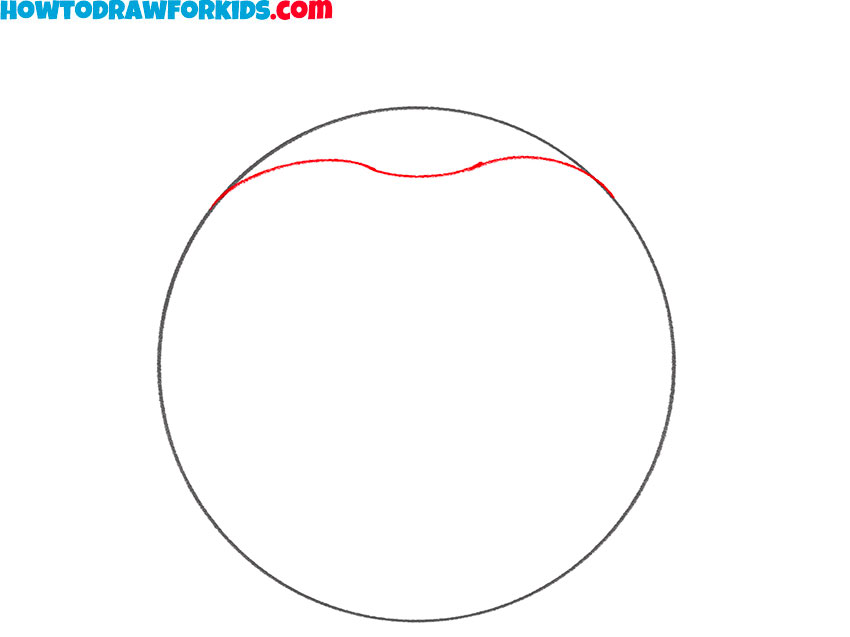
- Outline the fruit base.
Apples usually have a shape of an irregular circle, so sketch a simple and smooth shape for the base of the fruit. Remember, that real apples have slight variations in shape. Don’t try to create a perfectly smooth shape at this step, because in the future steps this shape will be adjusted.

- Create the fruit’s upper dip.
Inside the top of your circle, draw a small wavy line that dips gently downward. This represents the indentation where the stem of the apple will go. This little curve is very important, because it makes the fruit recognizable rather than just looking like a plain ball.
- Draw the apple’s bottom dip.
Move to the bottom of your circle and draw another curved line, this time dipping upward. This indicates the blossom end of the apple. These dippings may vary depending on the specific fruit, so don’t try to copy the contours of my example exactly. Then, narrow the bottom half of the apple a little for a more realistic shape.
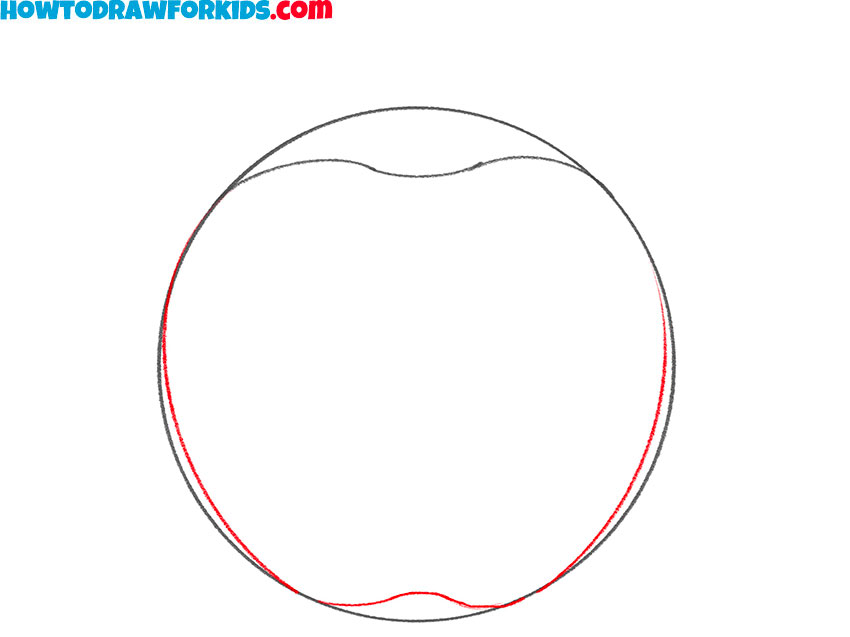
- Sketch the stem indentation.
Go back to the top of your apple and draw a small curve just below the deepening from the second step. This is where the apple stem will grow from. When you sketch an apple, it’s useful to remember that no two apples are identical, they often have irregular shapes.

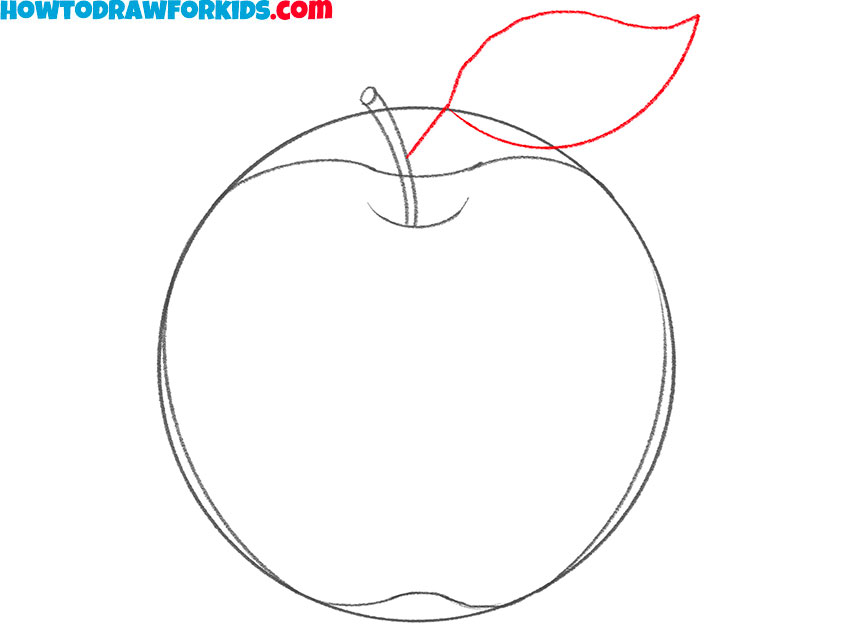
- Sketch the stem at the top.
From the top indentation, sketch a couple of short, curved lines and connect them at the top to create the stem. This part doesn’t need much detail, but you can add a few tiny lines across the stem to convey texture, or make a thickening at the very top. If you want variety, tilt the stem to another side.

- Add a leaf to the stem.
Attach a large oval-shaped leaf to one side of the stem. The leaf should have a pointed tip and a curved outline. Don’t worry if the placement isn’t perfect, because leaves on real apples grow in many directions. The leaf is optional, so if you want to draw an apple without it, you can skip this and the next steps.
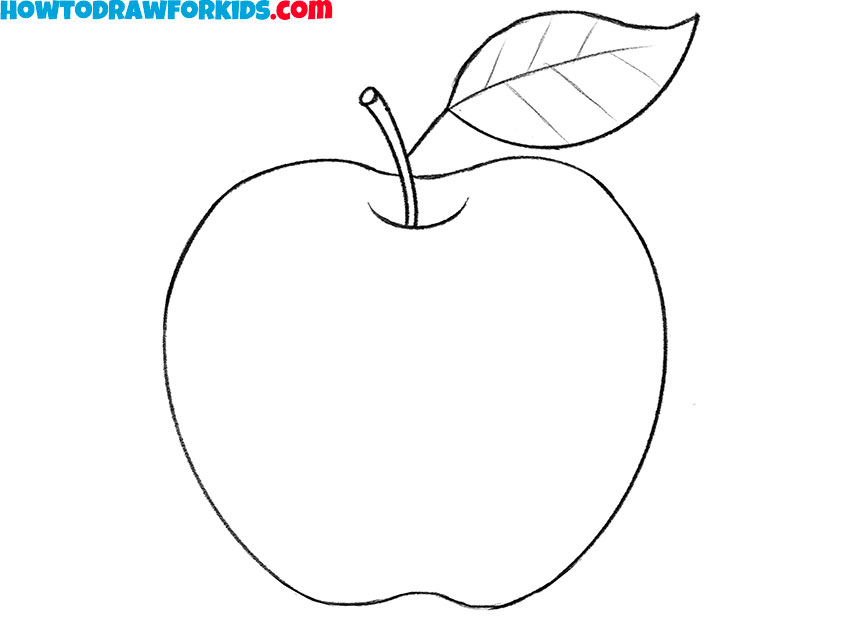
- Sketch veins on the leaf.
Inside the leaf, sketch a central vein running from the stem to the tip, then add smaller diagonal veins branching off. Slight differences on these lines will make the leaf look more natural. Don’t press too hard here, because if the veins are too dark, they can distract from the apple itself. Keep them light and simple.

- Clean up the fruit sketch.
Now take an eraser and carefully remove the extra guidelines from the circle and other parts. Redraw the outer outline with more confidence, making the apple’s contour smooth and neat. Always erase lightly, so you don’t damage the paper. After cleaning, you should have a clear, simple outline of an apple.
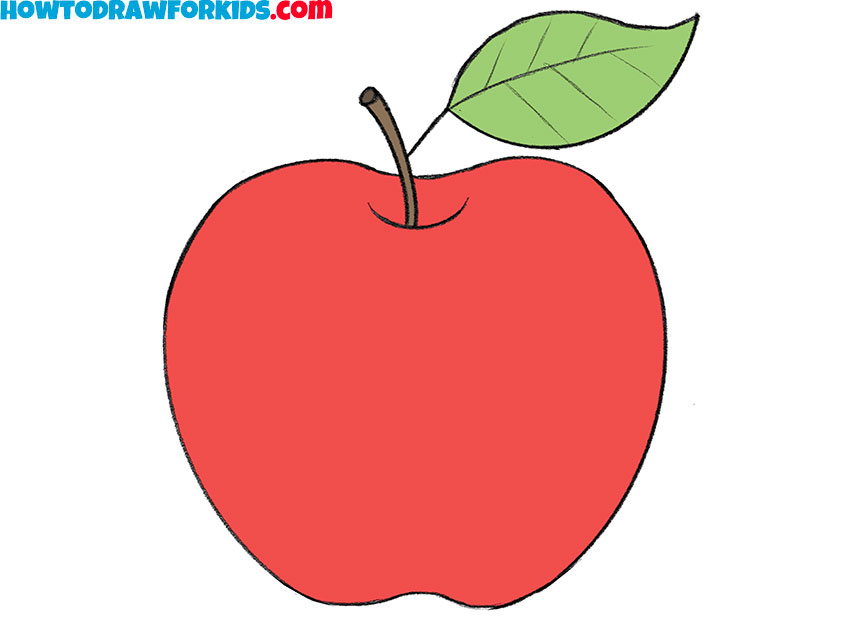
- Add color to the apple.
And now, use red for the apple’s body, green for the leaf, and brown for the stem. You can color your apple using flat technique, or add darker red or green shading for more realism. Also, you can leave a small white spot uncolored to show a highlight.

Additional Content
I have prepared a free PDF version of this lesson. It contains a shortened version of the tutorial that you can download and use at any time, even without the Internet. This file is convenient for practicing how to draw an apple step by step at your own pace.
How to Draw an Apple: Alternative Techniques
Since an apple can be drawn in different ways depending on the level of detail or the intended style, I have also prepared several alternative tutorials. These options allow you to practice drawing the fruit in both the simplest preschool form and in versions that show a bit more natural shape.
You can try these additional apple drawing tutorials to choose the approach that fits your needs best or to practice each variation for better skill development.
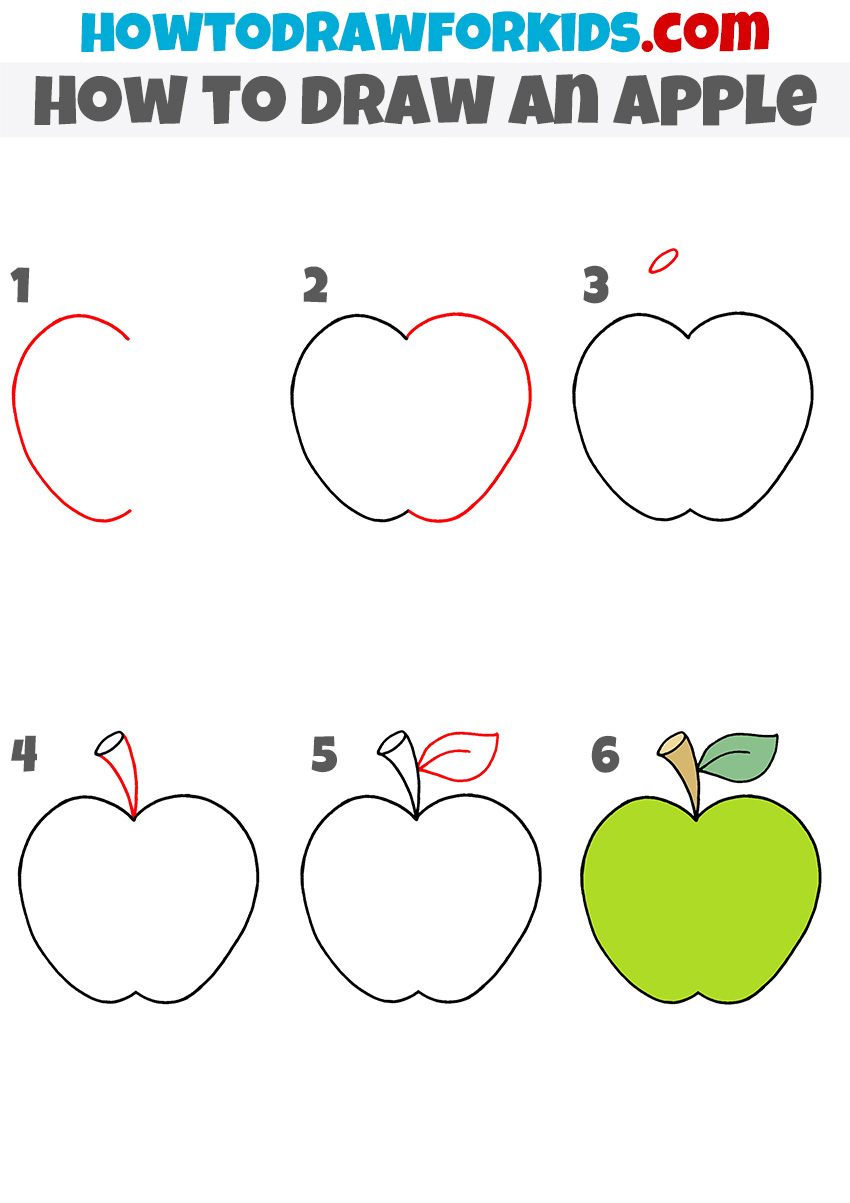
Apple for Kindergarten Drawing
And now, let’s try the simplest version possible, if the first tutorial was too hard for you. The subject here is shown in a very basic style, reduced to a rounded shape with a stem and a single leaf.
To sketch this simple apple, mark the main outline of the fruit as a large, rounded form. Add a short curved line at the top for the stem. Sketch a simple oval next to the stem to represent the leaf. Clean up unnecessary lines to keep the shape clear and neat. When shading or coloring, apply a flat tone for the apple surface and use a darker shade for the stem. Keep the leaf slightly lighter. Repeat these steps slowly, checking proportions as you go.
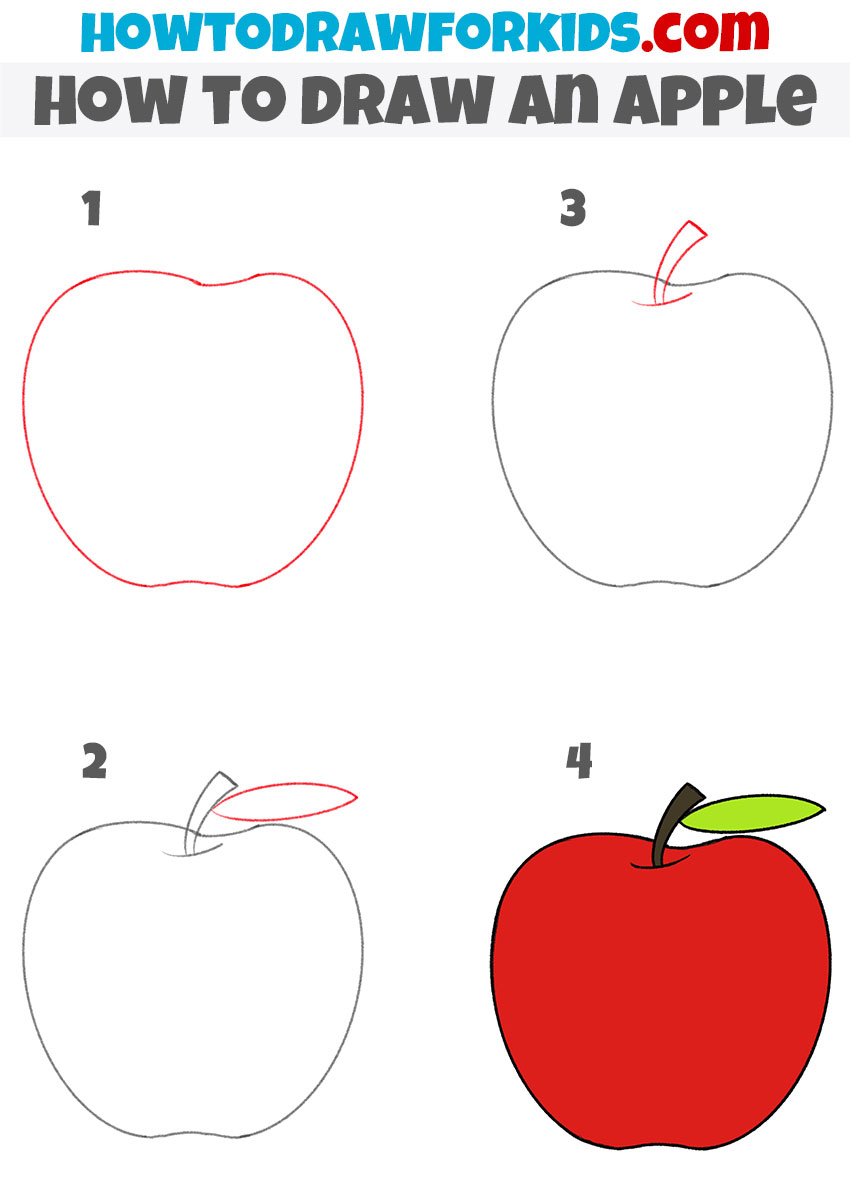
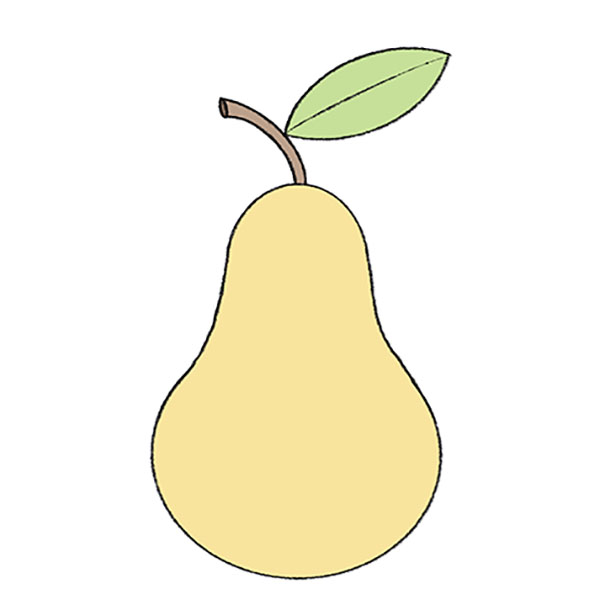
Simple Apple Drawing
Let’s try another apple drawing tutorial, but at this time the method will be slightly more advanced than the previous one. In contrast with the first tutorial, in this technique we will not use initial steps, but will draw the fruit a part by part.
Sketch the outline of the apple in two curved parts that meet at the bottom, keeping the sides symmetrical. Add a short oval above the apple to mark the top edge of the stem. Extend two curved lines from the oval down into the fruit to create the stem.
Sketch a simple leaf using an elongated oval with a pointed end. Add a center vein inside the leaf with a smooth line. Clean up extra lines and keep the outline clear. Use even pressure on the pencil to avoid uneven strokes. When coloring, fill the apple with one solid tone, apply a darker shade to the stem, and keep the leaf green.
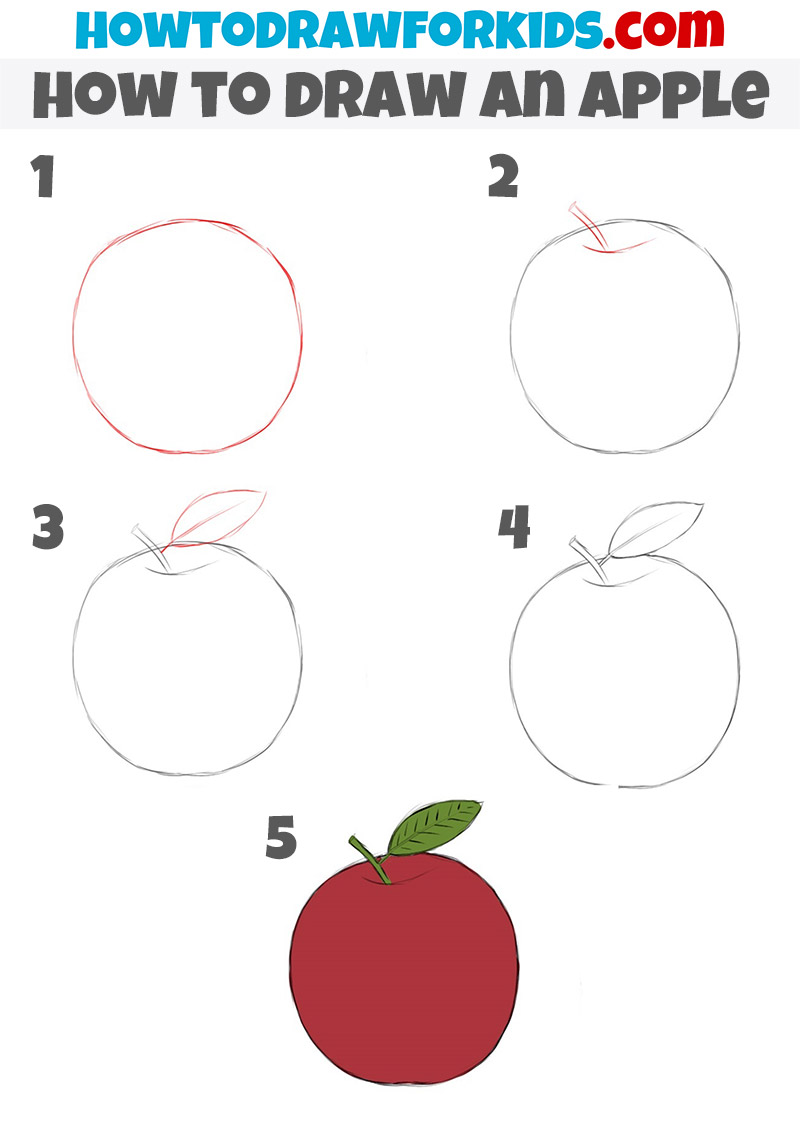
Another Way to Draw an Apple for Kids
This is the last version, and here I’ll show you how to draw an apple in a very simple and direct way. The fruit is presented with a smooth circular outline, a short stem, and a single leaf with a visible midrib.
Construct the apple by drawing a rounded shape that resembles a circle but allow for slight irregularity so it looks more natural. Add a curved line at the top to indicate the recess where the stem attaches. Sketch a short stem using two straight or slightly curved lines.
Place an elongated oval shape to one side of the stem to represent the leaf, then draw a central line down the leaf. Add smaller short lines branching from the center vein to create leaf texture, but keep them simple. When coloring, fill the apple with a single red tone, color the stem brown, and shade the leaf green.
Conclusion
With these steps, you now have a finished apple drawing that can be colored in different ways. Try drawing other varieties such as a green apple, a yellow apple, or even one with small spots for realism. You can also place two or three apples together to practice composition and shading.
If you liked this lesson, take a look at my other tutorials where i draw nature. For example, you can learn how to draw a tree, and illustrate a simple but realistic apple tree. Or you can lean to draw a rose, to illustrate another popular nature object.
Share this tutorial with friends, leave a comment with your result in my social media, and don’t forget to subscribe to stay updated with new drawing guides.