How to Draw a Cupcake
Welcome to our artistic bakery where you, the young artist, will learn how to draw a cupcake in three exciting methods, all within one lesson tailored just for kids. This variety ensures that every young artist can find a method that resonates with them, encouraging creativity and a love for drawing.
How to Draw a Cupcake: Basic Information
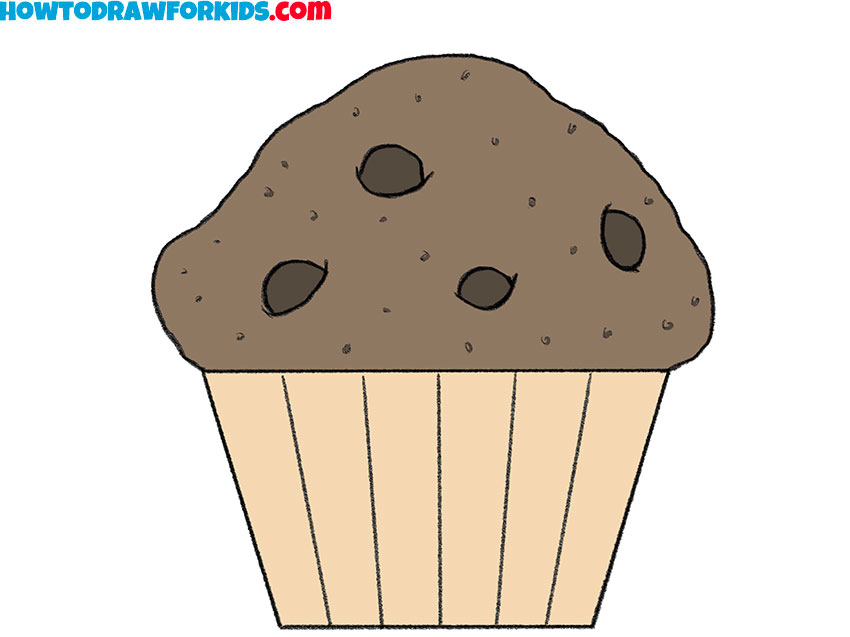
Today’s art adventure is all about sweetness and smiles as we learn to draw a cupcake. Our guide is so easy to follow that you’ll be a cupcake-drawing pro in no time! This drawing lesson was designed to make drawing simple and enjoyable for you. So, let’s make some art magic happen with our pencils and paper!
Look at our cupcake – it’s not just about drawing a treat, it’s about creating something that brings joy. Each step is crafted to be easy and fun. You’ll learn to observe and recreate the cheerful curves and delightful details that make a cupcake special. There’s no rush – take your time to enjoy every line.
As we get ready to draw a cupcake, think about all the fun colors and details you want to include. Will your cupcake have sprinkles, or will it be chocolate or vanilla? This is your chance to be creative and make something that looks delicious. So, let’s put our imaginations on paper and start drawing!
Cupcake Drawing Tutorial
Materials
- Pencil
- Paper
- Eraser
- Coloring supplies
Time needed: 20 minutes
How to Draw a Cupcake
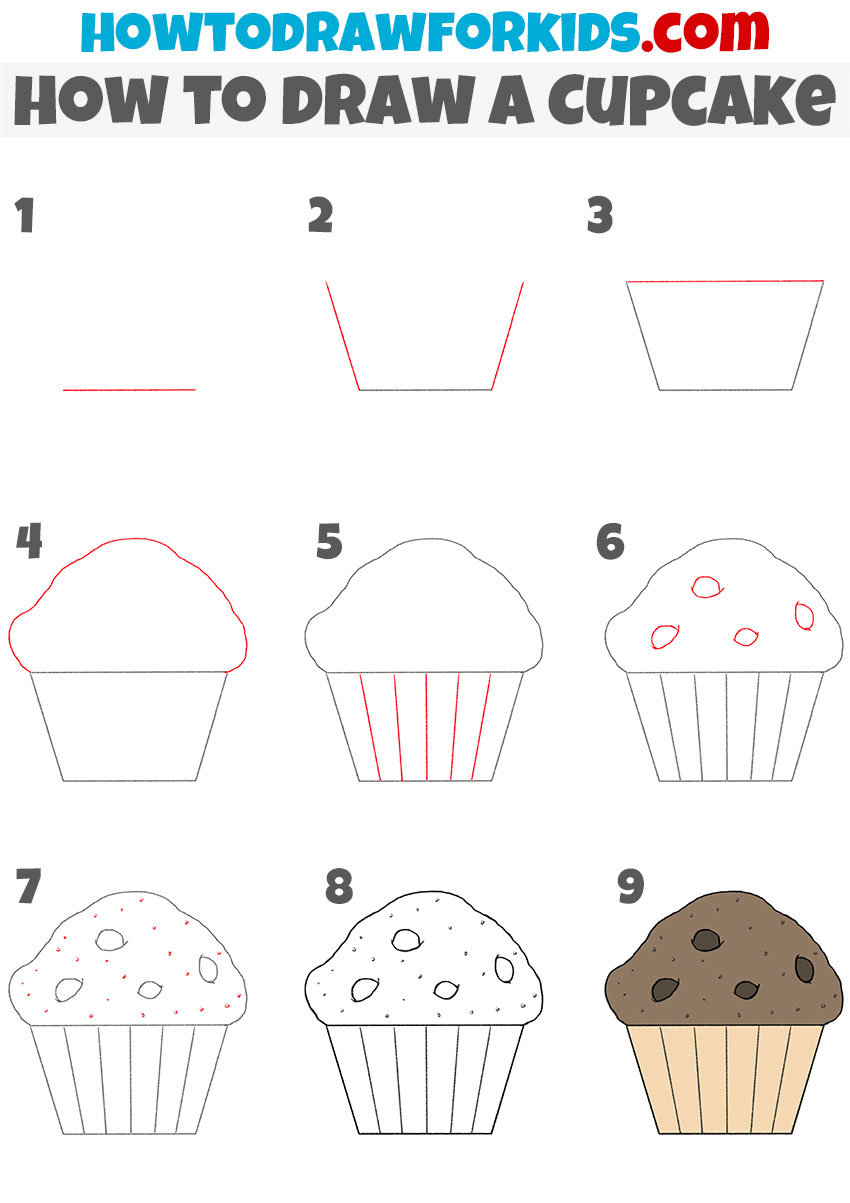
- Draw the bottom outline.
Start your cupcake with a horizontal line. This will be the base of your cupcake’s frosting. Keep the line straight and even, as it will guide the proportions of your drawing.

- Add the sides of the cupcake.
Create two diagonal lines descending from the ends of the baseline, coming closer together but not touching at the bottom. These lines will form the sides of the cupcake liner and should converge at a gentle angle.

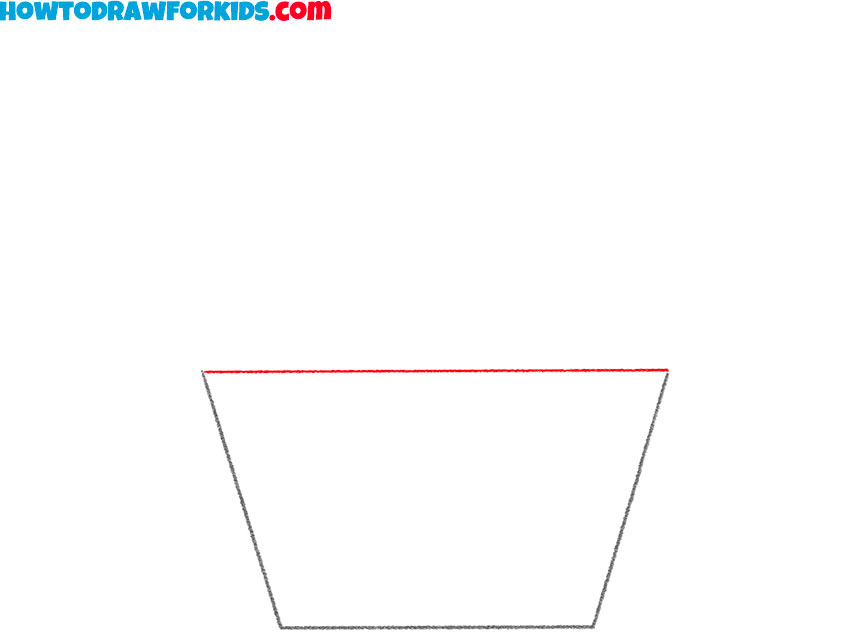
- Draw the middle of the cupcake.
Connect the ends of the diagonal lines with a slightly curved horizontal line. This completes the outline of the cupcake liner and gives the base of your cupcake a solid foundation.
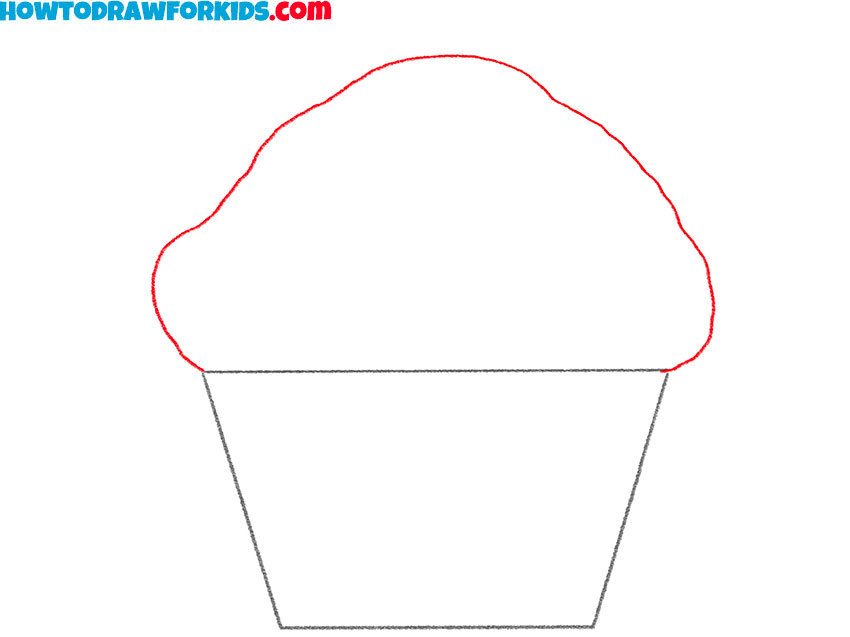
- Add the top of the cupcake.
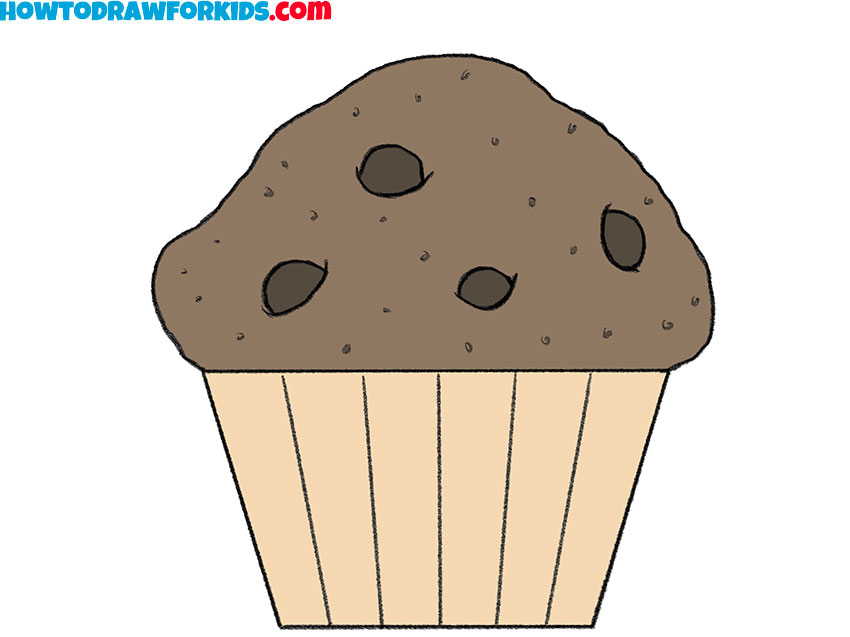
Above the base, draw a wide, curved mound for the frosting. This shape should be reminiscent of a fluffy cloud sitting atop the cupcake liner, with the curve peaking above the base line.
- Complete the bottom of the cupcake.
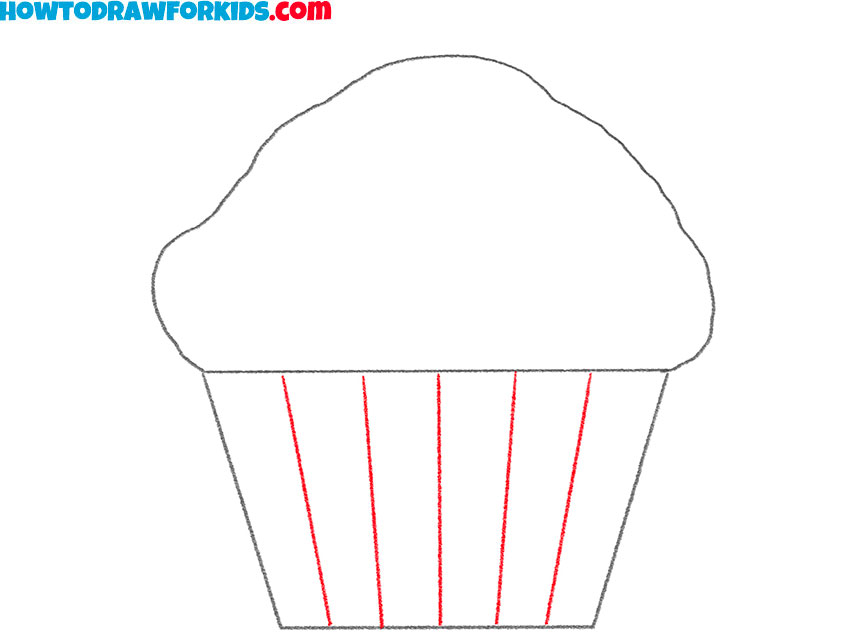
Add vertical lines within the cupcake liner, starting from the top edge to the bottom. These represent the folds of the liner and should be evenly spaced and parallel to give it a realistic look.
- Draw the chocolate chips on top.
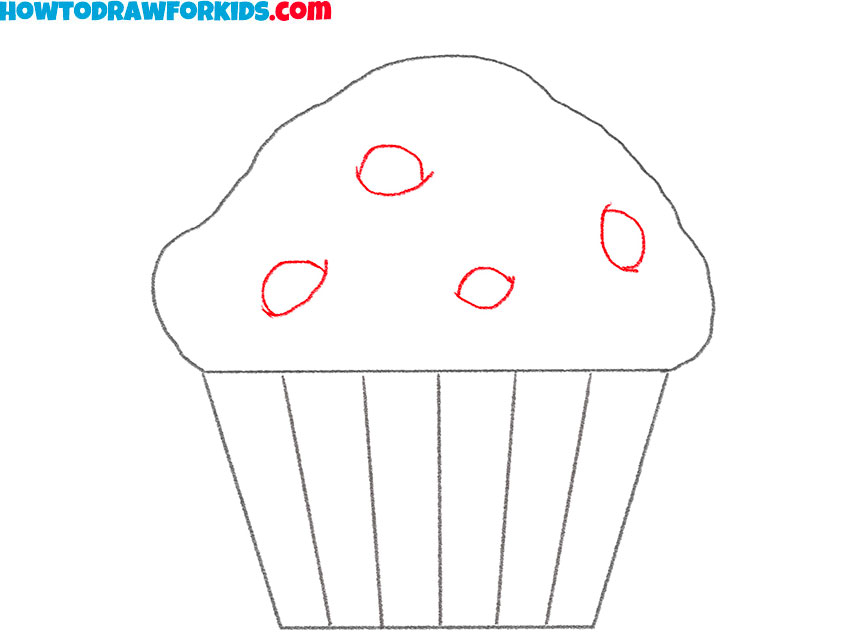
For the cupcake’s toppings, draw small oval shapes scattered across the top curve. These are the chocolate chips, which should be various sizes and placed randomly to mimic real-life cupcakes.
- Depict the crumbs.
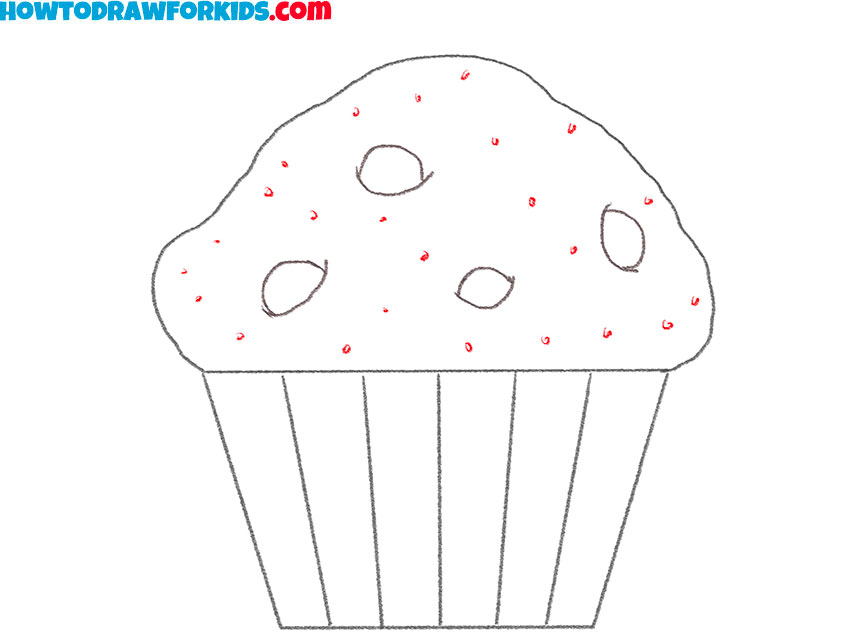
Refine the sprinkles by adding small dots around them to suggest sparkle and texture. This gives a sugary appearance to the decorations and adds depth to your drawing.
- Check if it is done correctly.
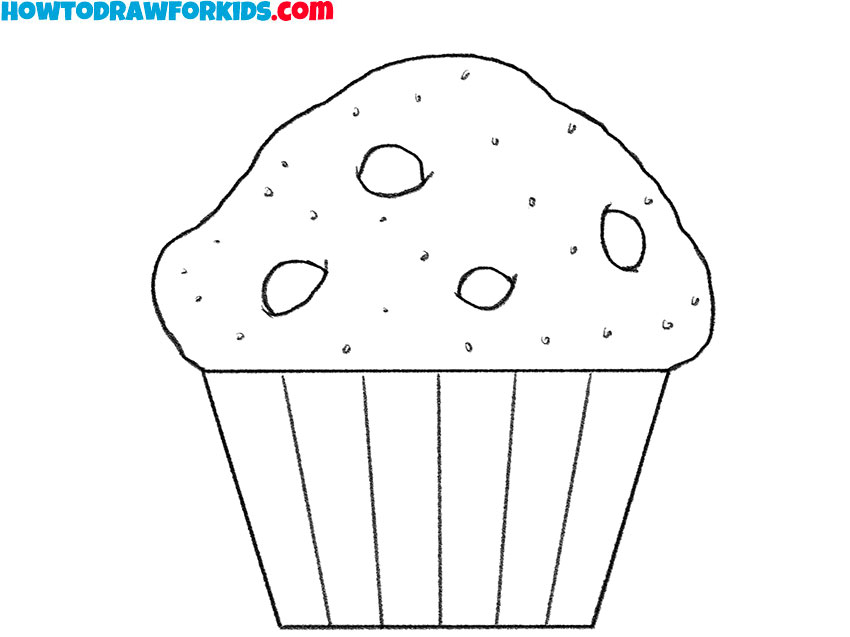
Outline the entire cupcake, smoothing out any uneven lines and making sure each part is distinct. This step brings clarity and cohesion to your drawing.
- Color the drawing.
Finally, color your cupcake. Use a chocolate brown for the cake part, a lighter shade for the liner to suggest a paper texture, and various colors for the sprinkles to make them pop. Add shading below the frosting to create dimension.
Additional Content
To make sure the sweetness of our cupcake drawing lesson sticks with you, I’ve also created a free PDF file as a delicious bonus! This PDF serves as a bite-sized version of our full lesson, perfect for young artists who want to keep practicing anytime, anywhere.
Download this handy guide and carry it with you on all your artistic adventures. Whether you’re at the park, on a road trip, or just cozying up at home, this PDF will be your go-to resource for cupcake drawing fun, no internet required!
Alternative Drawing Methods
Beyond the foundational lesson on cupcake drawing, I’ve also developed a suite of alternative techniques aimed at boosting your artistic development. These additional exercises are tailored to encourage more practice and refine your drawing skills, offering new ways to approach the sweet subject of cupcakes.
Engage with these alternatives to practice your craft, discover your unique style, and achieve greater heights in your artistic journey. Let’s turn this learning opportunity into a stepping stone for your development.
How to Draw a Cute Cupcake
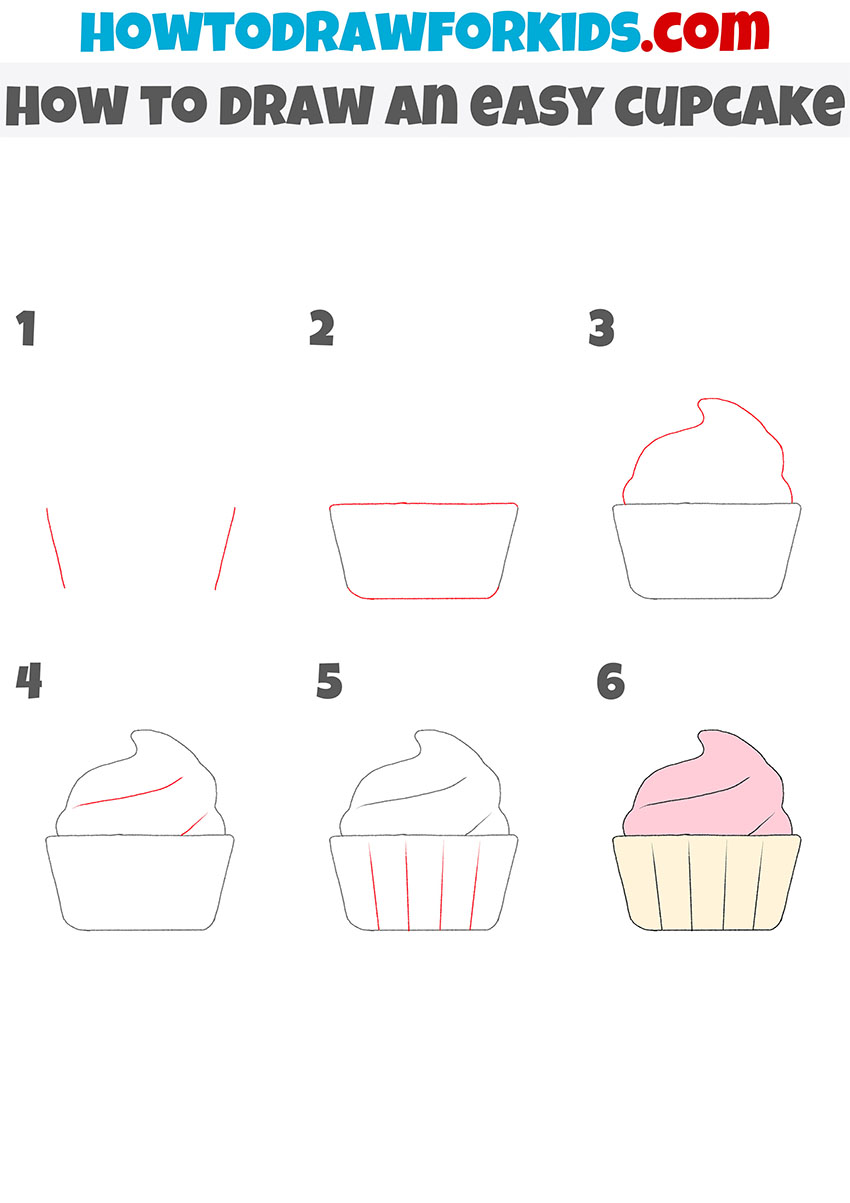
This method of drawing features a cute cupcake with pink frosting, broken down into six simple steps. It starts with basic lines forming the bottom of the cupcake liner, then gradually adds the outline of the frosting.
Further steps refine the shape of the frosting and add detail to the cupcake liner, with the final step bringing in color, giving the cupcake a warm, pink frosting and a golden base. It’s a straightforward and adorable way to depict a cupcake that’s easy for kids and beginners to follow.
Cupcake Drawing Guide for Kindergarten
Now, let me show you a super fun way to sketch a cupcake in just four easy steps. First, we draw a big, fluffy cloud for the top – that’s the frosting. Then, right underneath, we depict a straight line across and then two lines going down to make the cup part of our cupcake.
Next, we add little ovals on the top for sprinkles – you can add as many as you like! And the best part? We get to color it in! I like to use pink for the frosting – it’s like strawberry flavor – and then color the bottom part with a light brown or beige like it’s just been baked. Isn’t that easy and fun?

Conclusion
And there you have it, friends—a cute cupcake drawn by you! If you had fun with this, you’re going to love the other cool drawing lessons on my website. Have you ever wanted to draw a sneaky little mouse or find some good luck with a four-leaf clover? You can learn how to draw those too!
And hey, don’t forget to follow me on social media so you won’t miss out on any new drawing adventures. I can’t wait to see what amazing drawings you’ll create next. Keep those pencils moving and your imagination grooving!

