How to Draw an Egg
I suggest you complete a very easy lesson in which I will show you how to draw an egg step by step. The lesson includes five simple steps.
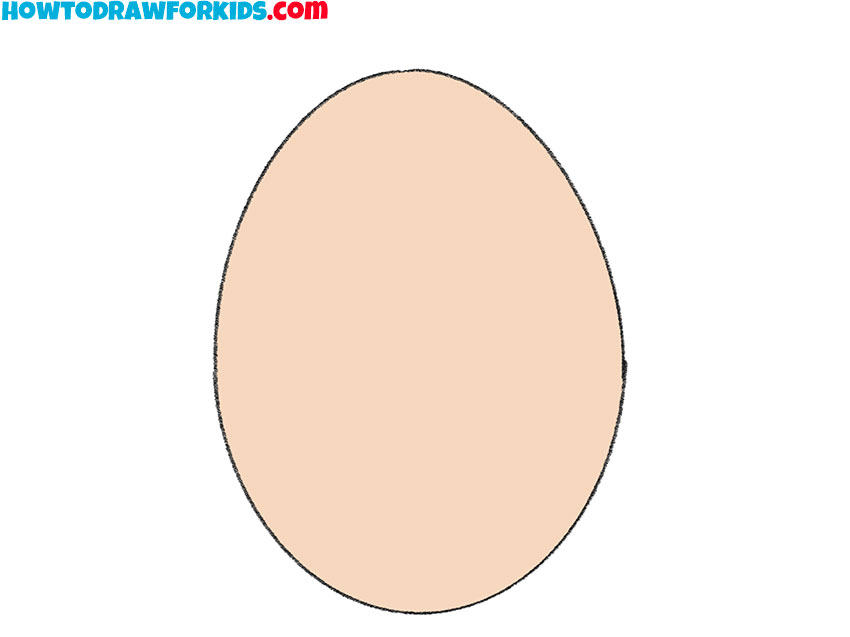
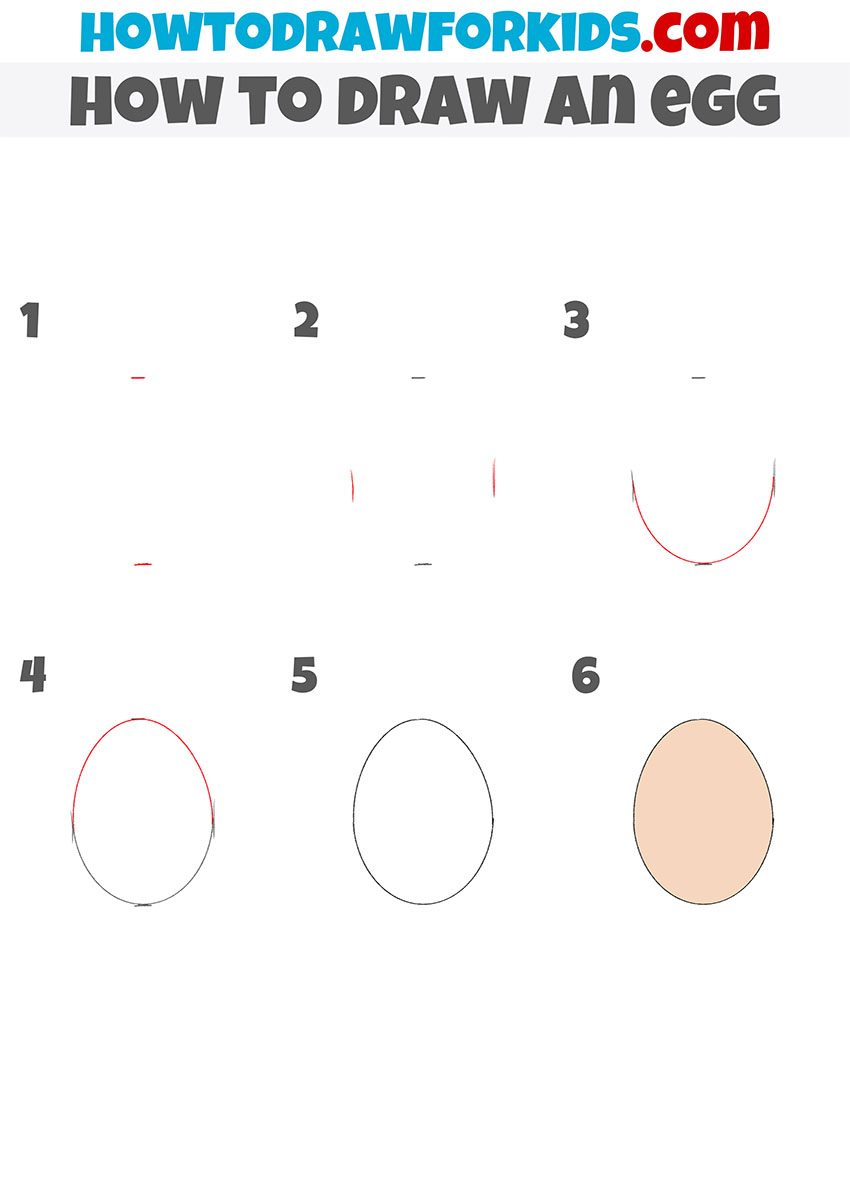
In this lesson, I want to show you how to draw an egg. This is a good drawing object and in this lesson you will practice your ability to draw rounded lines. In order to depict an even egg, you must prepare auxiliary lines.
All auxiliary lines should be very thin so that you can easily remove them later. In the future, use the same small lines to draw any round object.
Bird eggs are a popular food item and there are many dishes that use eggs as the main ingredient. The most common in use are chicken eggs. The egg has an oval shape, while one part is wider.
When you learn how to draw a flat egg, you can use the acquired skills to draw Easter eggs. First you will draw a smooth outline, then you will add an ornament.
Materials
- Pencil
- Paper
- Eraser
- Coloring supplies
Time needed: 15 minutes
How to Draw an Egg
- Mark the height of the egg.
Draw two short horizontal lines, with which you will determine the height of your drawing.

- Mark the size of the egg in width.
On the sides, draw two thin vertical lines.

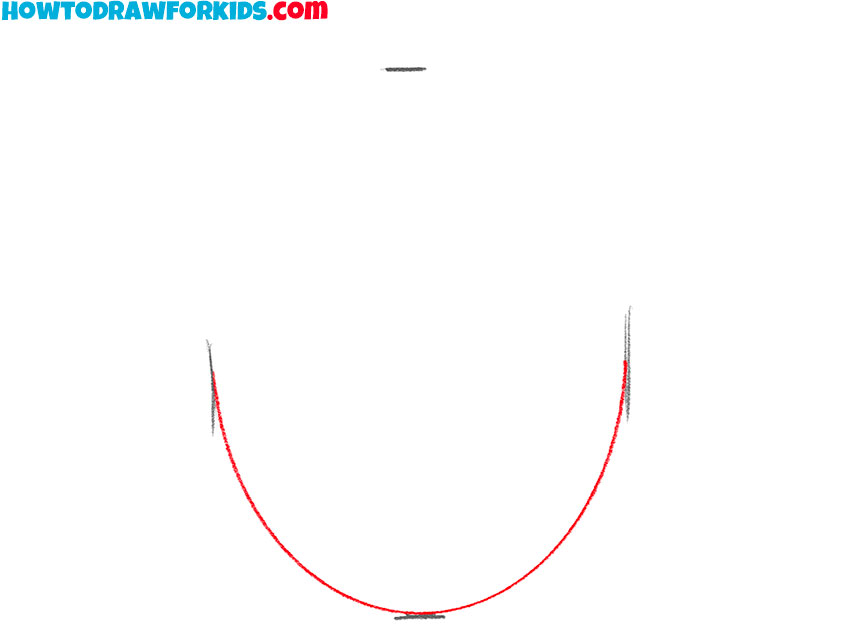
- Add the bottom outline of the egg.
Depict a smooth, rounded line at the bottom, while using auxiliary lines.
- Sketch out the top outline of the egg.
Draw another smooth rounded line at the top.
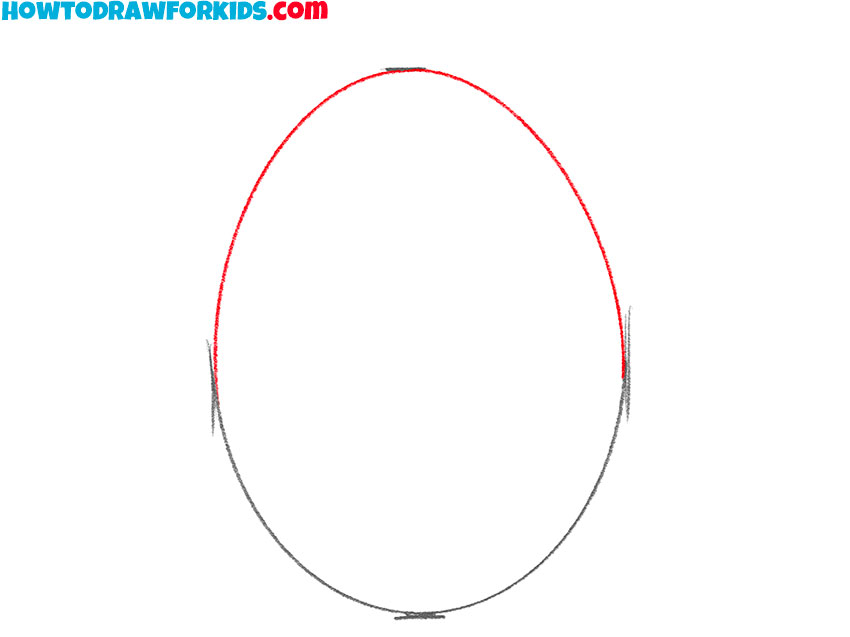
- Correct inaccuracies.
Use the eraser to remove all unnecessary lines.
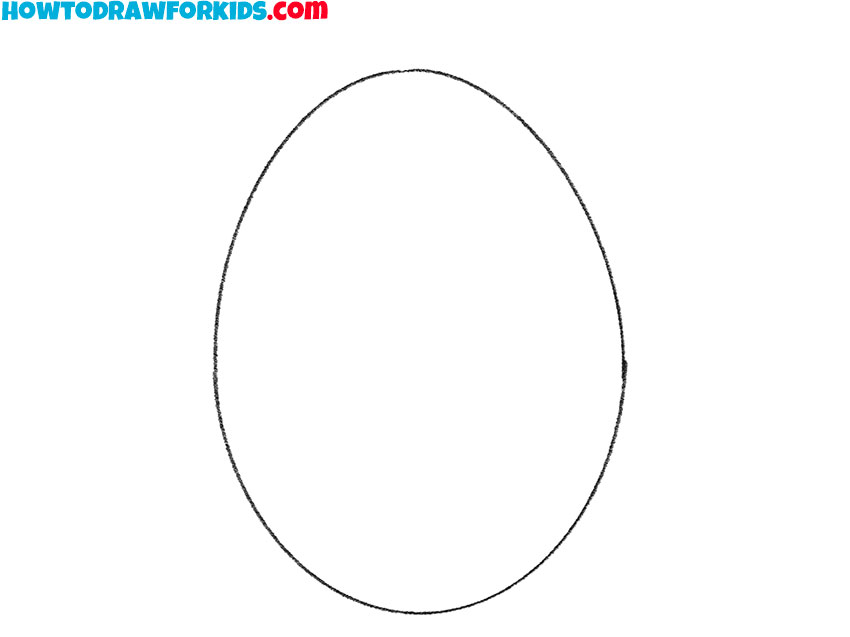
- Color the egg.
To color the egg, you will need a light brown.

As usual, at the end of the lesson, I prepared a PDF file that contains a brief instruction and additional materials needed to complete this lesson. Download the file and use it at any convenient time, even if there is no Internet access.

