How to Draw an Emerald
In this lesson, I want to show you how to draw an emerald step by step. This lesson consists of six easy steps.
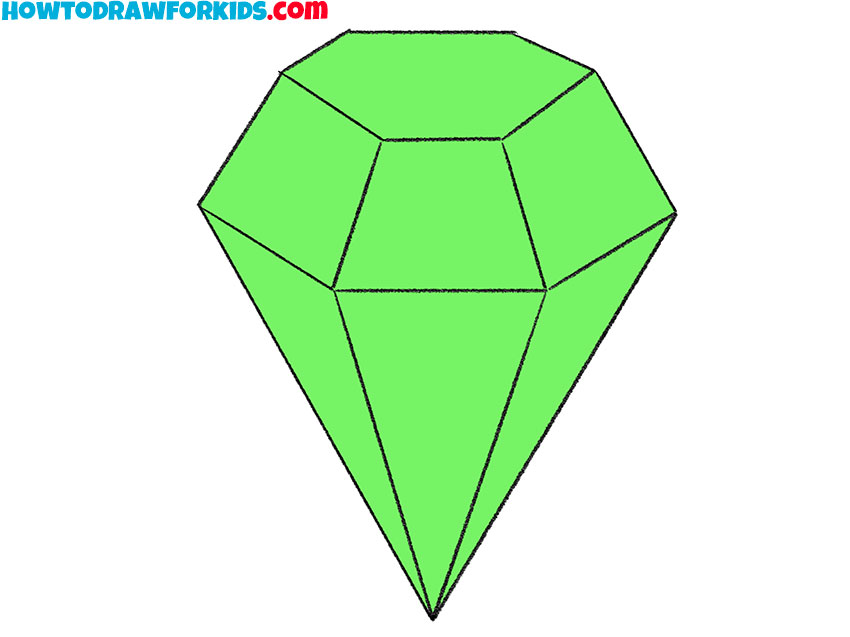
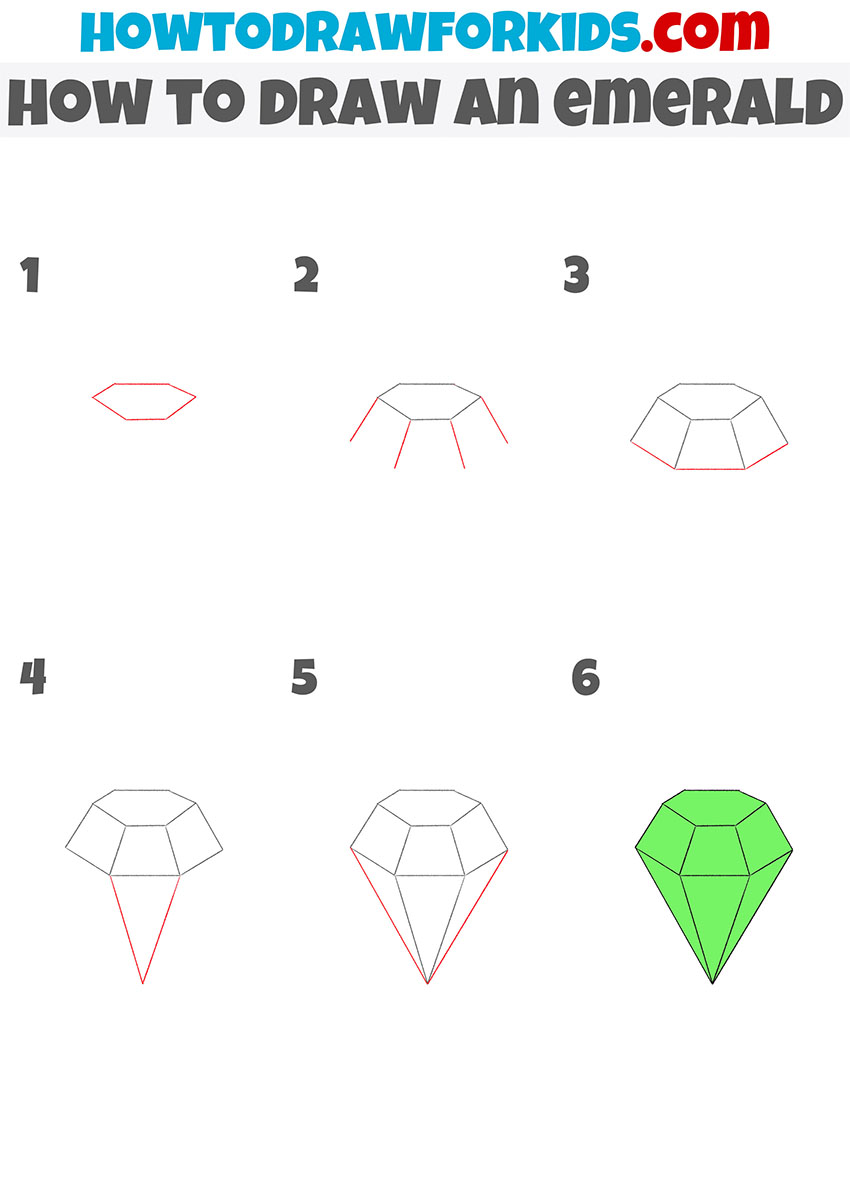
If you complete this lesson, you will once again train your spatial imagination and the ability to draw straight lines. I hope you enjoy this step-by-step guide very much, as now you will learn how to draw an emerald step by step. This lesson will appeal to any child and aspiring artist.
Emerald is a green gemstone that is widely used in jewelry making. This is a fairly hard mineral that lends itself well to cutting. Emerald symbolizes success, love, fidelity, faith, and courage. According to ancient legends, the emerald shows its owner the path to glory.
In the process of completing the lesson, make sure that both sides of the emerald are symmetrical. While working, you can use improvised tools, but I recommend that you draw all the lines yourself. If you want the emerald to look more realistic, then use different shades to paint the emerald’s facets and add highlights.
Materials
- Pencil
- Paper
- Eraser
- Coloring supplies
Time needed: 30 minutes
How to Draw an Emerald
- Draw the top face of the emerald.
Using a few simple lines, draw the polygon of the same shape as shown in the example.

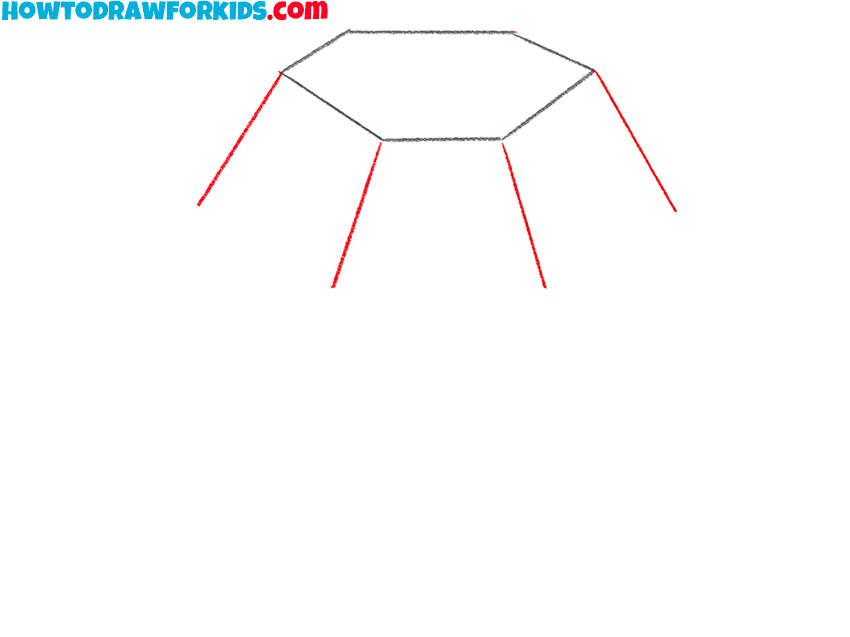
- Depict the edges.
From the corners of the polygon, draw down four even straight lines.
- Sketch out the top faces.
Draw three straight connecting lines to end up with closed paths.
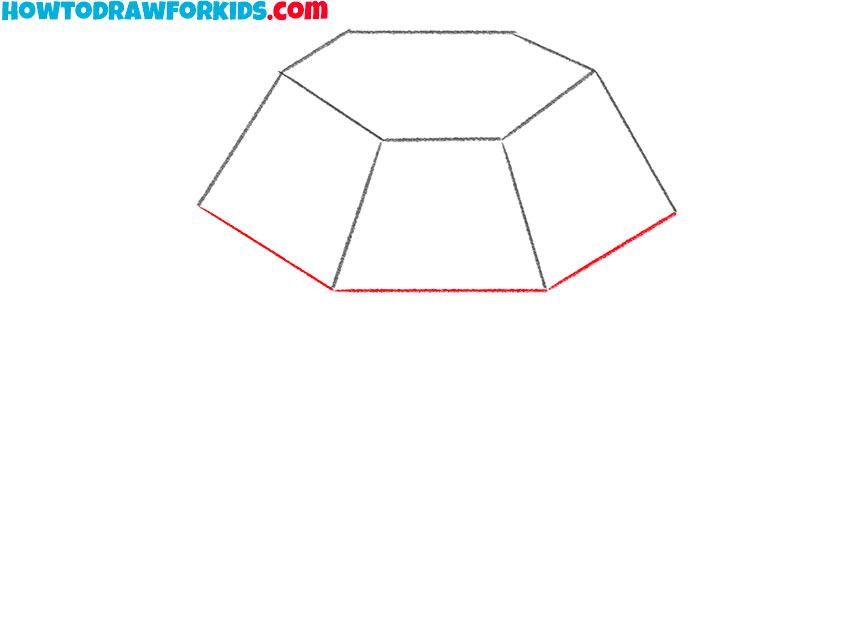
- Start drawing the bottom.
Add two even straight lines that converge at one point.
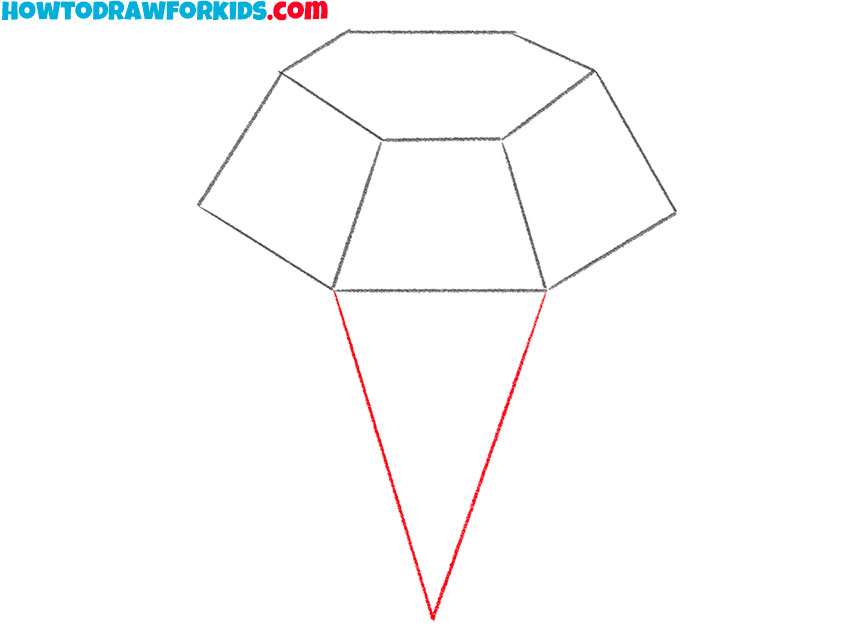
- Add the rest of the faces.
Repeat the previous step and add two more even straight lines on the sides.
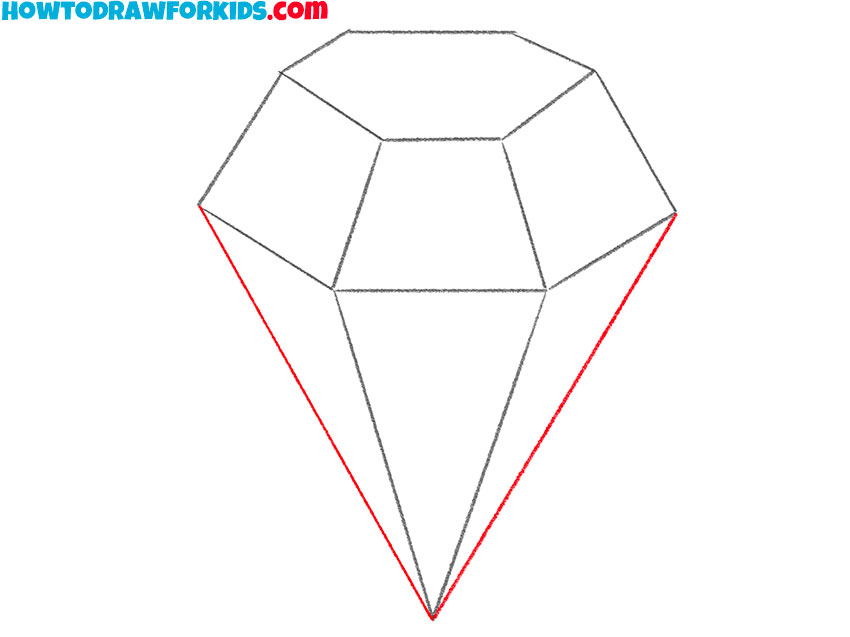
- Color the drawing.
For coloring, use any shades of green.

Especially for your convenience, I have prepared a PDF file in advance, which contains a brief instruction and additional useful materials. Rather, download the file so that you can return to this lesson at any time and repeat it again.


