How to Draw an Evergreen Tree
I invite you to a new drawing lesson in which I will show you how to draw an evergreen tree. Now you will acquire useful skills.


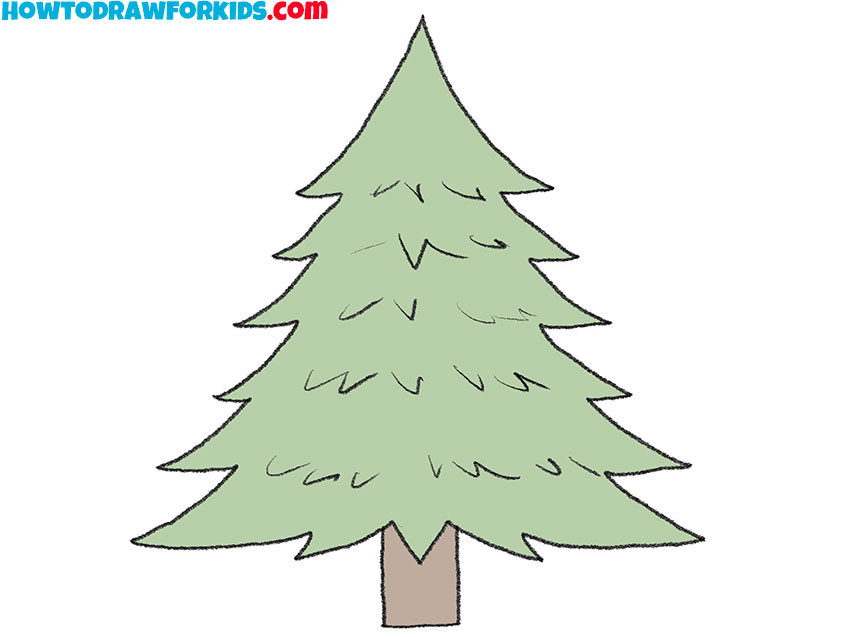
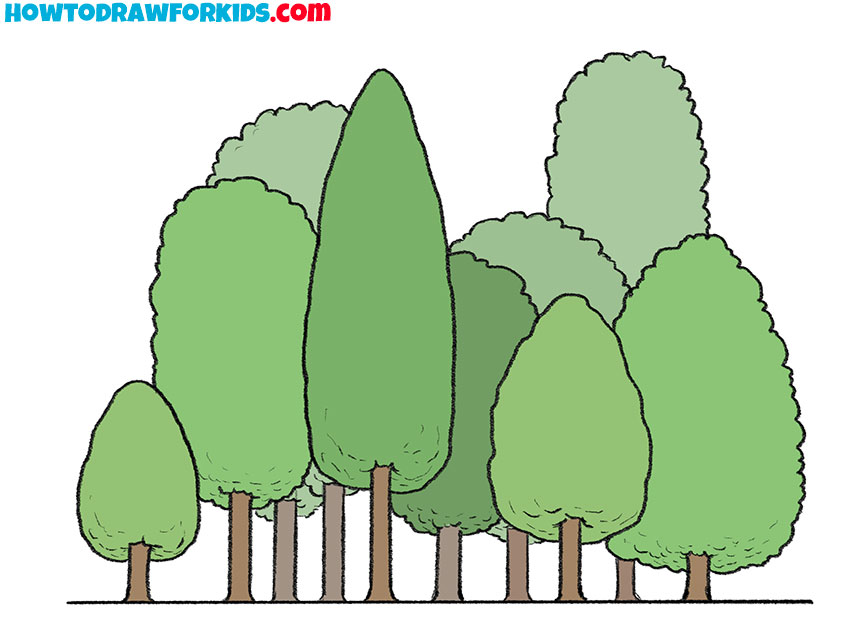
If you want to learn how to draw various plants, then I recommend completing the lesson on how to draw an evergreen tree. As an example, I chose an ordinary spruce. If you master this lesson and learn how to draw this tree, then later you can draw a beautiful landscape. You can also draw such a fir tree on a greeting card for your friends.
Freehand lines are allowed in this tutorial, so the shape of the branches in your drawing may differ slightly from my example. Remember the sequence of steps so that in the future you can easily draw such an evergreen tree if necessary.
Now check if you have all the art supplies at hand and start this exciting lesson. I wish you enjoy the creative process and get an excellent result.
Materials
- Pencil
- Paper
- Eraser
- Coloring supplies
Time needed: 30 minutes
How to Draw an Evergreen Tree
- Draw the top.
Decide on the size and position of your drawing, and depict the pointed top of the spruce.

- Depict the sides.
With the help of a few short strokes, depict the individual branches on each side.

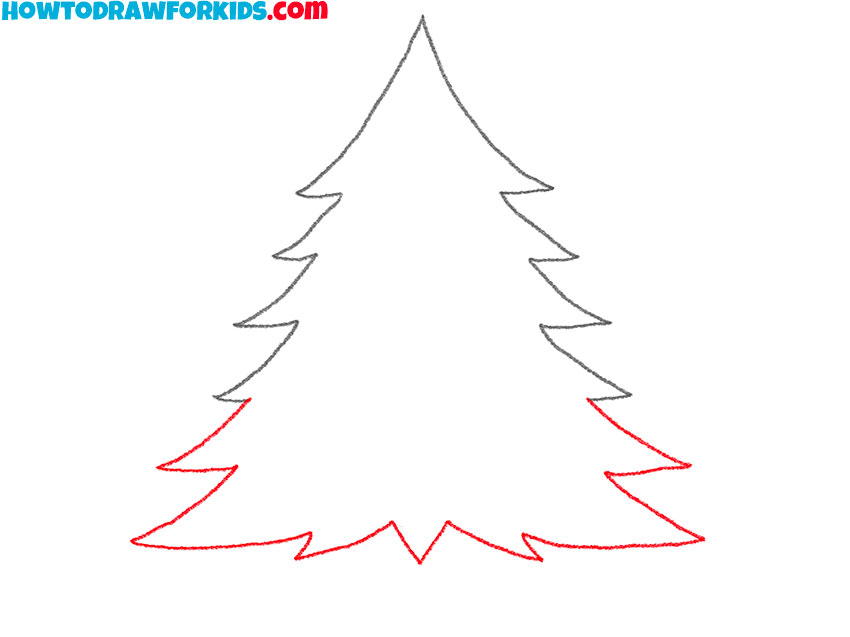
- Add the bottom of the tree.
Depict a few spiky branches to end up with a closed path.

- Sketch out the branches.
With the help of short strokes, successively depict the small pointed branches.

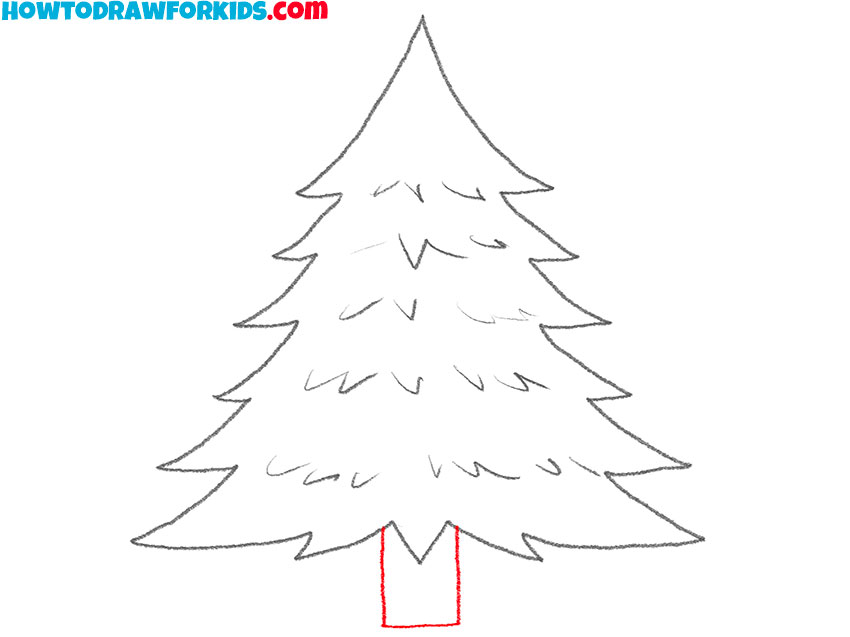
- Draw the trunk.
With straight lines draw the lower part of the trunk, which has a rectangular shape.

- Color the drawing.
Use green for the branches and brown for the trunk.

The lesson is over, and now you know how to draw an evergreen tree step by step. If this lesson was interesting and useful for you, then leave a small review in the comments. I will be glad to receive feedback from you. For your convenience, I have previously created a PDF file that contains a short version of the lesson and additional training materials. Rather, download the file and draw at any time, regardless of the presence of an Internet connection.


