How to Draw an Iguana
Sketching an iguana might seem difficult, but fear not. I’ll demonstrate you how to draw an iguana using two really simple techniques.


How to Draw an Iguana: Introduction
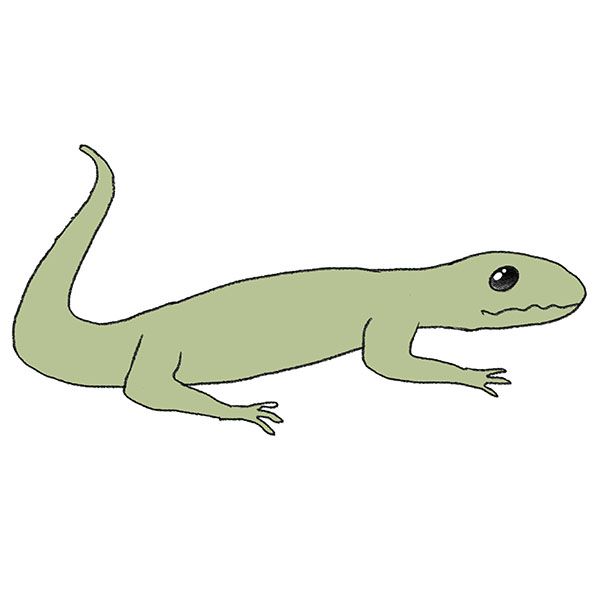
In this tutorial, you will learn how to draw an iguana, a fascinating reptile with distinct features such as a long body, spiked crest, and textured skin. The iguana has a prehistoric appearance, resembling smaller versions of certain dinosaurs. By following simple techniques and clear steps, you will be able to create an accurate and recognizable representation of this animal.
The tutorial focuses on drawing the iguana’s elongated body, characteristic limbs, and unique facial features. Attention will also be given to adding details like the spines along its back to give the iguana drawing a realistic look. These methods can also be applied to drawing lizards of other reptiles, such as alligators or crocodiles, giving you broader skills in depicting similar animals.
For added practice and to develop versatility in your sketching, an additional, simplified version of the iguana drawing tutorial is included at the end. This version uses a different approach with fewer details. This guide is created for beginners or those looking for a quicker drawing method.
Comparing both approaches will demonstrate how different techniques can lead to similar results. By the end of the tutorial, you will have a completed iguana drawing and a better understanding of how to adapt these methods to create other reptile drawings.
Iguana Drawing Tutorial
Materials
- Pencil
- Paper
- Eraser
- Coloring supplies
Time needed: 35 minutes
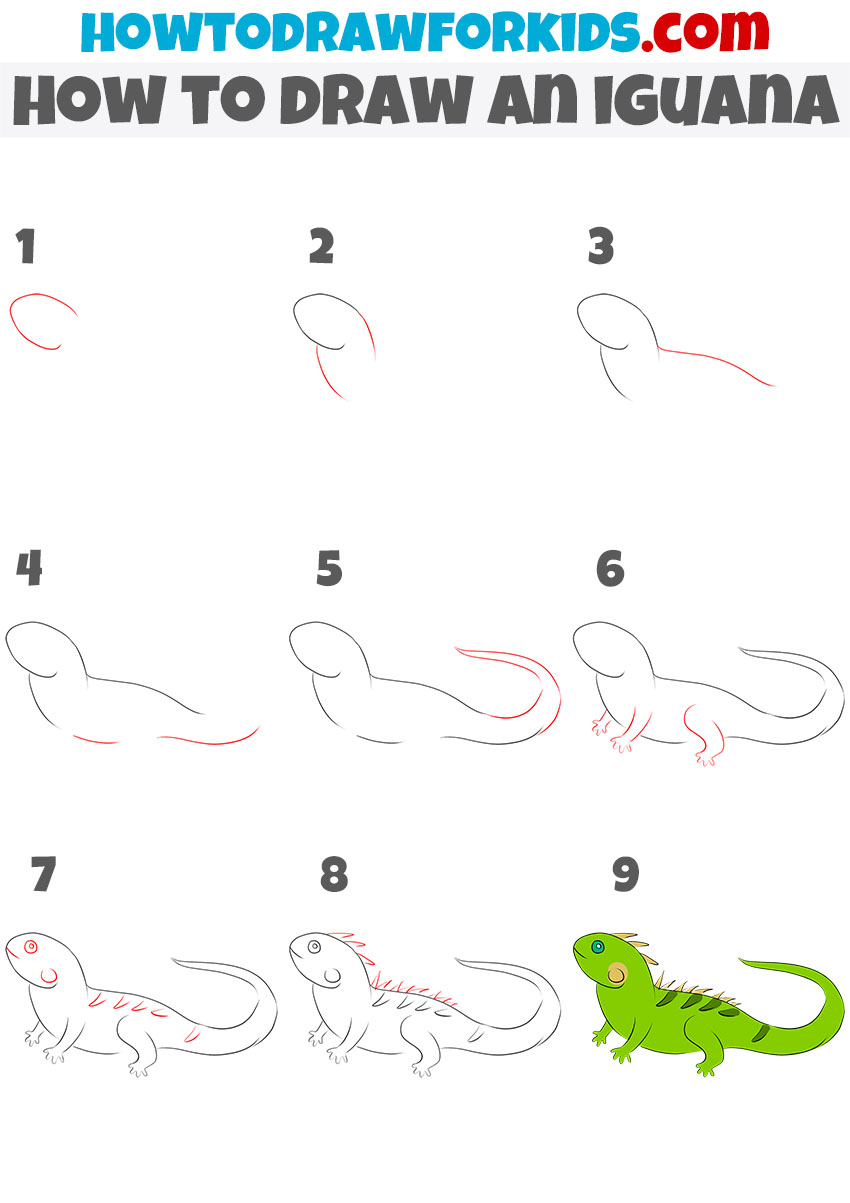
How to Draw an Iguana
- Draw the head of the iguana.
Begin by sketching an oval shape slightly tilted to the side. This will form the head of the iguana. Ensure that the size is proportionate to what the rest of the body will be. The oval doesn’t need to be perfect as it represents just the basic structure of the iguana’s head.

- Sketch the torso of the animal.
Extend a curved line from the left side of the head down and back up to create a smooth, elongated ‘S’ shape. This line defines the upper boundary of the iguana’s body, illustrating its spine. Next, draw the bottom line of the torso, which in the next steps will transform into the belly.

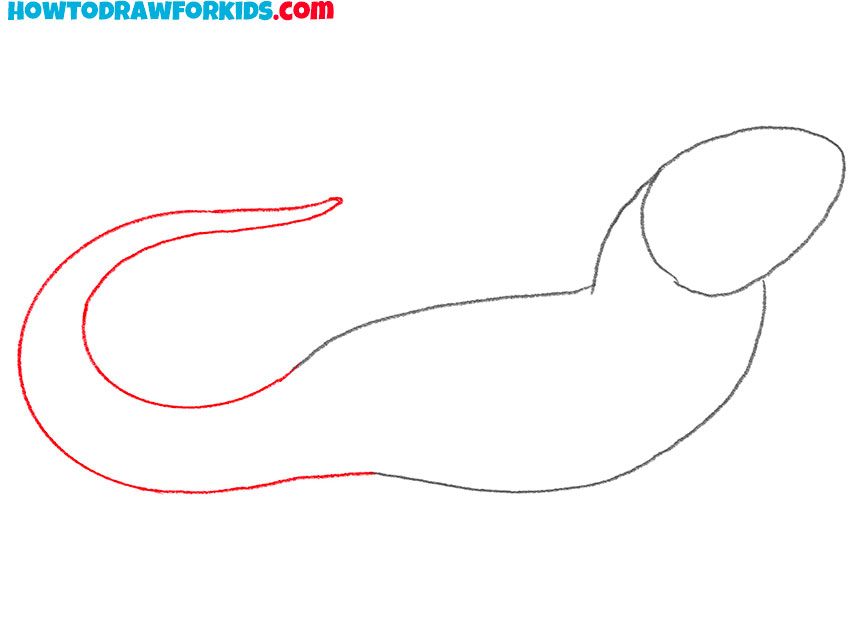
- Add the reptile tail.
Extend the line from the rear end of the torso to draw the tail, which is a prominent feature of the iguana. The tail should extend into a long, elegant curve that tapers to a delicate point and curls slightly at the end. You can draw a curve like in my example, or you can bend the iguana’s tail in a different direction.
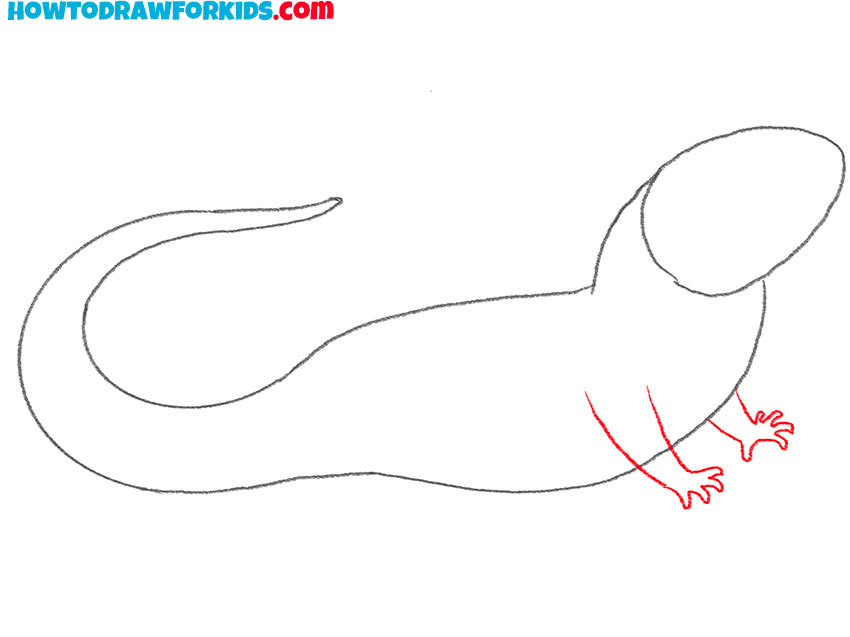
- Draw the iguana front limbs.
Illustrate the iguana’s front limbs by drawing two sets of short, parallel lines emanating from the lower sides of the torso. These lines should be shaped to suggest the limbs’ rudimentary form, with rounded ends representing the feet with short toes.
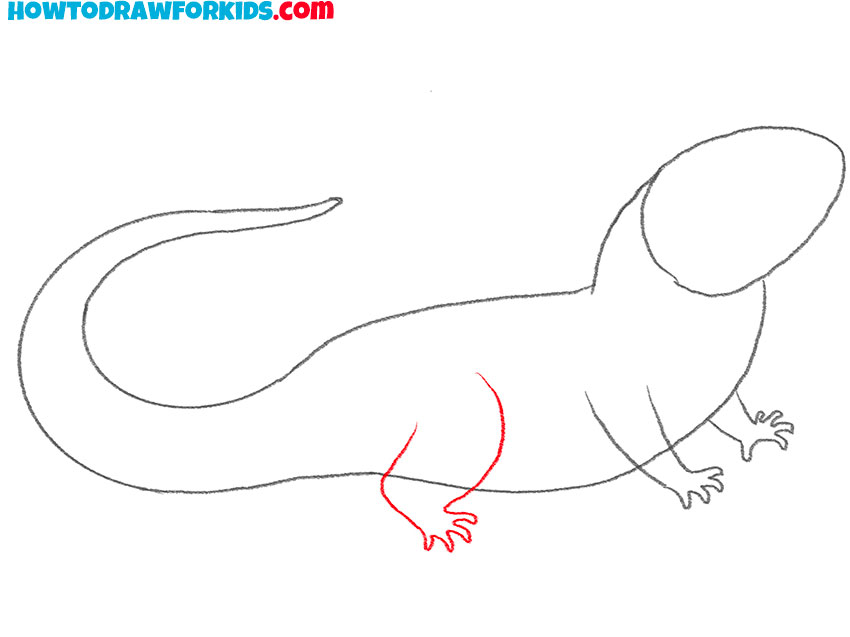
- Add the hind leg of the reptile.
Add another set of sturdier and slightly longer lines near the back of the torso to outline the hind limbs. These limbs should be depicted as more robust than the front ones, because they play an important role in the iguana’s ability to leap or sprint.
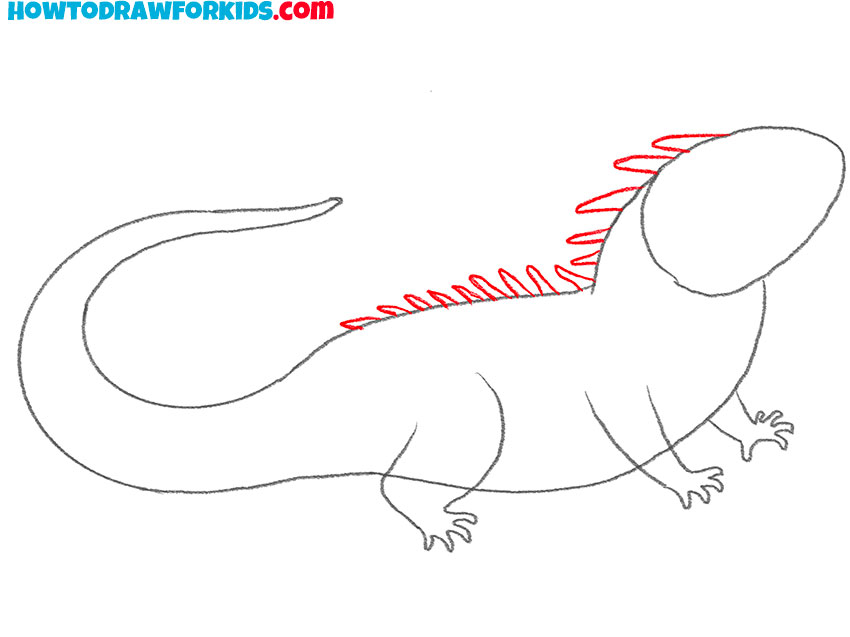
- Draw the dorsal comb of the iguana.
Starting at the top of the head and extending along the spine to the beginning of the tail, add a series of jagged, spike-like protrusions to create the dorsal comb. The spikes should vary in size and shape to improve the naturalistic appearance of your drawing.
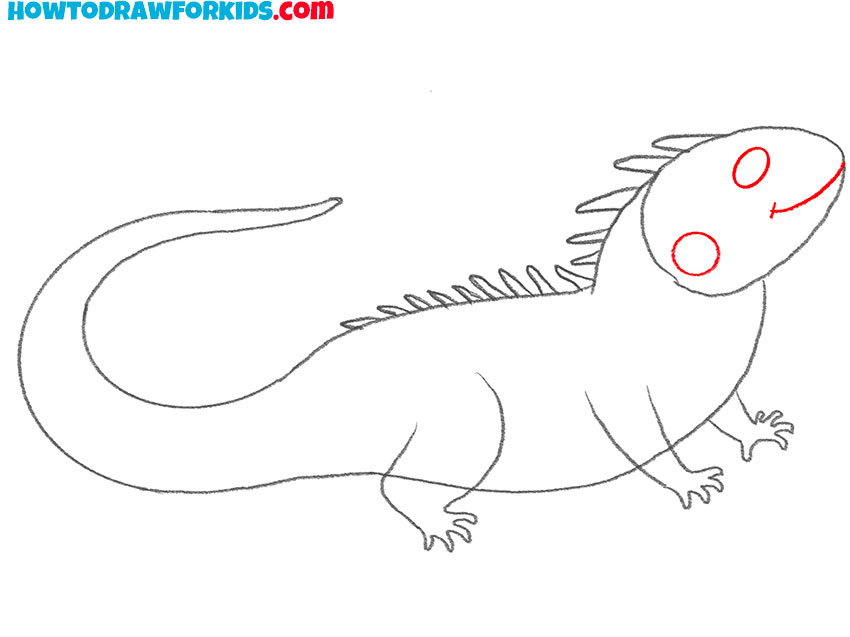
- Detail the face of the iguana.
Concentrate on adding detail to the iguana’s face by drawing an eye towards the front of the head. Then, draw the mouth of the iguana with a simple curved line. Just above the mouth area, you can place two small dots for nostrils. Just below the eye, in the cheek area, draw a small oval.
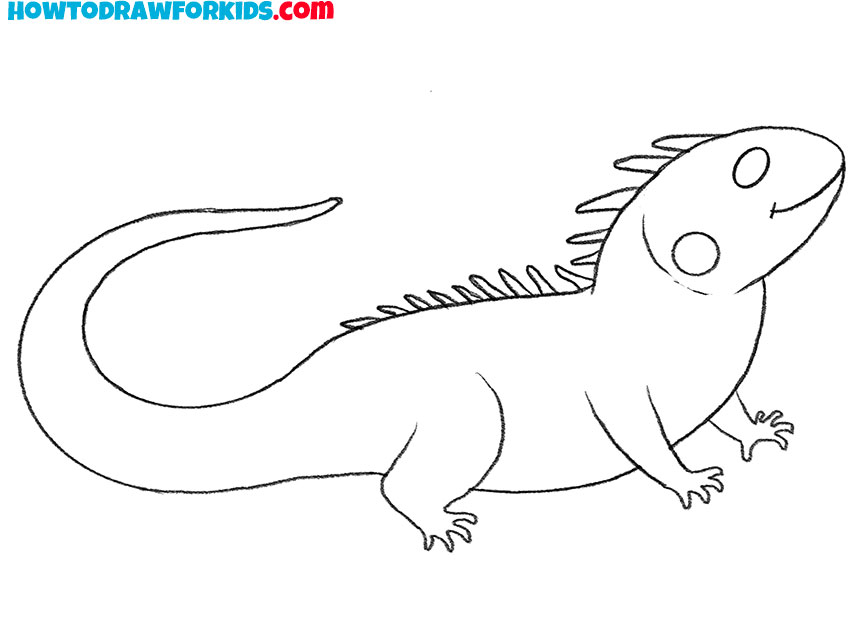
- Correct the inaccuracies.
Use this phase to clean up your sketch by erasing any unnecessary initial lines and refining the outlines of the iguana. Smooth out all contours of the body, clarify the limbs, and make sure the dorsal comb is crisply defined. Add some extra details if needed.
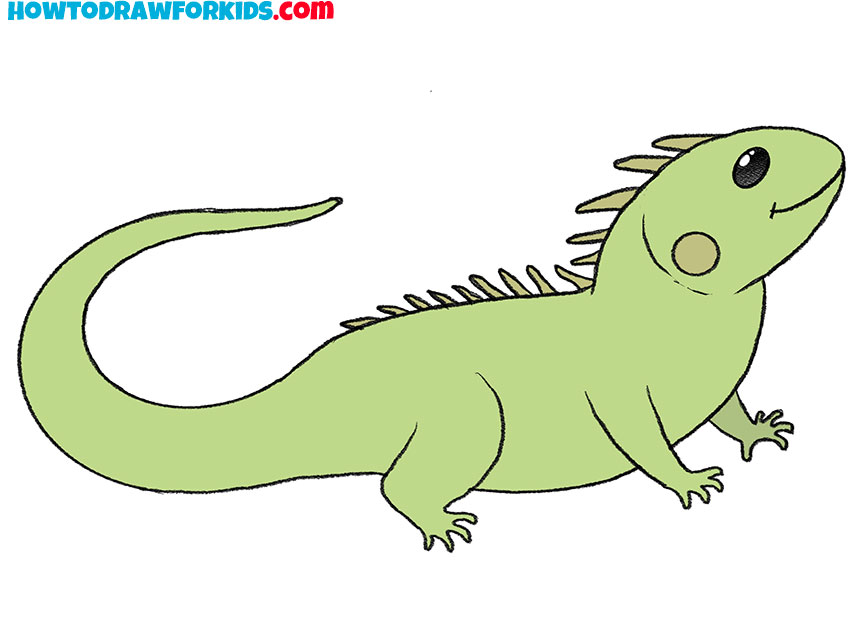
- Color the iguana.
Select a range of green tones to color your iguana drawing. Then, color the comb and circle on the cheek a darker green or light shade of brown, to male your drawing of an iguana look more natural. Use black or darker green for the eyes, leaving small highlight for more realistic look.
Additional Content
To complement the iguana drawing tutorial, a free PDF file has been prepared. This simplified version of the lesson is available for download, allowing access to the tutorial at any time, with or without an internet connection. The PDF includes step-by-step instructions and additional materials, such as a coloring page, tracing worksheet, and grid drawing worksheet, designed to help further develop your skills after learning the basics.
How to Draw a Simple Iguana
This is an additional how to draw an iguana tutorial, designed for less experienced artists seeking a simpler approach. Compared to the first tutorial, this version uses fewer detailed steps, omits complex details, and focuses on basic shapes to make the iguana drawing process easier for beginners.
To draw an iguana with this method, begin with a curved oval to create the head of the reptile. Draw a long, curved line from the head to form the back, and extend a similar line underneath to outline the belly. Add a rounded end for the body, connecting the two lines at the tail base. Sketch the tail as a smooth, tapering curve that wraps along the back.
Draw simple legs on both sides, each with three visible toes. Include a circular eye on the head and a curved line for the mouth. Add short, triangular spikes along the back for the iguana’s crest. Draw small lines or curves on the body to represent patterns. Erase unnecessary lines and refine the shape. Finally, color the iguana green, with light accents for details, completing this guide on how to draw an iguana.
Adding Backgrounds and Environments
Improving your iguana drawing can involve incorporating additional elements to create a more detailed and realistic scene. Consider adding context to the iguana’s environment and including other components to make the artwork more complete.
For example, you can place the iguana on a flat rock. Draw a rock using simple shapes and applying simple rock texture. Or you can sketch a tree branch below the reptile. Draw bark texture on the branch, showing cracks or bark patterns. Also, you can draw leaves with visible veins to provide a realistic background. These details will give the iguana drawing a natural setting.
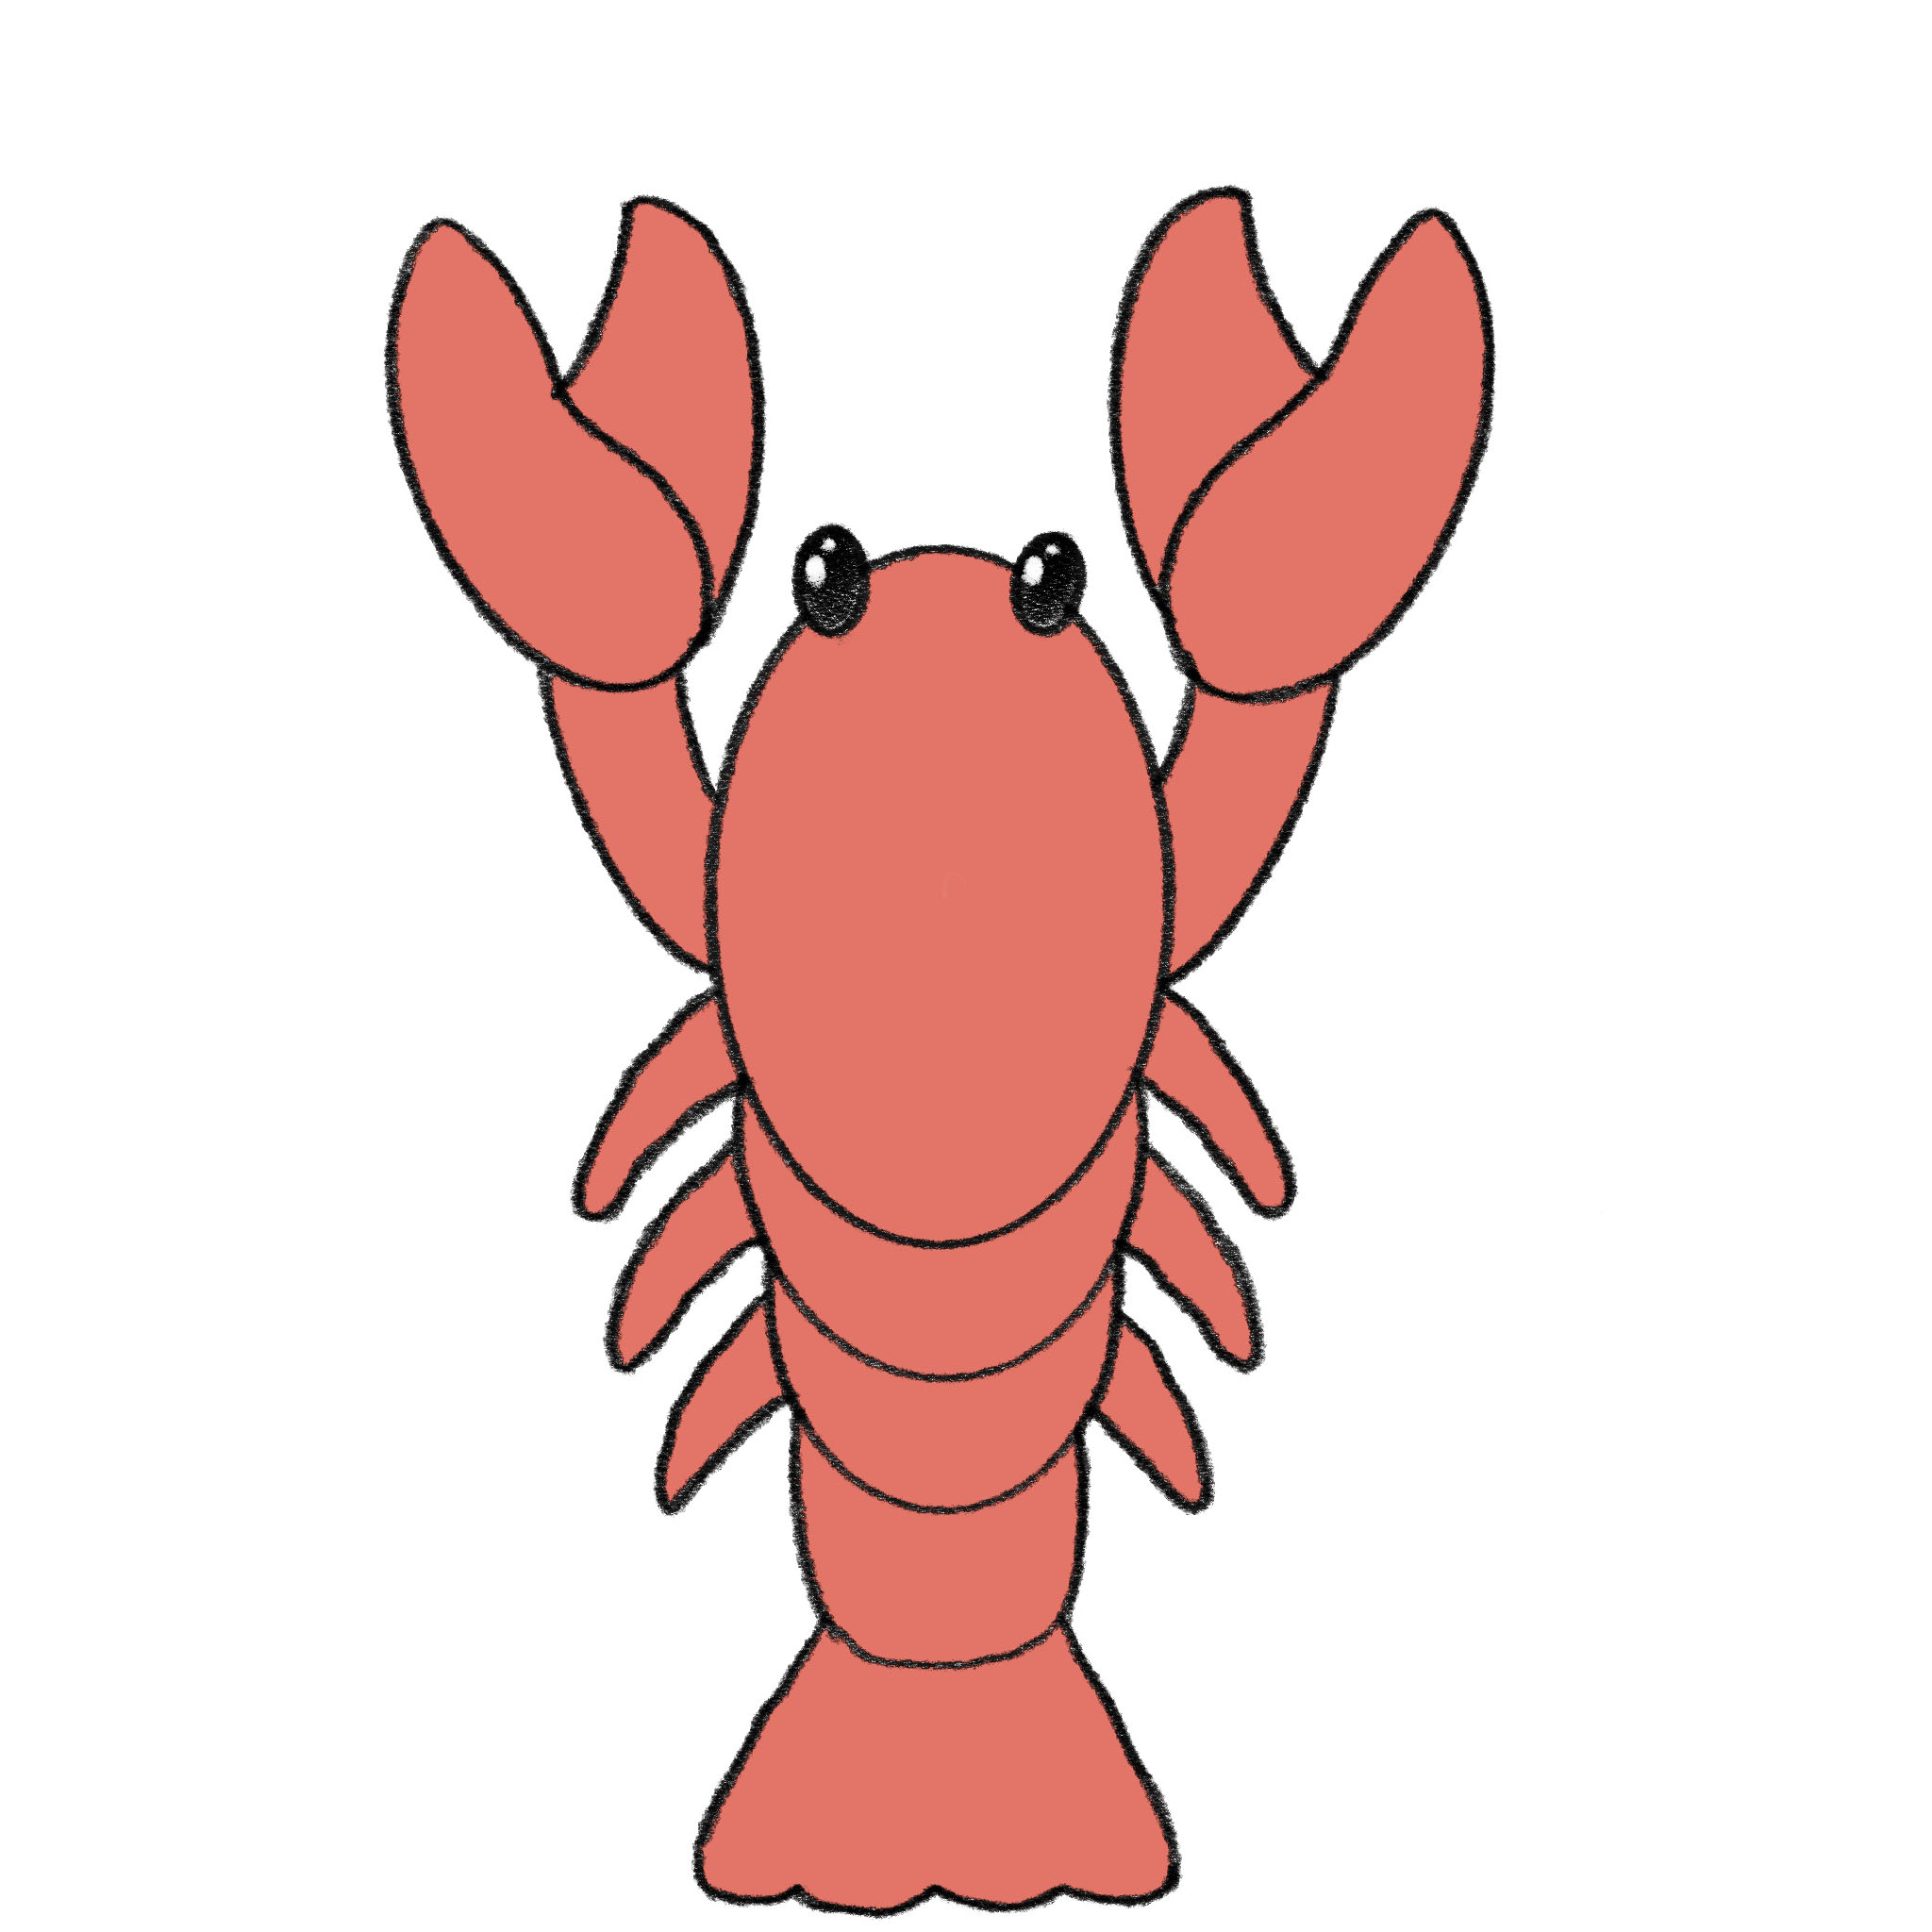
Then, you can draw a frog near the reptile. Additionally, you can also draw a butterfly resting on the iguana’s head or tail. This additional element can help to fill the scene, making the composition more interesting and varied.
Depict the iguana performing a specific activity to make the scene more informative and interesting. For example, you can draw the iguana reaching for or eating leaves from a nearby branch, ensuring the leaves are detailed with veins and natural textures.
These details help convey the setting and make the composition more realistic and complete.
Conclusion
By completing this tutorial, you have learned how to draw an iguana step by step. Whether you followed the detailed or simplified version, you now have a completed drawing that represents the unique features of this reptile. This process has provided practical skills that can also be applied to drawing other animals with similar characteristics.
If you found this lesson helpful, consider sharing your thoughts in the comments section below. Feedback is always appreciated and helps improve future tutorials. You can also check out additional drawing lessons on the website to improve your skills. For example, I recommend you my cute goose drawing tutorial and the simple lake drawing lesson.
Stay connected by following my social media accounts for updates on new tutorials and resources. You can find me on popular platforms like Pinterest and YouTube. Thank you for taking the time to participate in this tutorial, and I hope it has been a valuable learning experience.