How to Draw an Insect
With the help of this lesson you will learn how to draw an insect quickly and easily. Start this step by step guide and get useful skills.
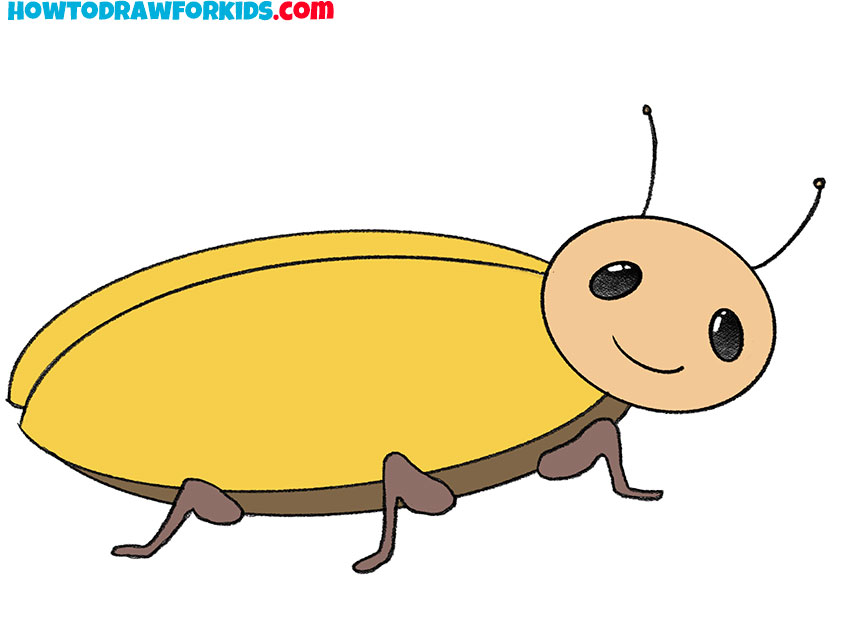
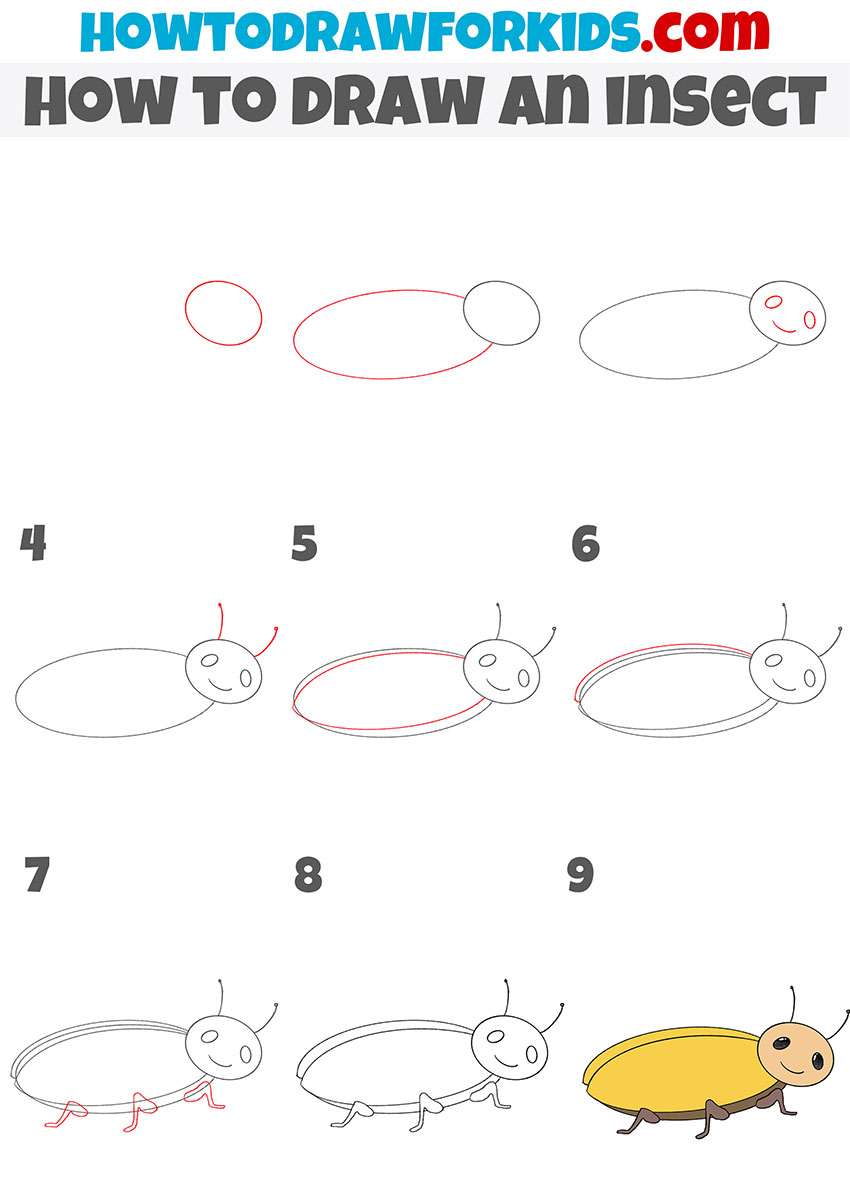
In this lesson I want to show you how to draw an insect. The world of insects is very diverse and interesting, and you will certainly enjoy this step-by-step guide. In this lesson you will draw a small beetle.
In the picture you can see that the beetle has a long body with pointed ends, wings, a round head with antennae and also has six legs, but we only see three legs on one side. This is a very handy drawing object. You can easily draw this insect if you carefully follow all the drawing steps.
For coloring, you can use the same colors as in the example, or you can show your imagination and paint the insect in other colors of your choice.
Materials
- Pencil
- Paper
- Eraser
- Coloring supplies
Time needed: 30 minutes
How to Draw an Insect
- Draw the head.
Determine the size of the insect and draw an oval.

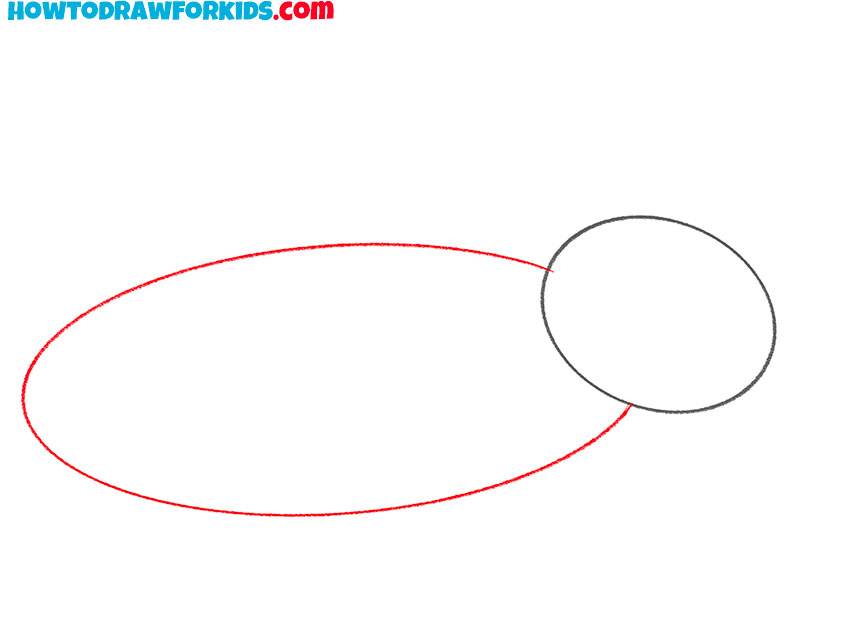
- Sketch out the torso.
Draw the long torso to the oval using a smooth rounded line.
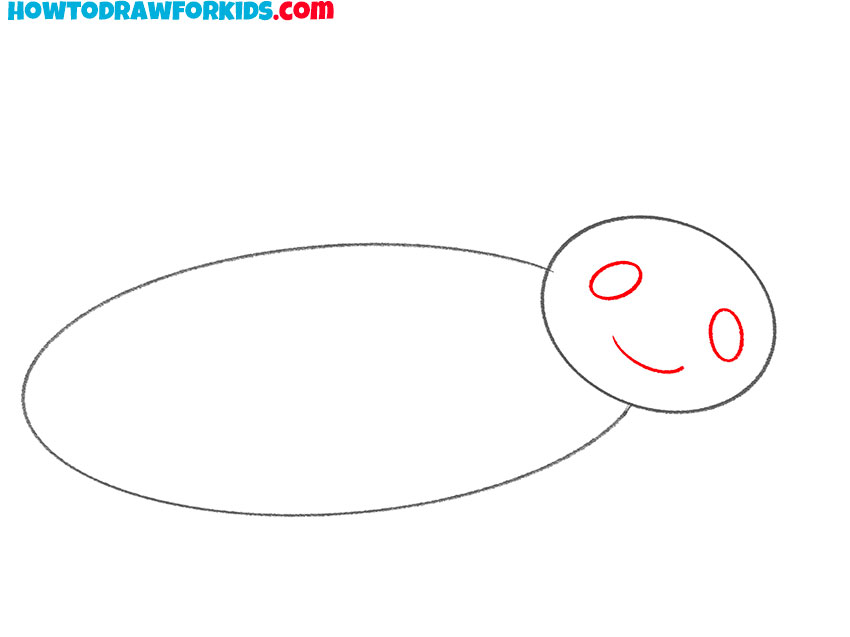
- Depict elements of the muzzle.
Add two small ovals to draw the eyes and add one short, rounded line to depict the mouth.
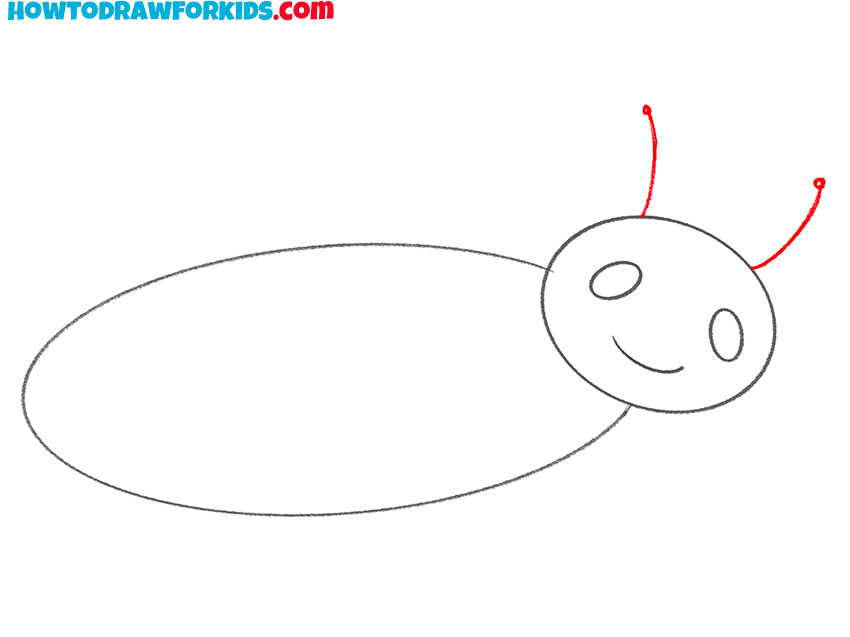
- Draw the antennae.
Depict two small lines on the head and add small dots at the ends.
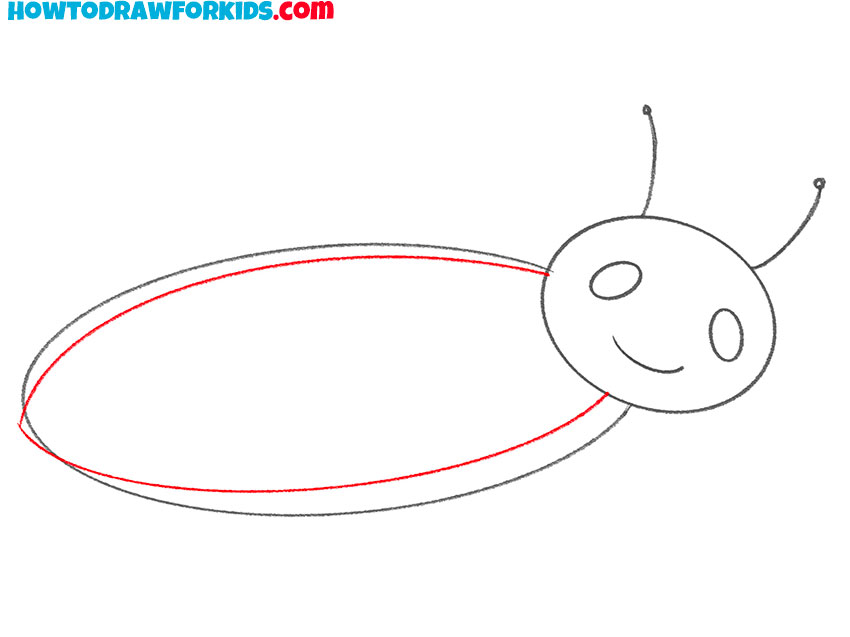
- Sketch out the one wing.
On the back, draw one large wing, which is located closer to us.
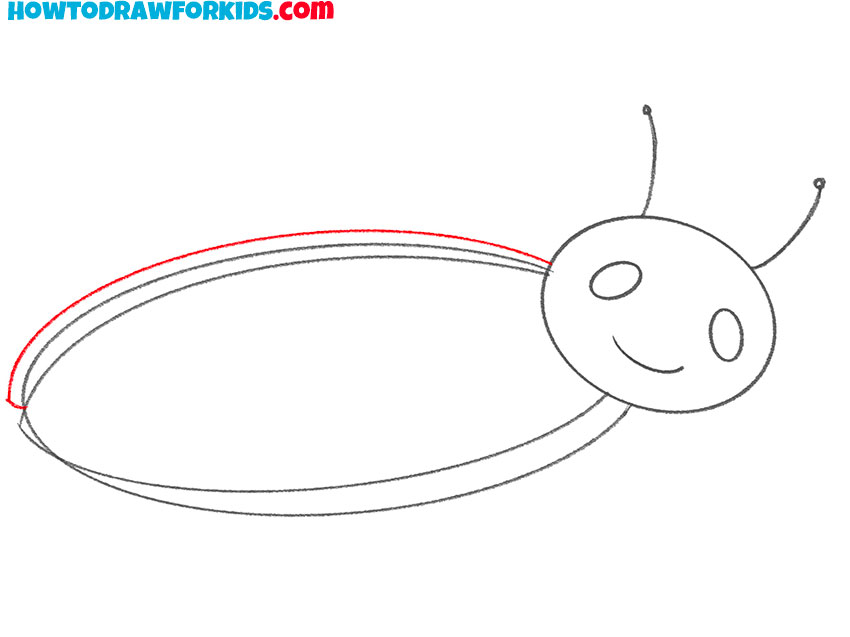
- Add the second wing.
With a smooth line, draw the second wing, which is located farther from us.
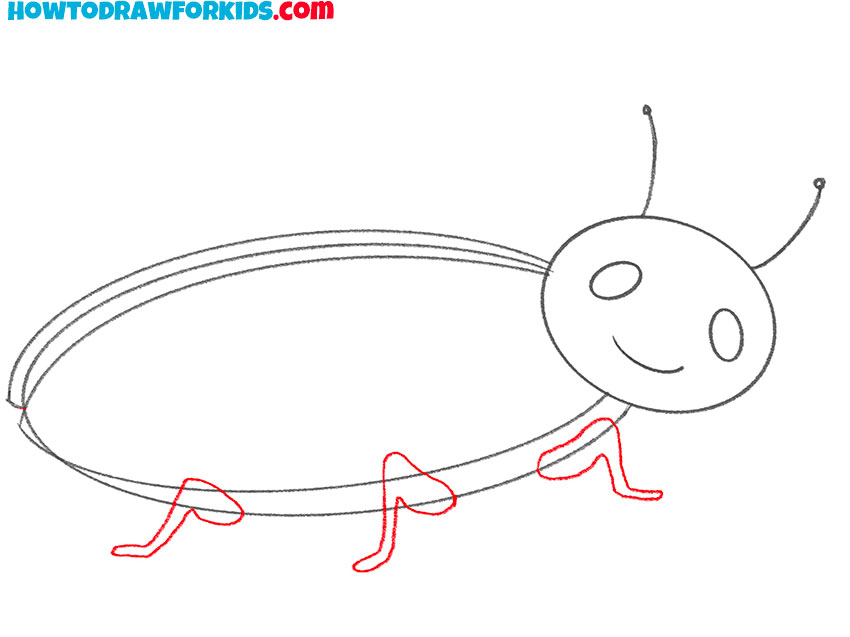
- Depict the paws.
Along the lower edge of the torso, draw three paws of the same shape as in the example.
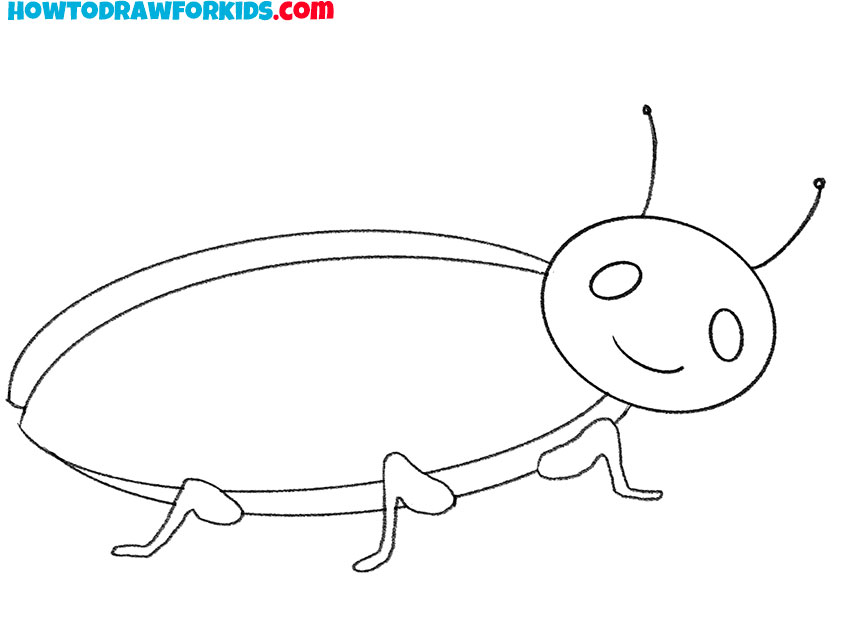
- Correct inaccuracies.
At this stage, remove the extra lines.
- Color the insect.
Choose beige for the head, yellow for the wings, brown for the paws and belly, black for the eyes.

If this lesson was interesting and useful for you, then you can leave your feedback in the comments. Don’t forget to download the PDF file, which contains a short version of the lesson and additional useful tools.

