How to Draw Baby Groot
This lesson will show you how to draw a baby Groot and help build on the skills you learned in the main Groot drawing tutorial.

How to Draw Baby Groot: Introduction
As mentioned at the beginning, this tutorial on how to draw baby Groot is a supplement to the main lesson on how to draw Groot in his adult form. I intentionally separated these two tutorials to keep the drawing process clear and focused. This approach allows for a more detailed look at Baby Groot without overcomplicating the already in-depth adult Groot drawing lesson.
In this tutorial, I go through the process of drawing Baby Groot step by step, using the same methods I apply both on my website and in my actual drawing classes with students.
We’ll cover his distinct body shape, outline his textured wooden surface, and color him using familiar tones. And of course, I’ll demonstrate more childlike proportions and facial features compared to the basic Groot drawing tutorial.
By the end of the lesson, you’ll have a complete drawing of Baby Groot done in a simplified yet instantly recognizable style. The structure is designed to help learners follow along smoothly without getting overwhelmed.
Baby Groot Drawing Tutorial
Materials
- Pencil
- Paper
- Eraser
- Coloring supplies
Time needed: 40 minutes
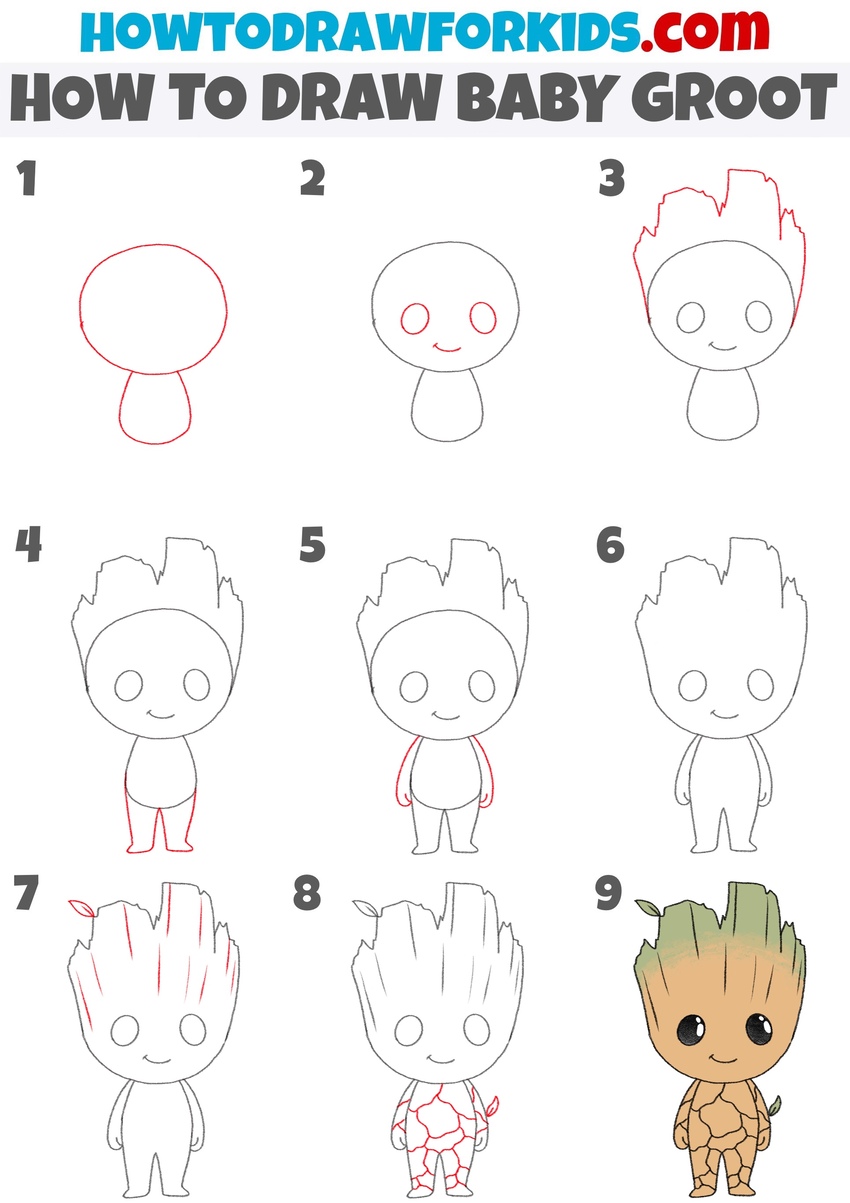
How to Draw Baby Groot
- Draw Baby Groot’s head and torso.
First, sketch a large large circle for the head. Below the head, draw the torso of baby Groot, using a wide, rounded shape – almost like an elongated teardrop. Keep the lines of this initial sketch smooth and light. At this point, don’t add any facial features or limbs.

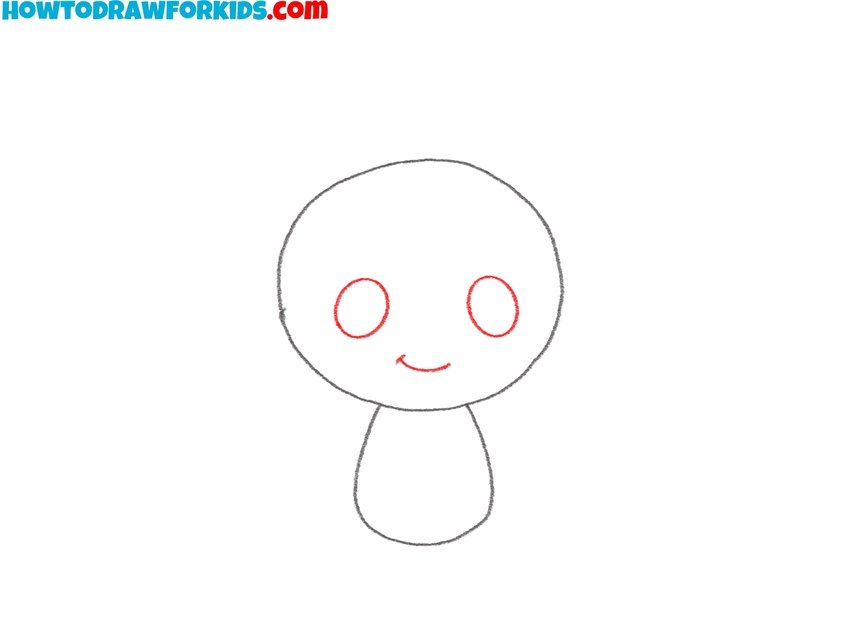
- Add the eyes and smile.
Inside the head shape, draw two large, round eyes. The eyes should be nearly the same size and placed at the center of the face. Below the eyes, add a small curved line for the mouth. Keep the line shallow and slightly upward at both ends to give baby Groot a happy expression.
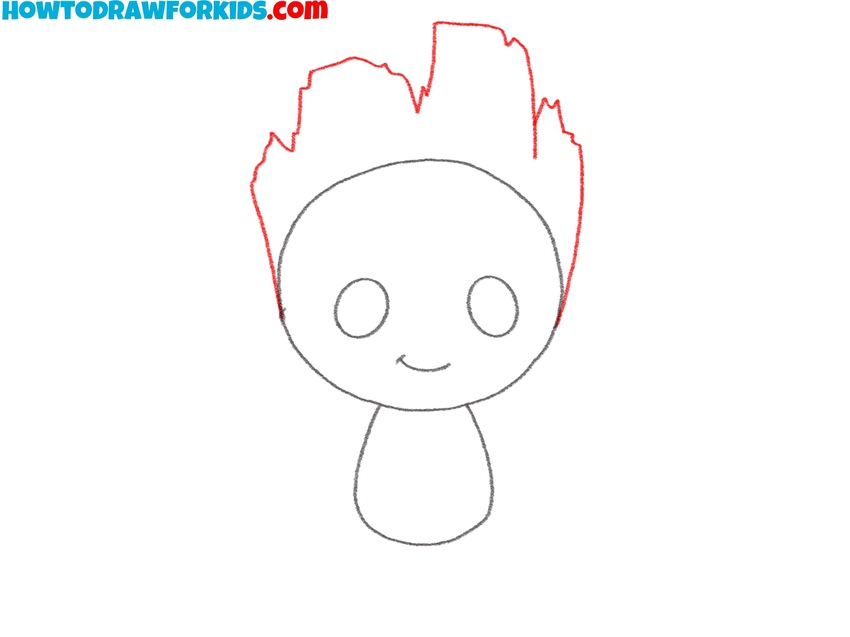
- Outline the top of the head.
In this step, begin shaping the top of Baby Groot’s head to resemble tree bark. Starting from the sides of the head circle, draw jagged, uneven lines that rise above the original shape. These lines should look like broken wood sticking up. Vary the height and width of the shapes to keep this part natural and not too symmetrical.
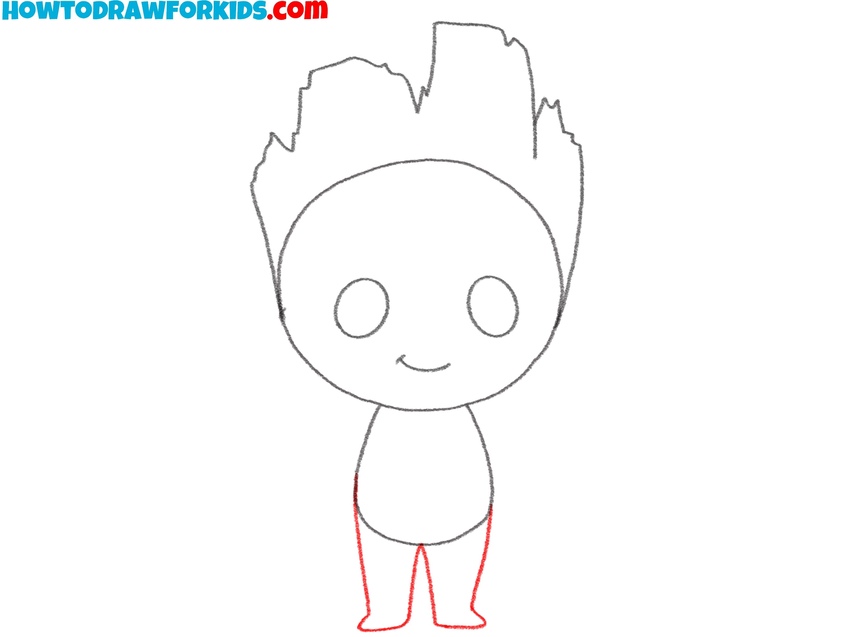
- Draw the legs of baby Groot.
Now move on to drawing Baby Groot’s legs and sketch two simple leg shapes that extend downward from the bottom of the torso. Each leg should be wide at the top where it connects to the body and taper slightly toward the feet. They should look short and rounded. These shapes don’t need detailed feet at this.
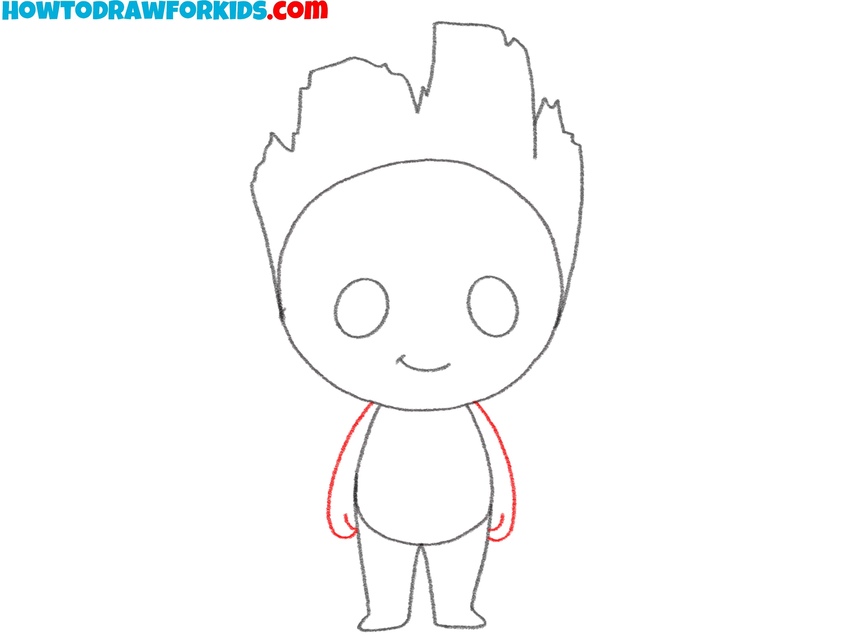
- Add the arms and hands.
Begin with the shoulders and sketch simple lines to illustrate the arms of the character. Finish the arms with simple mitten-like shapes to represent the hand. The fingers aren’t drawn individually in this example – just a soft, rounded hand shape to keep things simple.
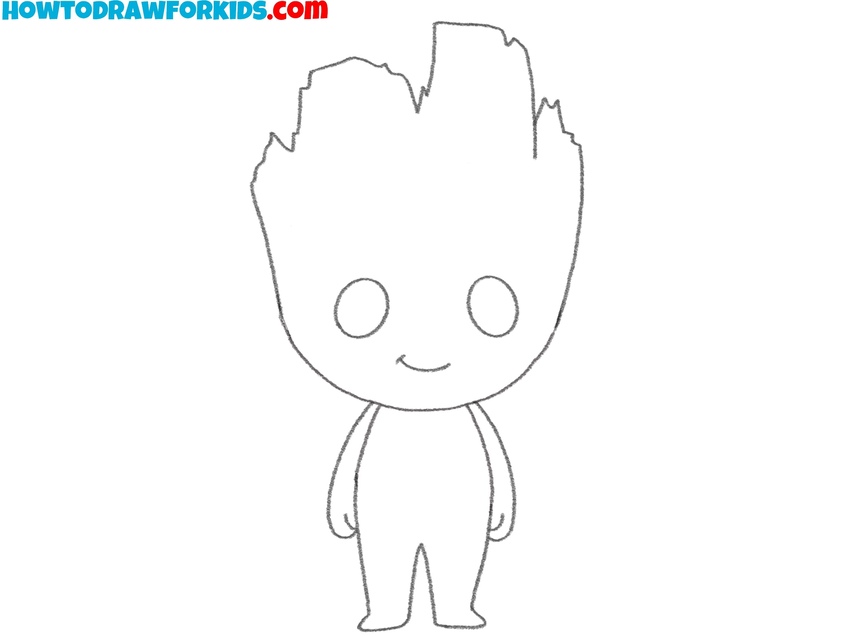
- Erase the guidelines.
Carefully remove the inner lines where the arms, legs, and torso connected, as well as any parts of the original head and body shapes that are no longer needed. Make sure the overall outline looks clean and smooth, as this will help the final drawing appear neat and ready for detailing.
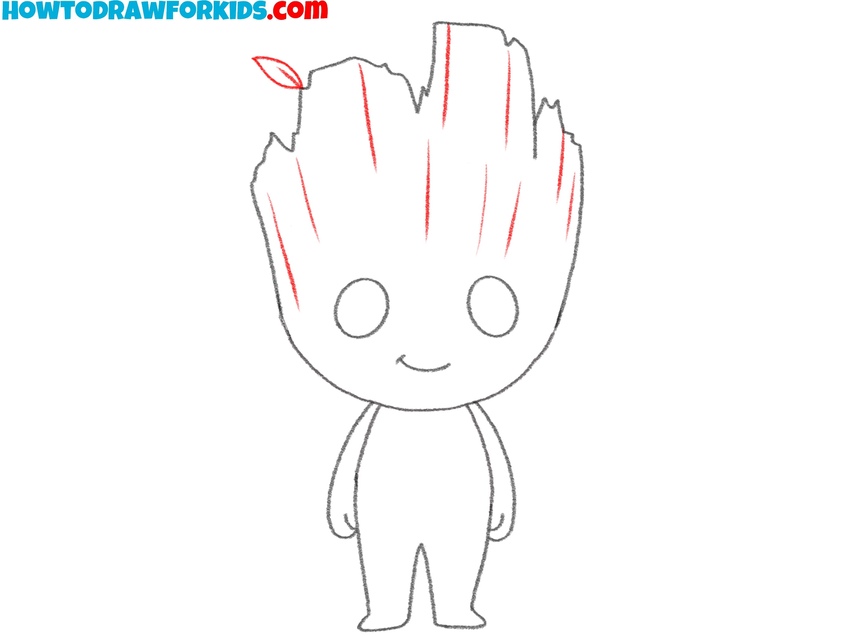
- Add bark texture to the head.
Use long, slightly curved lines starting at the top of the head and moving downward, stopping just above the eyes. Vary the length and spacing of these lines to mimic the natural grain found in wood. Add a small leaf sprouting from the top of the head.
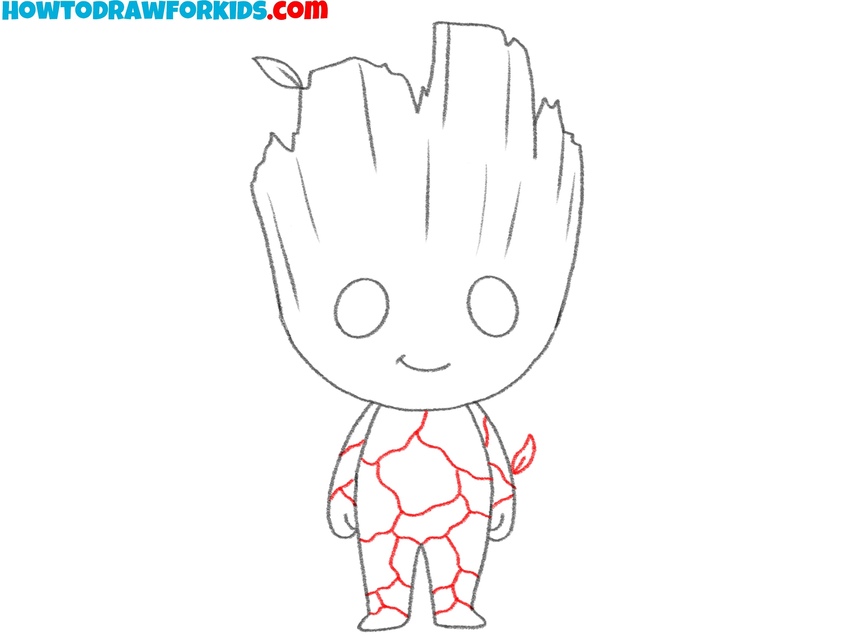
- Add body bark and leaf details.
Continue by drawing bark texture on the body and legs, similar to the lines added to the head. Use a combination of short and long curved lines to represent the wooden surface across the arms, torso, and legs. You can also add small curved patches to mimic bark pieces.
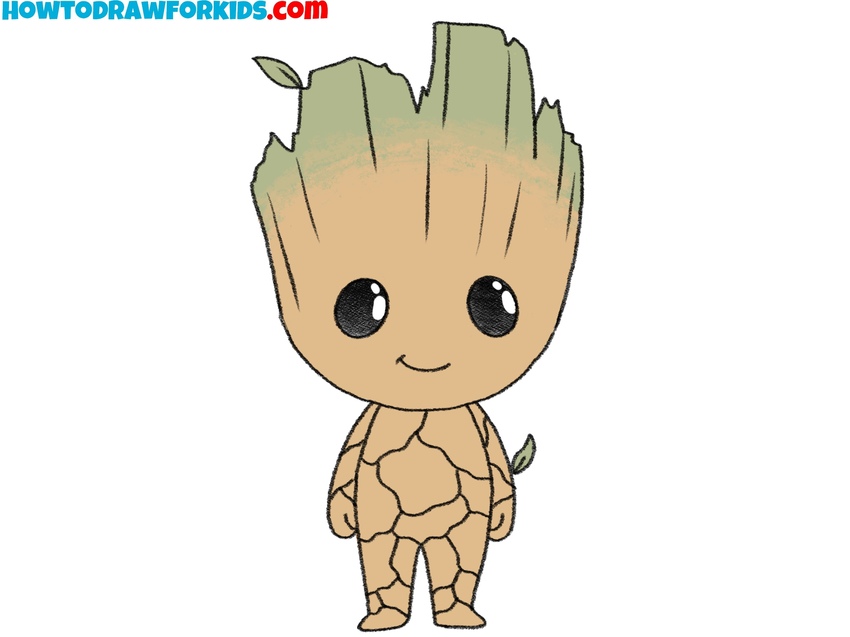
- Color the drawing of baby Groot.
Start with a light to medium brown for the body, head, and limbs to represent the tree bark. Then, apply a light green at the top of the head to show new growth – blend it downward slightly for a natural transition into the brown. Use green again to color the small leaves on his head and body.
Simple Baby Groot Drawing Tutorial
This easy and cute tutorial on how to draw baby Groot presents a simplified version with a completely different step sequence. Unlike the previous versions, this method starts with a full outline of the head and body before gradually adding arms, leaves, bark lines, and facial details. The coloring style is also different, with a warmer brown tone and more saturated green leaves for a distinct look.
To begin this simplified tutorial on how to draw baby Groot, sketch the outline of the head with uneven bark-shaped edges at the top. Then sketch the body as a wide teardrop shape with two small foot-like curves at the bottom. Add the arms on each side, slightly curved and tucked in. Draw leaves near the shoulders and around the arms to represent Baby Groot’s growth details.
Add thin bark lines on the head, then draw more wood-like texture on the body. Once the base is finished, draw large circular eyes with highlights and a small curved mouth. Finish this simple Baby Groot drawing tutorial by coloring the body in a warm brown tone and using green for the leaves. Keep the eyes black with small white reflections.
The more often you draw with the help of step-by-step tutorials, the better your skills will become each time. I have prepared a PDF file for you where you can see a short version of this tutorial.

Conclusion
So today we learned how to draw Baby Groot, building on the main and basic tutorial for drawing this character in his adult form. Using simple but effective techniques, we drew Baby Groot, added his signature wooden textures, and colored him in shades of brown and green to give him the look we were aiming for.
Now, fellow artists, let me know – did you first visit the main tutorial on drawing adult Groot, or did you start with this one? Which version do you like more? Also, have you checked out other drawing lessons on my website related to comic book characters and similar figures?
And of course, let me know if you shared this drawing lesson with your friends, classmates, or your art teacher.

I love Groot and so i had to draw him a thanks to this step by step sheet I was able to.
Thanks you! I’m glad you liked this Baby Groot drawing tutorial.