How to Draw Batman Logo
Step into Gotham with me as we learn how to draw Batman logo, crafting the Dark Knight’s emblem in a few easy steps.
How to Draw Batman Logo: Introduction
In this tutorial, I will show you how to draw the Batman logo in one of its classic forms, featuring a bat silhouette with pointed ears and rounded wings. But as you may know, the Batman logo has changed many times over the years. These variations differ in shape, background, and overall style.
Some versions come from comic books, while others are based on movies or animated series. Using this tutorial on how to draw the Batman logo, you can create any version by changing specific elements. The main detail that remains consistent is the bat silhouette, although the wings and ears may vary in shape.
This tutorial follows a simple step-by-step structure, focusing on the Batman logo’s basic features. By drawing each part in sequence – the wing edges, the bat’s body, and the overall outline – you will build the full image gradually. The method is designed to make the process clear and manageable.
Batman Logo Drawing Tutorial
Materials
- Pencil
- Paper
- Eraser
- Coloring supplies
Time needed: 30 minutes
How to Draw Batman Logo
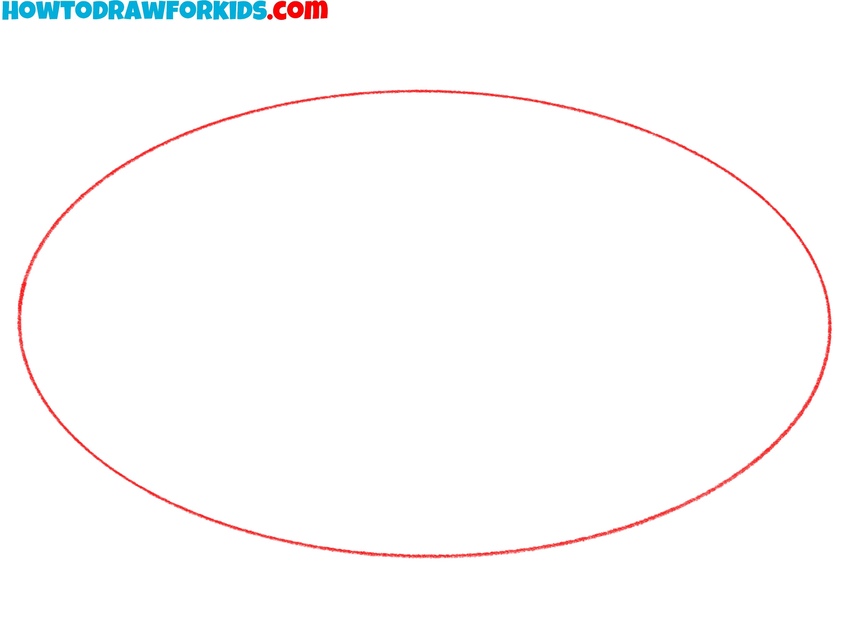
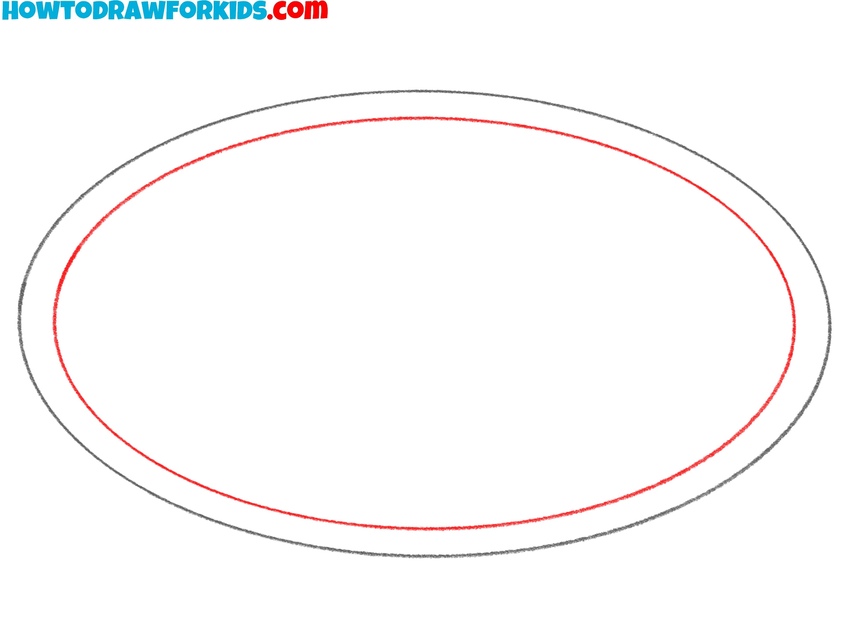
- Draw the large outer oval of Batman logo.
Begin by drawing a large horizontal oval near the center of your page. This will serve as the outer shape of the Batman logo. You can also slightly adjust the proportions of the oval if you want to replicate a different version of the Batman logo – some appear more stretched or taller depending on the era or movie version.
- Sketch the inner border oval.
Draw a second, slightly smaller oval inside the one from Step 1, following the same shape and staying close to the outer edge. This creates the border of the emblem. Make sure the spacing is even all the way around. If you’re drawing a version without a border, you can skip this inner oval.
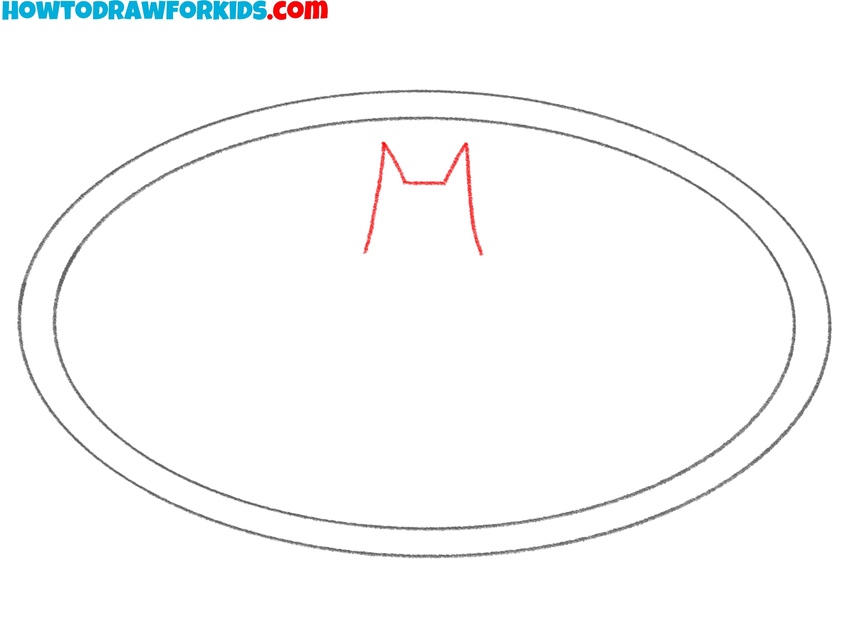
- Draw the bat’s head and ears.
At the top center of the inner oval, sketch the upper part of the bat silhouette, starting with the head and ears. Draw an “M”-like shape with pointed vertical ears. You can modify the shape of the ears based on the specific version of the logo. Adjust accordingly if you’re trying to replicate a certain look.
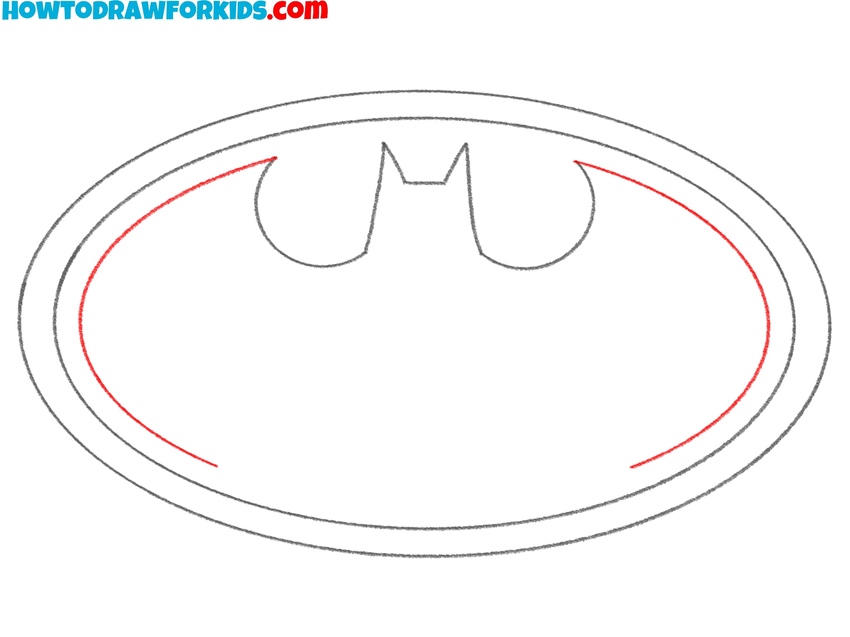
- Draw the top edges of the wings.
Continue drawing the bat by sketching curved lines that extend out from each side of the head and create the upper edges of the wings. Try to keep both sides symmetrical. If you want to create a more angular version of the Batman logo (like in some 2000s comics), you can make the wing edges straighter.

- Sketch the outer curves of the wings.
Now sketch the side edges of the wings by drawing smooth arcs that follow the shape of the oval. Keep the sides and symmetrical as possible. You can also use straight lines instead, depending on the version you want to draw – for example, the original wing style from the first Batman comics in 1939.
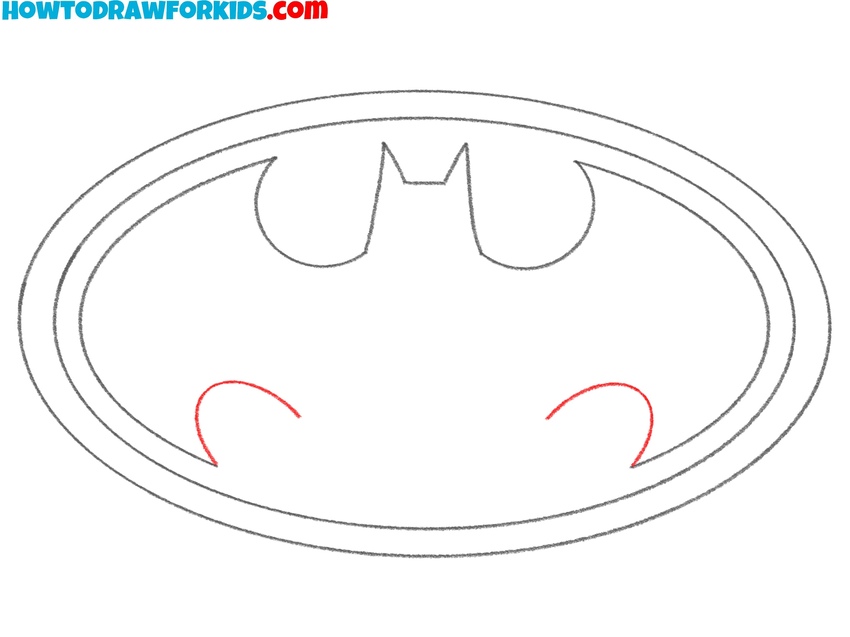
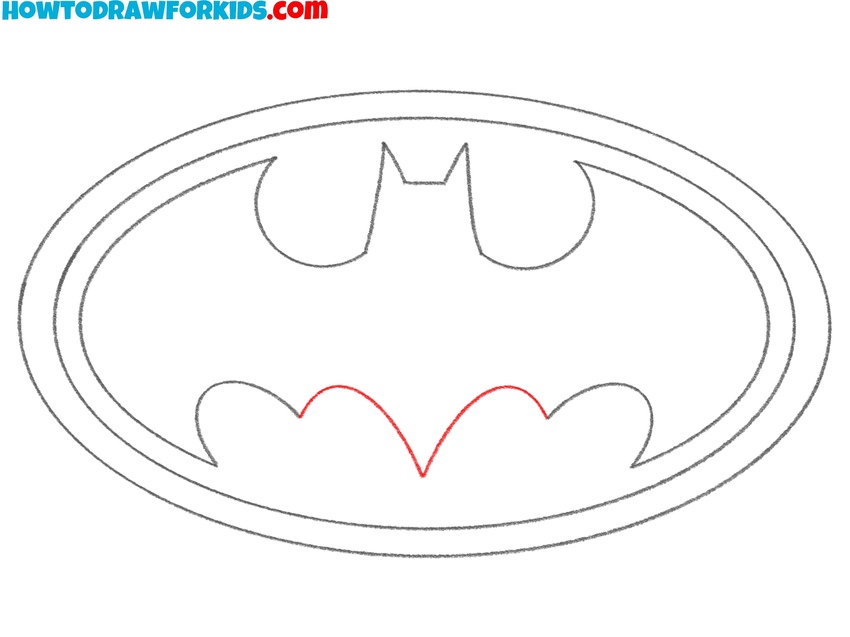
- Begin the lower wing shaping.
Move to the lower half of the bat silhouette and add two upward-curving lines starting near the base of each wing. These lines represent the beginning of the bat’s lower wing structure. In some versions, this part of the design is more jagged, so you can adjust the curvature or placement if you’re referencing a specific version.
- Complete the bat silhouette.
Now finish the bat silhouette by drawing more curved lines, connecting both sides of the wings and forming the tail. The bat tail on the emblems is usually longer than the bottom outlines of the wings from the previous step, but you can make all the protrusions the same length if you want to create a specific version.
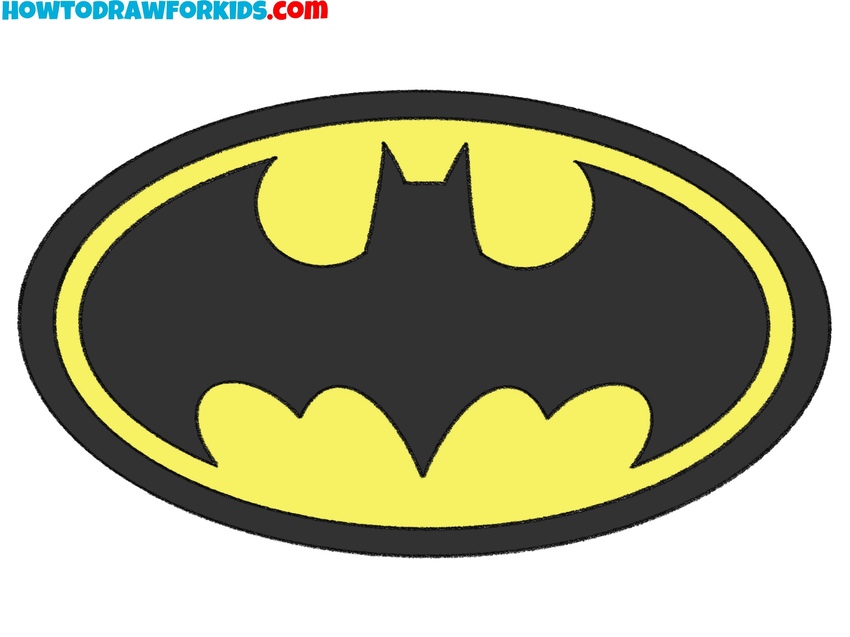
- Add black and yellow coloring.
To complete the drawing, fill in the bat silhouette with black and color the background inside the oval yellow. Color the border, if drawn, black as well. This is the most classic and widely used version of the Batman logo. If you’re recreating a logo from a specific series or film, match the color scheme to that version.
Alternative Batman Logo Drawing Tutorial
This version of the Batman logo drawing tutorial uses a slightly different construction method compared to the first tutorial. The head is placed later in the sequence, and the curved wing shapes are drawn earlier. This version also focuses less on symmetry and more on shaping through simple freehand curves.
To draw Batman logo using this alternative method, start with a wide horizontal oval for the outer edge. Add a second oval inside it to form the border, then sketch a thinner inner oval to guide the placement of the bat. Begin shaping the bat by drawing the upper curves of the wings.
Then add the small head with two pointed ears at the top center. Continue with the inner curves of the wings near the bottom. Complete the silhouette by drawing three lower points to finish the shape. Color the bat in black and the background in yellow to complete the Batman logo drawing.
Conclusion
The Batman logo drawing tutorial is now complete. If you want to continue working with similar topics, try the tutorial on how to draw Batman, where you’ll draw the full character in the same simplified style. You can also go to the superhero drawing tutorial or my Comics section to find more step-by-step guides on other well-known heroes.
Feel free to adjust the shape of the wings or ears to match other versions of the logo if you’re trying to recreate a specific one. And as always, don’t forget to subscribe and check out new tutorials regularly.