How to Draw Cheese
In two simple ways I will teach you in detail how to draw cheese, one of the most important element of many classic still lifes.

How to Draw Cheese: Introduction
In this lesson we will continue to learn how to draw food and create cool still lifes and train our skills in drawing cheese using two very simple methods. I’m sure that your drawing will turn out very beautiful! With these instructions, any child and beginner artist will be able to draw cheese.
Cheese is a dairy product. Over a thousand types of cheese exist and are currently produced in various countries.
Cheese is the ultimate snack food and a versatile cooking ingredient that gives whatever dish it is added to that special something that only cheese can bring. If you choose natural and high-quality cheese, eating it is good enough for your health.
So now let’s get down to painting this meal.
Cheese Drawing Tutorial
Materials
- Pencil
- Paper
- Eraser
- Coloring supplies
Time needed: 20 minutes
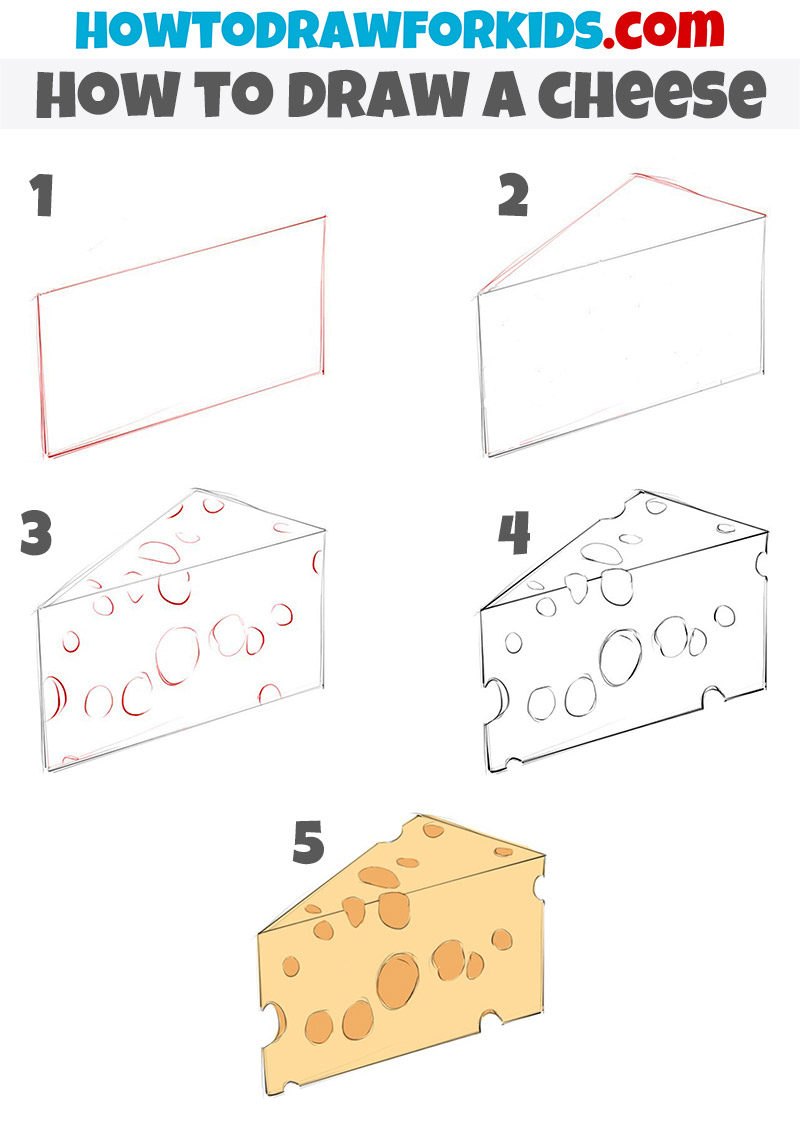
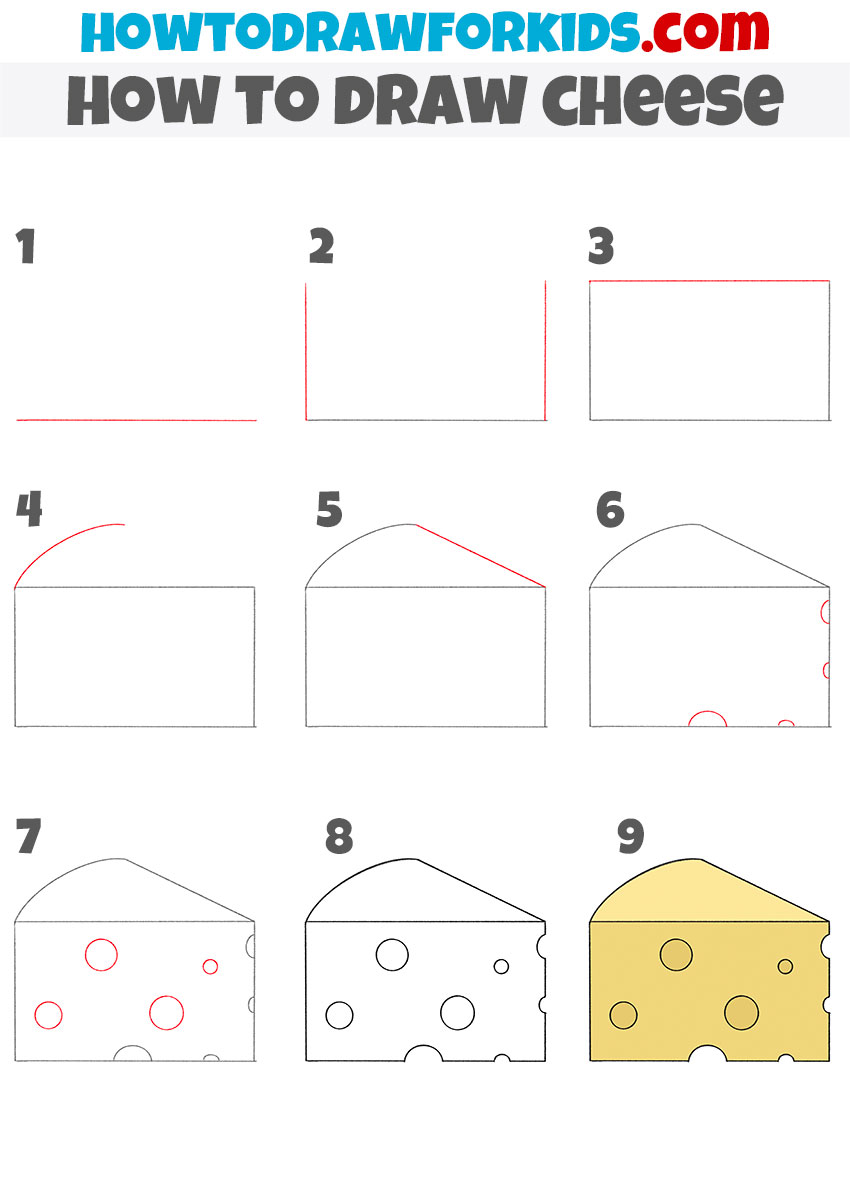
How to Draw Cheese
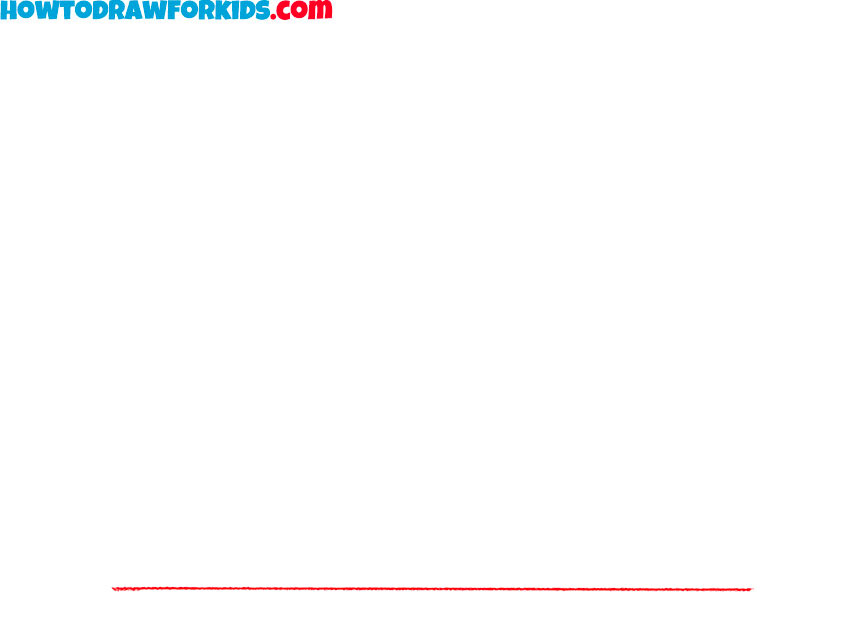
- Sketch the base of the cheese.
First, mark a simple horizontal line across the page. This simple shape is the bottom edge of the cheese slice. Drawing a straight line freehand can be tricky, so don’t worry if it’s not perfect. You can steady your hand by moving your arm from the shoulder instead of just the wrist, which gives smoother lines.
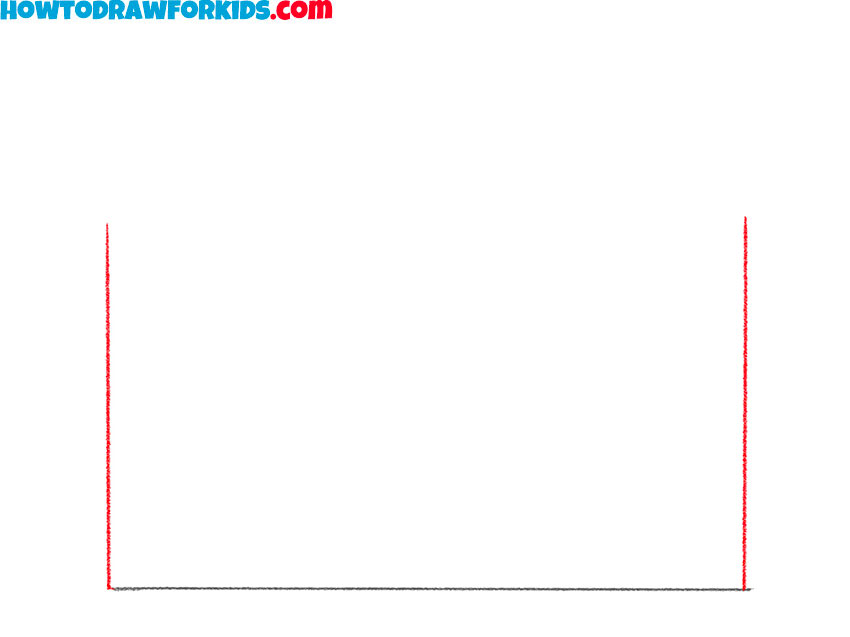
- Add the side edges.
Now sketch two vertical lines rising from each end of the base. These will become the sides of your cheese slice, forming a rectangle shape once completed. Be mindful of keeping the lines parallel to one another and as equal as possible.
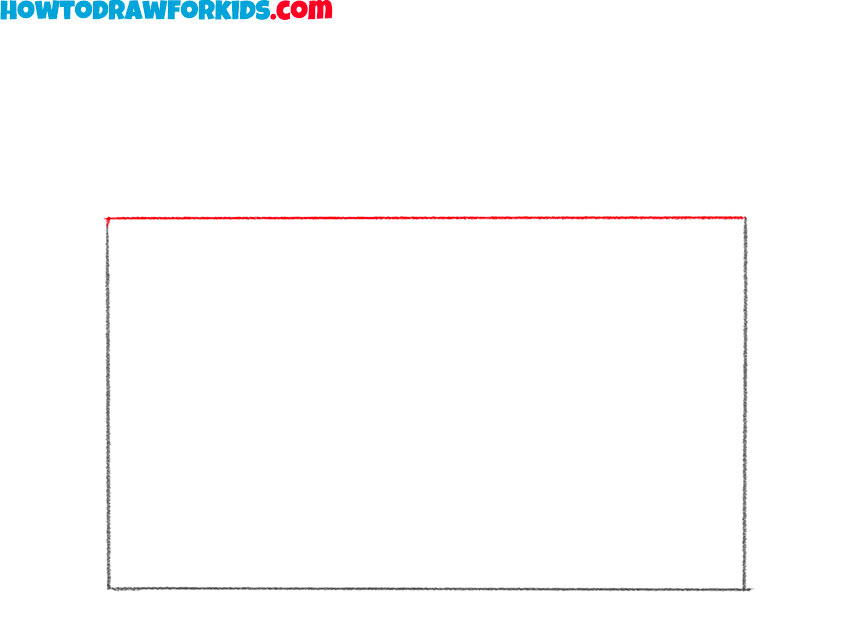
- Draw the upper cheese edge.
Connect the two vertical lines with another horizontal line on top, completing a rectangular shape. This rectangle represents the basic front face of your cheese. Check that the top and bottom lines are parallel. If needed, you can use a ruler.
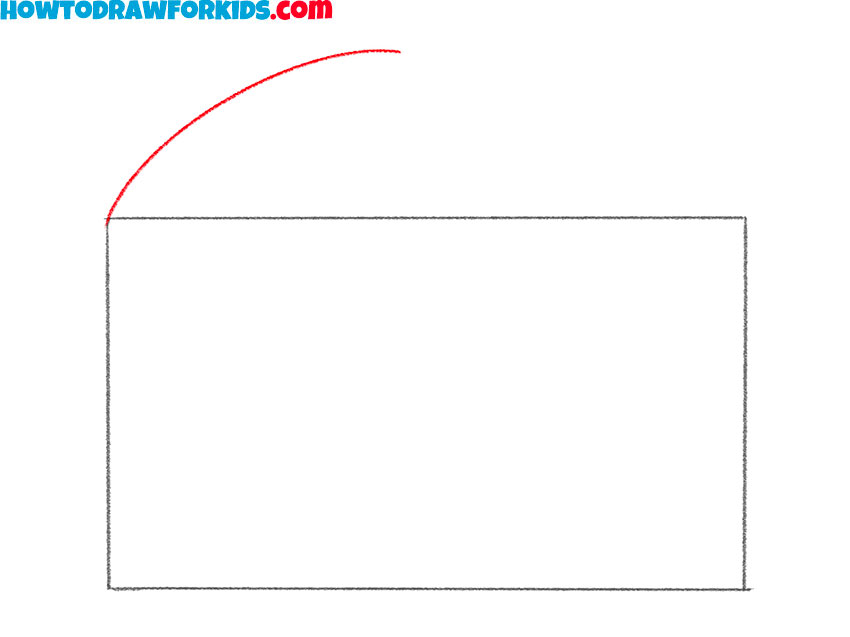
- Start sketching the upper edge.
From the top left corner of your rectangle, sketch a gentle curved line extending upward and slightly right. This marks the beginning of the top surface of the cheese. Don’t worry if your first attempt feels uneven, you can always trace over it later.
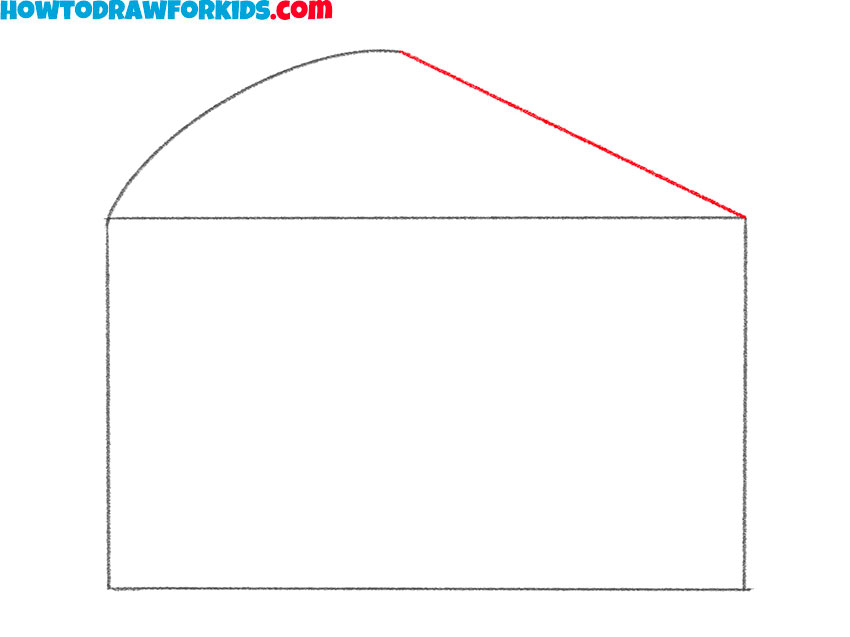
- Finish the upper surface.
Now continue that curve by adding another line that slopes down from the high point to the right corner of the rectangle. Together, the two curves create the slanted top of the cheese wedge. This is the moment when your drawing shifts from a simple box to something more recognizable as a piece of cheese.
- Start drawing the cheese holes.
At this stage, add small circles to convey the famous cheese holes. Place a few near the right side and bottom edge. Don’t make these holes all the same size, variety looks more natural. Some circles can overlap the edge slightly, as if the holes cut into the cheese.

- Add more cheese holes.
Continue sketching additional circles across the main surface of the cheese wedge. Vary their placement, size, and even depth, some can be large and centered, others smaller and tucked in the corners. Too many holes can distract from the overall wedge form.

- Trace the final outlines.
Now carefully erase unnecessary guidelines and make the outlines neat. Use dark very smooth lines to give the cheese drawing a finished look. You can also add smaller holes between the larger ones. You can also give the cheese holes an uneven look for more realism.

- Color the slice in yellow tones.
A classic choice is a warm yellow or golden tone, which instantly communicates “cheese” to the viewer. You can also deepen the holes with a darker shade. Once finished, step back and review – your cheese drawing should now clearly resemble a wedge.

Additional Content
Excellent job! I imagine the cheese you have drawn looks very nice and appetizing! Subscribe to us on social networks. I have prepared a short PDF version of this tutorial for you. After downloading this file, you can return to the lesson at any time convenient for you, without using the Internet.
How to Draw Cheese: Additional Method
So, to draw cheese using this method, first sketch the outer surface in the form of a diamond, then the top edge using a couple of lines.
Next, draw holes in the cheese, erase all unnecessary lines and color your drawing in shades of yellow.