How to Draw a Creeper
Let’s practice drawing cubes and straight lines with this tutorial on how to draw a Creeper from Minecraft, one of the most popular games.
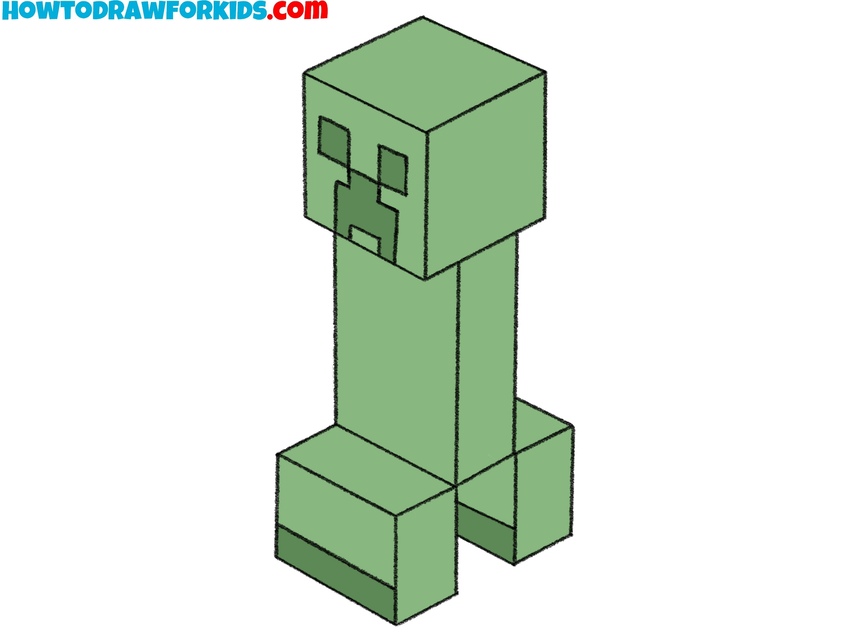
How to Draw a Creeper: Introduction
Drawing is a complex and multifaceted process, and learning to draw is something many artists spend years mastering. There are basic elements in this process, such as drawing fundamental geometric shapes, like cubes. Mastering these basics is essential for building more advanced skills in drawing.
This tutorial on how to draw a creeper is an excellent exercise for practicing the skill of drawing cubes and straight lines. It helps you learn how to create proper and harmonious combinations of these shapes. Additionally, it shows how to use simple straight lines to create volume on paper, even in simple forms.
Of course, drawing cubic shapes and characters made from cubic forms can take many different forms. These basic shapes are key to constructing more detailed and intricate designs. In this tutorial, you’ll get a chance to see how these forms come together.
To demonstrate this process, I’ve supplemented the core tutorial on drawing a creeper from Minecraft with an additional, simplified lesson. This lesson shows the creation of straight, cubic shapes from a completely different perspective, giving you a more comprehensive view of the process.
Creeper Drawing Tutorial
Materials
- Pencil
- Paper
- Eraser
- Coloring supplies
Time needed: 35 minutes
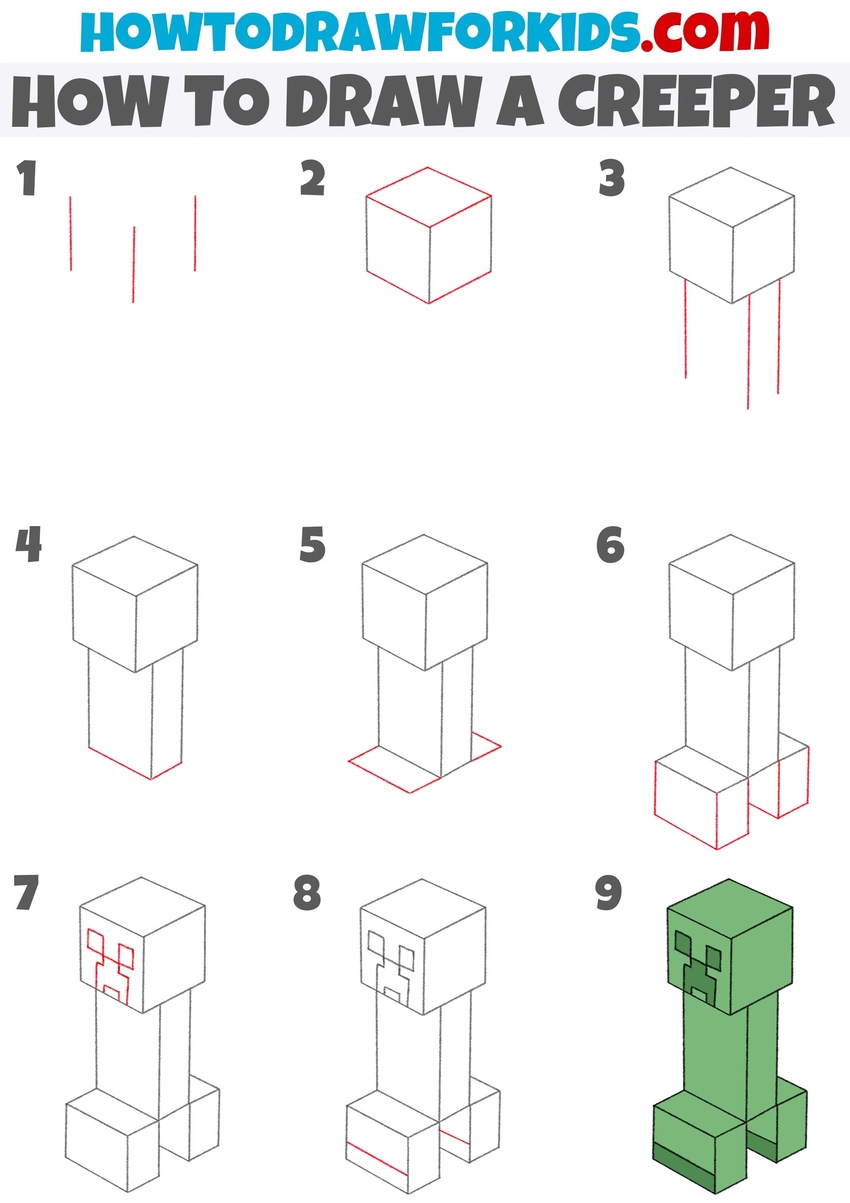
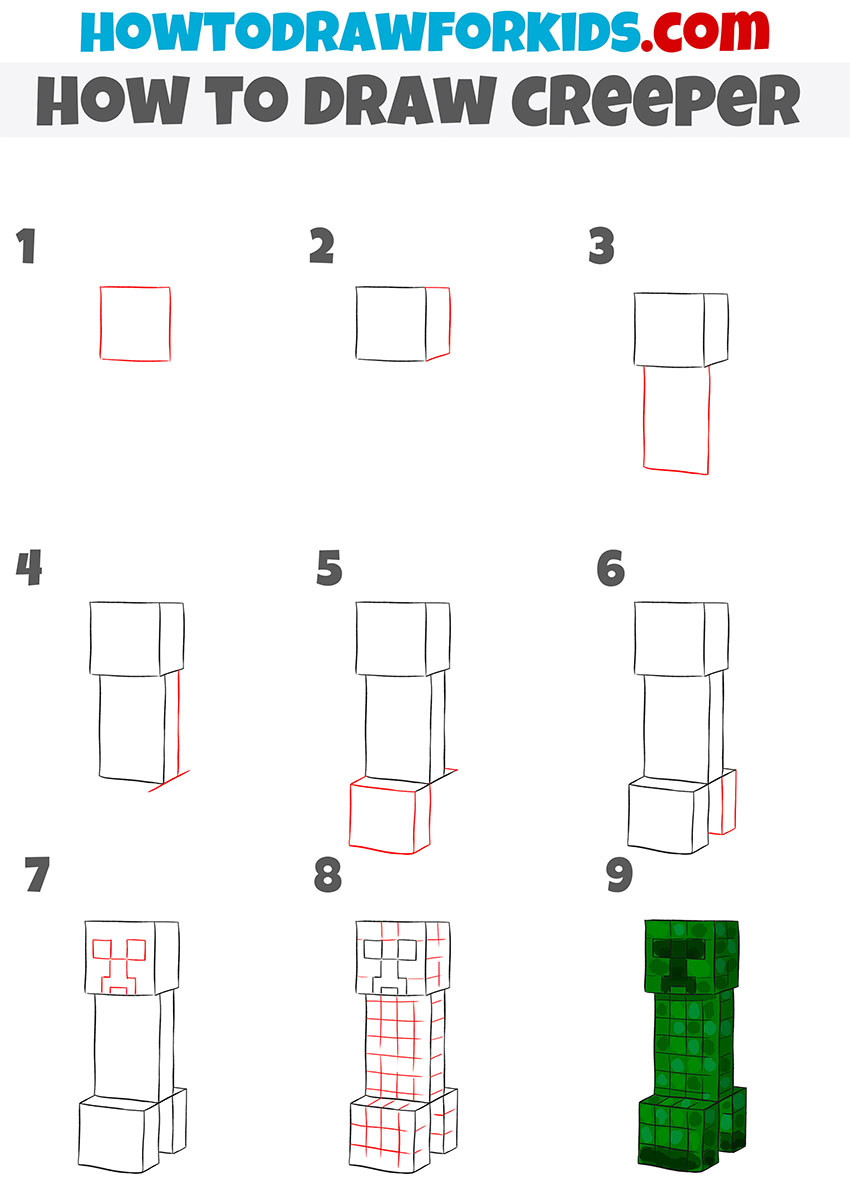
How to Draw Creeper
- Start sketching the creeper’s head.
To draw a creeper, first sketch two vertical, slightly spaced parallel lines. These lines will serve as the basic edges for positioning the creeper’s head. The lines need to be perfectly straight, so you can use a ruler. The length of the lines will determine the height of the creeper’s head.

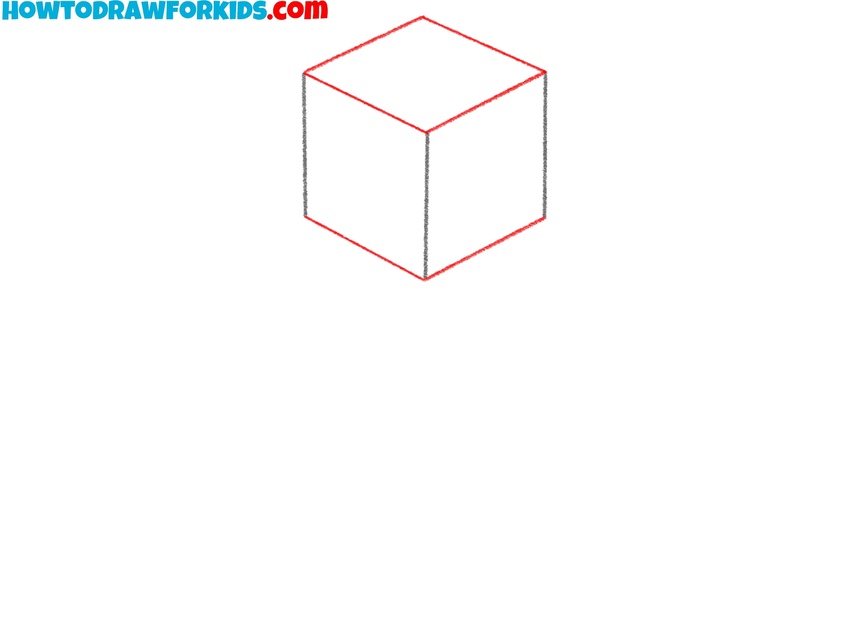
- Complete drawing the creeper’s head.
In this step, you will connect the lines from the previous step with horizontal lines to create a cube at for the creeper’s head. When drawing the head, ensure the proportions and perspective are accurate. Keep horizontal lines parallel and vertical lines straight.
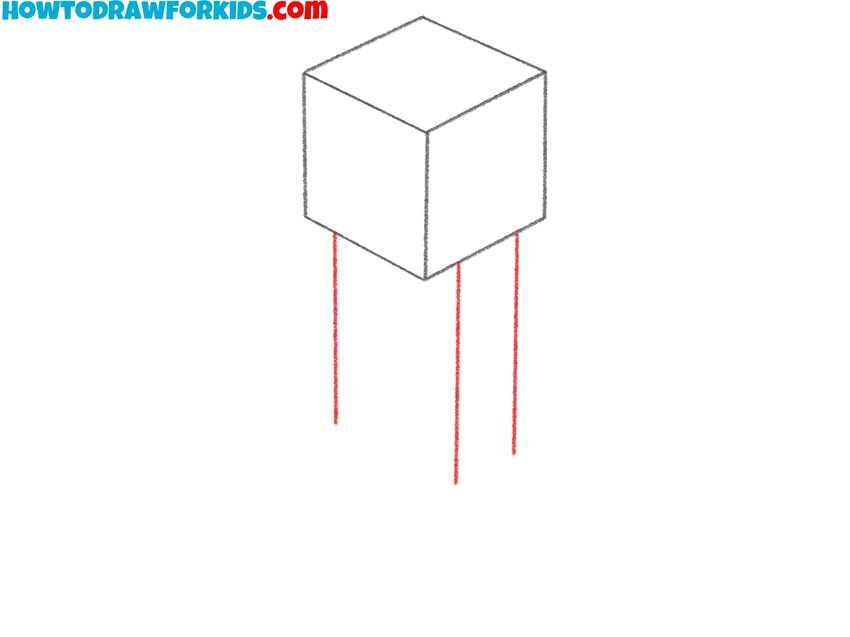
- Sketch the corners of the torso.
Extend two straight vertical lines downward from the bottom of the head to form the outline of the creeper’s body. These lines define the vertical corners of the body snd should be aligned with the center of the head. Also, they will guide the overall height of the Creeper’s torso.
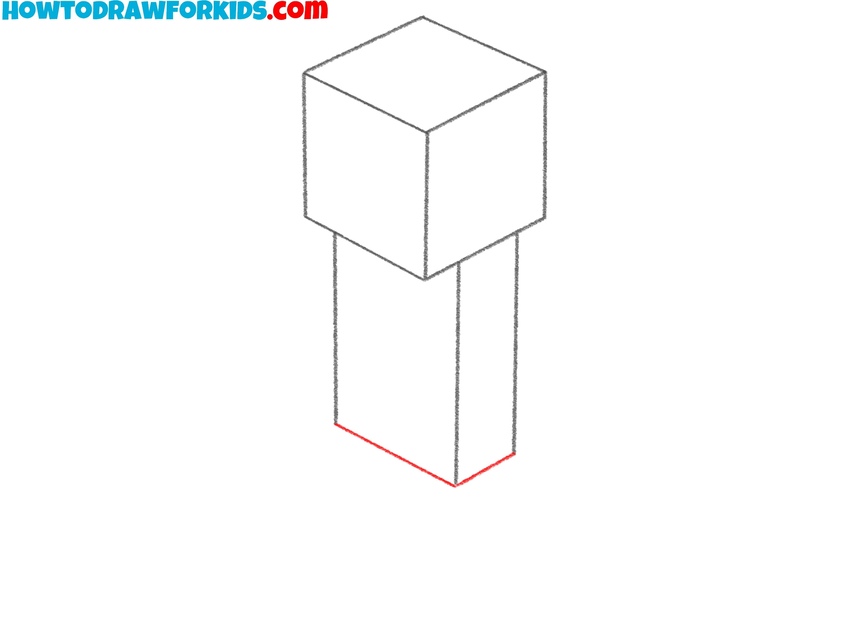
- Complete the shape of the torso.
At the bottom of the vertical lines you just drew, draw a couple of horizontal line to create the bottom edge of the creeper’s body. This line should connect the vertical lines, forming the body. Make sure the horizontal line is straight and parallel to the top edge of the head to maintain symmetry.
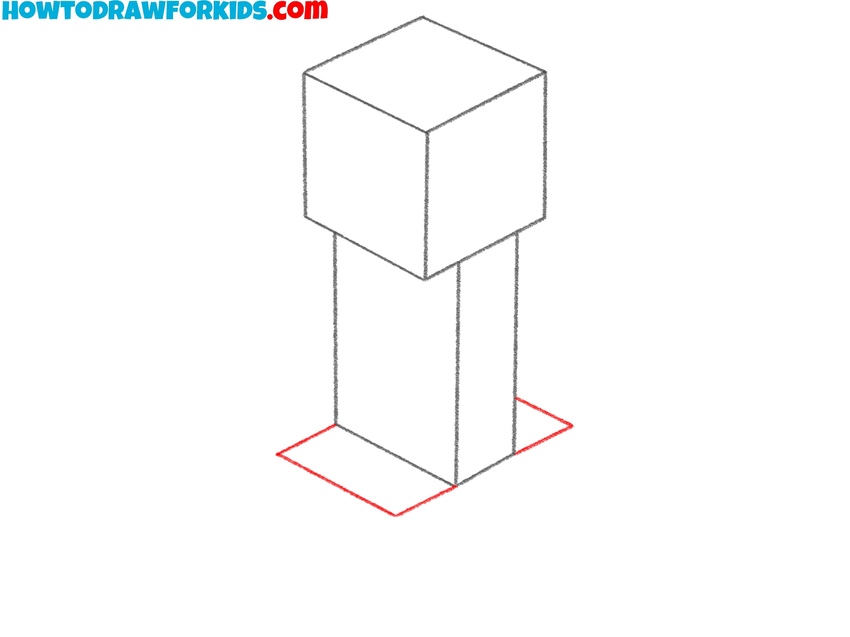
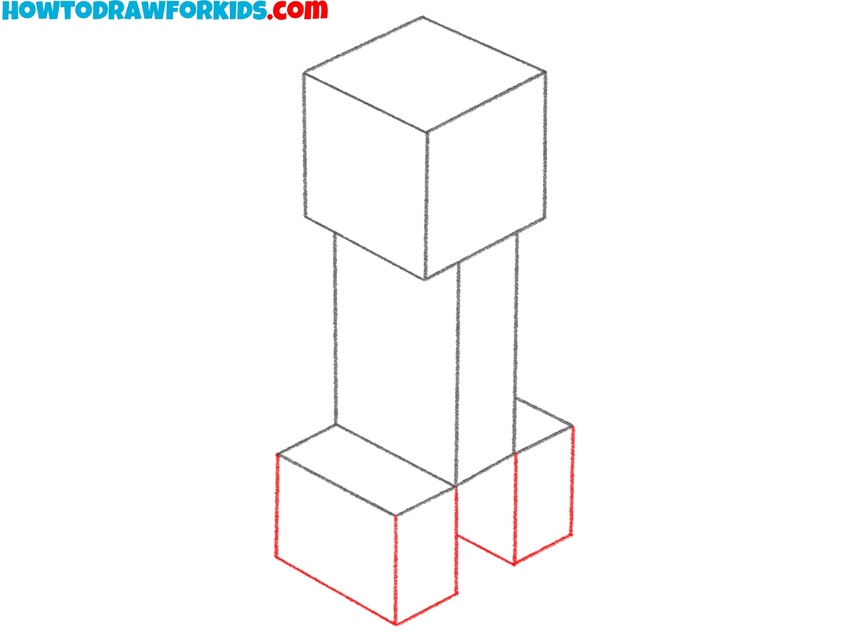
- Sketch the top edges of the legs.
At the bottom of the body, draw two rectangular shapes extending from the sides of the body. These will form the top edges of the creeper’s legs. These shapes should be at the same plane as the top surface of the head, so make these lines parallel to the lines of the head.
- Finish drawing the legs of creeper.
Now, complete the legs by drawing vertical lines downward from the top edges of the legs you just created. These lines should form cubes for the creeper’s legs, similar to the body and head. The legs should be about the same length as the head.
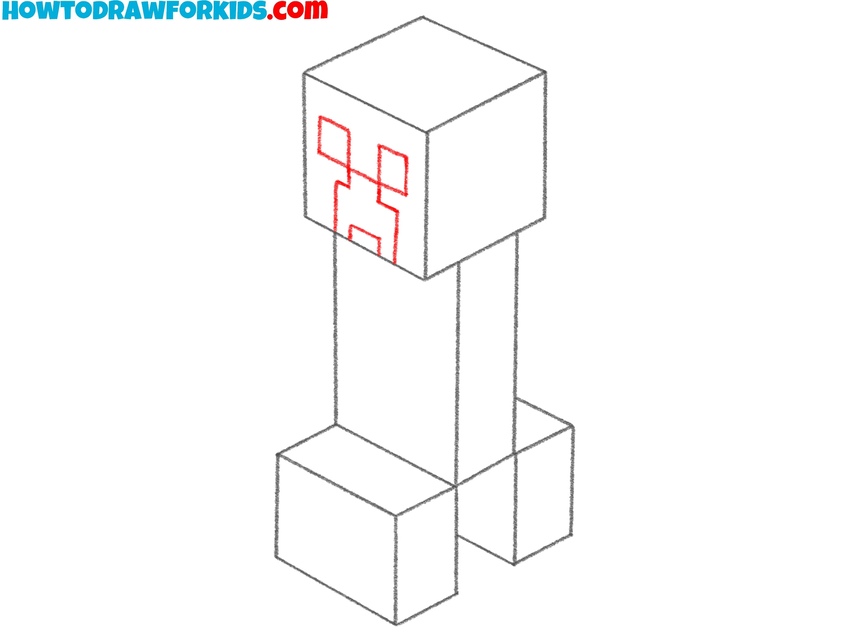
- Draw the creeper’s eyes and mouth.
Inside the head of the creeper, draw two square eyes and an angular mouth. The mouth should be directly below the eyes, centered, and slightly wider than the eyes. Keep the lines straight to reflect the Creeper’s pixelated, blocky style. Align the lines of the eyes and mouth with the top and side edges of the head.
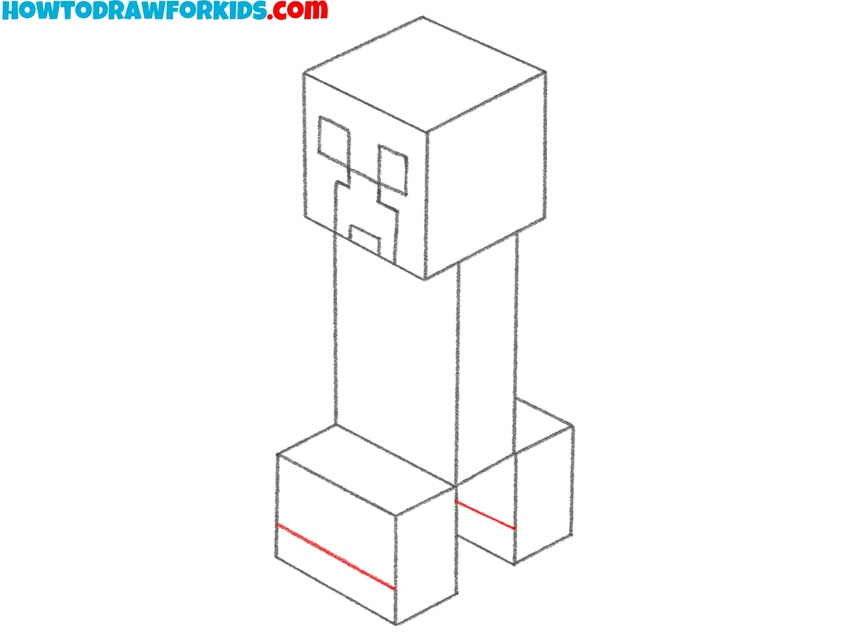
- Add details and final touches.
Make sure the shapes of the head, body, and legs are clean and sharp. Add any details to the edges of the cubes and refine the features, of needed. To make your creeper drawing look more detailed, you can sketch a pixel texture on the surface of the head and body.
- Color the creeper.
The creeper is typically green, so use a bright green for most of the body. The face should be shaded in a darker green, with the eyes and mouth remaining black or dark green. You can also use a different shade of green to color the pixels if you want to give the creeper’s body some variation and texture.

Alternative Creeper Drawing Tutorial
This second creeper drawing tutorial differs from the first by demonstrating a more different approach using basic cube shapes. The structure of the steps is significantly different in this method. The tutorial also demonstrates a grid-like textures for a more Minecraft-like look.
To learn how to draw a creeper with a pixelated texture, start by sketching a small square for the head. From there, extend a vertical rectangle downward to form the torso. Draw additional cubes at the bottom to create the creeper’s legs. Add grid-like lines inside the body and head to mimic the pixel texture seen in the game.
For the face, draw two square eyes and a rectangular mouth within the head cube. Refine the edges of the cubes and face to ensure they are clean and sharp. Once the outline is complete, add shading or texture to highlight the pixelated effect. Finish this tutorial on how to draw a creeper by coloring him with green colors. Use darker greens for the eyes, mouth and feet.
Conclusion
As I mentioned earlier, drawing cubes, just like other basic geometric shapes, forms the foundation of visual art. First, you need to master drawing a cube, and then you can move on to learning how to draw cubic shapes, which is exactly what we focused on in this tutorial on how to draw a Creeper from Minecraft.
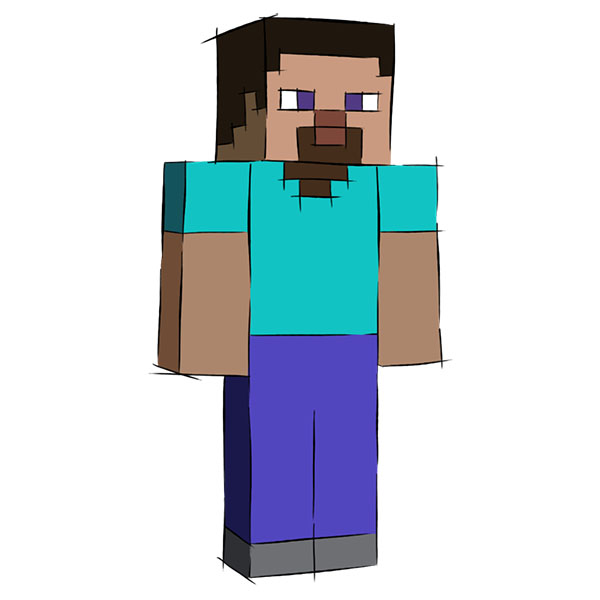
Next, to develop your skills and make them more practical, you need to expand your composition. For example, you can draw Steve from Minecraft using the knowledge gained from this lesson. Additionally, you can create a background for the Creeper, made up of cubes and straight lines, which is characteristic of the game.