How to Draw Curly Hair
Have you ever wondered how to draw curly hair? If so, this step-by-step tutorial will show you the easiest way to do it!
How to Draw Curly Hair: Introduction
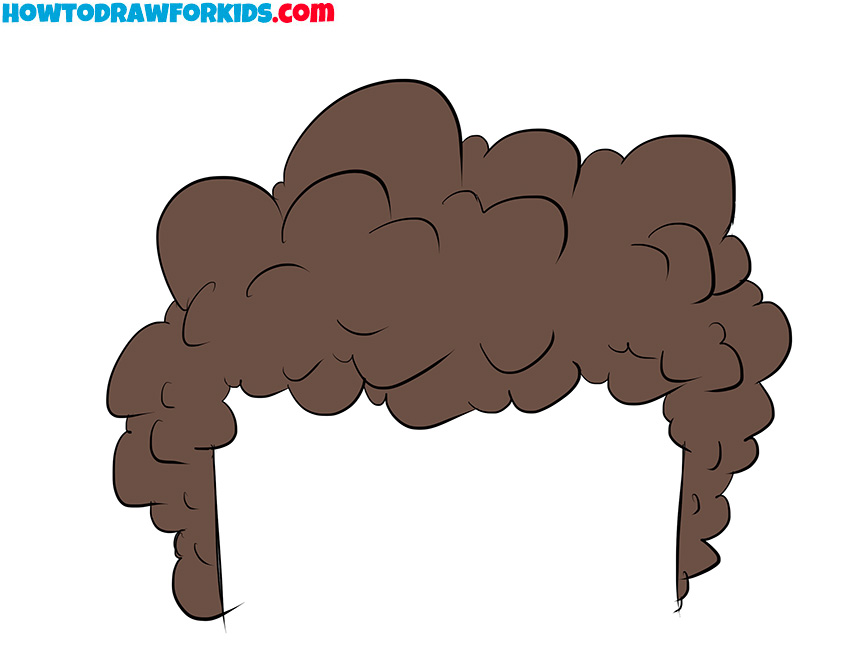
This tutorial on how to draw curly hair will be especially helpful not just for drawing hairstyles but also when working on portraits or drawing persons in full height. Curly hair can add very interesting look to your portrait drawings.
When drawing curly hair, pay attention to the overall shape and volume. Curly hair doesn’t lie flat; instead, it tends to puff out and have an uneven surface due to the varying sizes of curls. Focus on illustrating this volume by using different shapes and sizes of curls throughout the hair.
Also, don’t forget the importance of the hairline and where the curls begin. In the case of bangs, make sure the curls naturally flow from the top of the head downward, while at the temples, they should frame the face. Another tip is to avoid making the overall shape too symmetrical, as this can make the hair appear unnatural.
When it comes to coloring, feel free to experiment. While natural tones like brown, black, or blonde are always an option, curly hair looks equally interesting in more unconventional colors such as green, pink, or blue. Additionally, remember to shade the hair to create volume.
Curly Hair Drawing Tutorial
Materials
- Pencil
- Paper
- Eraser
- Coloring supplies
Time needed: 25 minutes
How to Draw Curly Hair
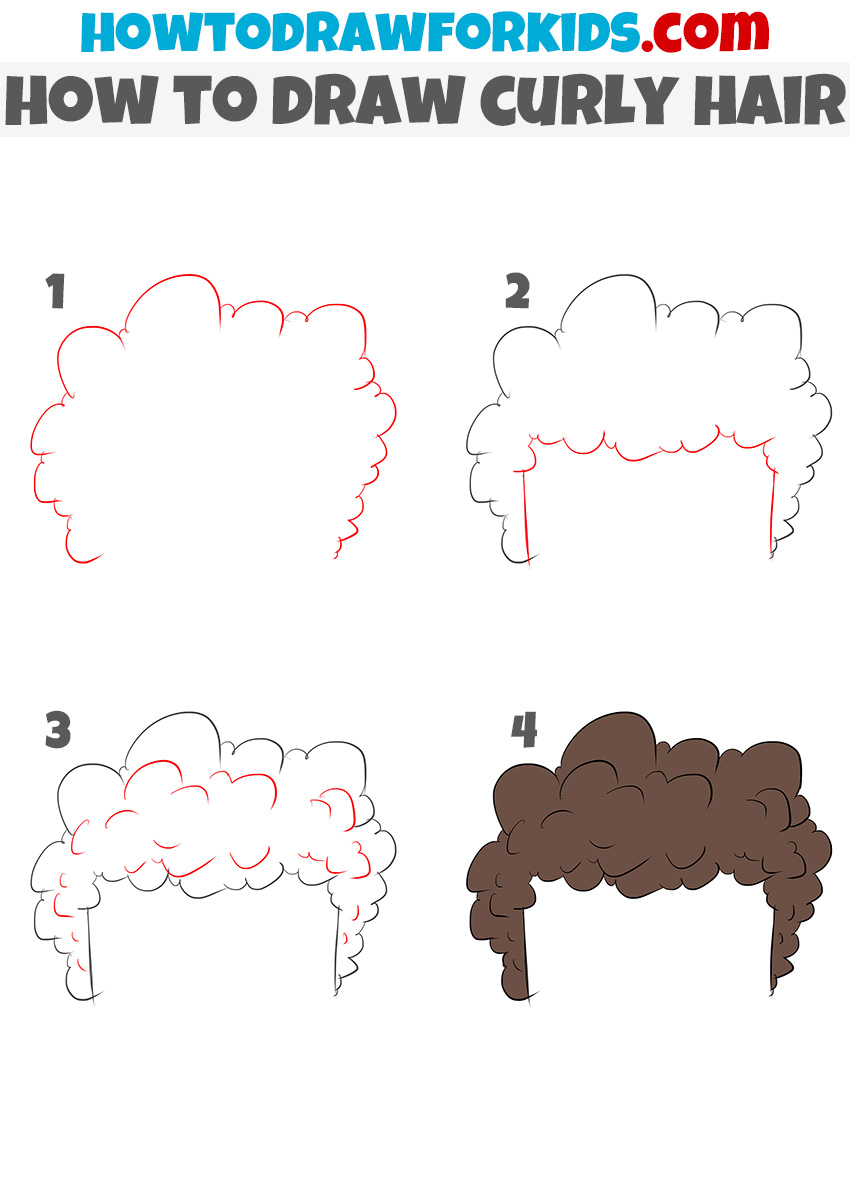
- Draw the outline or the curlers.
For this step, you’ll create an outline of the curly hairstyle with large, rounded, and uneven shapes. Focus on drawing fluffy, cloud-like forms around the head. You don’t need to worry about details at this stage – just concentrate on the general shape of the hair.

- Draw the bangs of the curly hair.
Start by sketching smaller curls that flow across the forehead. These curls should overlap naturally to give the impression of soft, curly bangs. Then, draw the sides using simple and smooth lines. By this, you will finish the overall shape of the hairstyle.

- Add more curls and refine the structure.
Refine the structure of the curly hairstyle by drawing more curls within the general shape. Vary the size and direction of the curls to avoid a uniform look, making sure the hair looks more natural. Draw these extra curls along the top and bottom edges.

- Add colors to the drawing of hair.
First, fill in the hair with a base color, which can range from natural tones like warm or dark brown to more unusual and unrealistic colors such as bright pink or blue. Once the base color is applied, you can start shading the curls by darkening areas where the hair overlaps for more realism.

Additional Content
Here’s a rephrased version of the text:
This was a hair drawing lesson created specifically for kids and beginners. As mentioned at the start of the tutorial, the steps above can be used to draw hairstyles or portraits.
When drawing a face (I would like to remind you that I have a tutorial on how to draw a face), you can easily add curly hair by following this instruction. Also, don’t forget that you can download the PDF version of this tutorial. There, you’ll find the step-by-step instructions along with some additional useful materials, including a coloring page, tracing worksheet, and a grid drawing worksheet.

