How to Draw Hair Buns
This tutorial combines hair design and drawing, teaching how to draw hair buns and build a beautiful and simple hairstyle.
In this lesson I want to show you how to draw hair buns. You have repeatedly seen this hairstyle in young girls and women of any age. This hairstyle is very comfortable and great for long hair.
Divide the hair into two halves and gather the hair into a neat bun on each side. It turns out a beautiful hairstyle that can be done every day. Also, this hairstyle is suitable for a holiday, you just need to additionally use any decorations, for example, decorative hairpins or a beautiful headband.
Drawing such a hairstyle is very simple. You can easily cope with this task, even if you have not had to do this before. With this step by step guide you will quickly and easily draw hair buns. During this tutorial, make sure that both sides are symmetrical.
Materials
- Pencil
- Paper
- Eraser
- Coloring supplies
Time needed: 20 minutes
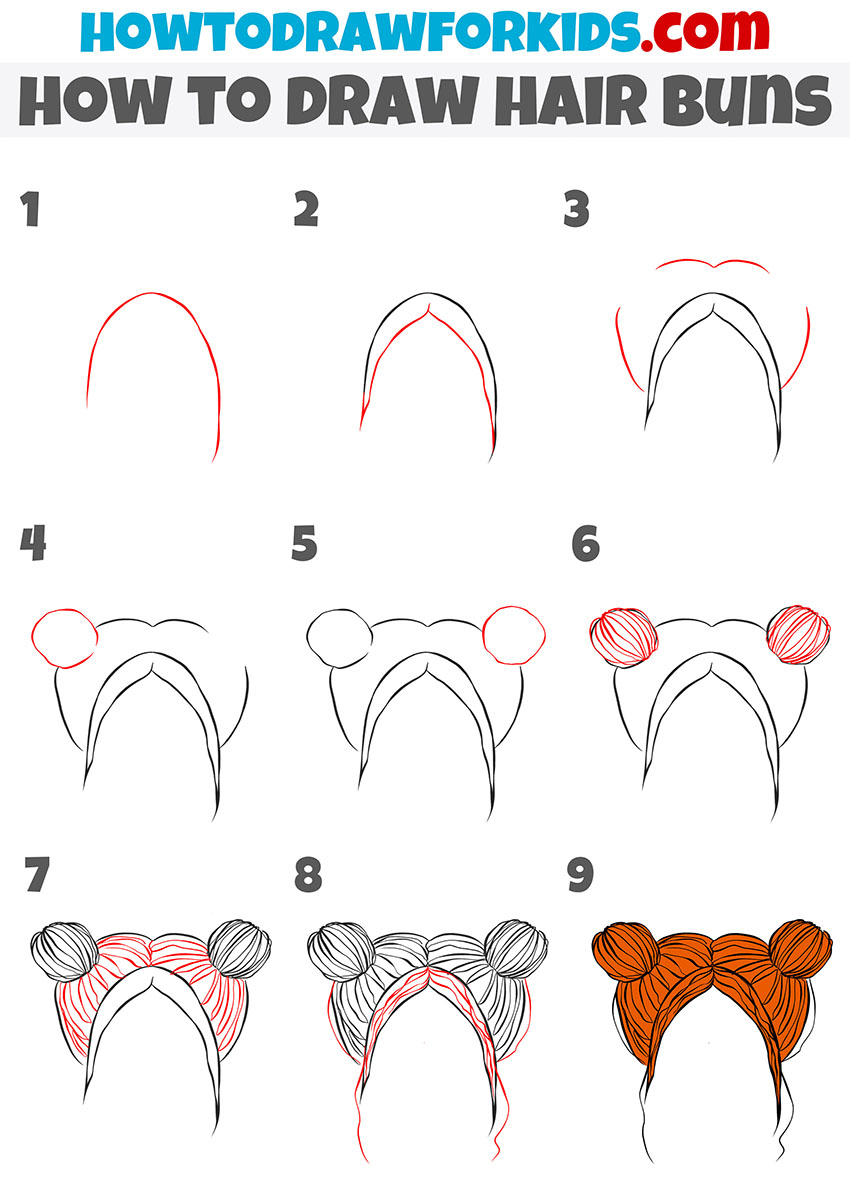
How to draw hair buns step by step
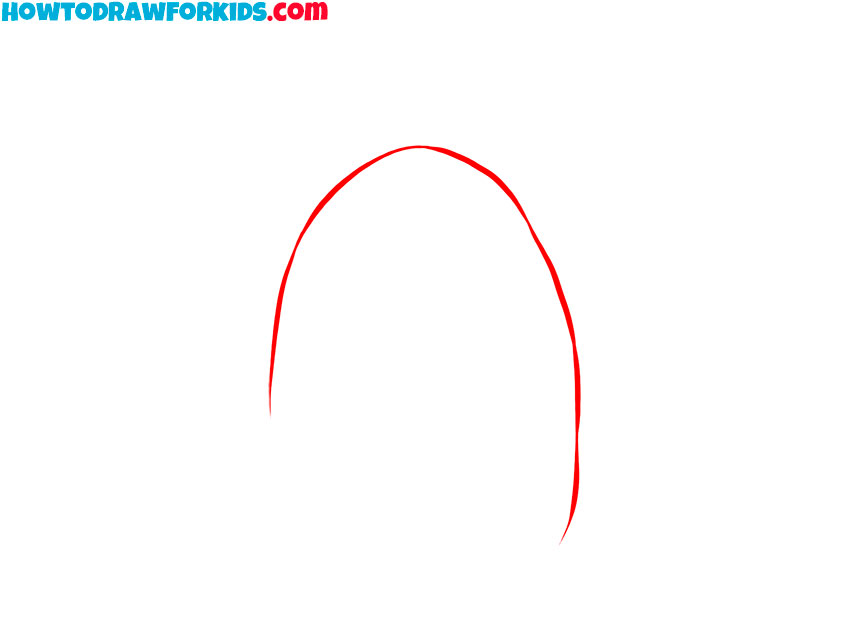
- Sketch the outer contour of the bangs.
To draw the hairstyle with buns on the head correctly, start by defining the bangs. Draw a tall, rounded arch similar to an inverted U. Keep the curve smooth and even. Work lightly with your pencil and make the stands longer or snorter, depending on your design.
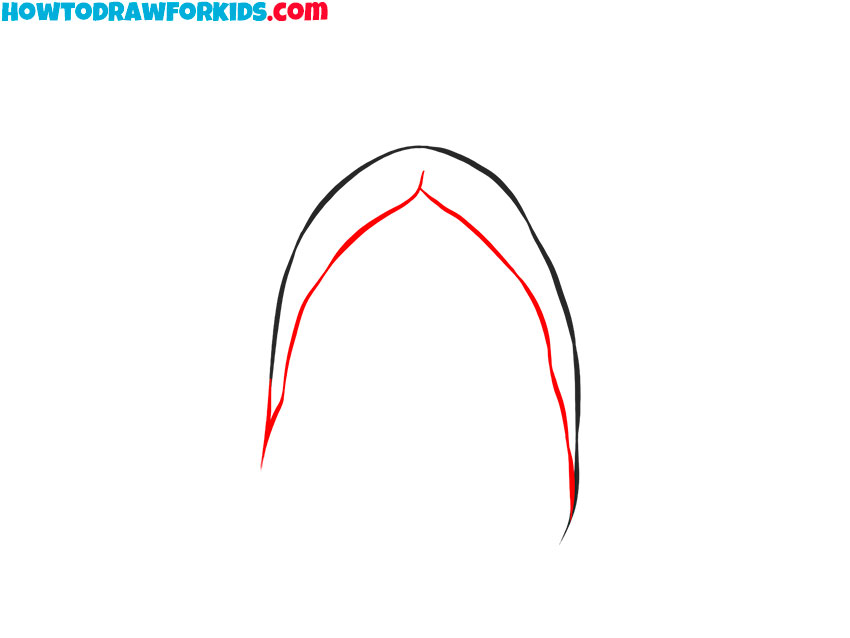
- Finish outlining the side hair stands.
Sketch a second arch inside the first, following the same contour but placed a little lower. Let both sides taper into thin points near the cheek areas to hint at side locks. Make these lines simple and slightly asymmetric to feel natural.
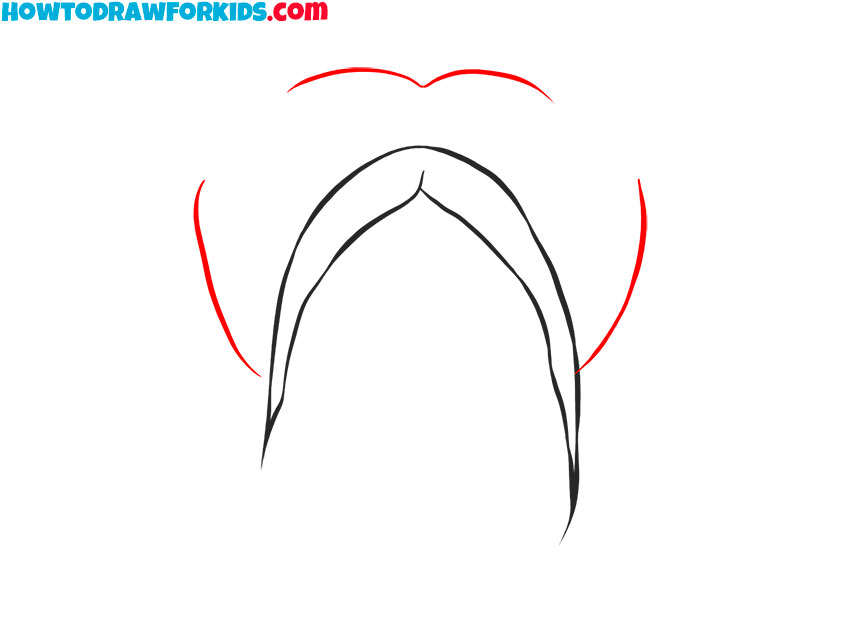
- Sketch the main portion of the hairstyle.
You need clear landmarks for the buns so they sit symmetrically. Illustrate a shallow curved lines across the crown to show the head’s top contour. These arcs suggest the direction of pulled hair from the temples toward each bun.
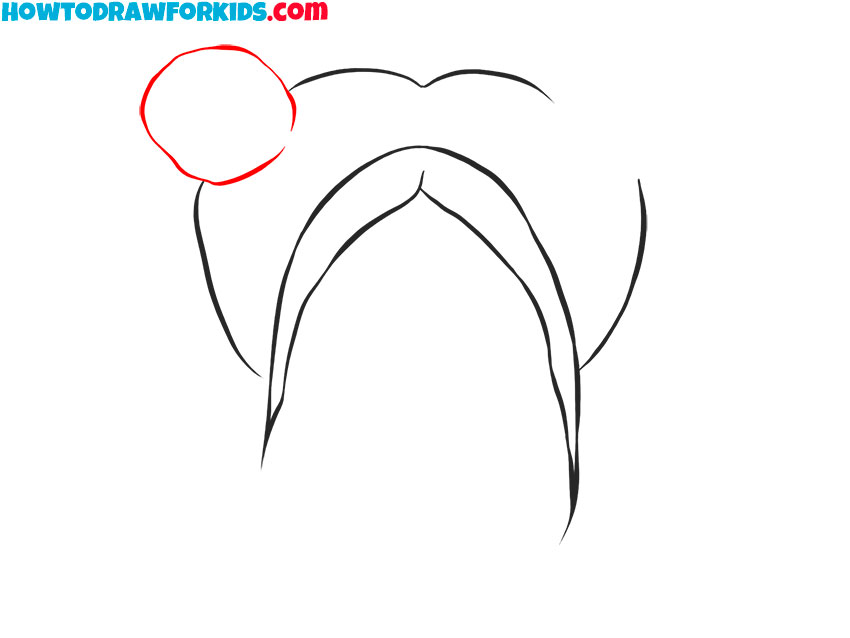
- Draw the left bun base.
With the flow guides ready, block in the first bun. Draw a small, slightly squashed circle at the upper left, letting it overlap the crown line a little. Don’t make the shape look to round to five this part a realistic and believable look.
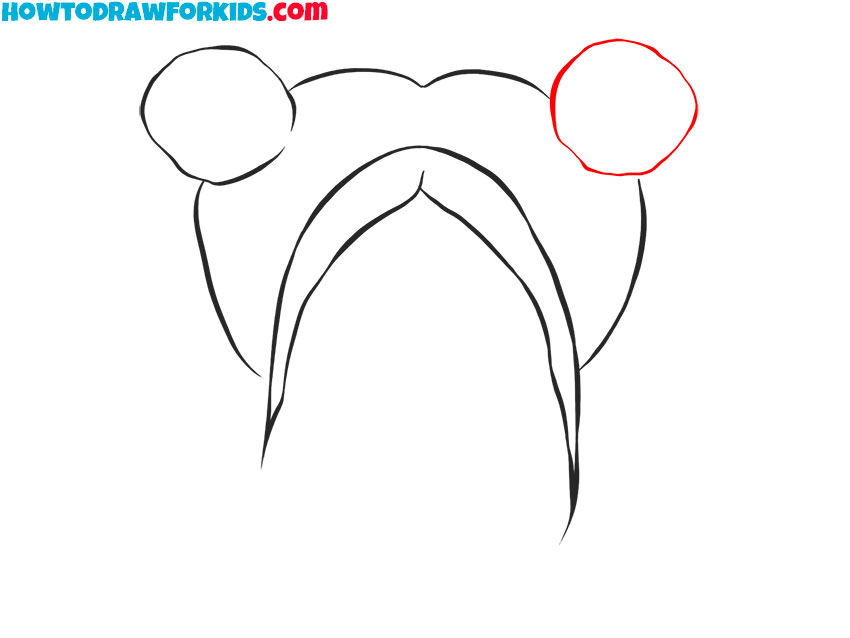
- Draw the right bun base.
To complete symmetry, illustrate the second bun on the upper right using the same scale and vertical placement. Draw another rounded circle with a similar degree of squash so the pair of hair buns feels like a matched set. Step back and compare widths, heights, and distances from the center part.
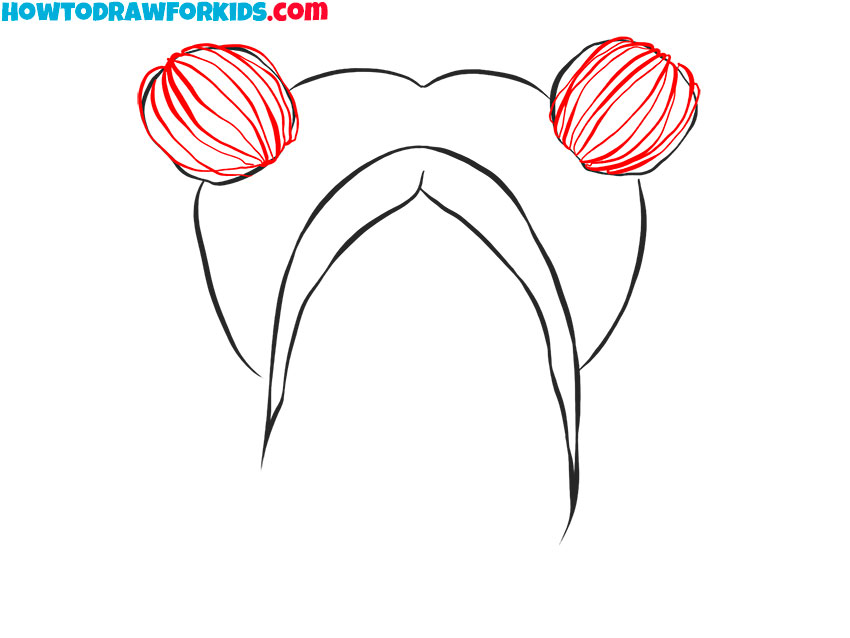
- Add strand lines inside the buns.
Draw curved lines that start near the bun tops and travel downward, following the round volume. Vary spacing and length – draw a cluster of tight lines, then a wider gap. Make the stands on both sides look symmetrical, but don’t try to make them identical.
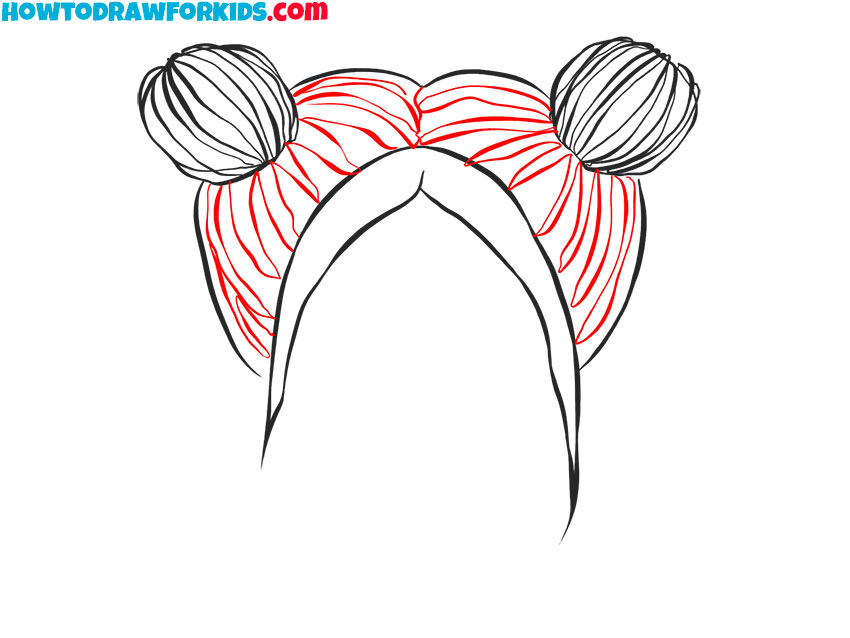
- Draw the hair strands leading to the buns.
From the center part, draw long, wavy strands flowing toward each bun. Keep most lines parallel and gently converging at the bases. Add a few shorter interior strokes to make it look more realistic. Avoid crossing lines randomly. Use a mix of lighter and slightly thicker strokes.
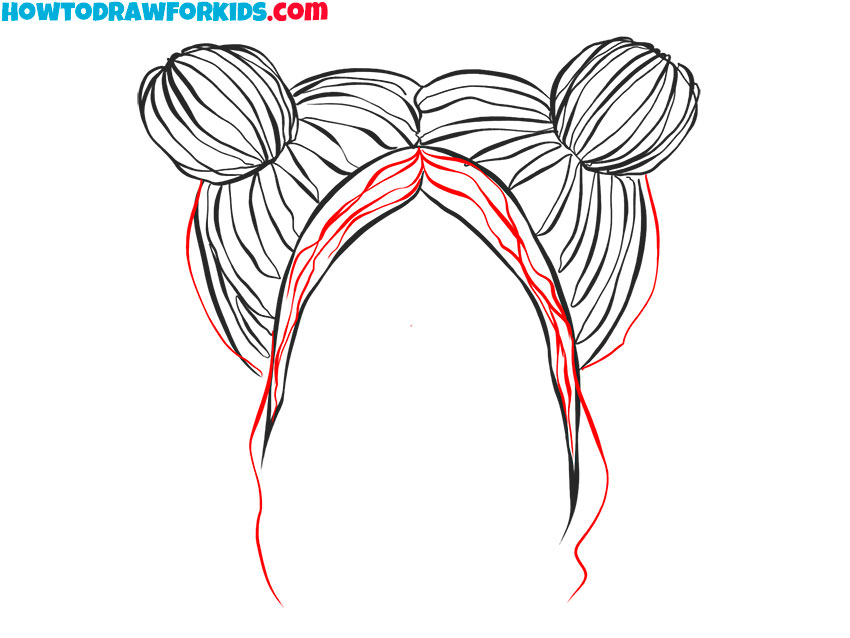
- Add hair texture to the bangs.
Clean contours improve the overall look of your sketch, so erase the temporary sweep guides from the previous steps, extra construction ovals around and doubled lines. Keep the outer hairline and inner ridge intact. Then, draw hair texture to the bangs hair stands.
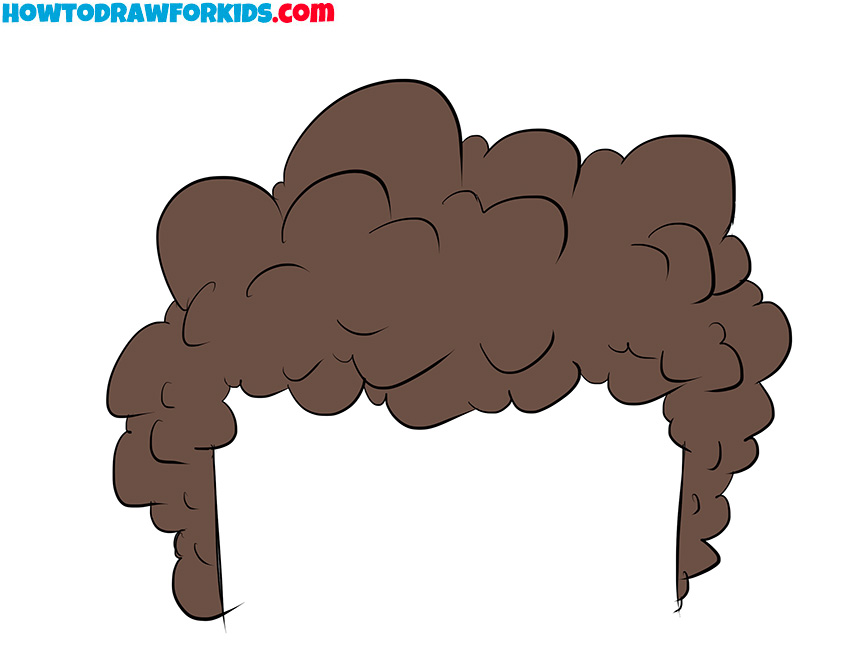
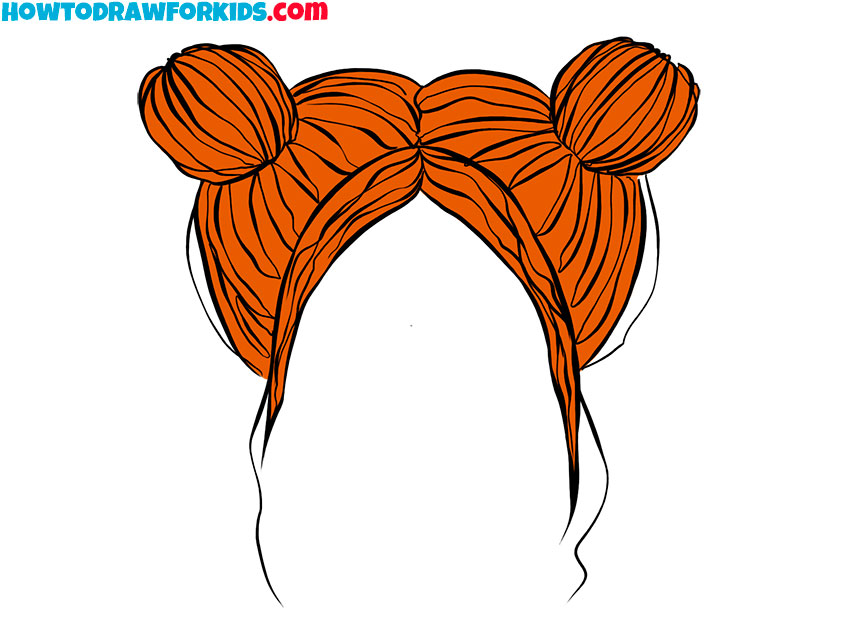
- Apply color or shading to finish.
Color separates forms and helps your drawing of hair buns look more realistic . Fill the hair with a mid tone suited to your character – brown, blonde, black, or a bright dye. You can also darken the narrow gaps between strand groups and the lower sides of each bun.

I hope that this lesson was interesting for you. If you have any questions, you can write about it in the comments.
At the end of the lesson, I suggest you download a PDF file with a short version of this lesson. This will help you return to this lesson at any time.