How to Draw Harry Potter
In this drawing lesson, I will tell you how to draw Harry Potter easy. This instruction will be simple and clear for you.
How to Draw Harry Potter: Basic Information
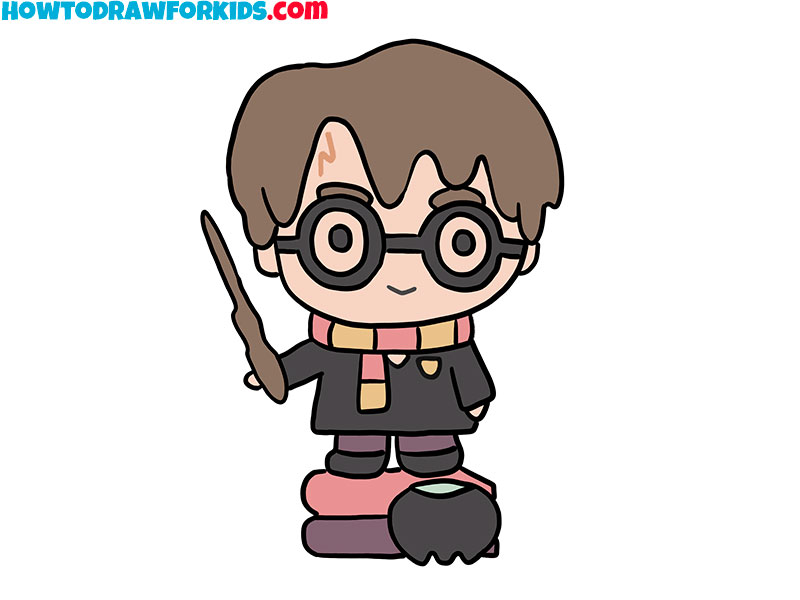
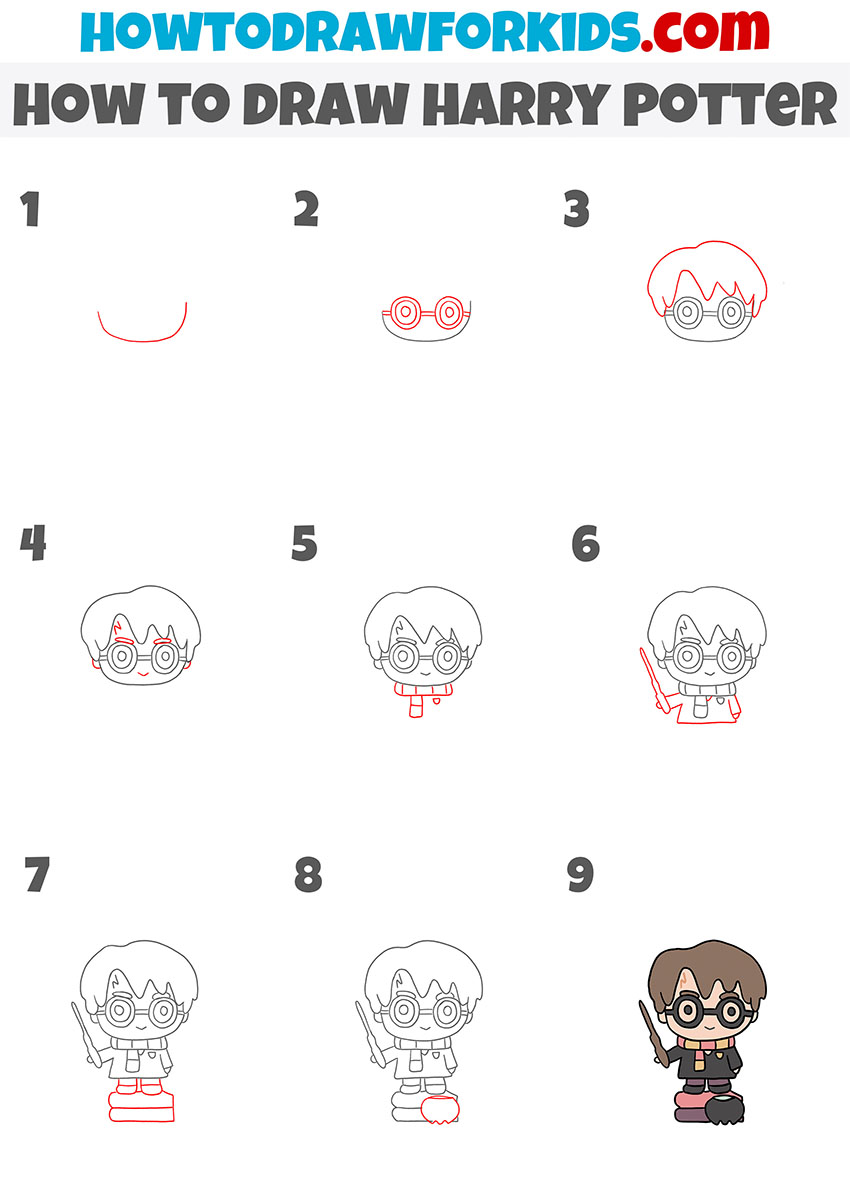
I am glad to bring to your attention this fascinating drawing lesson in which you can learn how to draw Harry Potter easy. This drawing lesson consists of nine steps, each of which has a detailed description. Surely, you are familiar with the character that you will learn to draw with the help of this drawing lesson. Harry Potter is the main character of the famous movie.
Surely you know that Harry Potter is the main character of the books of the writer from England—J. K. Rowling, as well as a series of films about Harry Potter based on the plots of books. Harry is a famous student of the school of magic and wizardry. A modest, independent child. He is curious, intelligent, and reasonable, and also has supernatural powers.
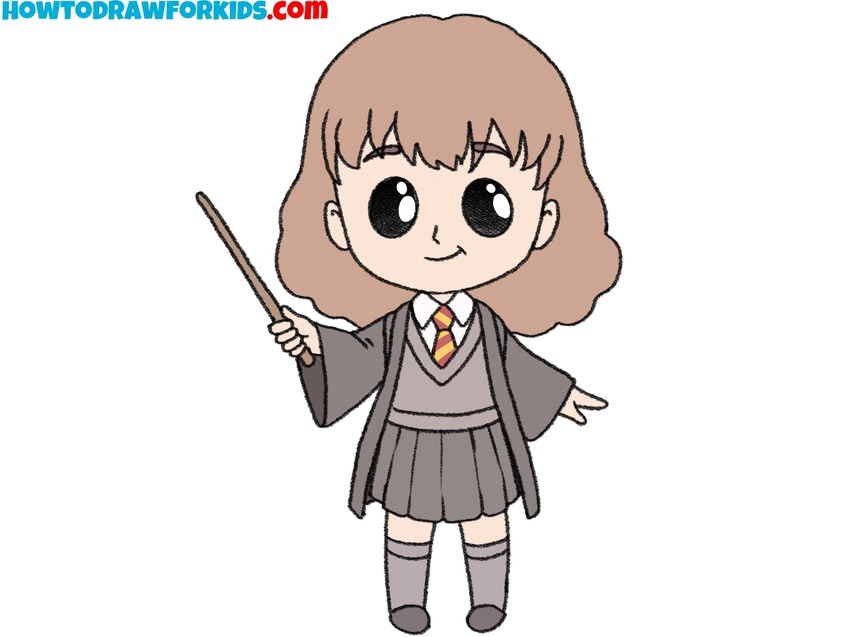
Harry Potter, which you will draw with the help of this instruction, is depicted in a cartoon style. So, if you are already interested in this lesson, and you want to learn how to draw Harry Potter as soon as possible, then I recommend that you prepare art supplies right now and start drawing. I wish you inspiration, and I am sure that you will get an excellent result of your work.
Harry Potter Drawing Tutorial
Materials
- Pencil
- Paper
- Eraser
- Coloring supplies
Time needed: 30 minutes
How to Draw Harry Potter Step-by-Step
- Draw the bottom of Harry Potter’s head.
To complete this step, you need to draw one slightly curved arc as shown in the picture.

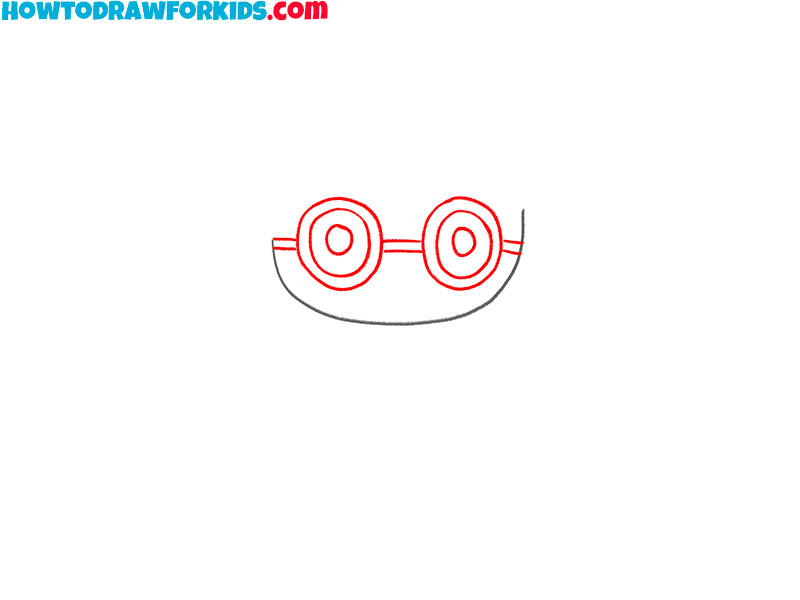
- Depict the Harry Potter’s glasses and eyes.
Draw straight lines near the arc and circles of different diameters, placing one inside the other.
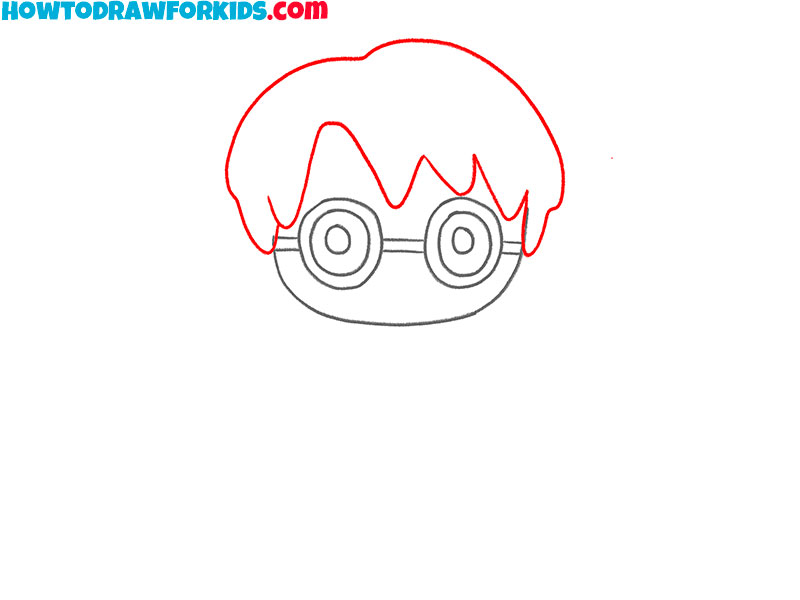
- Add the Harry Potter hairstyle.
Above, the drawn elements depict the Harry Potter’s hair using wavy and curved lines.
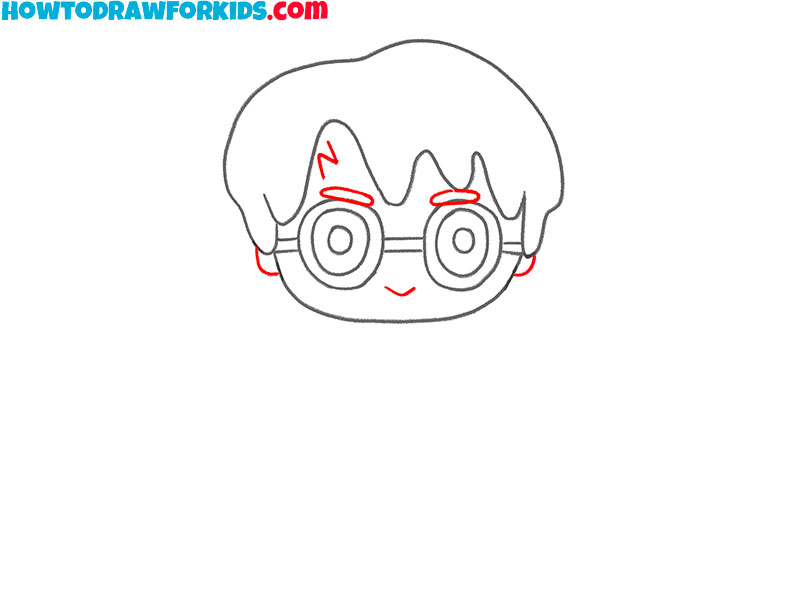
- Sketch out the ears and facial features.
Draw the eyebrows, mouth and scar, and on the sides of his head add the ears.
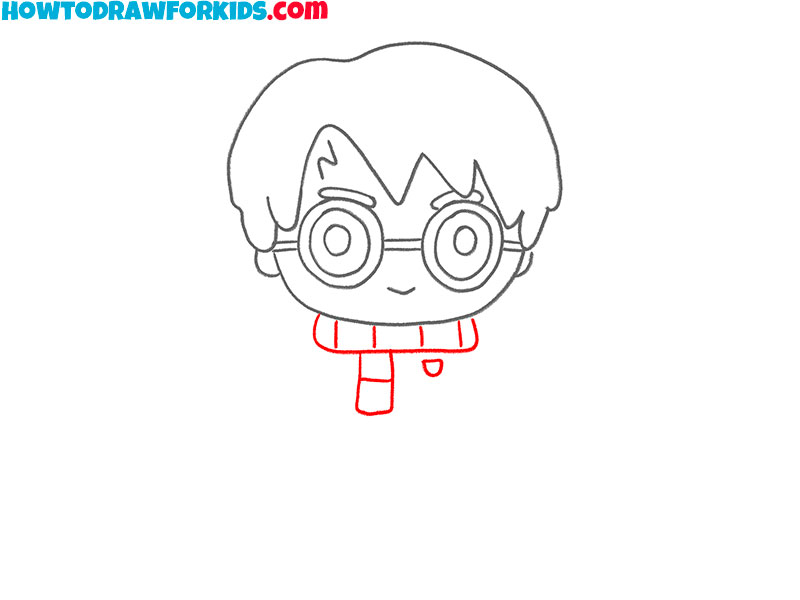
- Draw the Harry Potter scarf.
Below the head, depict some straight and curved lines of varying lengths, as shown in the image.
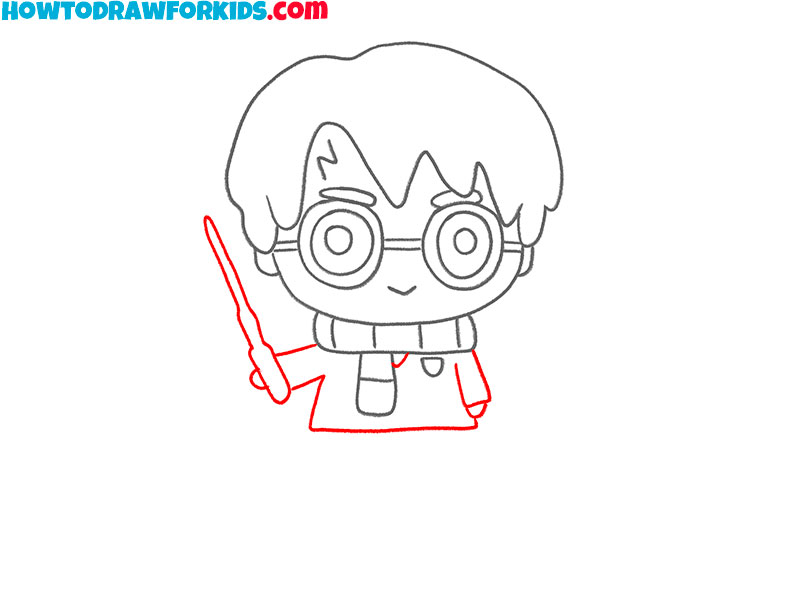
- Add the upper body and magic wand.
Draw the arms, the outline of the suit, and the magic wand using straight and curved lines.
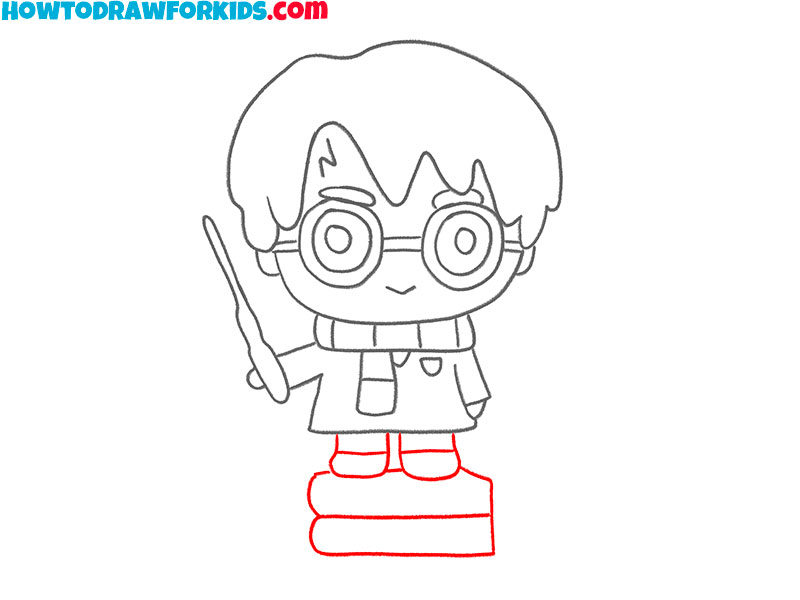
- Depict the Harry Potter’s legs and other elements.
Use straight and curved lines of varying lengths to add the legs and the books below them.
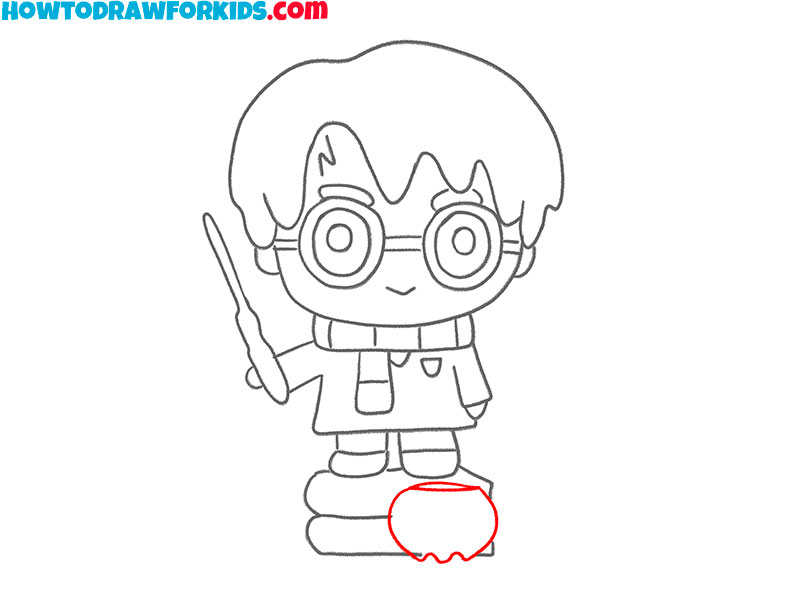
- Add details.
Next to the drawn books, add a bowler hat using rounded lines, as shown in the picture.
- Color the Harry Potter.
For this drawing, use brown, black, red, purple, yellow, blue, and beige.

How to Draw Harry Potter: Video Tutorial
Additional Content
For your convenience, I have prepared a PDF file that contains all the useful information from this lesson, as well as additional practice materials that will help you develop your artistic abilities. You can download this file right now, so you don’t lose it in the future, and return to this tutorial even without an internet connection.
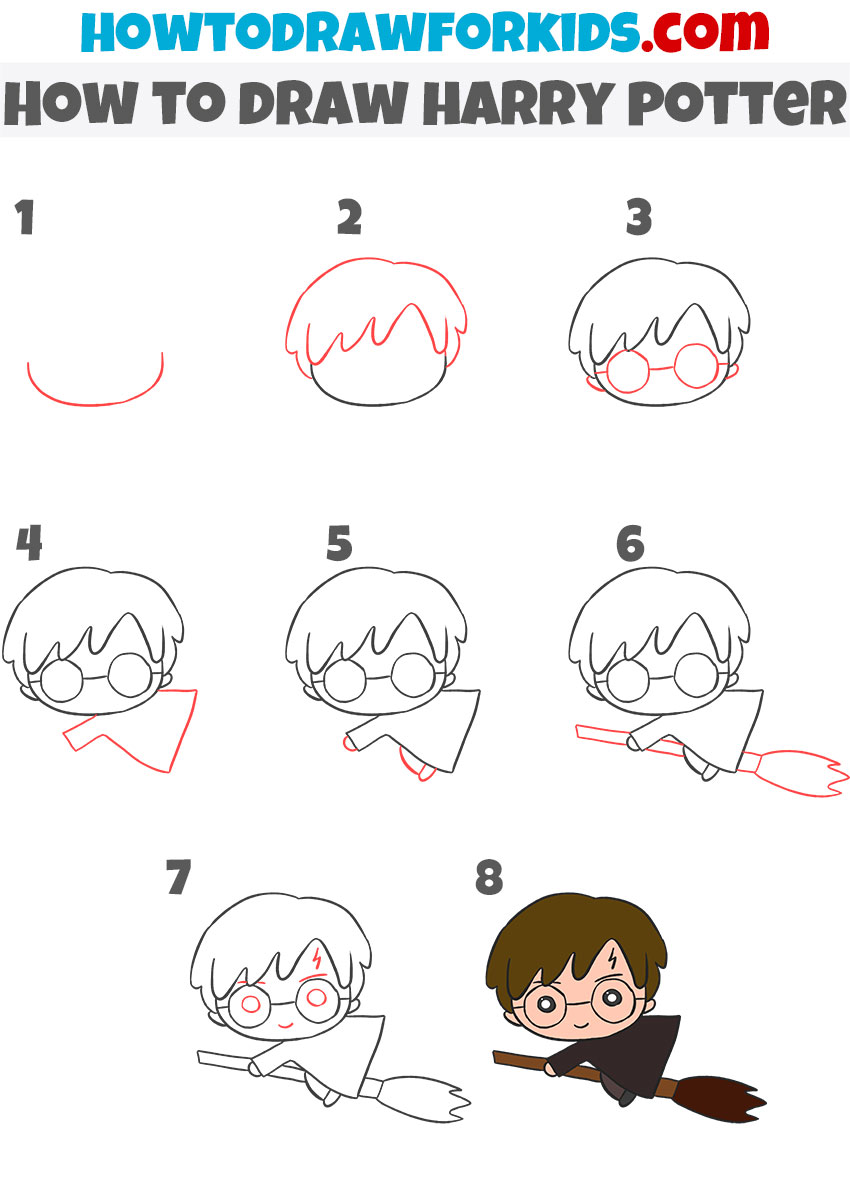
Drawing Harry Potter on a Broom
In this lesson, Harry Potter appears in an unusual performance. A cartoonish look is used here. This is a simplified style that is very close to the chibi style. As you can see, in the picture, Harry Potter’s body is irregularly proportioned. He has a large head and a small torso. This way of drawing allows you to easily and quickly draw any character and make it easily recognizable.
Conclusion
So, this was a tutorial on now to draw Harry Potter. I hope guide this was really interesting and engaging for you. If so, share this page with your friends and family.
Also feel free to write a comment and subscribe to me in social media. There you will find a lot of drawing tutorials and tips for kid and beginners.

