How to Draw Love Birds
In this drawing lesson I will tell you how to draw love birds step by step. This simple instruction consists of nine steps.
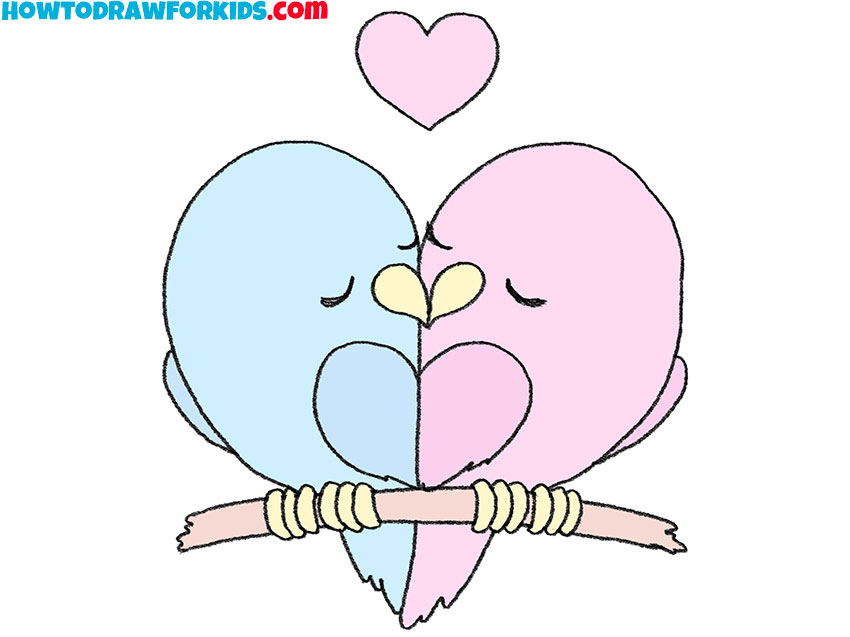
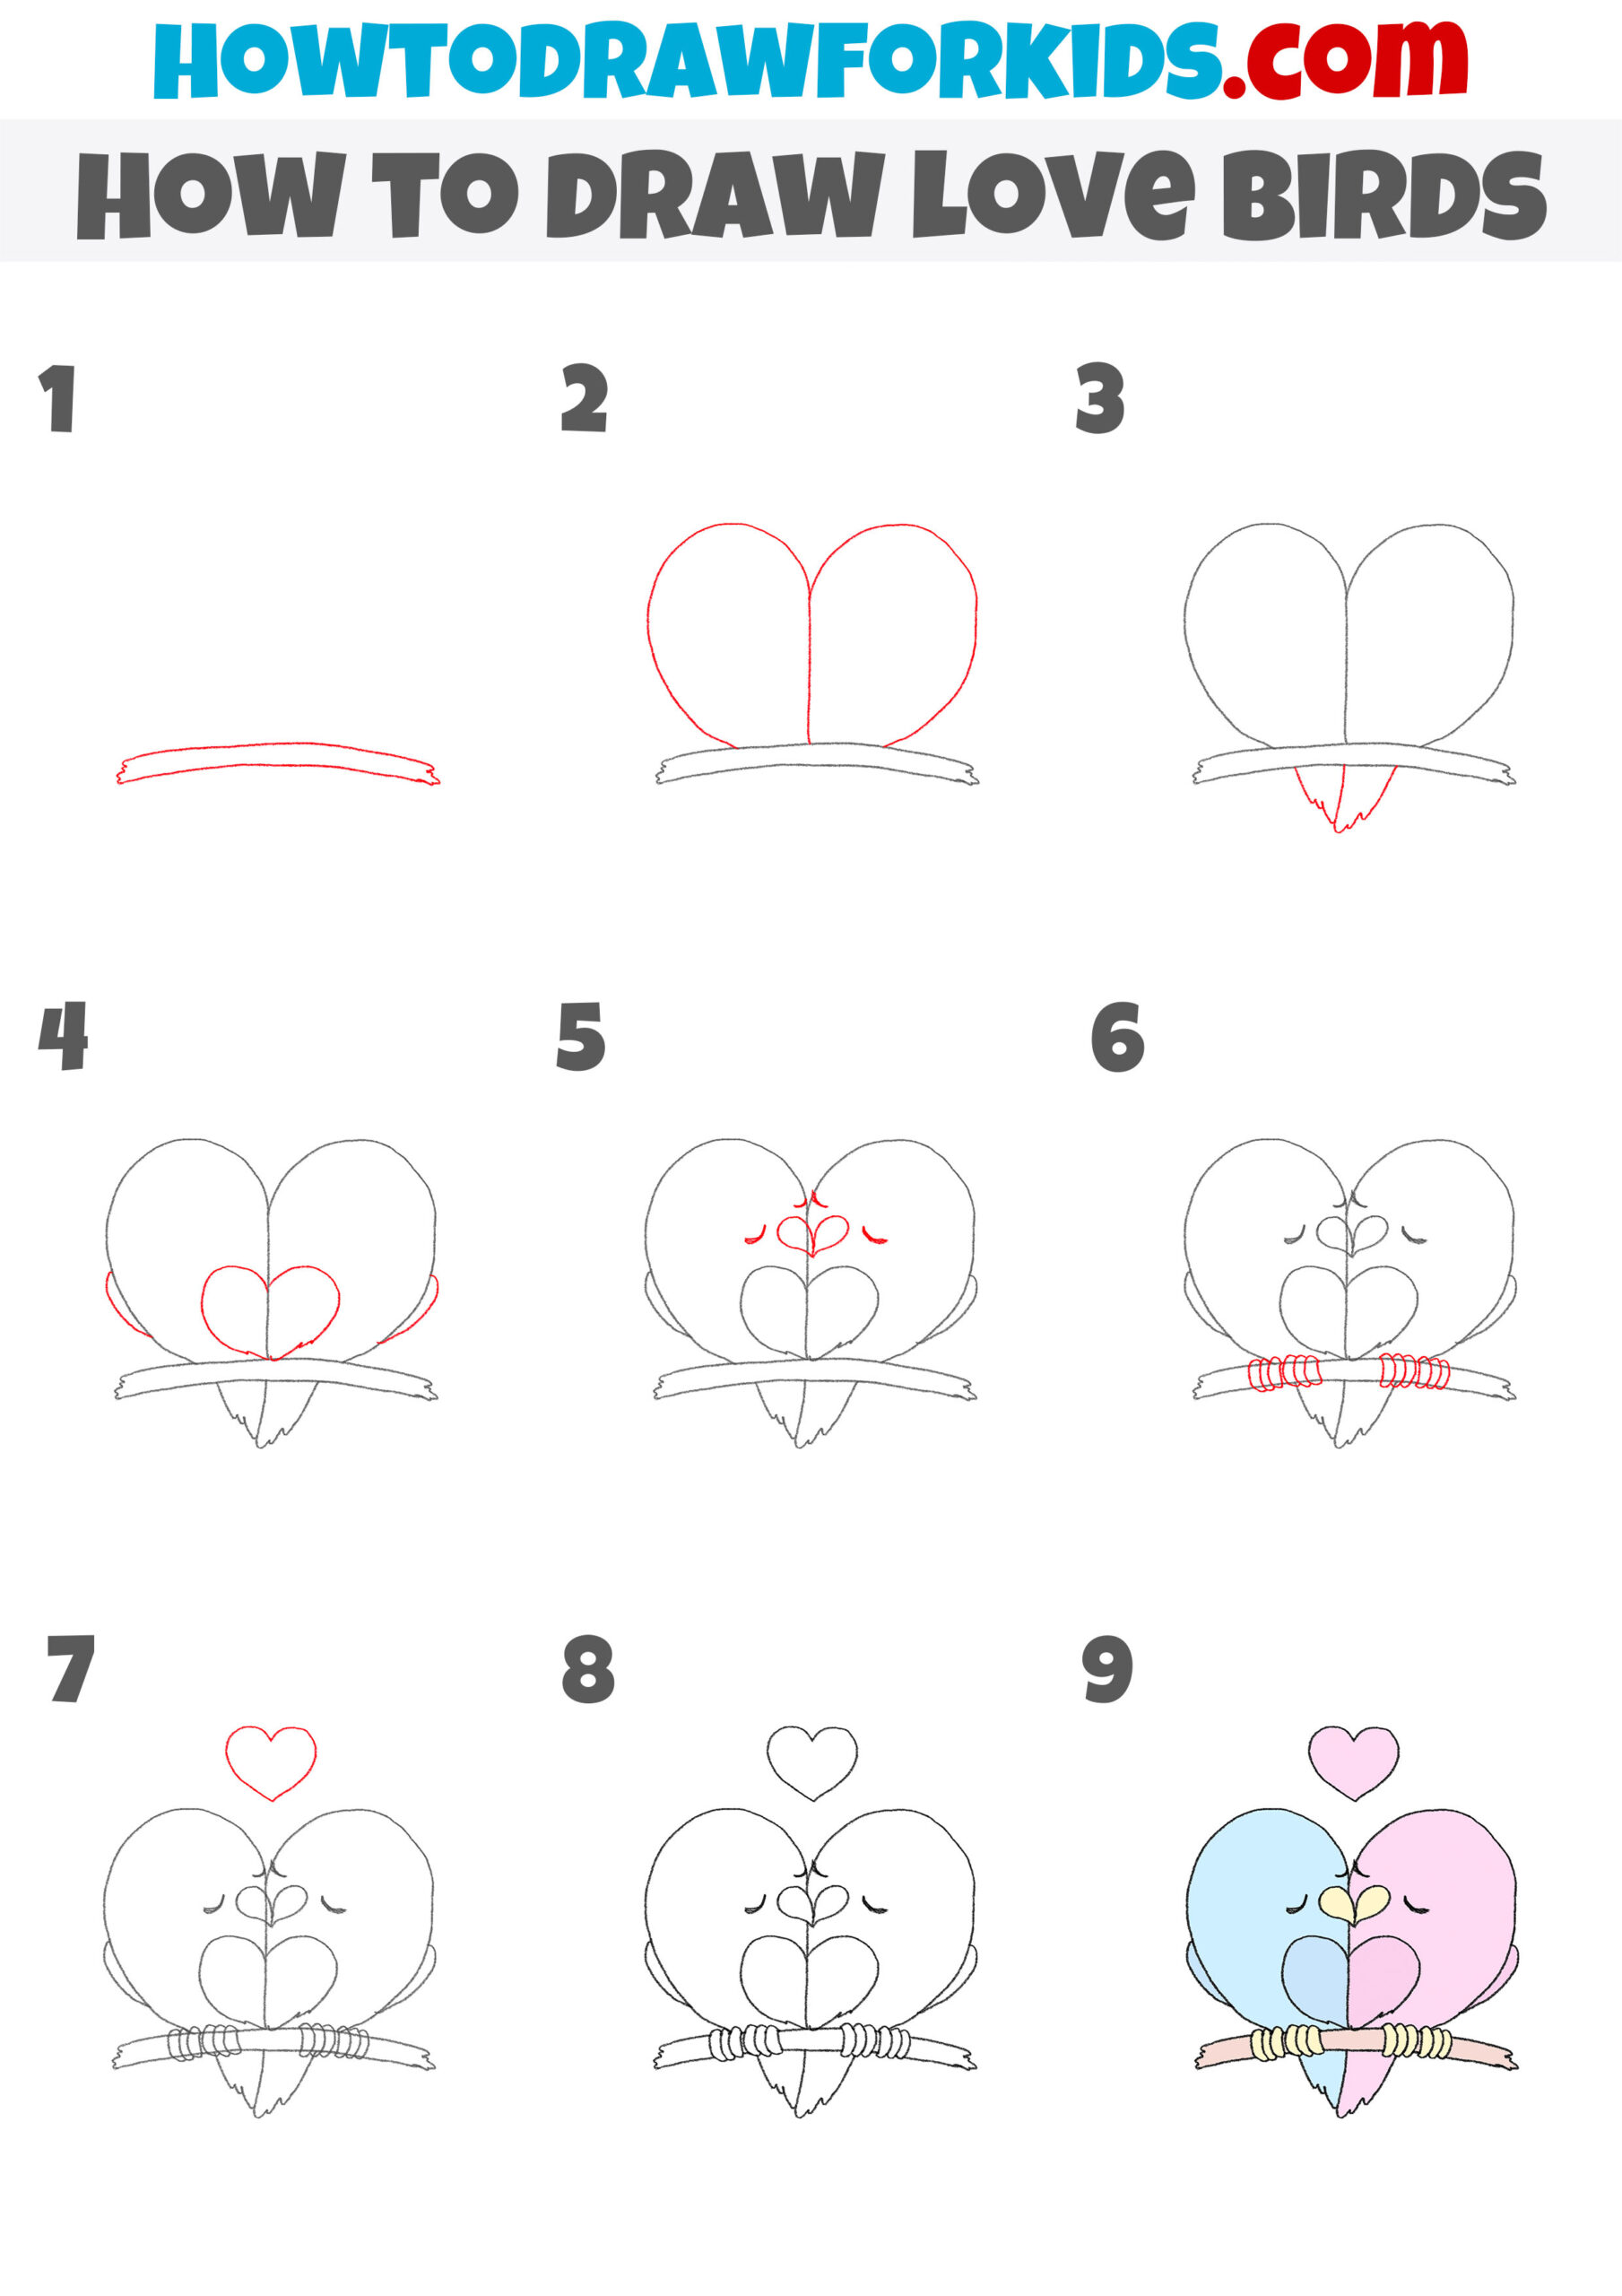
I am glad to bring to your attention this useful drawing lesson in which you can learn how to draw birds in love step by step. This instruction is sure to appeal to all novice artists and children.
With the help of this drawing lesson you will learn how to draw birds in love in a cartoon style. The finished drawing will turn out very cute and beautiful.
By learning how to draw birds in love, you can depict this on a Valentine card or on any other drawing of yours. First, you will need to draw a branch on which the birds will sit, and then depict two cute kissing birds.
Materials
- Pencil
- Paper
- Eraser
- Coloring supplies
Time needed: 30 minutes
How to Draw Love Birds
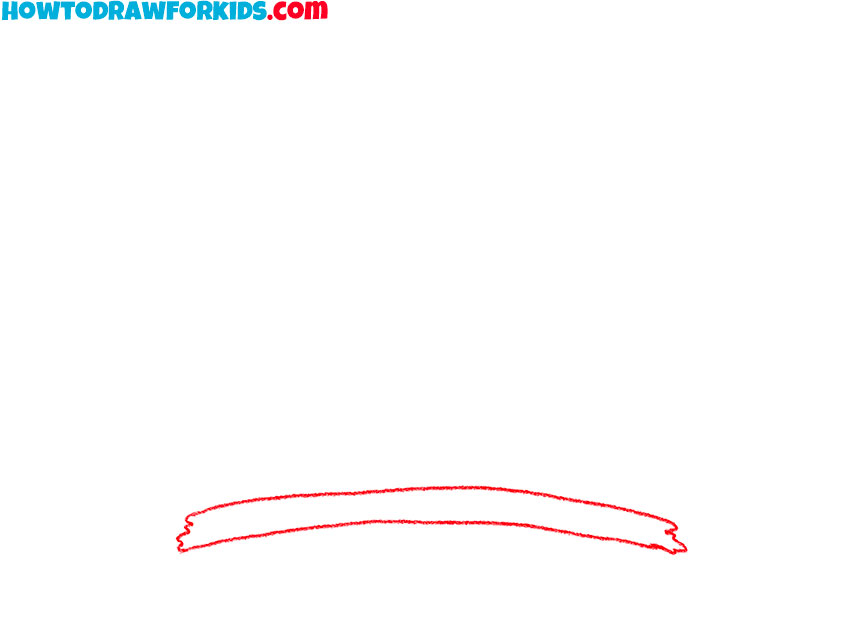
- Draw the outline of the tree branch.
To complete this step, use two curved lines of the same length, as well as zigzags on the sides.
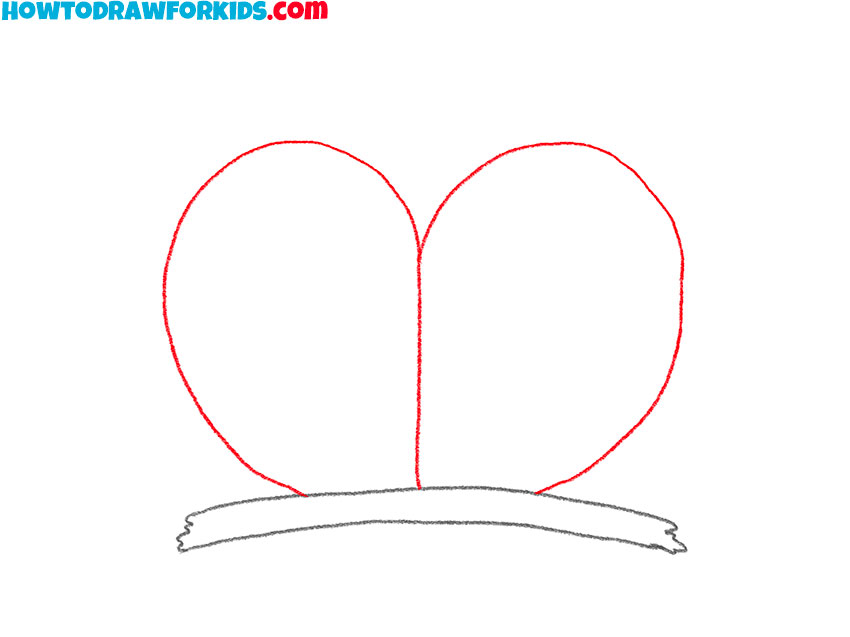
- Depict the contours of the torsos of the love birds.
Above the previously drawn branch, draw curved lines, as shown in the figure.
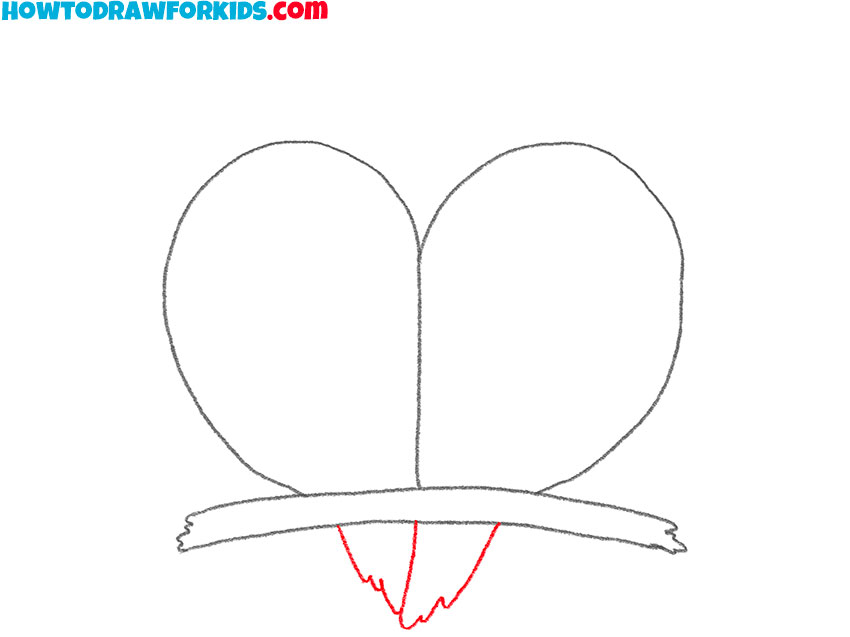
- Add the tails of the love birds.
Now you need to add curved and wavy lines below the drawn branch.
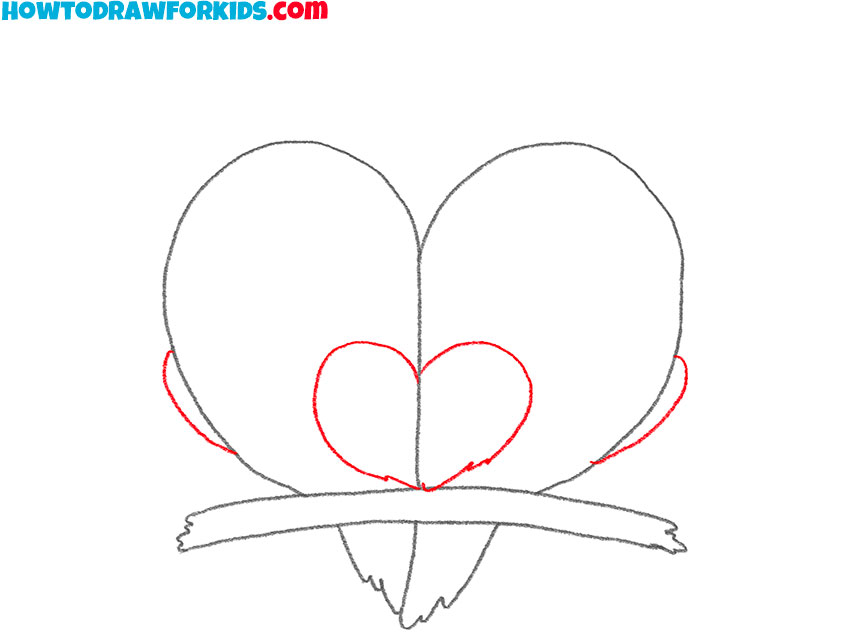
- Sketch out the outlines of the wings and breasts of the birds.
Inside the previously drawn bird bodies, add curved lines, draw arcs on the sides of the torso.
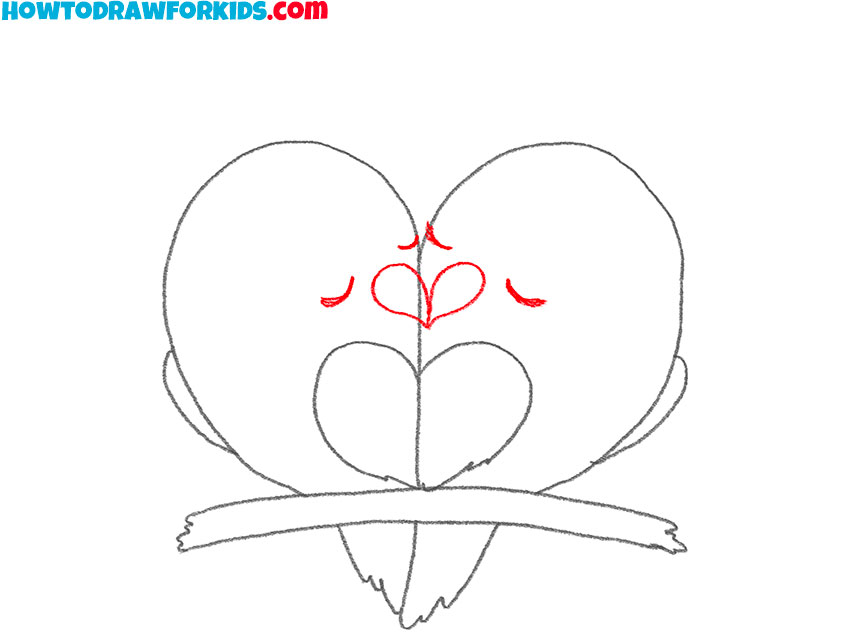
- Add facial features.
Now draw the beaks and closed eyes of the lovebirds using arcs and teardrop shapes.
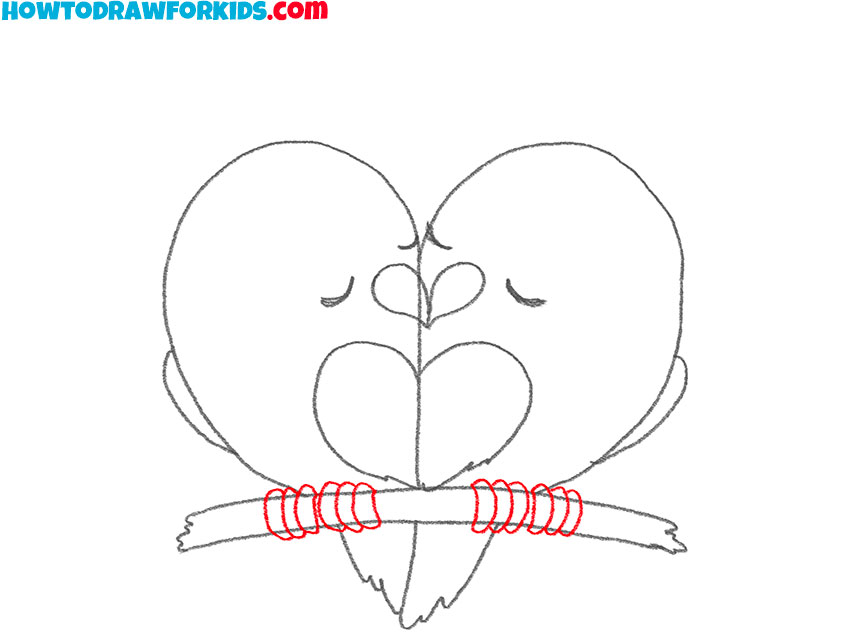
- Draw the legs of the love birds.
To depict the legs of the birds, draw many arcs on the previously drawn branch.
- Depict the heart.
To make your drawing look cuter, draw a heart-shaped figure over the painted birds.
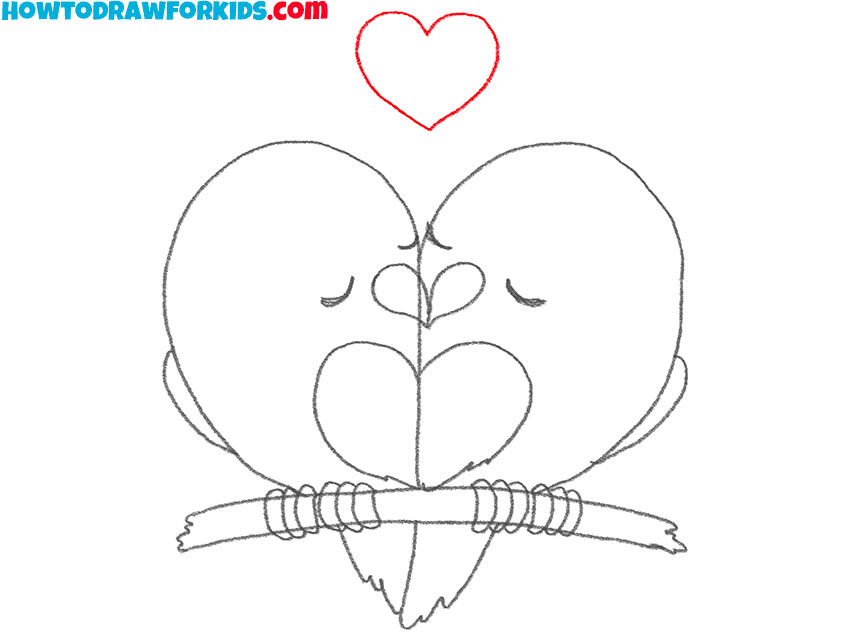
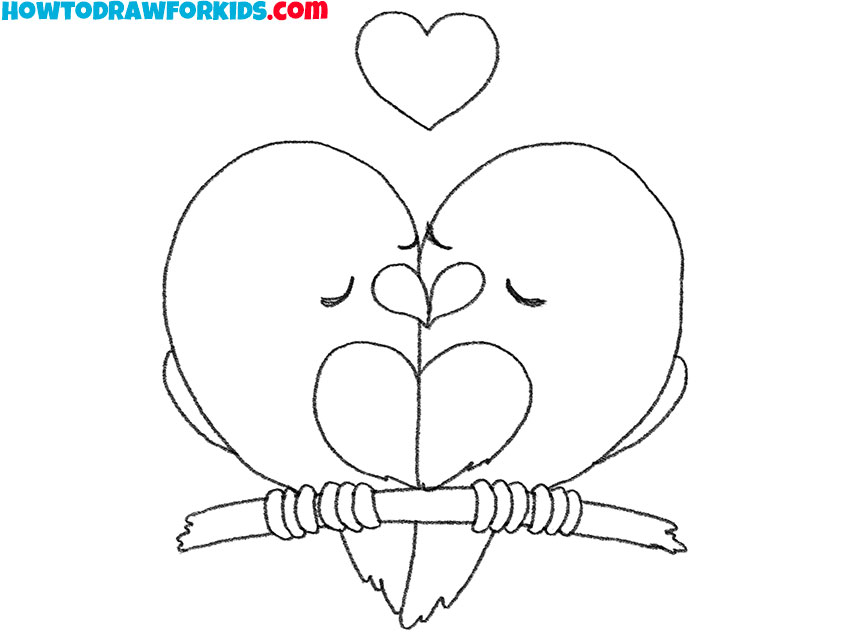
- Correct inaccuracies.
Use the eraser to erase unnecessary auxiliary lines from the drawing.
- Color the drawing.
To color the love birds, use brown, pink, blue, and yellow.

I remind you that you can download a PDF file that contains a short version of this lesson and has additional useful training materials.


