How to Draw Olaf
In this tutorial you’ll learn how to draw Olaf, one of the most charismatic characters from the Disney Universe in two separate methods.

How to Draw Olaf: Basic Information
If you’ve ever wanted to learn how to draw Olaf, the beloved snowman with a heart-melting smile, you’re in for a treat. I’ve created this lesson to show you how to draw a snowman from the well-known cartoon with a few simple steps.
As we go through this tutorial, you’ll notice that Olaf’s body is made of basic shapes that are easy to draw. The tutorial includes very simple shapes and steps.
By the end of this guide, you’ll be able to draw Olaf and give him the animation he deserves. Additionally, I’ve created another Olaf drawing tutorial with a different sequence of steps, showing the snowman in a different pose.
Olaf Drawing Tutorial
Materials
- Pencil
- Paper
- Eraser
- Coloring supplies
Time needed: 25 minutes
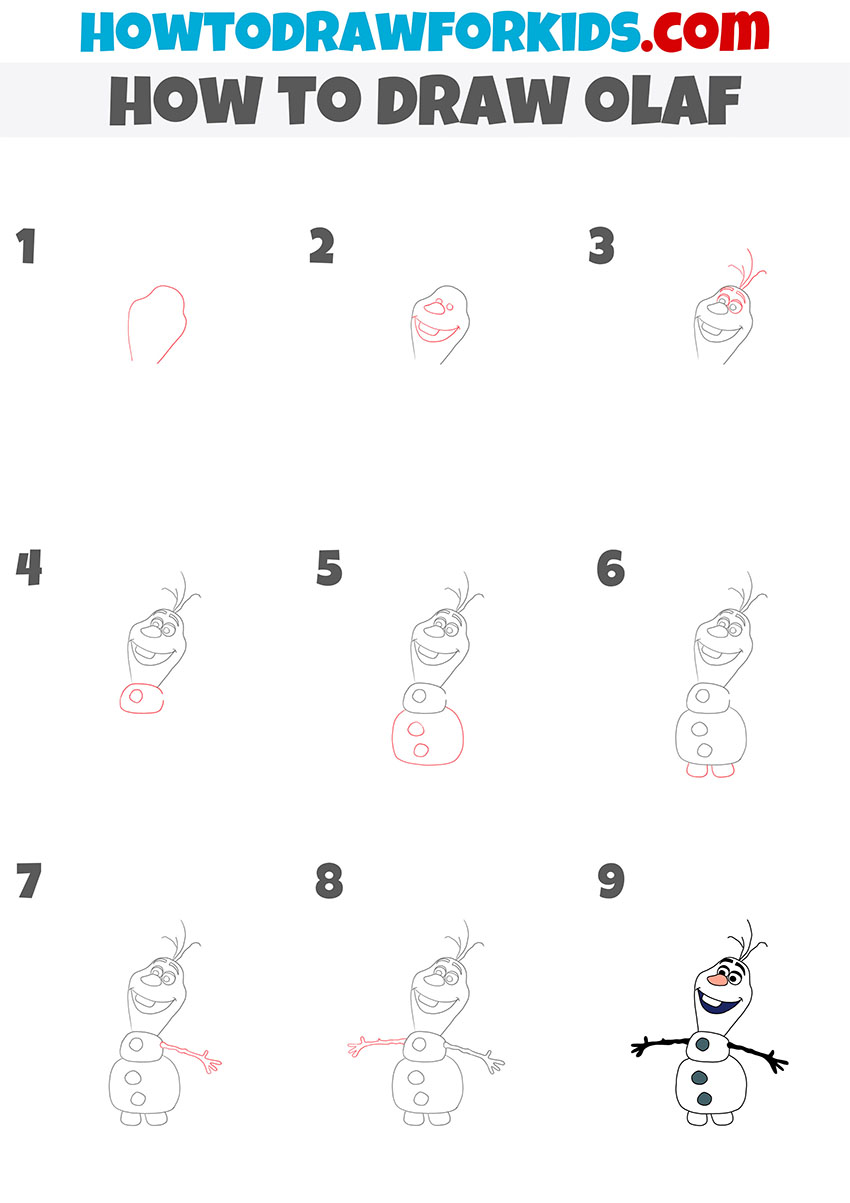
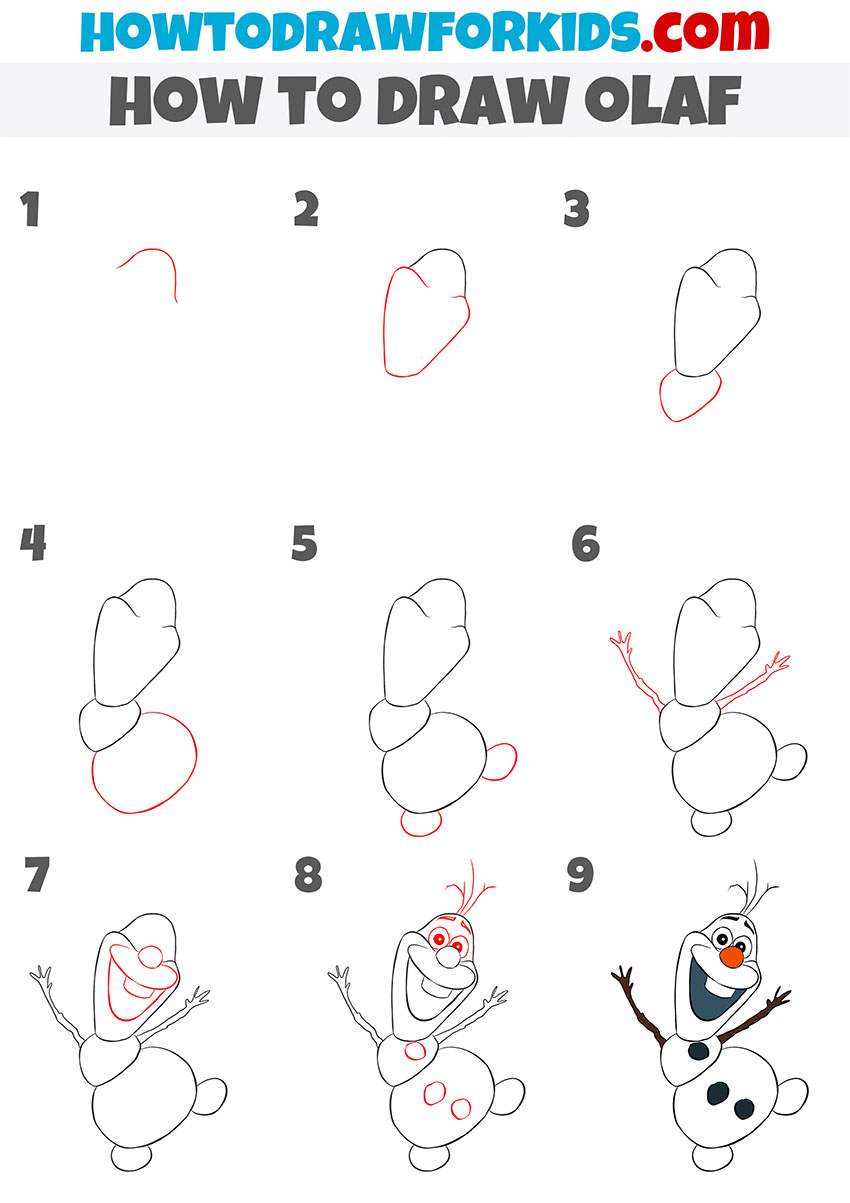
How to draw Olaf step by step
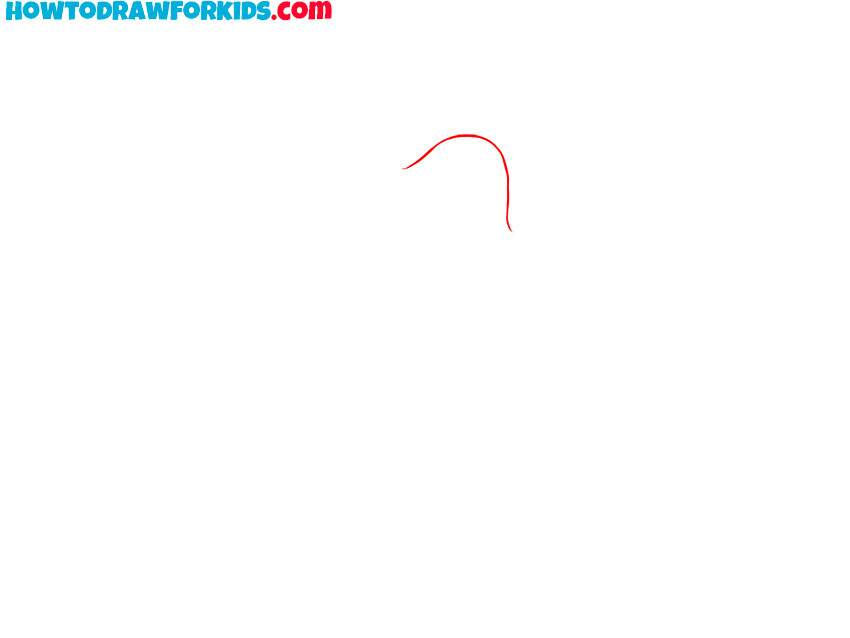
- Create the top line of Olaf’s head shape.
Begin by drawing the upper contour of Olaf’s head. This will define the position and angle of his face in the final drawing. The upper line should represent the snowball form. Leave extra space above for the twigs that form his hair.
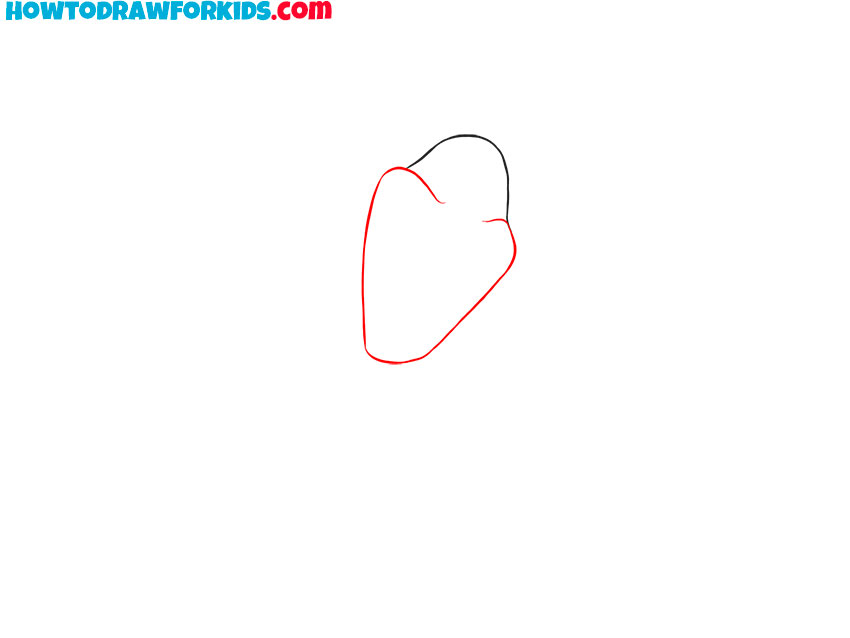
- Complete the shape of the snowman’s head.
Continue developing the snowman’s head by connecting the upper contour into a complete uneven oval. Add a slightly wider lower part to represent the cheek and jaw area of Olaf’s face. His head should tilt a bit, if you want to sketch the character as in my example.
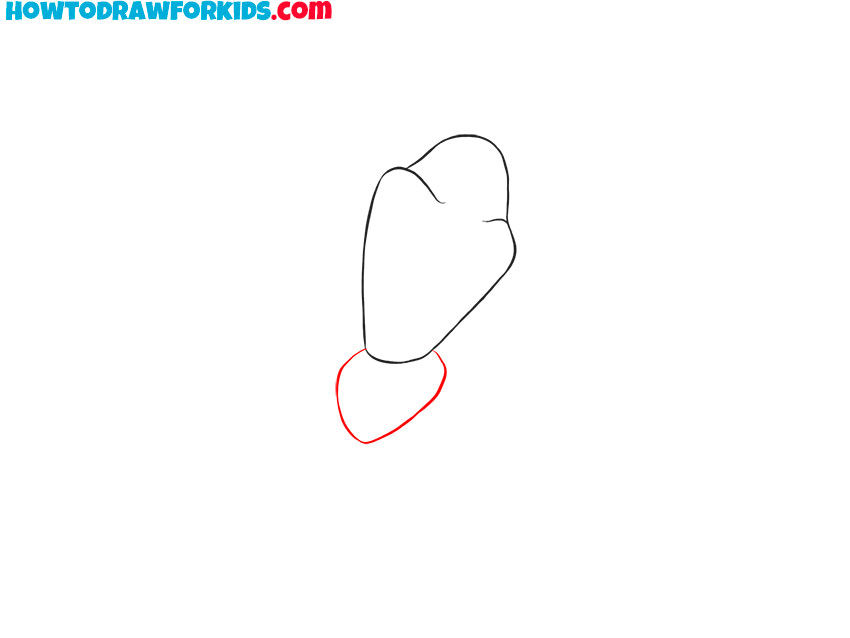
- Draw Olaf’s middle body snowball.
Below the head, sketch a smaller rounded shape slightly overlapping the chin area. This small snowball forms Olaf’s torso area and connects the head to the rest of his snowman body.
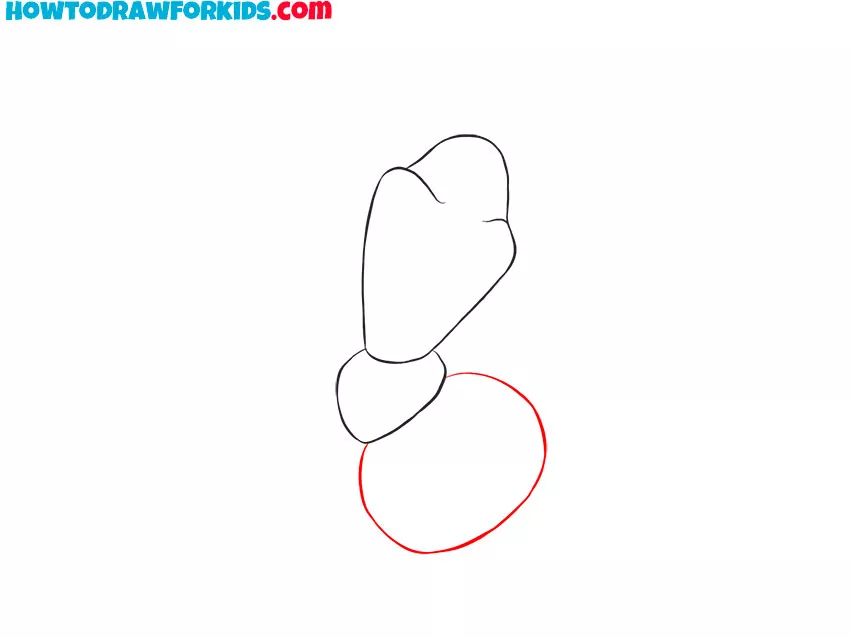
- Sketch the snowman’s lower body.
Add a larger snowball below the middle part to form Olaf’s lower body. Sketch a smooth oval that’s tilted to the side. Try to make this area smooth, but not perfectly symmetrical.
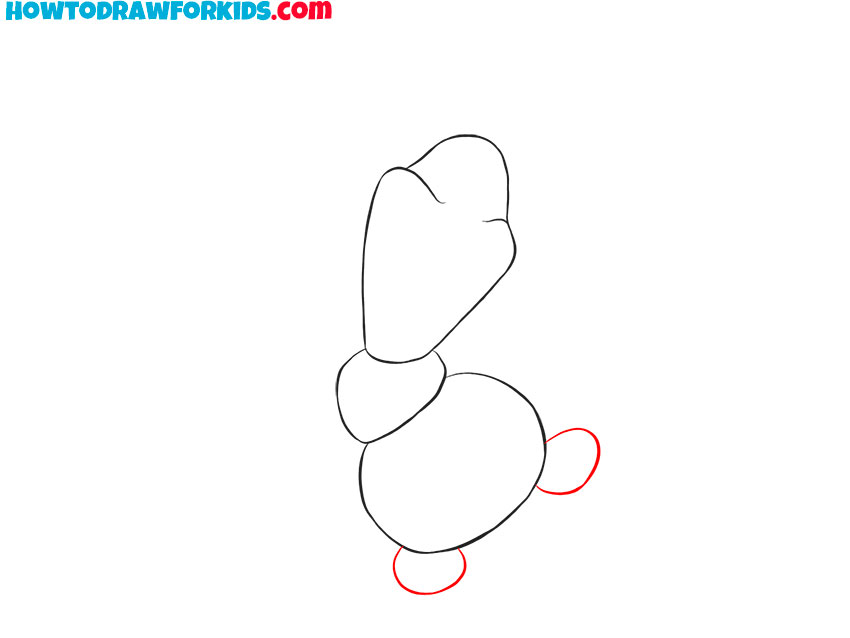
- Draw the legs of Olaf.
To draw the Frozen character’s legs, draw two small oval shapes directly below the lowest segment of the body. In my version, one leg is located on the ground and the other in the air, as if Olaf were dancing. But you can draw both legs on the ground.
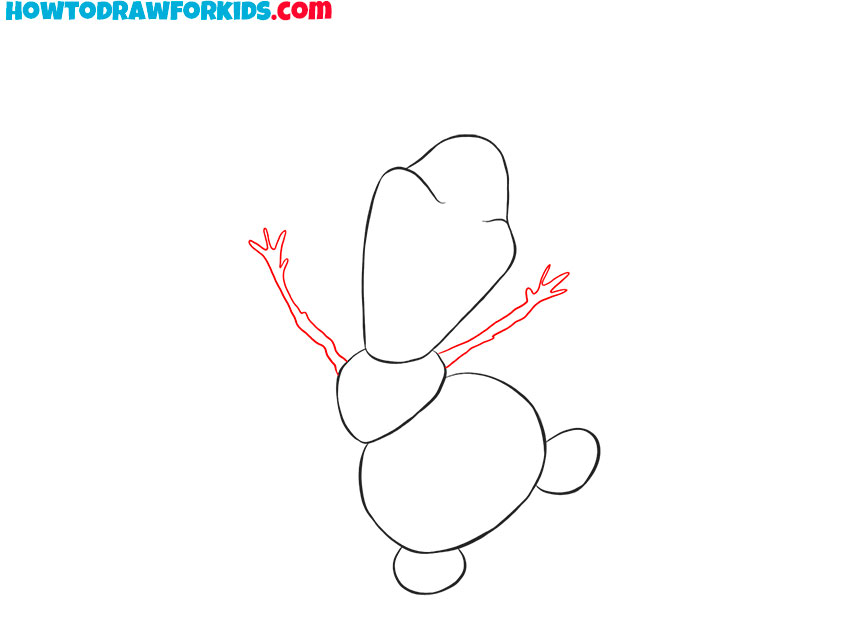
- Sketch the uneven branch arms.
From both sides of the middle snowball, sketch Olaf’s thin, uneven branch arms. Draw them with slight bends and irregularities to make them resemble real twigs. Each arm should finish with three branch-like fingers at the ends.
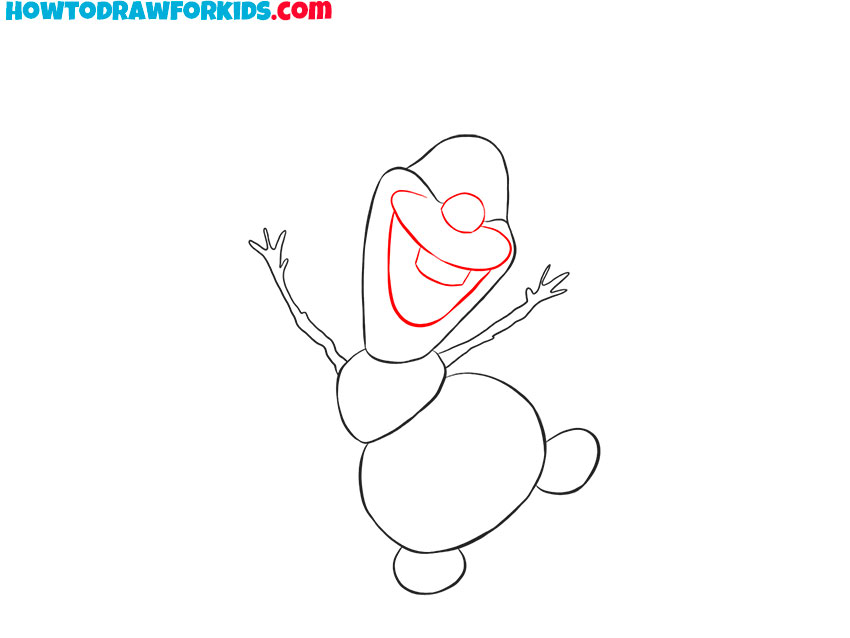
- Draw the snowman mouth and nose.
Now give Olaf his recognizable expression. Start with a large, wide-open mouth positioned near the lower half of the head. Inside it, draw the large upper front teeth with a smooth square shape. Add an oval carrot nose above the mouth.
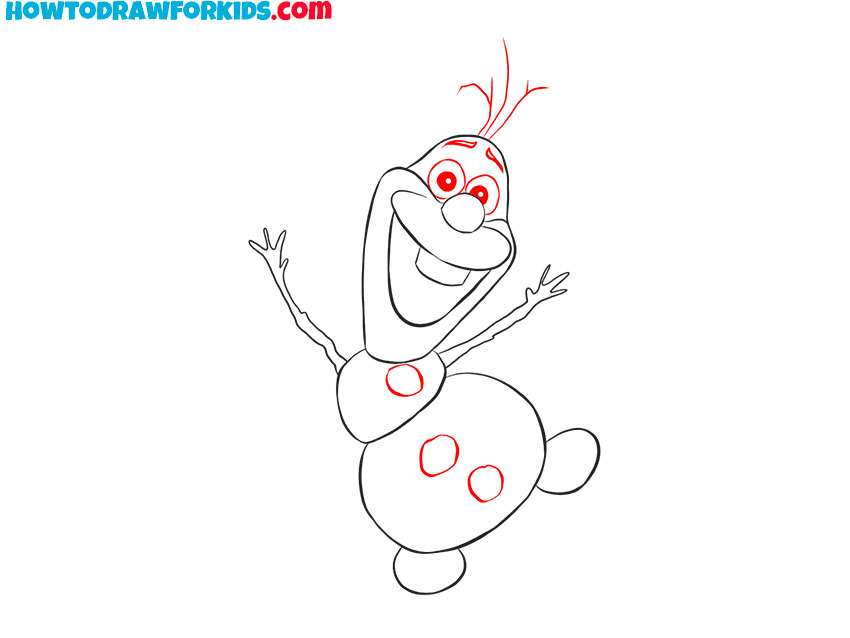
- Sketch Olaf’s eyes, hair, and buttons.
Now, sketch two large eyes above the nose, leaving highlights. Above each eye, draw simple curved brows. Add three coal-like buttons down Olaf’s torso. Then sketch a few curved twigs on top of his head for his hair, varying their lengths.
- Shade the snowman Olaf.
Fill the snow areas with light blue-gray shading. Color the carrot nose orange and the buttons dark gray. Fill the mouth interior dark, and make the teeth white. The twig arms and hair should be brown or dark gray.
Additional Content
And as always, I’ve prepared a free PDF version of this drawing tutorial for convenient offline use. It includes all the main steps from the Olaf drawing lesson in a simplified format, plus extra materials. This collection helps kids practice and enjoy sketching even without internet access and keep the whole process very simple.
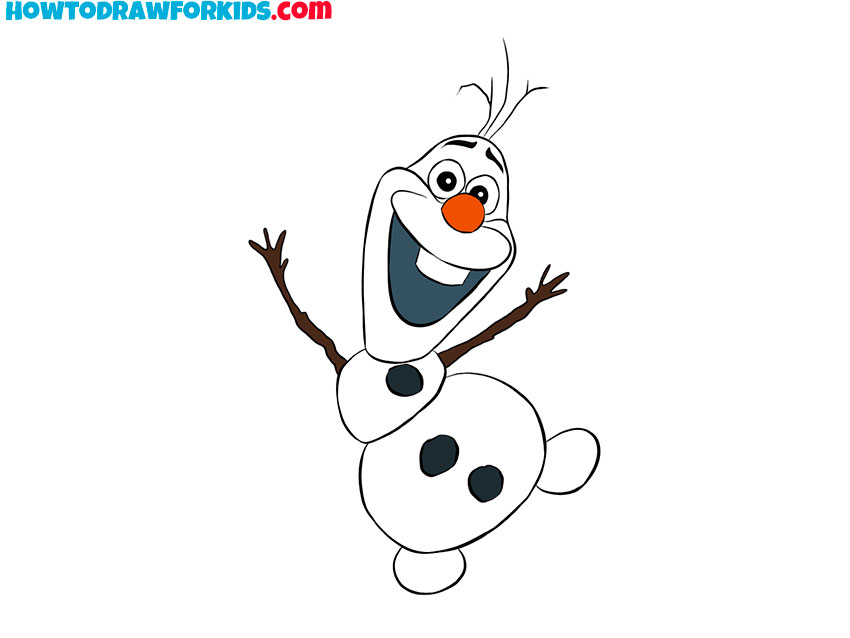
How to Draw Olaf in a Different Pose
This simple Olaf drawing guide shows how to illustrate the cheerful snowman from Frozen using basic shapes and very simple construction lines.
Sketch the irregular outline of Olaf’s head, shaped like a soft, uneven oval. Draw his facial features – the large smiling mouth, small round nose, and expressive eyes .
Add the small twigs on top of the head to represent his hair. Next, illustrate the two round body sections stacked vertically, adding the buttons on each.
Sketch the short legs and then draw the uneven and simple arms made of thin branches extending to the sides. Once the form is complete, use white and light gray for the snow body, bright orange for the carrot nose, and black for the arms and buttons to finish the Olaf drawing accurately.