

How to Draw Spider-Man
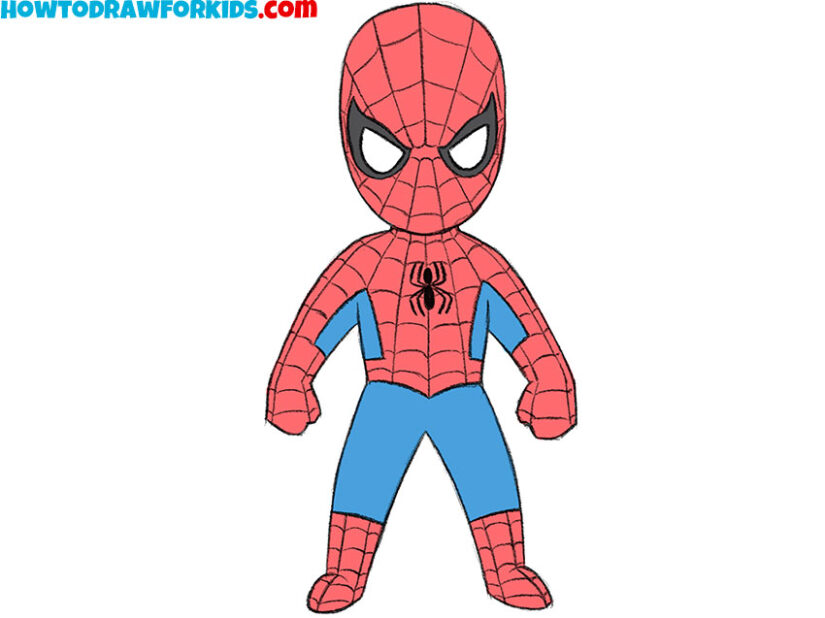
Spider-Man is a good character for practicing a simplified superhero figure. In this tutorial on how to draw Spider-Man, I’ll show you how to recreate the superhero on paper with the web pattern.
Prepare to Draw Spider-Man
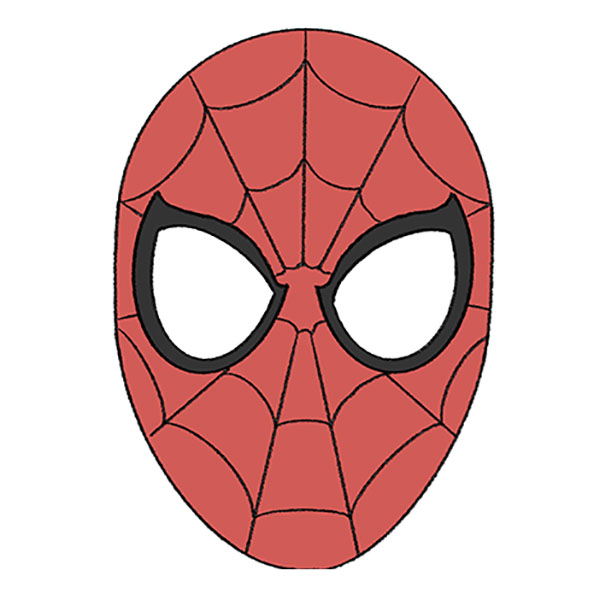
Spider-Man’s costume covers his face, so a correct shape of the mask is very important. The eyes carry the expression and need enough space inside the large head.
The simplified figure uses a much smaller torso beneath the head in this simplified version. This difference in size makes the character look younger.
The suit pattern is the part that usually requires the most attention. Its main lines should follow the direction of the head and limbs instead of crossing them at random.
Small differences between the arms or legs will not spoil the pose. The mask eyes and the center of the chest emblem should stay aligned because these details hold the costume together visually.
Spider-Man Drawing Tutorial
Materials
- Pencil
- Paper
- Eraser
- Coloring supplies (red, blue, and black)
Time needed: 30 minutes
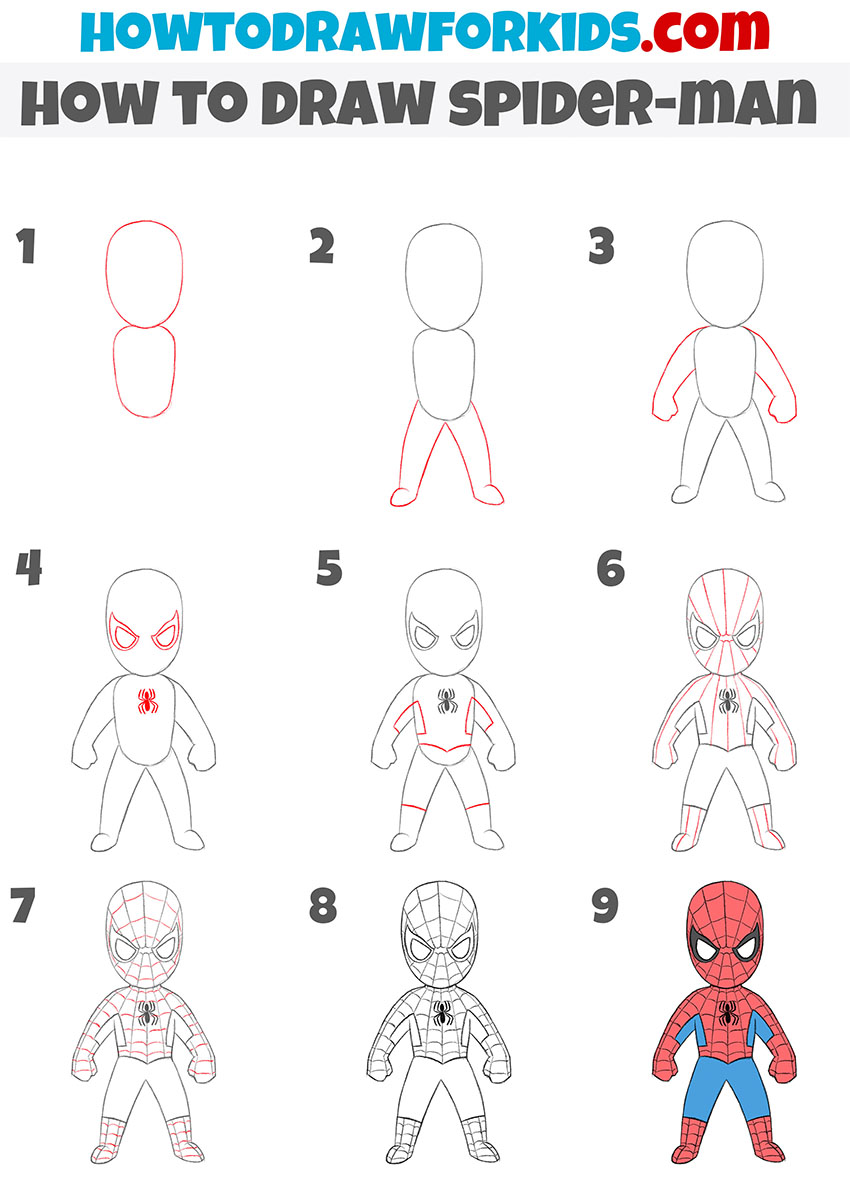
How to draw Spider-Man step by step
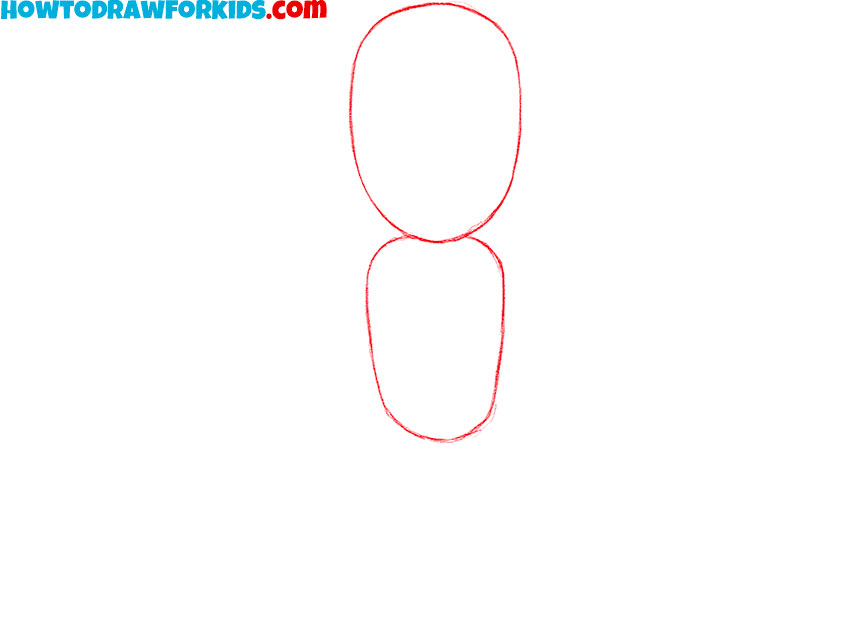
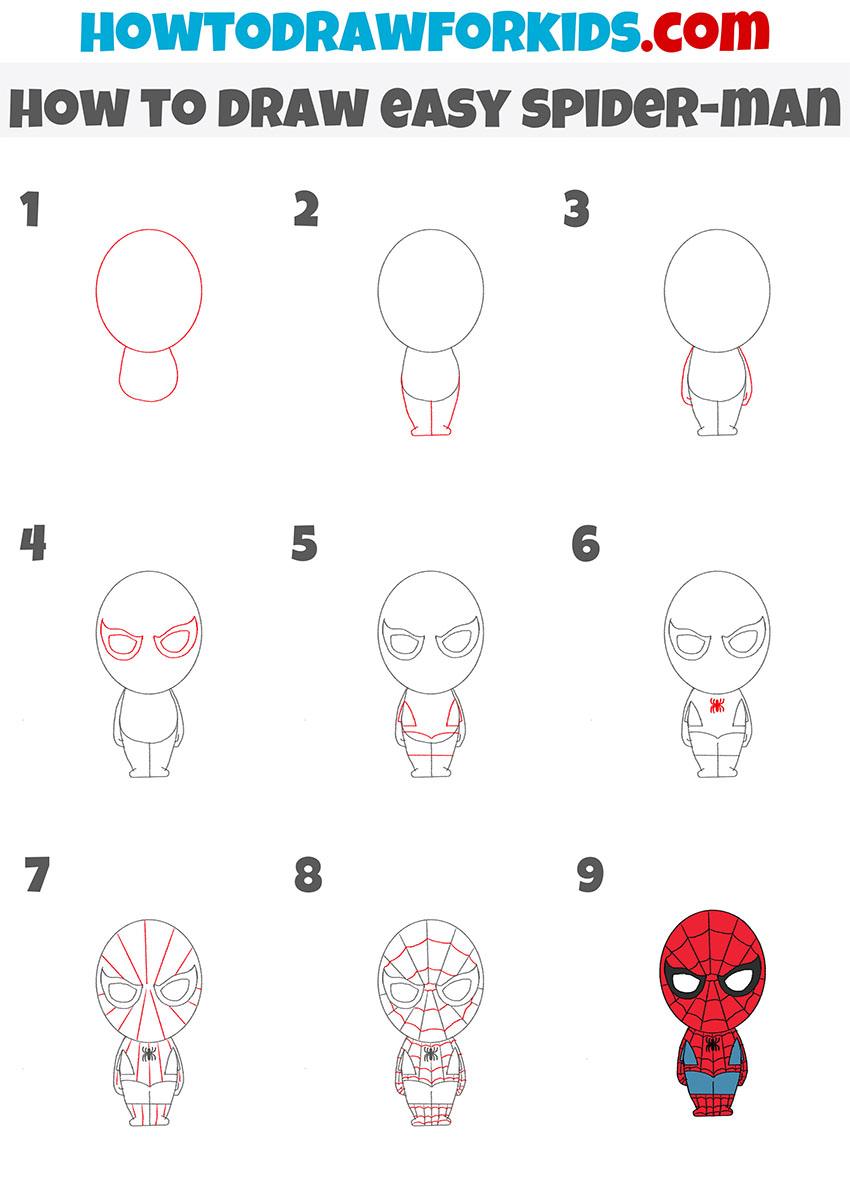
- Draw Spider-Man’s head and torso.
Begin with a large oval for Spider-Man’s masked head. Add a smaller torso beneath it. Connect these shapes by slightly overlapping them.
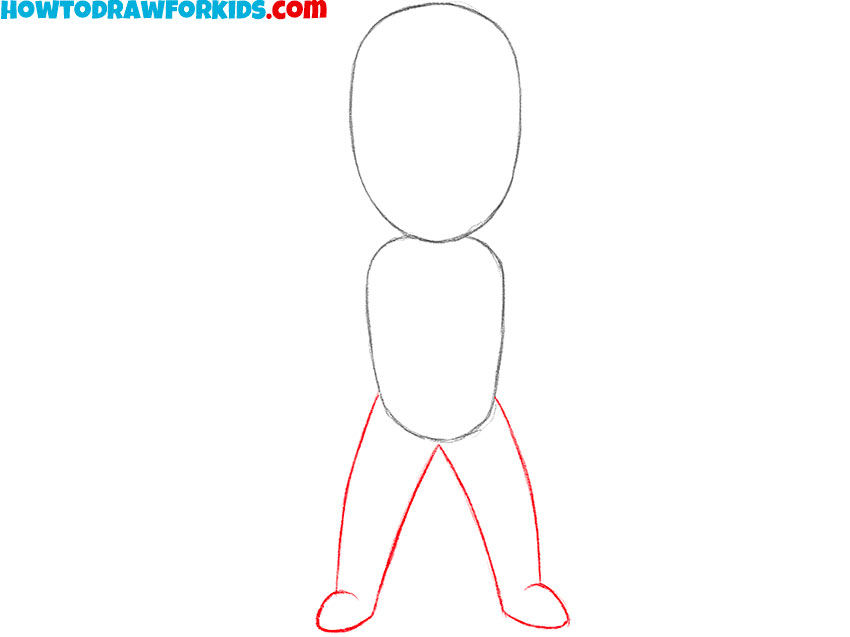
- Outline the superhero’s legs.
Extend two short legs below the torso and make them slightly narrower near the feet. Leave a small space between them so the lower body does not merge into one shape.
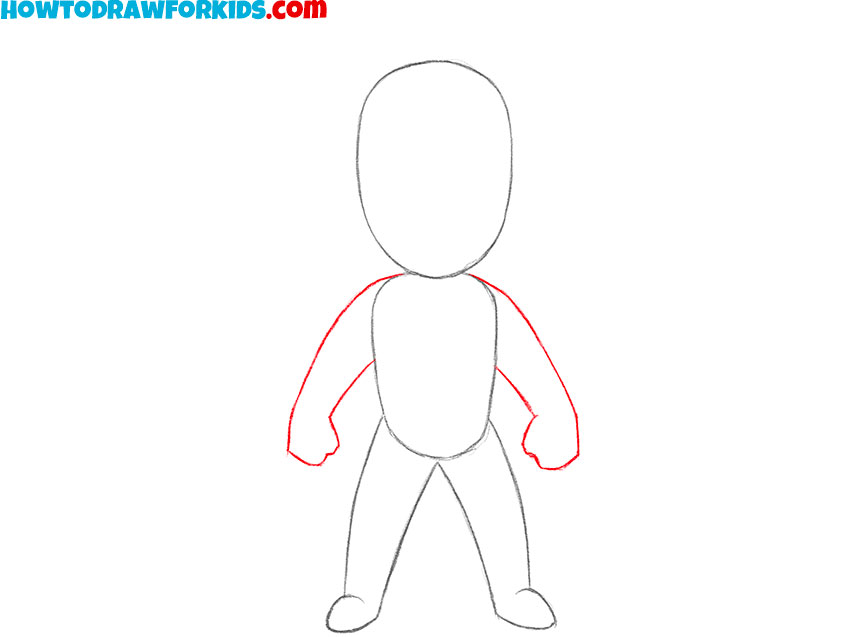
- Sketch Spider-Man’s arms and fists.
Place one arm on each side of the torso and angle them slightly outward. Finish each arm with a small clenched fist, using simple curves rather than drawing separate fingers.
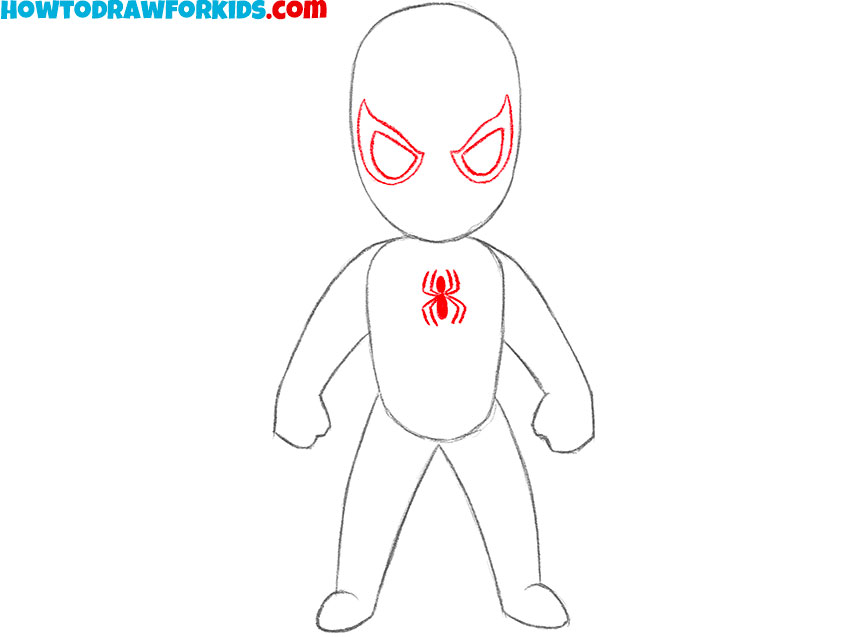
- Add the mask eyes and spider emblem.
Inside the mask, outline two long eye shapes that lean toward the center. Then draw the Spider-Man logo in the middle of the chest with a small body and thin legs.
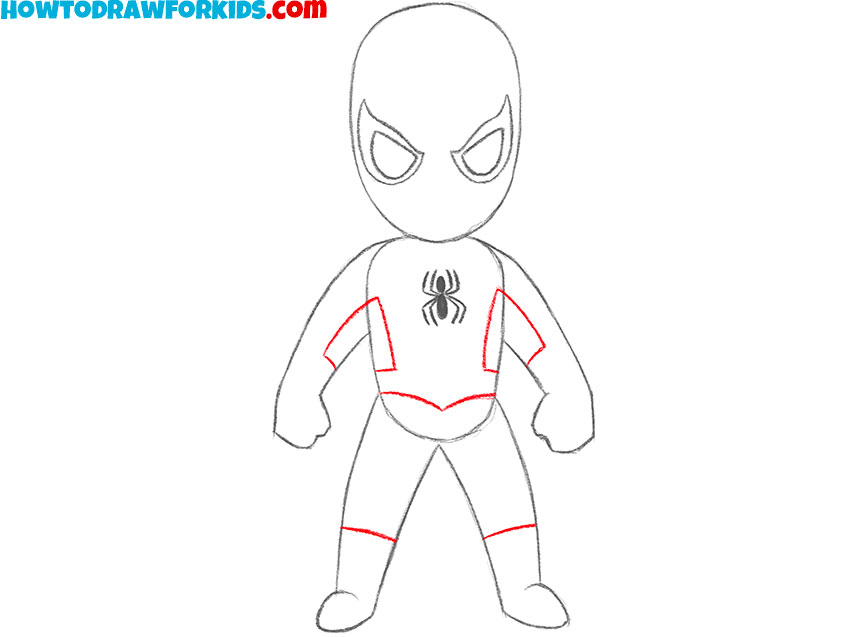
- Mark the blue areas of Spider-Man’s suit.
Use curved dividing lines along the torso, arms, and upper legs to separate the blue parts of the costume. Place these lines in similar positions on the left and right sides.
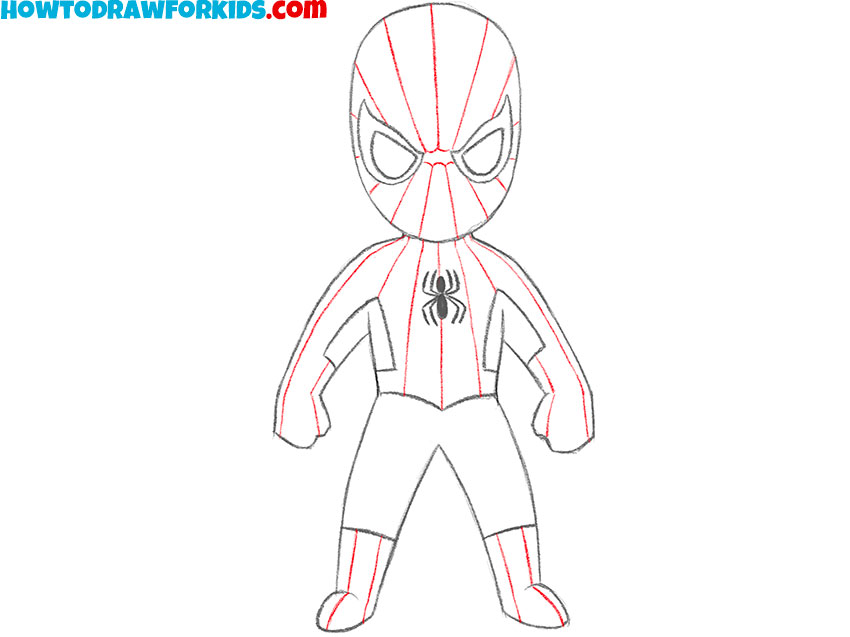
- Draw the main web lines.
Add long lines across the red parts of the costume. On the mask, let them spread outward around the eyes; on the body and limbs, follow the direction of each form.
- Complete the web pattern.
Connect the main lines with short curved sections to form the web pattern across the mask, chest, arms, and boots. Make the curves wider where the costume area is larger.
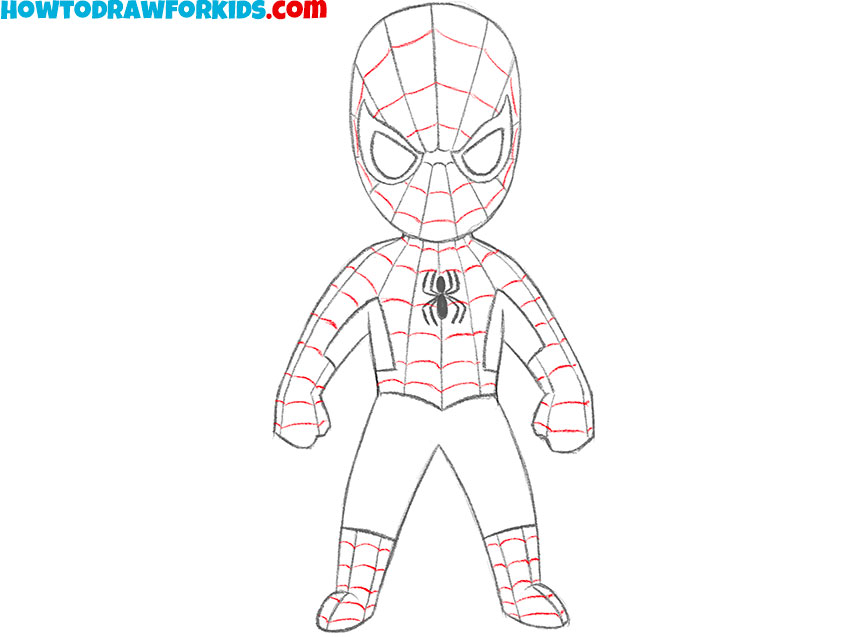
- Refine the Spider-Man line drawing.
Erase any construction marks that remain inside the figure. Trace the final outline, eye borders, emblem, costume divisions, and web pattern so every part is clear before coloring.
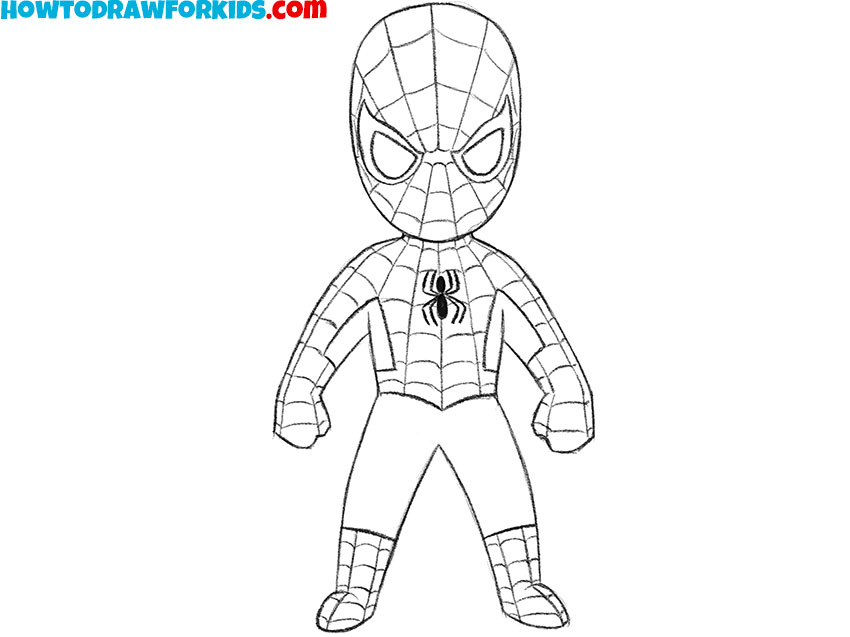
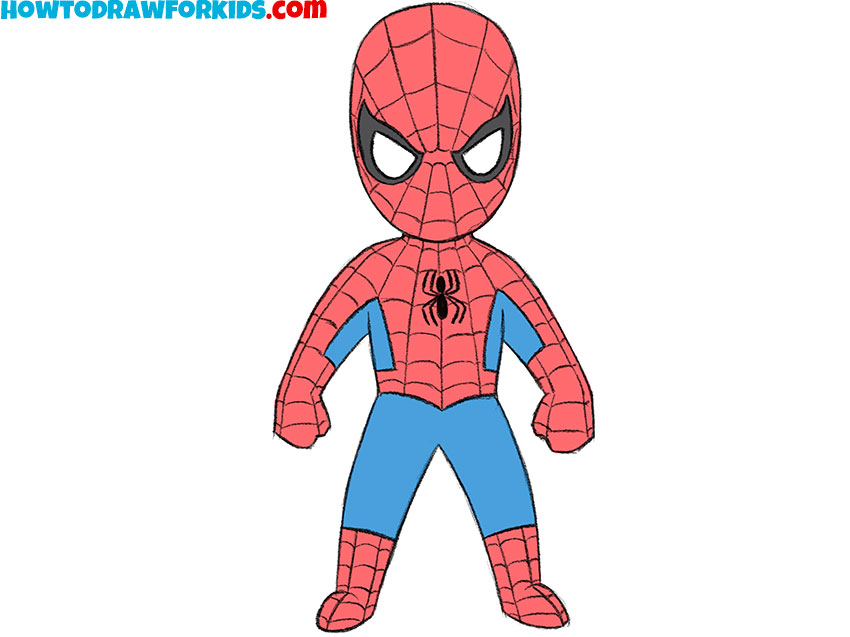
- Color the Spider-Man drawing.
Fill the main suit areas with red and use blue for the side panels, inner arms, and upper legs. Color the eye borders and web lines black, leaving the eye centers white.
Watch the Full Video Tutorial
Spider-Man Drawing Printables
The printable PDF includes the complete sequence of Spider-Man drawing steps and extra pages for practice. Save it to your device or print the pages when you want to work away from the screen.
More Ways to Draw Spider-Man
The main tutorial uses a front-facing pose with the arms held away from the body. The methods below change the size of the figure, the pose, or the costume, so each one gives you a different problem to solve.
Miniature Spider-Man Drawing Tutorial
This version makes the head even larger in relation to the body. The extra space makes the mask eyes easier to place, and the smaller figure reduces the amount of webbing needed on the suit.
The arms hang closer to the sides, so the pose feels calmer than the one in the main tutorial.
The web pattern is added only after the main costume areas are clear. On a small figure, fewer clean lines work better than many tightly packed details.
Spider-Man Drawing in a Wider Pose
This method keeps the same simplified style but places the feet farther apart. The wider base makes the pose feel firmer and leaves more space between the legs.
The costume details follow the same basic plan as before. Once the pose is settled, add the mask eyes, chest emblem, and web pattern without changing their position on the suit.
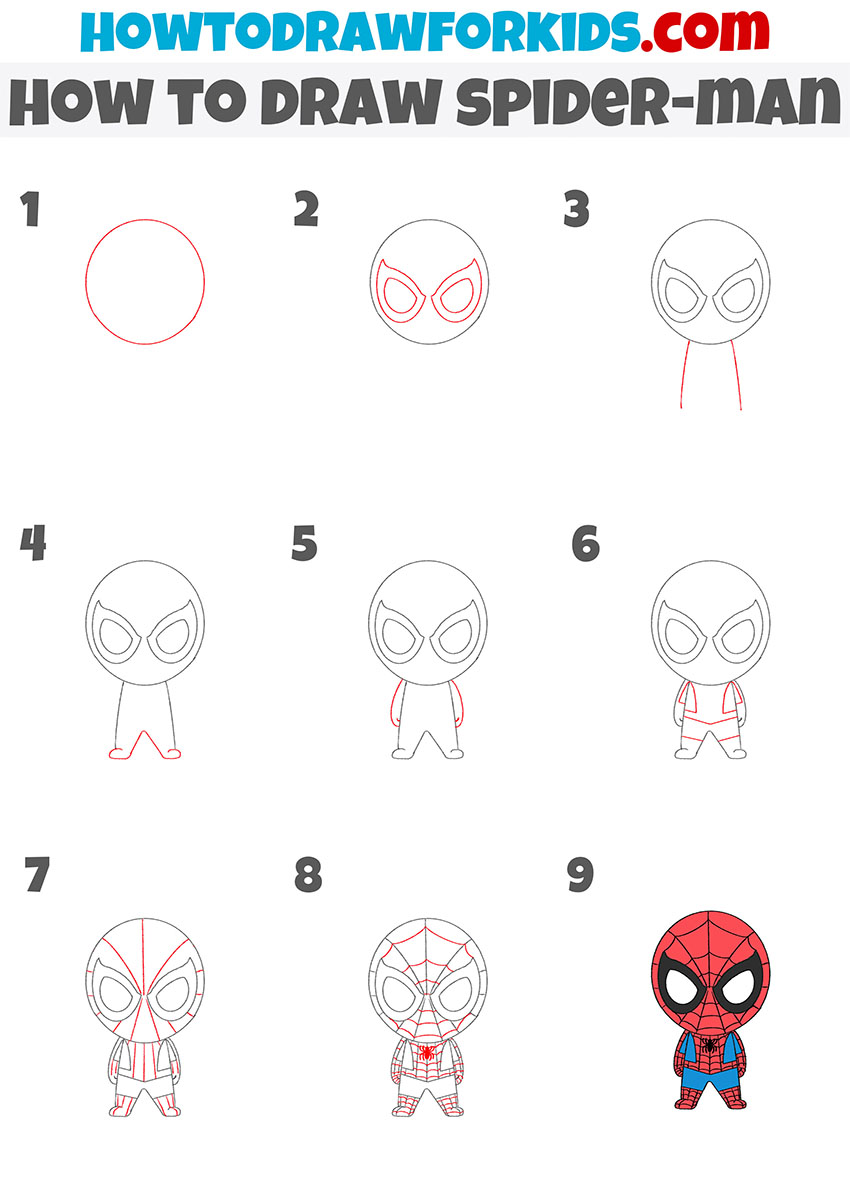
Spider-Man in Motion Drawing Tutorial
This additional tutorial shows how to draw Spider-Man flying on a web. All the same steps apply here, with slight adjustments for the superhero’s dynamic pose.
This pose removes the steady base used in the earlier versions. The web line supports the pose by continuing the upward pull of the raised arm. Its curve should agree with the angle of the body instead of running straight across the page.
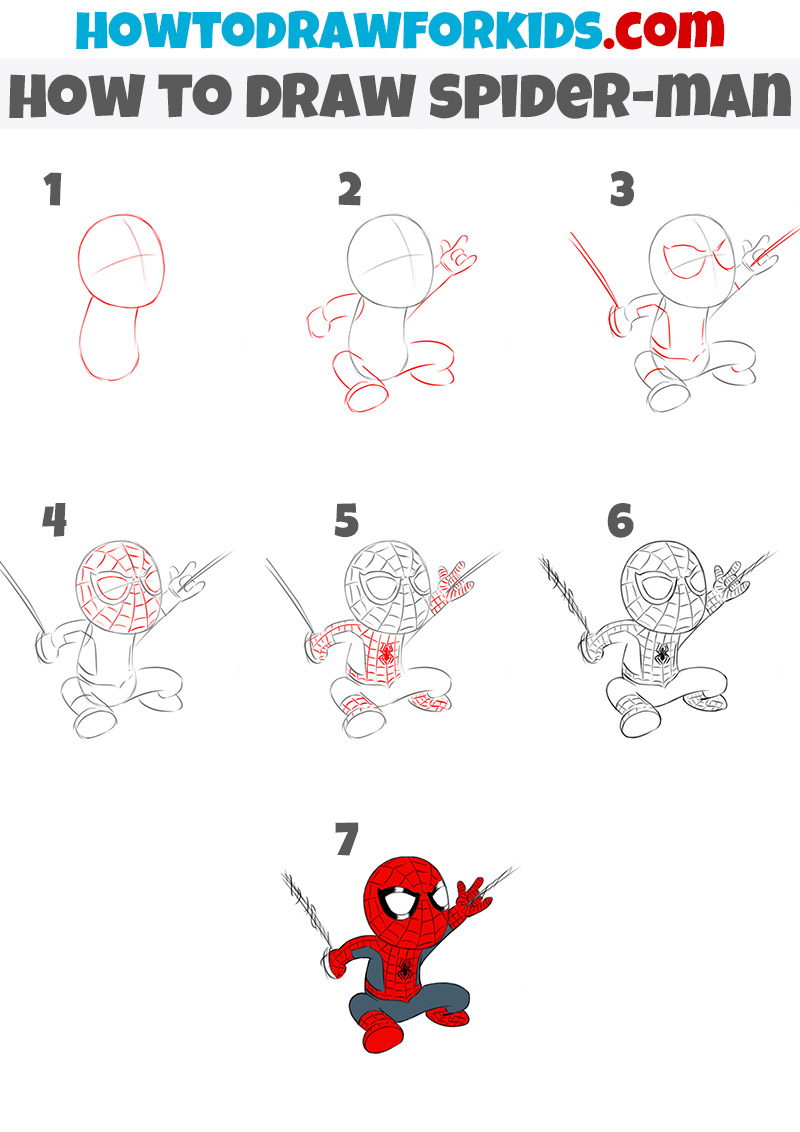
Spider-Man in Ben Reilly’s Costume
After working with the classic suit, you can practice a different costume design. Ben Reilly’s version changes the placement of the blue sections and uses a much larger spider emblem across the chest.
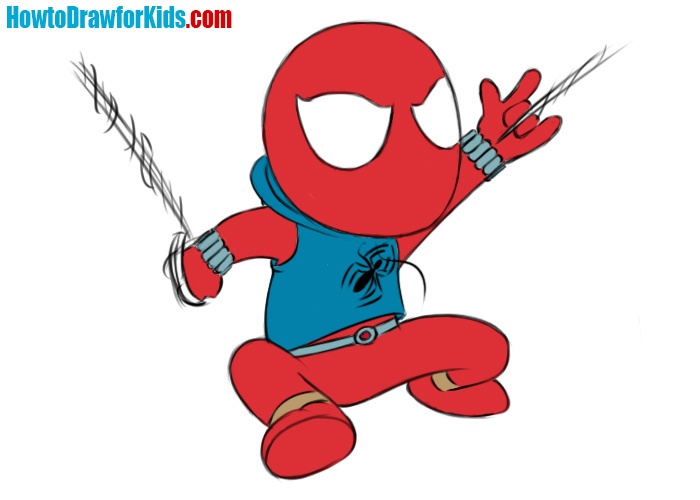
Spider-Man in the Black Suit
The black suit changes the drawing mainly through contrast. Most of the costume becomes one dark shape. This version does not need the web pattern used on the classic suit.
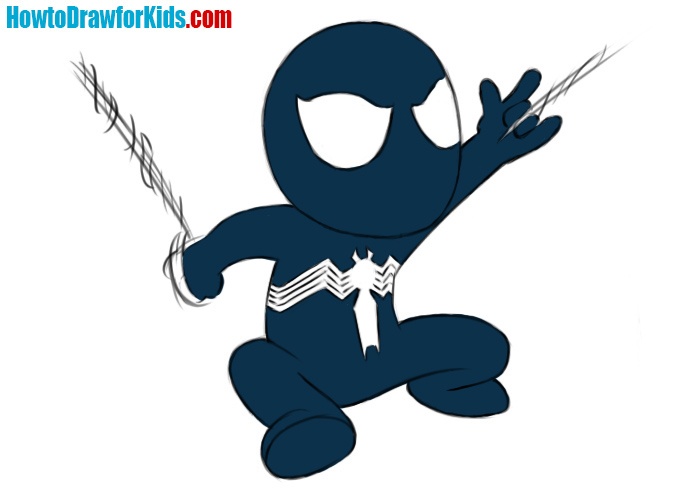
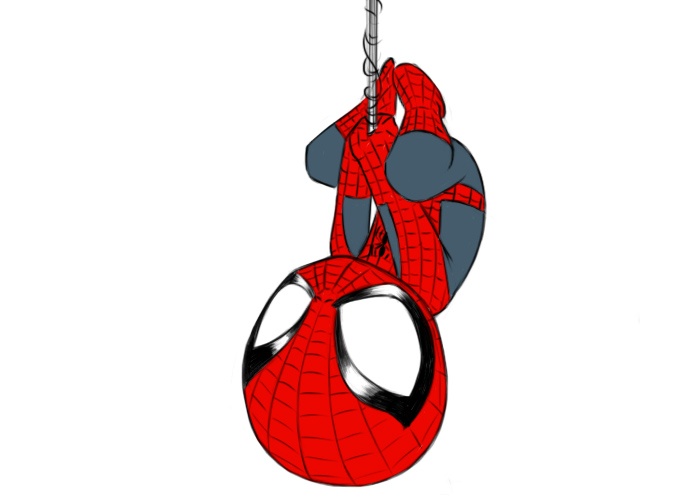
Spider-Man Hanging Upside Down
This is one of Peter Parker’s most popular poses from the comics. Use what you already know to draw Spider-Man hanging from a web.
Conclusion
You can practice the most important chest detail separately by drawing Spider-Man’s logo at a larger size. This makes its small body and thin legs easier to arrange before you add it to another figure.
For a different Marvel character, try to draw Venom. His large white eyes relate closely to Spider-Man’s mask, but the dark body and mouth create a very different result.
The extra Spider-Man methods above also let you reuse the same costume in several poses. Changing one pose at a time is a practical way to understand how the arms, legs, and web line work together.

I drew it