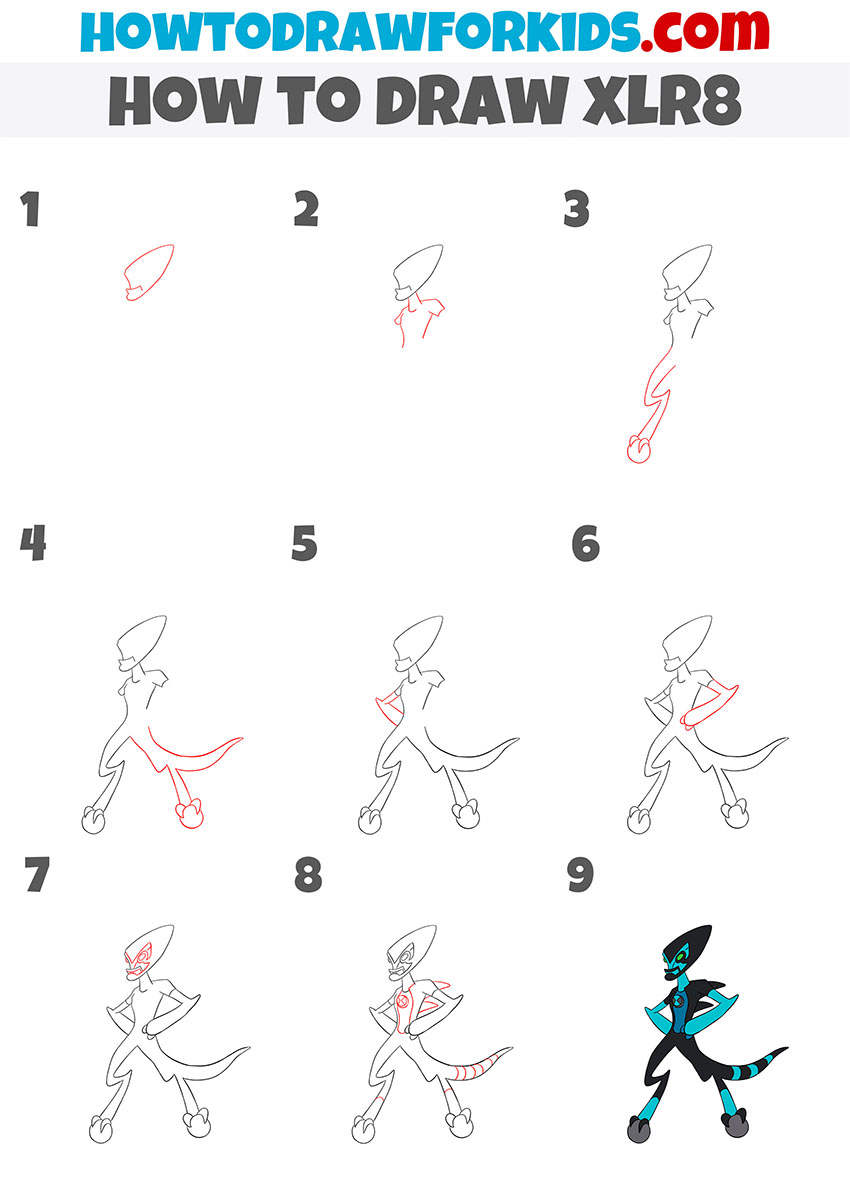
How to Draw XLR8
In this tutorial, you can learn how to draw XLR8 step by step. This interesting lesson consists of nine steps.

I suggest you complete this drawing lesson, in which I will be able to tell and show you how to draw XLR8 step by step. This lesson is great for beginners, so you can easily cope with this task if you carefully follow my instructions.
XLR8 is a character in the video games Protector of Earth and Omniverse The Game. Externally, the XLR8 resembles a semi-armored Velociraptor. He has gray bolsters on his feet and a black helmet on his head. If you are a fan of video games with this character, then this lesson will definitely not leave you indifferent.
Also, based on the previously mentioned video games, toys depicting this character were created. I am sure that you already want to start this unusual and very exciting drawing lesson as soon as possible, so I recommend that you prepare art materials and boldly start drawing!
Materials
- Pencil
- Paper
- Eraser
- Coloring supplies
Time needed: 30 minutes
How to Draw XLR8
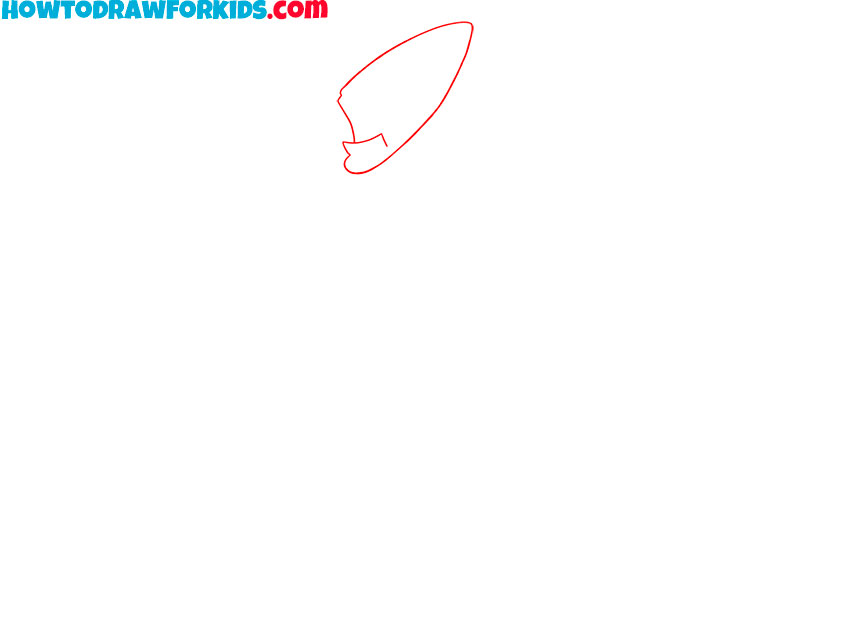
- Draw the outline of the character’s head.
To draw the character’s head, draw a curved line as shown.
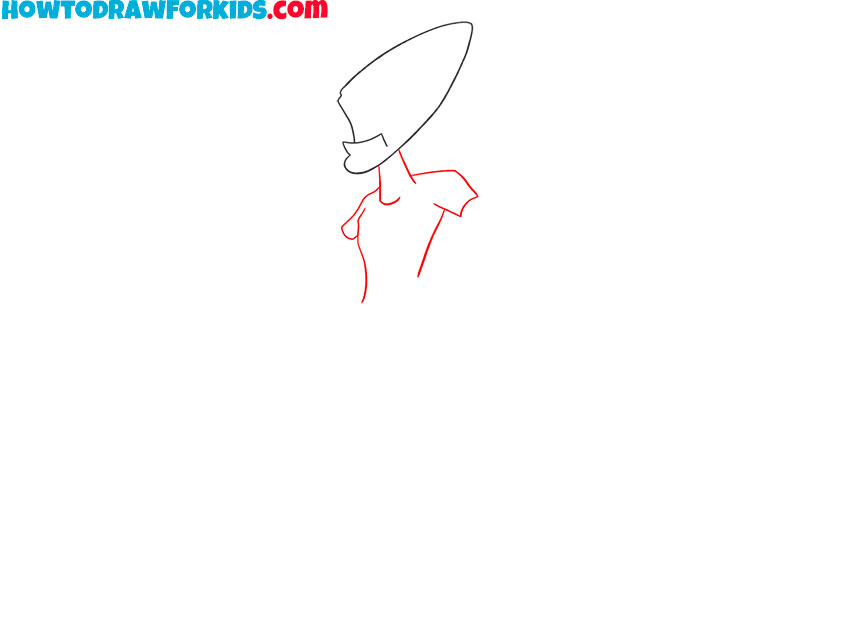
- Add the contours of the torso and neck.
Below the drawn head, draw several curved lines of different lengths.
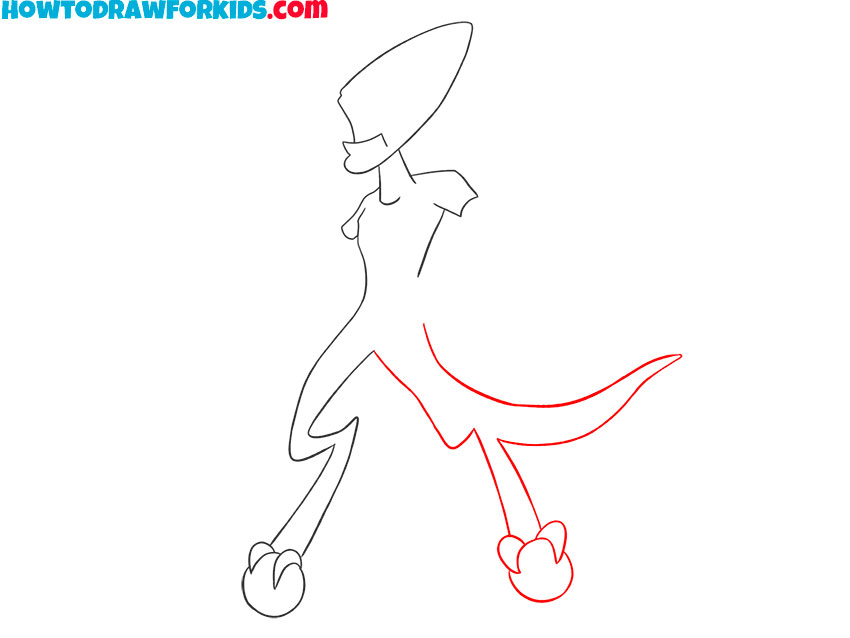
- Depict the outlines of one leg of the character.
Continue the torso line drawn earlier using curved lines and an incomplete circle.
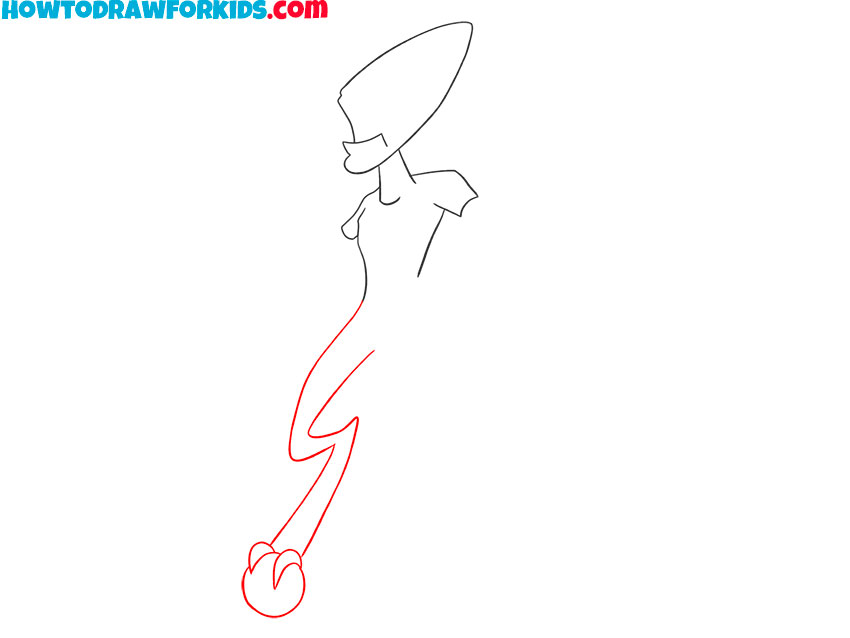
- Sketch out another leg of the character and the tail.
Continue the previously drawn line using curved lines of varying lengths.
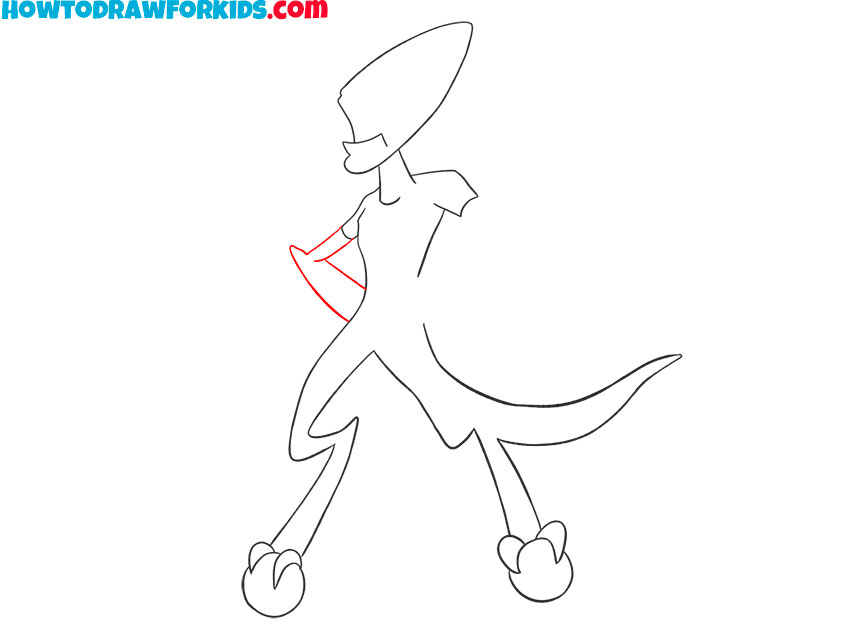
- Draw the outline of one of the character’s arms.
On the left side of the torso, depict one arm using curved lines of different lengths.
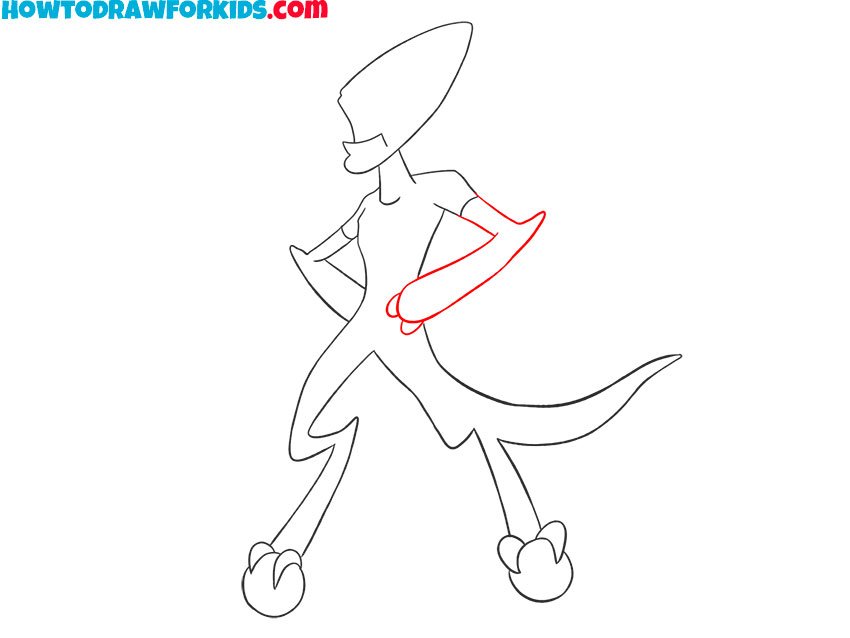
- Depict the second arm.
Now you should add another arm of the character on the right side of his torso. Use curved lines.
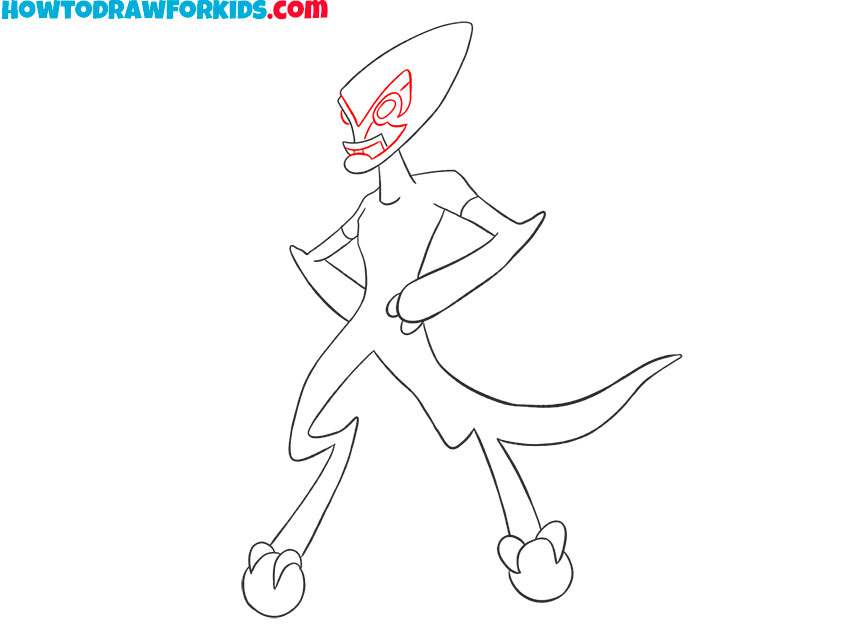
- Add the facial features of the character.
Draw the facial features inside the previously drawn outline of the head using curved lines.
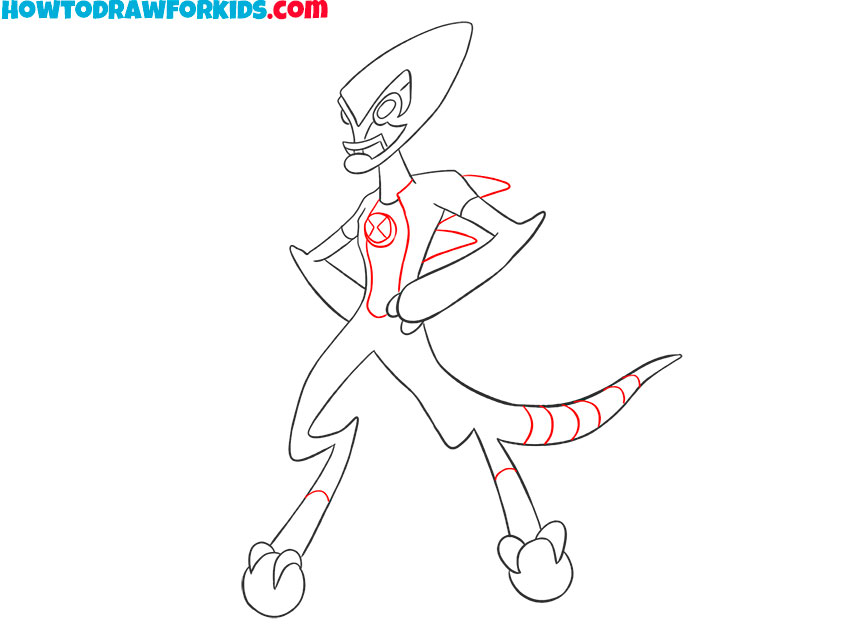
- Add details.
Draw some arcs on the torso, and also add curved lines around the back and stomach.
- Color the XLR8.
To color this drawing, use black, green, gray, and shades of blue.
I remind you that you can download the PDF file that I have prepared especially for your convenience. This file contains a short version of this lesson and has additional useful training materials. Download this file so as not to lose it and return to this lesson at any time convenient for you.