How to Draw a Dove
Now is the time to learn how to draw a dove – one of the most elegant and graceful birds, celebrated as a universal symbol of peace around the world.
How to Draw a Dove: Basic Information
Welcome to this drawing tutorial where I’ll show you how to draw a dove, a symbol of peace and purity. This lesson is designed with simplicity in mind, ensuring that anyone, regardless of skill level, can create a peaceful and elegant dove. The steps I’ve developed capture the gentle curves and serene posture of this beloved bird.
The dove in this tutorial is crafted with particular attention to the flowing lines that form its wings and body. These elements are essential in conveying the dove’s essence of tranquility and grace.
To provide a more comprehensive learning experience in drawing a dove, I’ve included an additional tutorial at the bottom of the page. Each method offers a unique approach to drawing the bird, helping you practice and build confidence in your skills.
Dove Drawing Tutorial
Materials
- Pencil
- Paper
- Eraser
- Coloring supplies
Time needed: 40 minutes
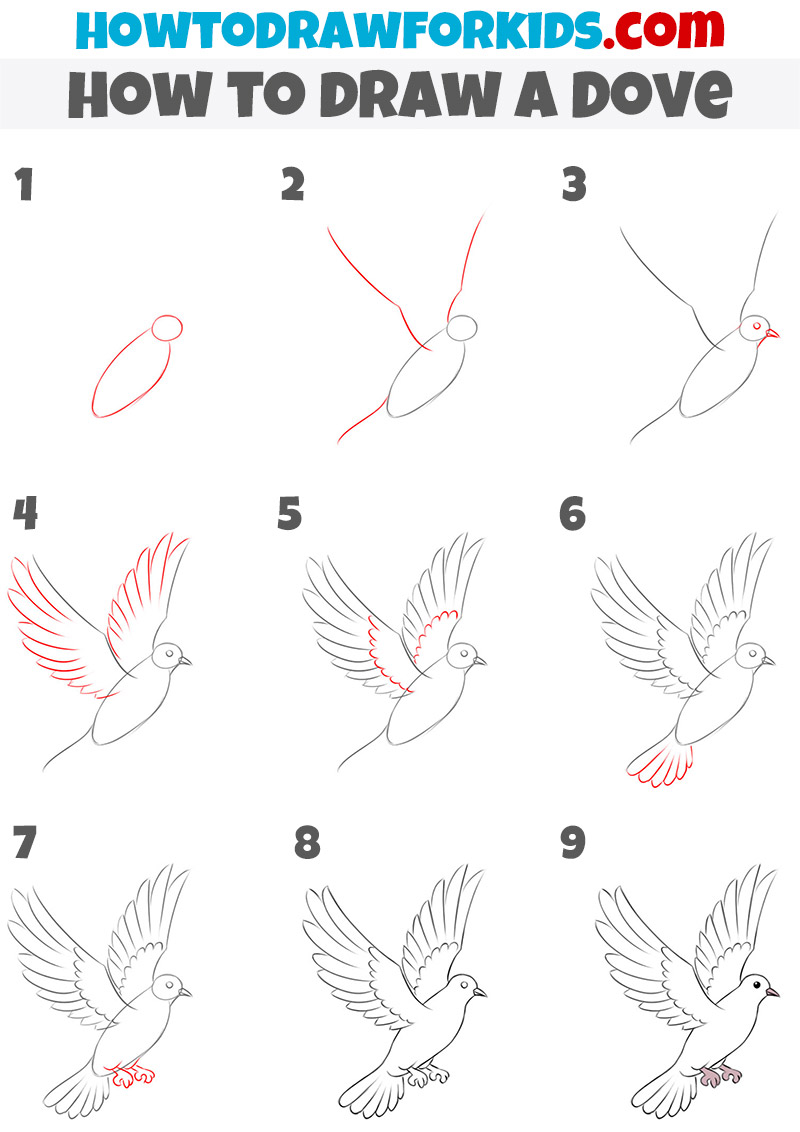
How to Draw a Dove Step-by-Step
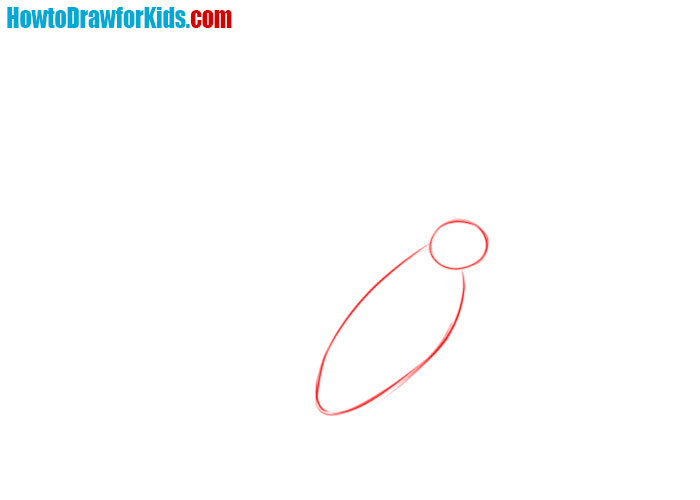
- Draw the basics of the dove’s head and body.
Begin by sketching an elongated oval for the body of the dove, slightly tilted to convey motion. Above this, add a smaller circle for the head, ensuring that it’s proportionate to the body. This foundational geometry will serve as a guide for the overall shape of the bird.
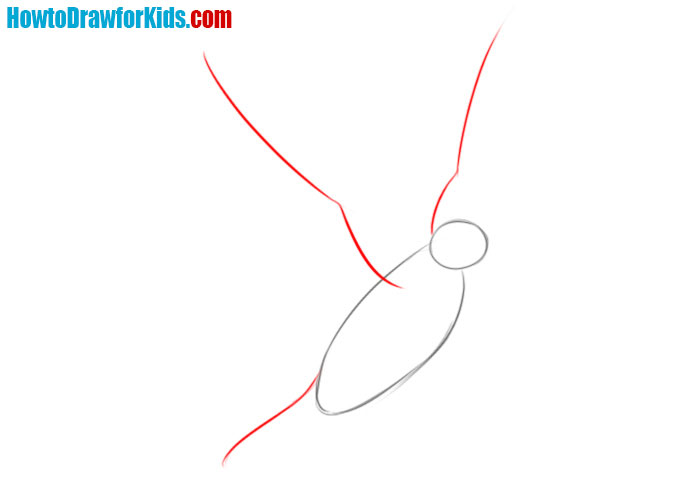
- Sketch out the base of the wings and tail.
The second step involves drawing two angled lines extending from the body to represent the wings. The lines should be drawn with a gentle curve. Two important points of this step: the wings have different lengths due to the angle; the wing closest to us is significantly longer than the body.
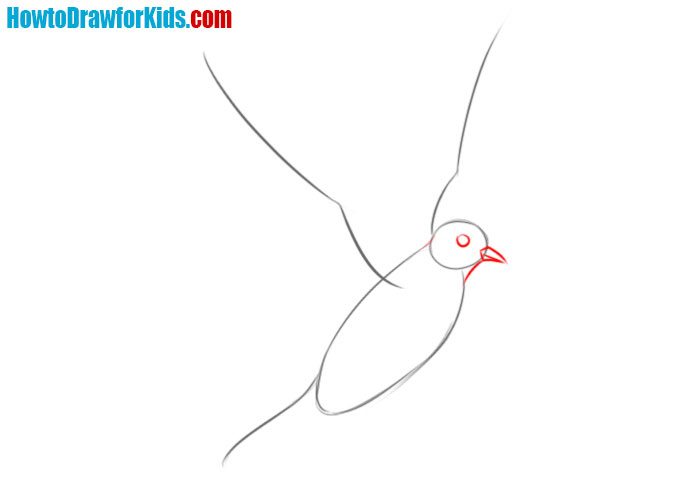
- Create the base of the dove’s eye and beak.
The dove’s eye in this step has the shape of a small circle that is shifted slightly to the right of the center of the head. Then sketch out a large, pointed beak that curves slightly downwards. The shape of the beak is very important for accurately drawing a certain type of bird, try to copy this as accurately as possible.
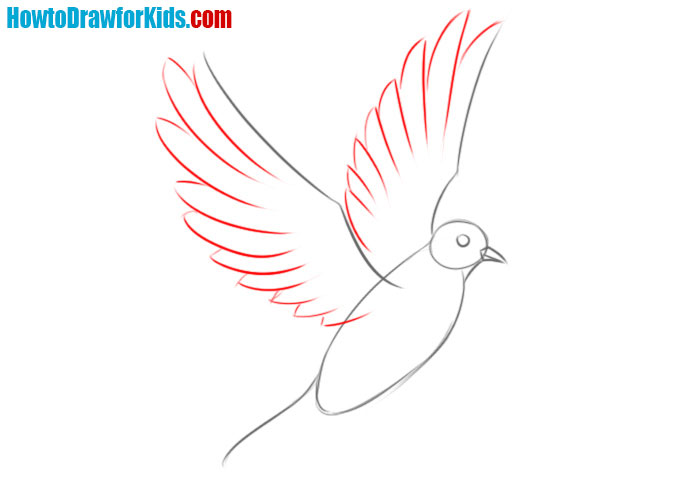
- Illustrate the feathers of the wings.
In this step, you’ll start fleshing out the wings with individual feathers. Begin with the primary feathers, which are the largest. Draw them with smooth, elongated shapes that fan out from the wingtips. The key to this step is overlapping the feathers slightly, giving a more realistic texture and depth to the wings.
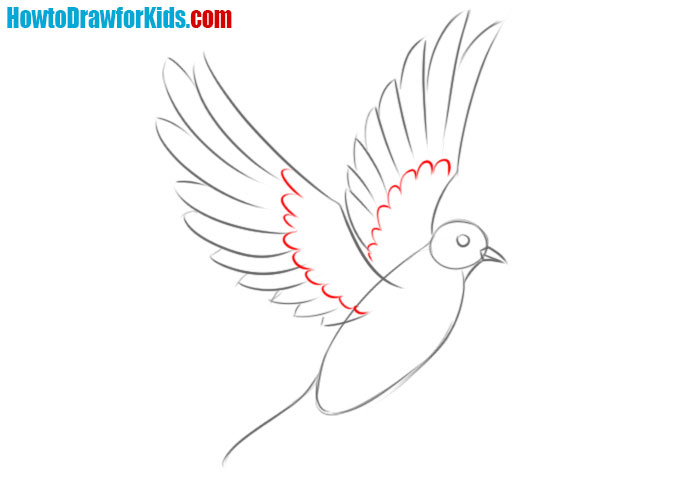
- Add more feathers to the wings.
Continue adding feathers to the wings, now focusing on the smaller, secondary feathers. They should be shorter and layered downer primary feathers. When drawing these, pay attention to the direction and flow of the feathers, ensuring they follow the natural pattern and form of a bird’s wing.
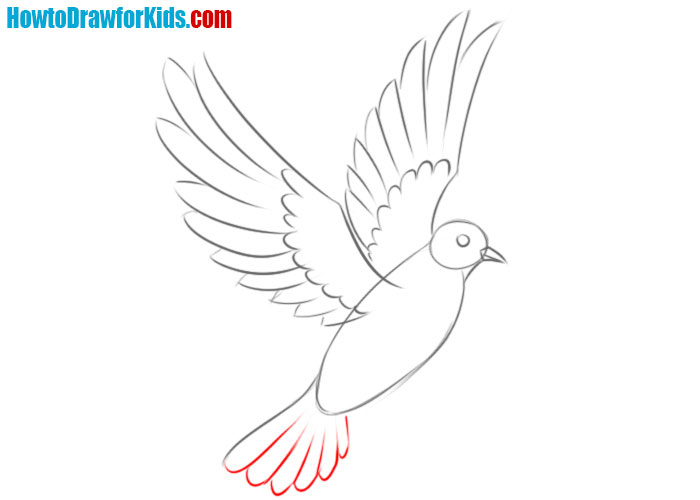
- Detail the tail of the bird.
This step brings attention to the dove’s tail feathers. Draw them as a set of elongated shapes fanning out from the base of the body. The tail feathers should be drawn with a slight curve, giving the impression of the bird’s movement through the air.
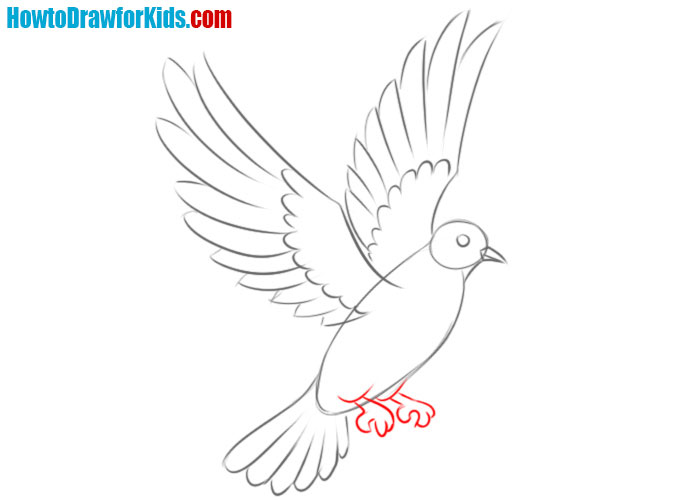
- Illustrate the Legs of the dove.
Sketch two short lines down from the body for the legs and create the paws with simple, rounded shapes that have three forward-facing toes. It’s important to make the paws small in comparison to the body, maintaining the bird’s realistic appearance.
- Finalise the sketch.
Go back over the wings, tail, and body to sharpen and clean up any lines, ensuring they’re smooth and clear. Add any additional feather details you may have missed, particularly in the wings and tail. Check the proportions of the head, body, wings, and tail to make sure everything looks balanced.
- Color your dove sketch.
Doves come in several typical colors. In the easiest case for an artist, it is white or light gray, light blue. Either way, the beak and legs can be a dark orange tint, and the eye can be painted over, leaving a white area for a realistic highlight.

Alternative Drawing Method
For those who want to to refine their drawing skills, I’ve also devised an additional, simpler technique for drawing a dove. This method strips down the complexity and focuses on the fundamental shapes and lines that form a dove.
It’s perfect for practicing and improving your skills, reinforcing your understanding of the basic anatomy of birds while still capturing the dove’s inherent grace.
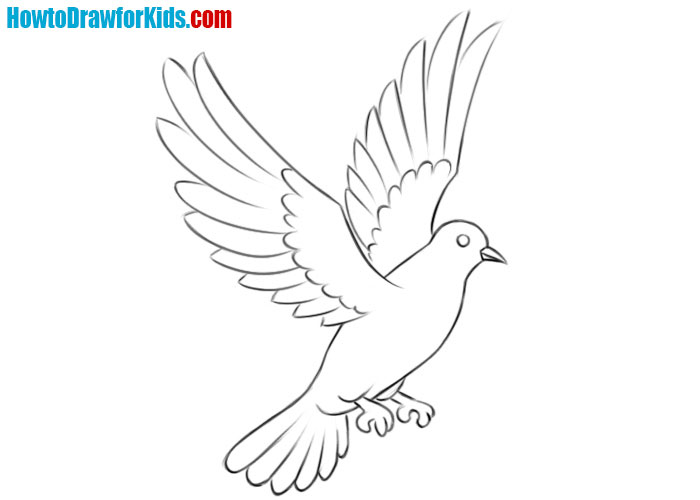
How to Draw a Simple Dove
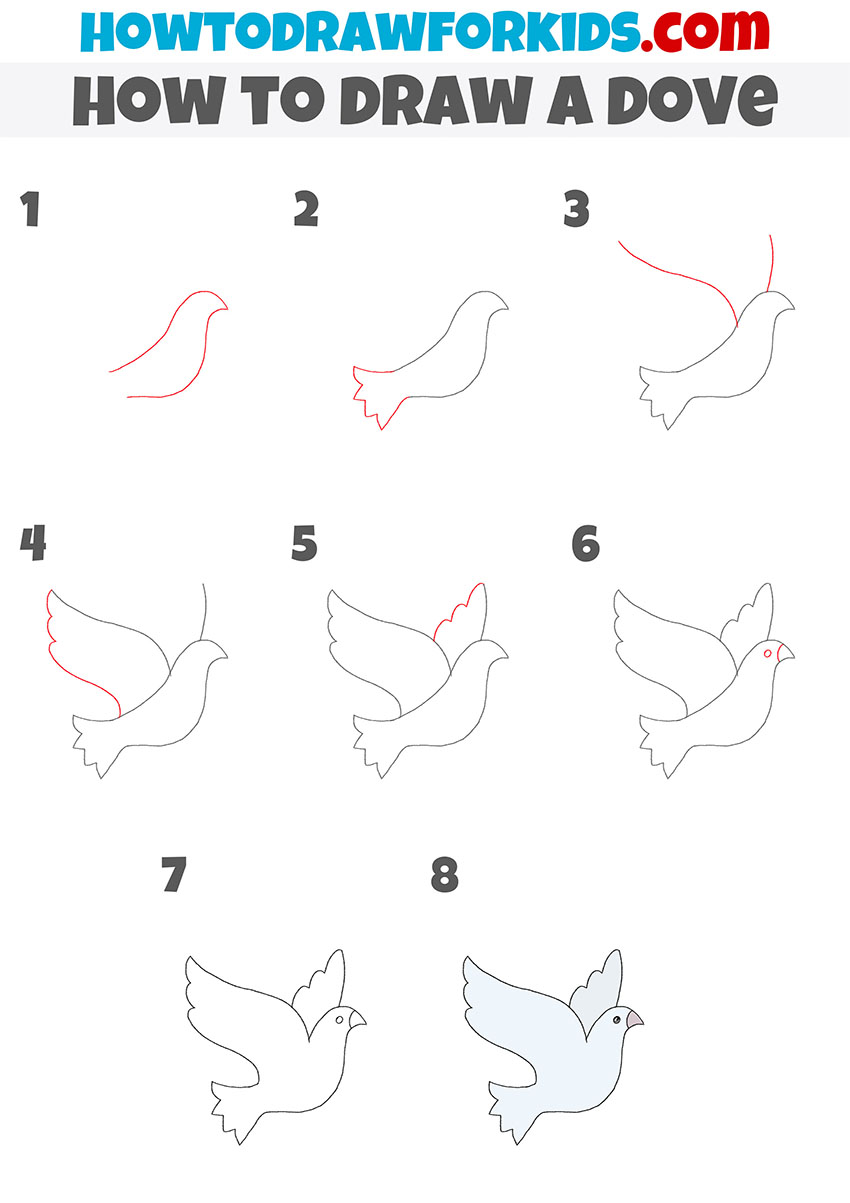
For youngest artists, this dove drawing method is crafted with simplicity in mind, featuring just eight straightforward steps.
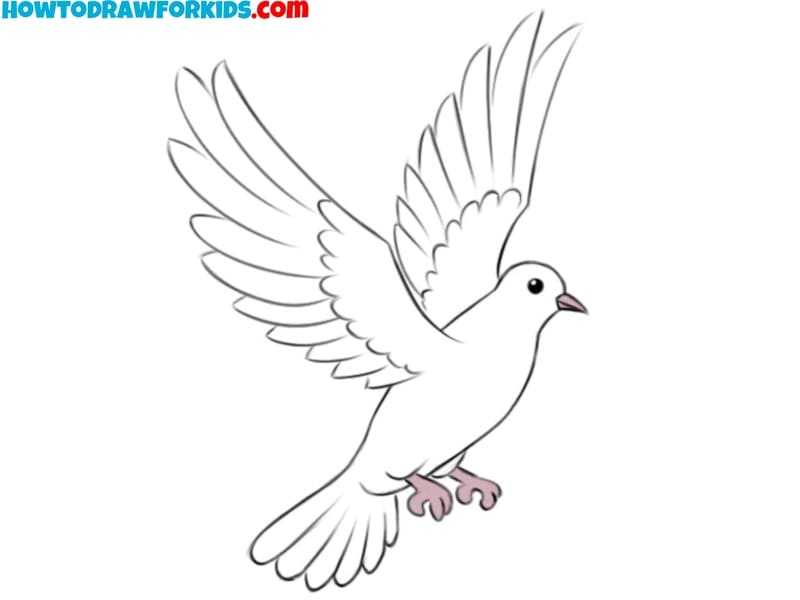
To draw a dove with this method, begin by sketching a simple outline of the bird’s body, forming the head, neck, and back in a continuous line that curves downwards to represent the belly. Next, add the tail feathers by extending a few small, rounded shapes from the rear of the body.
After that, draw the wings by adding two long, curved lines extending from the upper part of the body, creating the impression of outstretched wings in flight. Now, refine the wings by adding additional curves to depict the feathers, giving them a layered look.
Once the wings are complete, outline the beak and add a small dot for the eye. Finally, review your drawing, smoothing out any rough lines and adding subtle details, like feather markings or shadows, to enhance the dove’s form.
Setting the Scene for Your Dove Sketches
As we put the finishing touches on our dove drawing lesson, consider how the backdrop can elevate your artwork. Here are some ideas to enhance your drawing with an environment that complements the serene beauty of your dove:
- Sky streaked with the soft colors of dawn, offering a new beginning as your dove takes flight. Use gentle shades of pink, orange, and light blue to depict the early morning light on the horizon. This subtle color transition can provide a calm backdrop that complements the dove.
- Olive branch under the dove, symbolizing hope and peace. Draw a branch with leaves just beneath the dove’s feet. Adding small details like veins on the leaves and olives can enhance the symbolism and anchor the dove in the composition.
- Gentle waves of a calm sea below, reflecting the dove’s grace in their undulating rhythm. Use soft, flowing lines to depict the water and light shading to create a reflective quality. The waves can provide balance to the scene and complement the dove’s flight.
- Backdrop of rolling hills, giving a sense of the dove’s flight across vast landscapes. Add softly curved hills in the distance with lighter shades to create depth. Including basic elements like trees or fields can make the background more realistic and interesting.
Conclusion
By following the steps of the tutorial, you can create a detailed and balanced drawing of a dove. Adding background elements like a dawn sky, olive branch, gentle waves, or rolling hills can further enhance the composition, giving your artwork a well-rounded and polished appearance. This tutorial provides a straightforward approach to drawing a dove, suitable for various skill levels.
For more cool drawing tutorials, make sure to follow me on social media – that’s where all the latest updates land. And if you’ve got ideas or wishes for what you want to draw in future lessons, don’t be shy! Leave a comment below. I’m always on the lookout for new ideas to make our drawing time together even more exciting!