How to Draw a Flashlight
In this guide, we will tell you how to draw a flashlight for kids. This is a very simple lesson that will make you feel confident in your abilities.

How to Draw a Flashlight: Basic Information
Drawing everyday objects like a flashlight can significantly enhance your art skills, particularly in understanding form, perspective, and detail.
One of the key aspects of this tutorial is the emphasis on basic shapes, such as ovals and straight lines. The flashlight is primarily composed of these simple forms, making it an ideal subject for beginners.
Drawing the flashlight requires an understanding of perspective and proportions, especially as the body of the flashlight tapers towards the end. This tutorial will help you grasp how objects change in appearance based on their orientation and distance from the viewer.
The flashlight may seem like a simple object, but it includes various details, such as the lens and power button, which require careful attention. This tutorial encourages young artists to practice precision in their drawings by focusing on these small but significant elements.
Flashlight Drawing Tutorial
Materials
- Pencil
- Paper
- Eraser
- Coloring supplies
Time needed: 40 minutes
How to Draw a Flashlight Step-by-Step
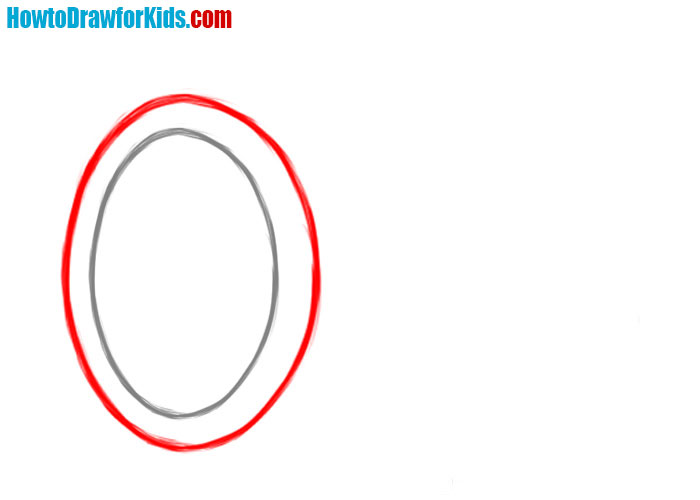
- Outline the head of the flashlight.
So, draw an elongated oval shape, which forms the basic outline for the flashlight’s head. It is important to maintain a consistent pressure on your drawing tool to ensure that the oval has an even thickness throughout. This will also create a base to draw the rest of the flashlight.

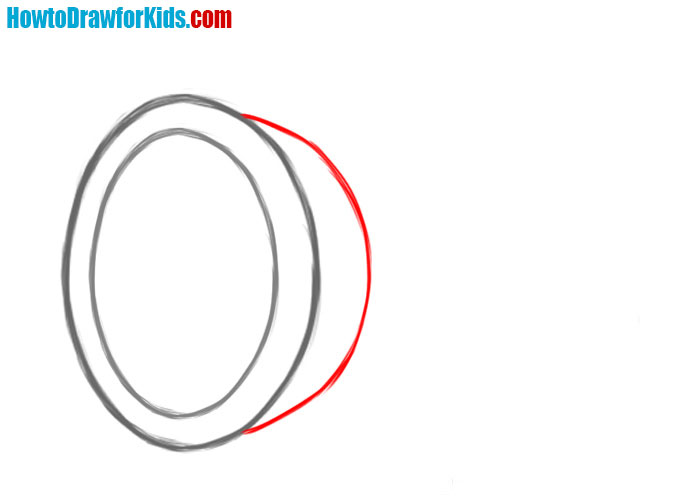
- Adding a second flashlight oval.
In this step another oval is drawn outside the first one, slightly larger and concentric. As a result, these should be two very similar, parallel figures that are located one inside the other. When drawing objects and devices, it is very important to maintain evenness and symmetry.
- Draw the arc of the flashlight handle.
Sketch the protruding part of the flashlight body, which connects to the wide part in which the lamp is located. This looks like an arc connecting two points on the edge of the oval from the previous step. The precision of this step adds to the realistic appearance of the flashlight head.
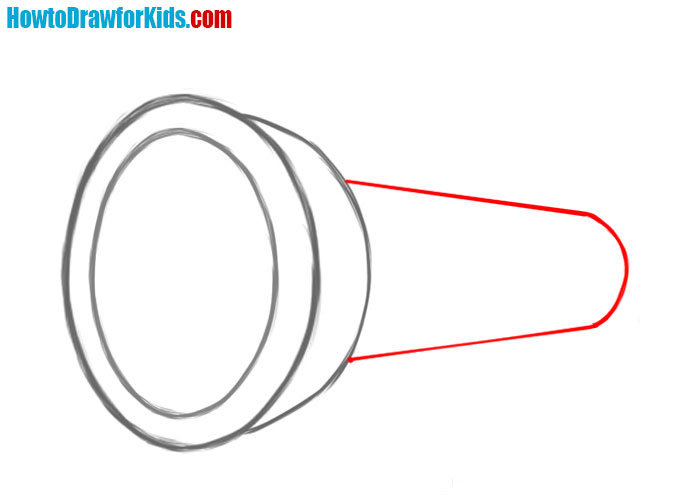
- Draw the flashlight’s corpus.
This part requires a steady hand to draw two parallel lines that converge slightly to create a realistic perspective. The lines should be drawn with confidence to maintain straightness; a ruler can be used if precision is desired.
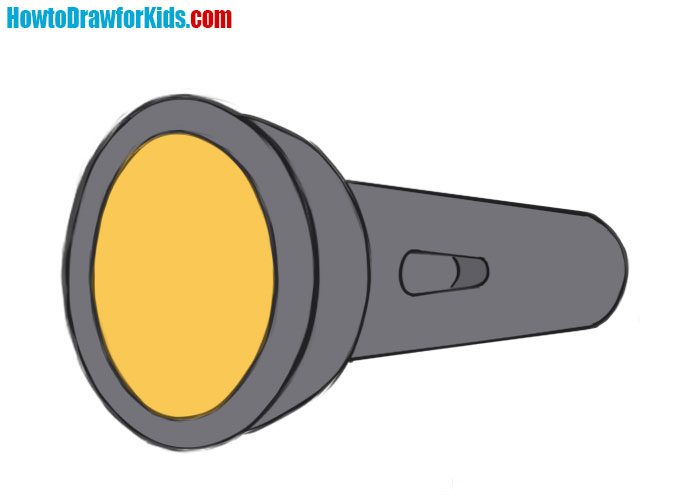
- Draw the power button.
Add a a tiny circle within the oval button, indicating the actual switch mechanism. You can add on/off inscriptions to the button. This is a fine detail that requires precision; using a smaller drawing tool or a sharpened pencil point can help achieve the necessary detail.

- Removing extra lines from the flashlight.
Ensure all proportions are correct and that each element is in harmony with the others. If necessary, make adjustments to any lines or shapes that may improve the overall look. Feel free to start coloring if everything looks great and in proportion.

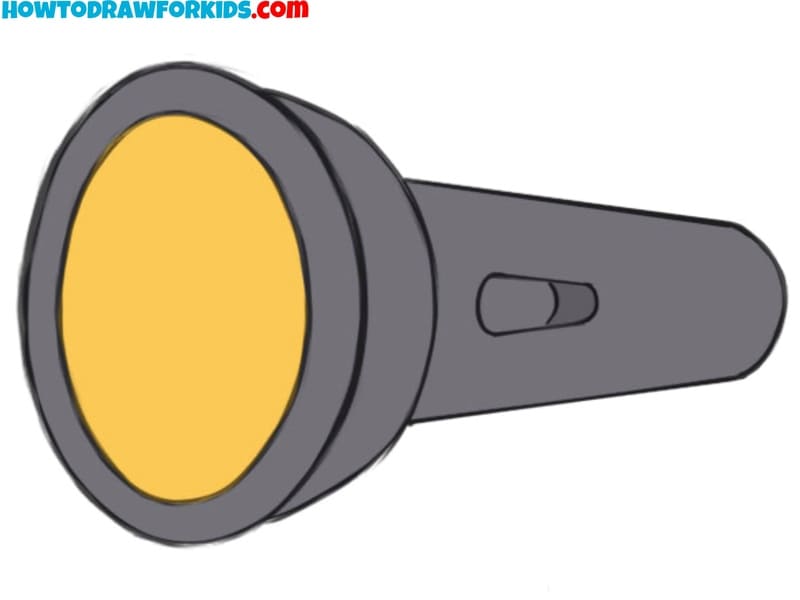
- Color and texture the flashlight.
A gray shade is used to fill in the body of the flashlight, indicating a metallic or plastic material. The lens area is colored in a yellow-orange hue to represent the light emanating from the flashlight. I deliberately did not use shadows or highlights to keep the drawing style as simple as possible.
How to Draw a Flashlight: FAQ
Drawing a flashlight is an excellent exercise for beginners because it involves basic shapes, like ovals and straight lines, which are fundamental to drawing. The flashlight’s simple structure makes it easy to understand and replicate, while still offering enough detail to challenge and develop your observational skills. By mastering these basics, beginners can build a strong foundation for more complex drawings.
To make your flashlight drawing more realistic, focus on the proportions and perspective, ensuring the body tapers correctly. Add details like the power button and lens rim to enhance its authenticity. Additionally, consider adding light shading to suggest the cylindrical shape of the flashlight. Paying attention to the way light interacts with the object, such as reflections on the lens, can also help create a more lifelike representation.
When coloring the flashlight, focus on achieving a metallic or plastic look by using appropriate colors like grey, black, and yellow for the lens. Consider where the light source is coming from and add subtle shading to indicate the flashlight’s rounded surfaces. Highlighting the lens with a bright yellow or white color can also enhance the effect of light being emitted, making the drawing more realistic.
To create the illusion of a glowing lens, focus on using lighter shades and gradients that radiate outward from the center of the lens. If you’re coloring, use a bright yellow or white for the center and gradually blend into darker shades towards the edges. Adding a slight halo effect around the lens can also enhance the glow. In a digital medium, you can use a soft brush to add highlights or use a glow effect tool to achieve this look.
Including background elements is optional, but it can make your flashlight drawing mulch more interesting. A simple background, like a tabletop or a hand holding the flashlight, can make your drawing more realistic. However, if you’re focused on practicing the form and details of the flashlight itself, a plain background might help you concentrate on those aspects without distraction. Decide based on your current goals for the drawing.
Conclusion
Drawing a flashlight may seem like a simple task, but it’s in this simplicity that powerful learning occurs. The flashlight, a basic and familiar object, serves as an ideal subject for developing fundamental drawing skills. By focusing on its basic shapes, proportions, and details, you’ve taken important steps toward mastering the art of observation and replication, laying a solid foundation for your deeper drawing skills.
And I remind you that there is much more you can do to continue developing your skills. Consider adding different backgrounds or incorporating additional elements into your drawing, such as a hand holding the flashlight or a beam of light illuminating an object. These additions will make your artwork more realistic and challenge you to apply your growing knowledge in new contexts.
If you enjoyed this tutorial and found it helpful, consider subscribing for more drawing guides that can further boost your skills. Don’t forget to share your work and experience with others – learning from each other is a key part of artistic growth. And be sure to check other tutorials that cover a wide range of subjects, each designed to help you develop specific techniques.