How to Draw Mars
We have not yet conquered Mars, but we already have the opportunity to create this planet on paper with my simple lesson on how to draw Mars.

How to Draw Mars: Basic Information
Like most of my drawing tutorials, this guide on how to draw Mars allows you to not only get better at illustrating this celestial body, but also develop a variety of different artistic skills.
For example, Mars has unique surface features like craters and valleys, which are important to replicate accurately. Learning to draw these features improves your ability to observe and depict geological formations. This skill is beneficial when drawing other planets and moons, making your space art more detailed and scientifically accurate.
Drawing Mars encourages you to use astronomical references and images for accuracy. Studying real photos of Mars and other planets helps you understand their true appearances and trains your ability to create realistic space art. This practice also builds your research skills, which are valuable for any art project.
Drawing Mars can inspire a deeper interest in space and astronomy for kids. This fascination can lead to more art projects focused on celestial bodies and space exploration.
Mars Drawing Tutorial
Materials
- Pencil
- Paper
- Eraser
- Coloring supplies
Time needed: 30 minutes
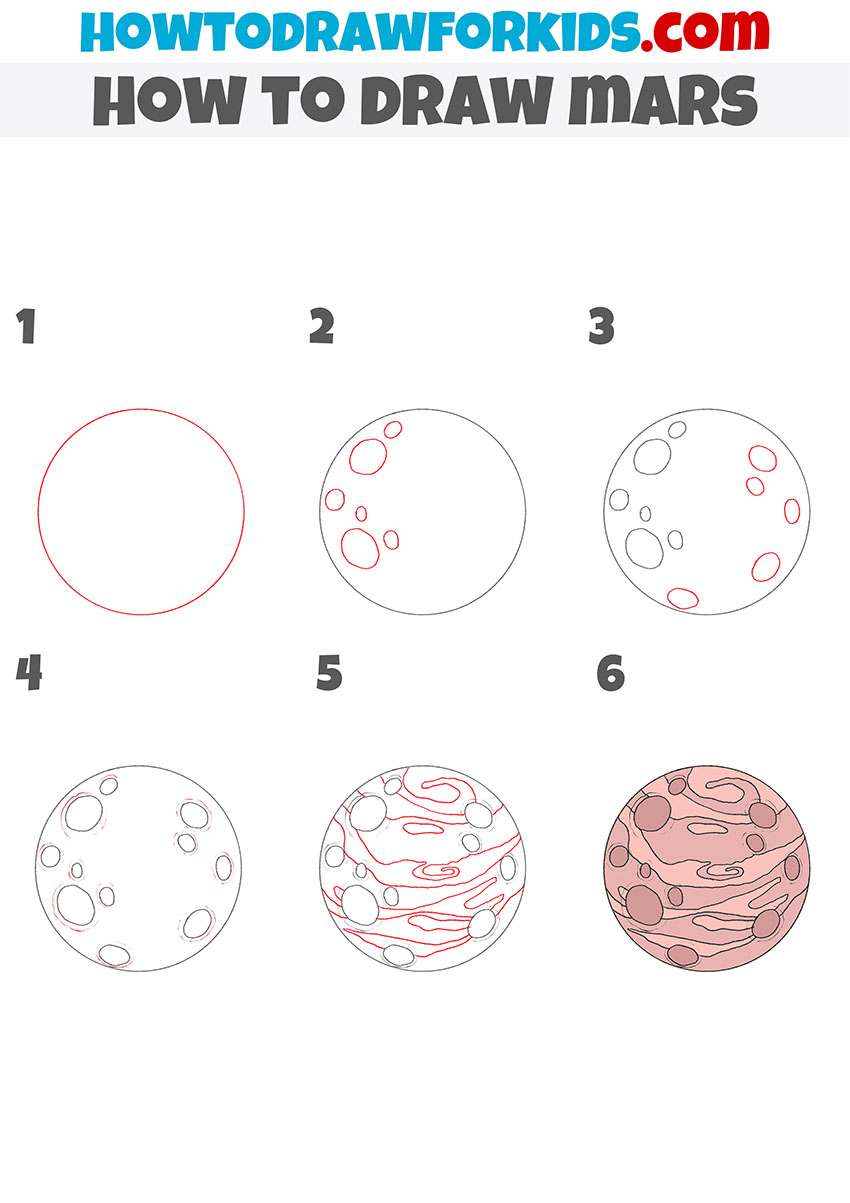
How to Draw Mars Step-by-Step
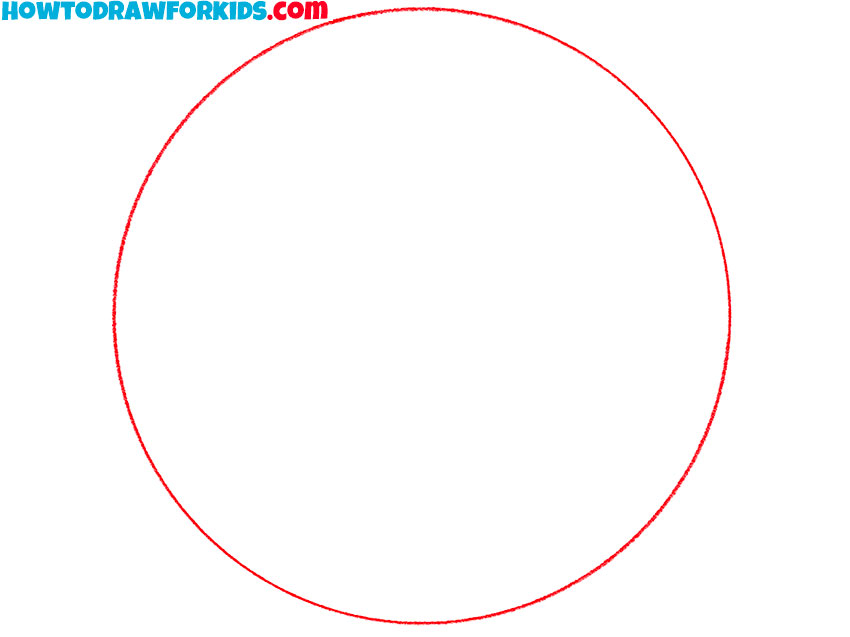
- Draw the basic circle of Mars.
Begin by drawing a large, perfect circle in the center of your paper. This circle will serve as the main outline for Mars. You can use a compass for accuracy, or freehand it carefully, ensuring the shape is smooth and round. Once satisfied with the circle, you can move on to adding surface details.
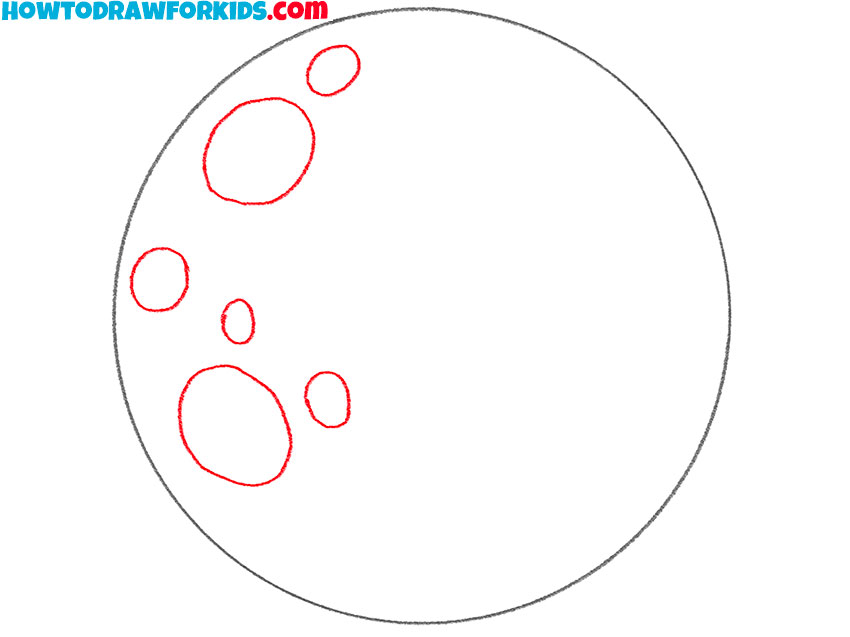
- Add the large craters on one side.
Start by sketching several oval and circular shapes of varying sizes within the circle. Place them randomly but ensure they are well-distributed across the surface. Vary the sizes to create a more natural look, with some craters being larger and others smaller.
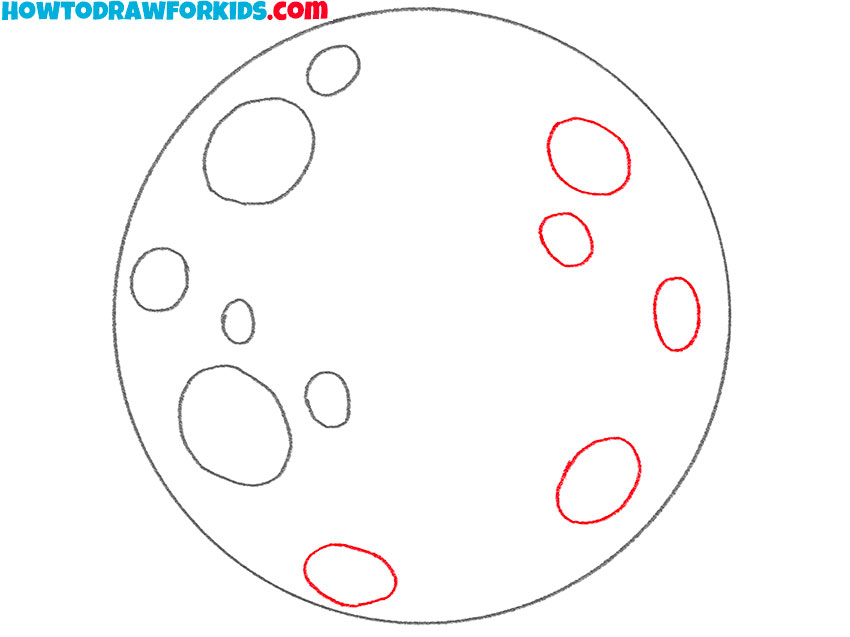
- Illustrate the large craters on the other side.
Begin by sketching several circular and oval shapes on the right half of the circle you drew in the Step 1. Vary the sizes of these craters, with some being larger and others smaller, to create a natural and realistic appearance. Place the craters at different angles and distances from each other.
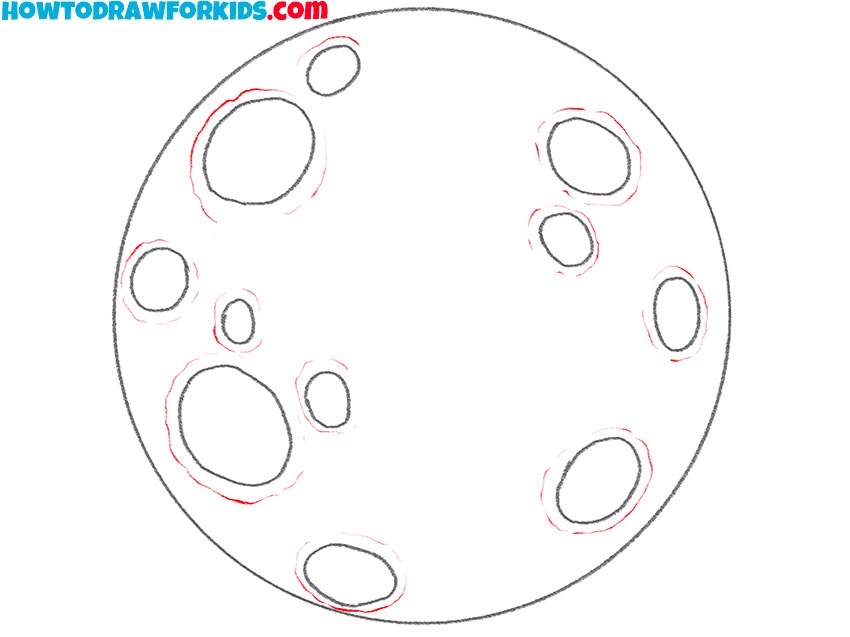
- Detail the craters of Mars.
Now, add details around the craters to give them more volume and a three-dimensional appearance. Use curved lines to indicate the outer walls of the craters, following the shape of the crater rims. You can also add smaller, fine lines radiating from the craters to suggest cracks and debris.
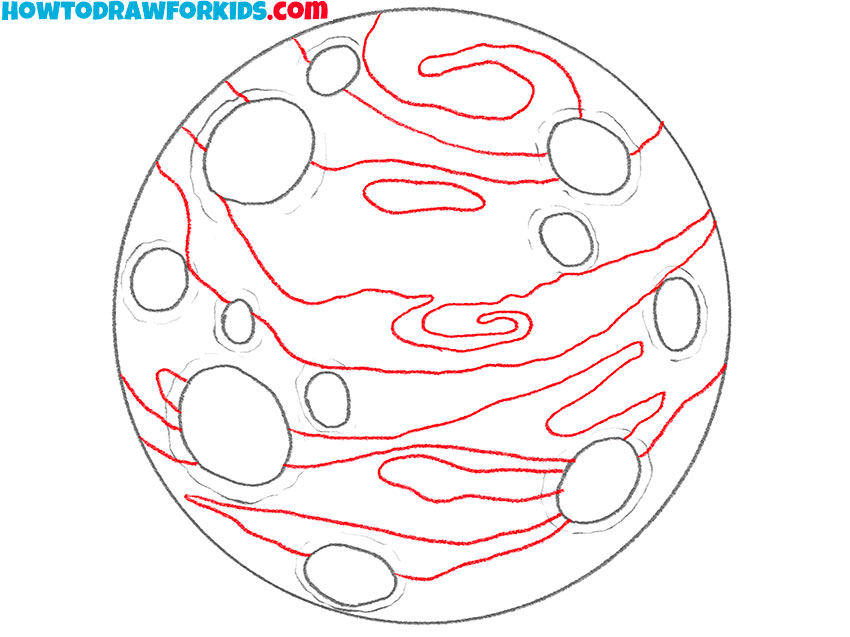
- Draw the surface features.
Now, draw additional surface features such as lines and swirls to represent the natural landscape of Mars. These lines can vary in thickness and should flow organically across the planet’s surface. They represent the various ridges, valleys, and other geological features found on Mars.
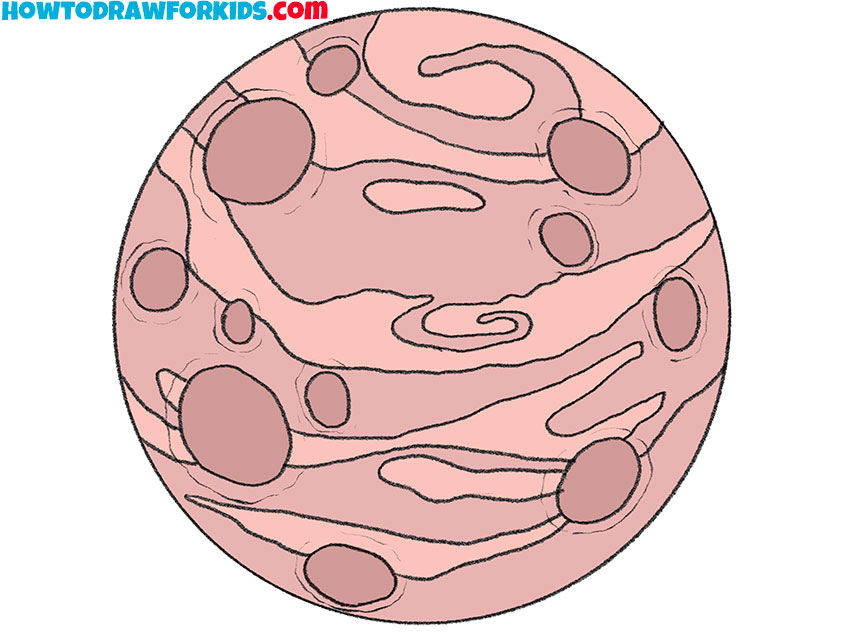
- Color the Mars drawing.
Use shades of red, brown, and orange to represent the Martian surface. Start with a base color and gradually layer darker shades. You can pay more attention to the craters and surface features, using darker colors to highlight shadows and lighter colors for highlights.
Additional Content
I’ve created a cool little PDF guide that contains simple, step-by-step instructions to help you master the art of drawing Mars. This guide is entirely free to download, so you can take it with you everywhere, even if you are far from the internet’s reach.
The PDF includes detailed illustrations of each tutorial step, a coloring page for experimenting with colors and shading, a tracing worksheet to train your line work, and a grid drawing worksheet to help with proportions and spatial relationships. Use these pages to practice and perfect your drawing skills conveniently.
How to Draw Mars: Adding Details
If you’ve loved learning how to draw the Red Planet, you’re going to be over the moon with these cosmic scene ideas. Let’s make your Mars drawing even more magnificent:
- Add some fun by including an alien spacecraft touching down on this planet, with friendly Martians coming out to greet our rovers. Imagine the scene where curious Martians, with their unique appearances and friendly expressions, interact with the human technology.
- Surround the Red Planet with a convoy of spacecraft from Earth, some of them orbiting the planet. Draw different types of spacecraft, ranging from sleek rockets to large space stations, each with distinct details. Include astronauts performing tasks.
- Illustrate the Martian sky lit up by a meteor shower. Draw streaks of meteors across the sky with varying sizes and brightness. Add the Martian landscape below, with craters and rocks illuminated by the glow of the meteors.
- Include tracks left by a Mars rover on the surface. Begin by drawing two parallel lines that curve and intersect with the natural terrain of Mars. Add small, repetitive patterns inside these lines to represent the treads of the rover’s wheels.
- Imagine a futuristic Mars base with domes and tunnels. Start by sketching large, transparent domes connected by tubular walkways. Inside the domes, draw smaller buildings, vegetation, and people.
- Add a Mars helicopter, like NASA’s Ingenuity, flying over the surface. Begin with the main body of the helicopter, detailing the rotor blades and landing gear. Draw fine lines for the blades to show motion blur. Add a shadow on the ground to indicate its height above the surface.
Conclusion
Drawing Mars helps you to train your drawing skills. By following this step-by-step tutorial, you can create a detailed and realistic depiction of Mars, complete with its iconic craters, surface textures, and atmospheric effects. Incorporating additional elements such as Martian rovers, ancient riverbeds, and futuristic human habitats further improves your artwork, making it more interesting.
If you enjoyed drawing Mars, be sure to check out my other exciting tutorials on celestial bodies like the Moon, the Sun, and distant planets. Also, join my community on Facebook, Twitter, Pinterest or YouTube for the latest updates, new tutorials, and inspiration.