How to Draw a Nose from Below
As we explore how to draw a nose from below, I’ve designed this tutorial to deconstruct a challenging angle into simple, approachable steps. This lesson is particularly special as it unveils the often-overlooked underbelly of the nose, a perspective that when mastered, can add a robust sense of realism to your portraits.


How to Draw a Nose from Below: Basic Information
Gazing up at the human features offers a fresh perspective, which is why I’ve created a lesson on how to draw a nose from below. This viewpoint allows us to delve into the unique aspects of the nose’s shape and structure. It’s a simple technique designed to help my readers confidently draw this challenging angle.
In illustrating the nose from this vantage point, we focus on the curve that defines the nostrils and the arch of the nose bridge. These elements are the keystones of this perspective, and I’ve broken them down into easy-to-follow steps. Capturing the nose from below requires a keen eye for these subtle yet significant details.
Mastering the skill to draw a nose from below is a noteworthy accomplishment that will add depth to your artistic repertoire. By the completion of this tutorial, you will have acquired the necessary expertise to illustrate this intricate perspective with elegance, setting you up for success with more complex artistic endeavors.
Nose from Below Drawing Tutorial
Materials
- Pencil
- Paper
- Eraser
- Coloring supplies
Time needed: 25 minutes
How to Draw a Nose from Below
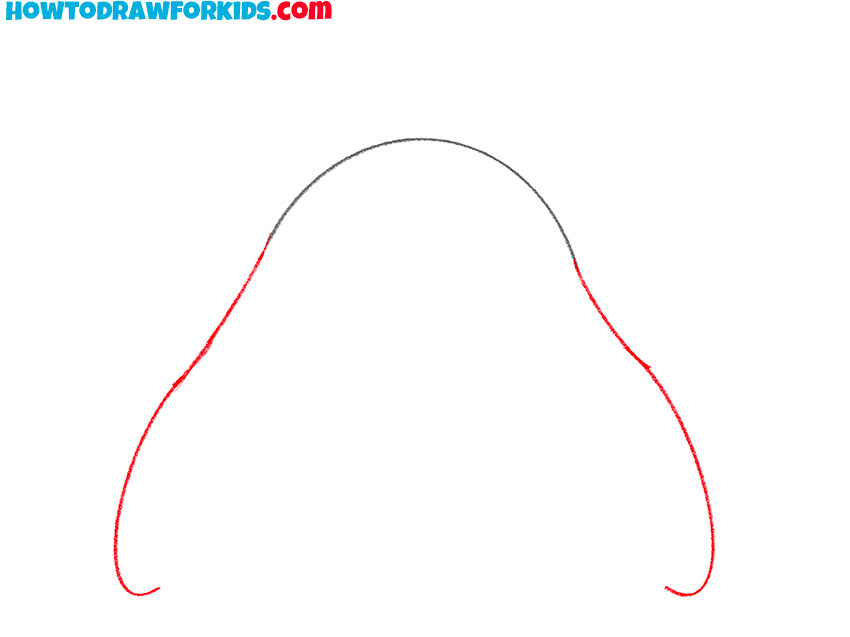
- Draw the tip of the nose.
This is a simple step in which you need to draw a small rounded line.

- Depict the sides of the nose.
Draw smooth lines on the sides, while maintaining symmetry.
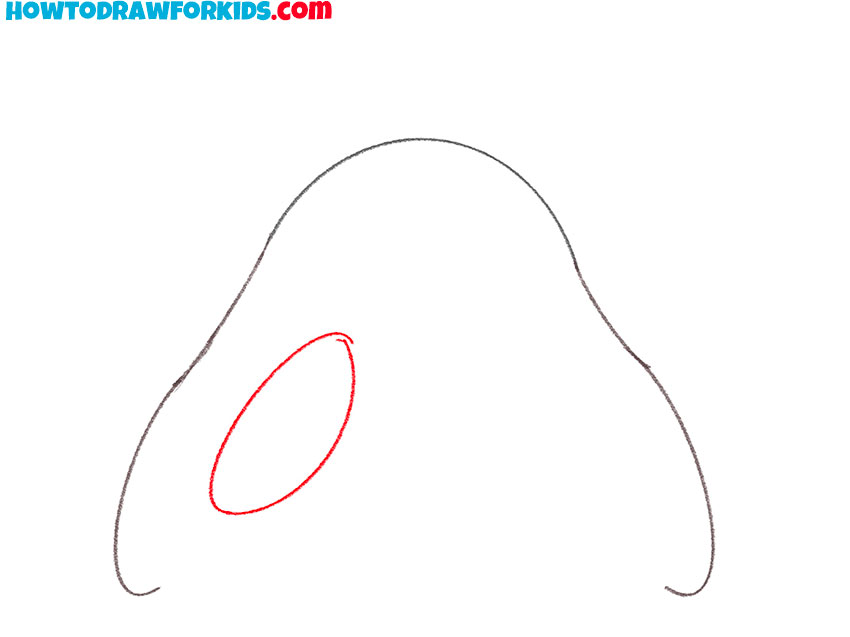
- Add one nasal opening.
Sketch out an oval on the left side.
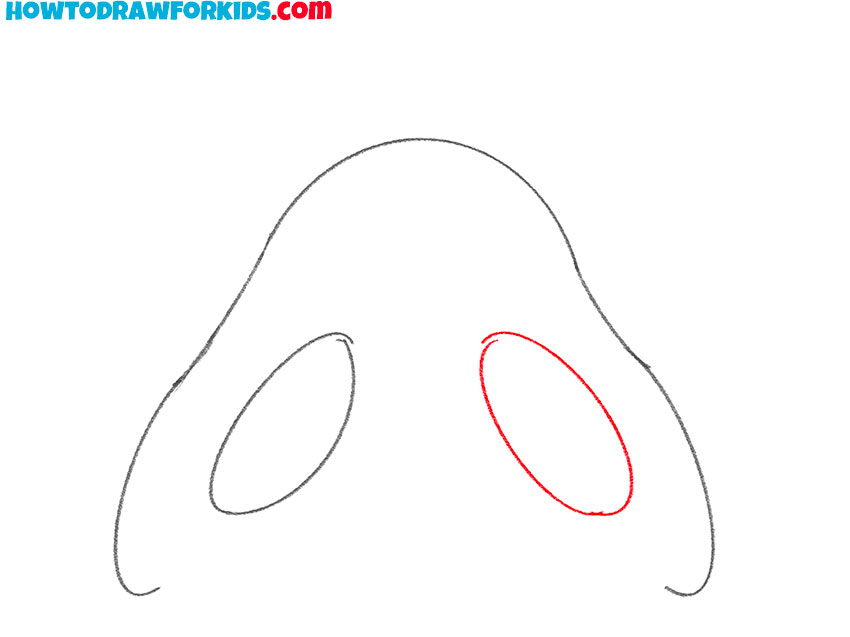
- Depict the second nasal opening.
On the right side, draw another oval of the same shape.
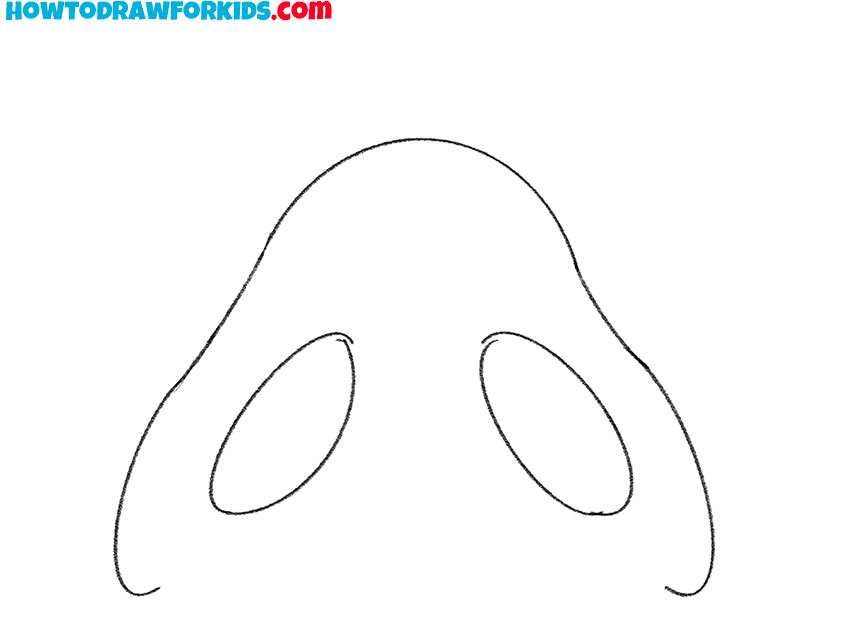
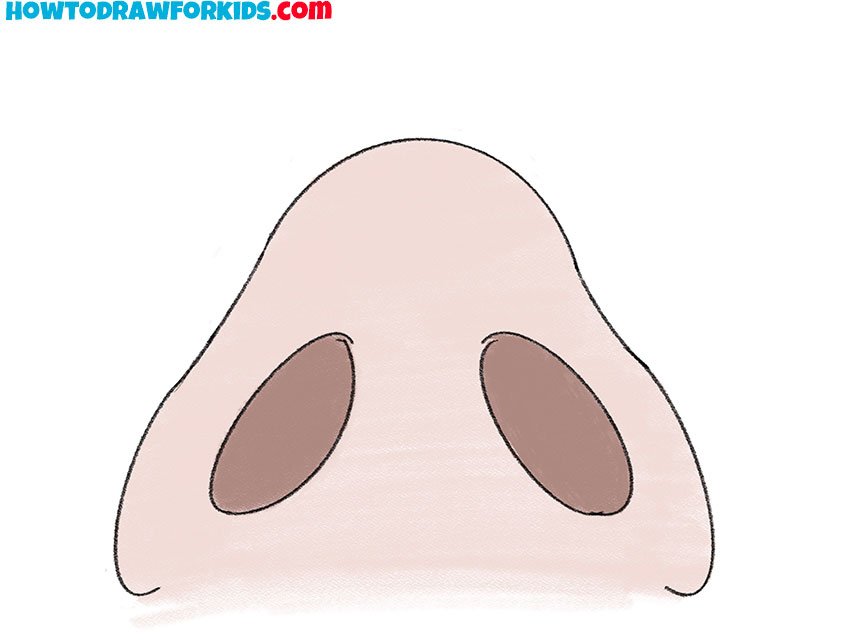
- Correct inaccuracies.
Compare your drawing with my example and correct inaccuracies if necessary.
- Color the nose.
Use any colors for drawing.


Additional Content
In my commitment to fostering your artistic growth, I have developed a comprehensive PDF guide to accompany this tutorial on drawing a nose from below. This resource, free for anyone to download, is a streamlined compilation of the lesson, designed to be a quick-reference version that supports your learning process.
It’s perfect for those moments when you wish to practice but find yourself without internet access. The guide is structured to be user-friendly, allowing for easy printing or viewing on any device, ensuring that wherever you may be, the ability to practice and perfect your technique is always within reach.
Alternative Drawing Method
In addition to the foundational tutorial, I’ve crafted an alternative technique for drawing a nose from below, aiming to further enrich your artistic skill set. This additional method is designed to offer a fresh perspective and challenge, pushing you to explore the nuances of this unique angle with even greater depth.
Engaging with this method will not only reinforce your foundational skills but also inspire creativity and innovation in your art. It’s an invitation to explore the depths of your artistic potential, pushing you towards a higher level of proficiency and expressive capability.
How to Draw a Cartoon Nose from Below
In this additional method, we’re diving into the whimsical world of cartoon art, learning to draw a cartoon nose from below. The fun begins with a vertical line to set our boundary and then a smooth, arching stroke to outline the bottom of the nose, providing a base that’s exaggerated for cartoon effect.
Moving to the next phase, we add large, oval-like shapes on each side of the curve for nostrils, ensuring they’re suitably exaggerated to capture the essence of cartoon styling. These ovals are key for capturing the essence of a cartoon nose, as they add an element of humor and character.
To complete this cartoon portrayal, we sketch in the defining lines with a firm hand, creating bold, clear edges that enhance the nose’s animated quality. This method is all about emphasizing the fun features that make cartoon drawing such a joy.

Common Drawing Mistakes to Watch For
Today’s lesson on how to draw a nose from a below perspective is an excellent exercise to understand the nuances of human anatomy in a simple and accessible way. However, even with straightforward guidelines, it’s common to encounter a few stumbling blocks. Let’s highlight some common mistakes:
- Ignoring Proportions: One of the most frequent errors is drawing the nostrils and the bridge of the nose out of proportion, which can result in an unrealistic depiction.
- Overemphasis on Details: Young artists often focus too much on details. In the early stages, it’s important to get the basic shape right before adding details like nostril shapes.
- Misplaced Shadows: Incorrect shading can make the nose appear flat or oddly angled. Pay attention to where the light source is coming from.
- Uneven Curvature: The arches representing the nostrils should be smooth and symmetrical. Uneven curves can distort the perspective of looking at the nose from below.
- Ignoring the Perspective: When drawing a nose from below, it’s crucial to remember that the nostrils will appear larger and the bridge of the nose shorter due to perspective.
- Sharp Edges: Noses are generally soft with subtle transitions between their parts. Sharp edges can make the drawing appear more cartoonish unless that is the intended style.
Drawing can be a delightful journey of discovery and creativity. As you practice drawing noses from different angles, remember that every mistake is a stepping stone to improvement. It’s through trial, error, and persistence that the mastery of any skill is achieved, including the artful craft of drawing.
Conclusion
With the final stroke of our lesson on drawing a nose from below, you’ve added yet another skill to your artistic arsenal. But why stop there? My website is filled with lessons on everything from the loyal gaze of a bulldog to the dynamic lines of city architecture. Each tutorial is crafted to challenge and excite your artistic senses.
I invite you to join my social media family, where the pulse of creativity beats strong. Following me ensures you’re in the loop for all the latest content and announcements, allowing you to harness the full potential of our artistic community. Engage with fellow enthusiasts and be the first to know when a new lesson drops.
I encourage you to lend your voice to the symphony of our artistic dialogue. The comment section below awaits your input and suggestions. What subjects or techniques do you yearn to explore next? Your feedback is the brush that helps paint the future content, guiding us to craft lessons that resonate with your artistic ambitions.


