How to Draw a Chest
This tutorial on how to draw a chest is easy to follow and can be used for sketching both storage boxes and treasure chests.
How to Draw a Chest: Introduction
This object has a very distinctive shape, although it can appear in many different variations. We may have seen it at home, in fairy tale illustrations, or in cartoons.
In this lesson on how to draw a chest, we will create a simple and cartoon-like version of it. Here we won’t use complicated details or forms, but instead focus on very basic geometric shapes.
However, if this version seems either too simple or too challenging, at the end you will find additional instructions. These will offer both an easier way to draw a chest and a more advanced option that shows perspective and simplified volume.
Chest Drawing Tutorial
Materials
- Pencil
- Paper
- Eraser
- Coloring supplies
- Ruler (optional)
Time needed: 25 minutes
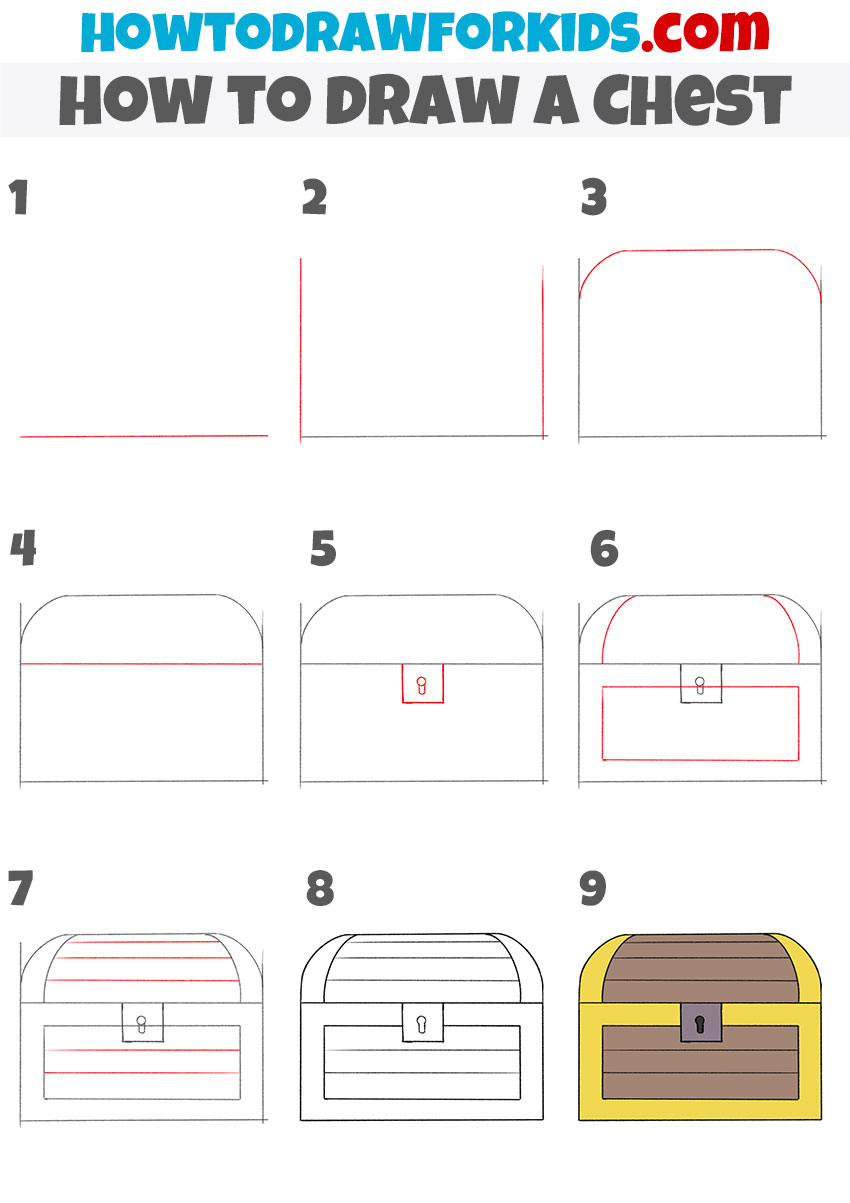
How to Draw a Chest
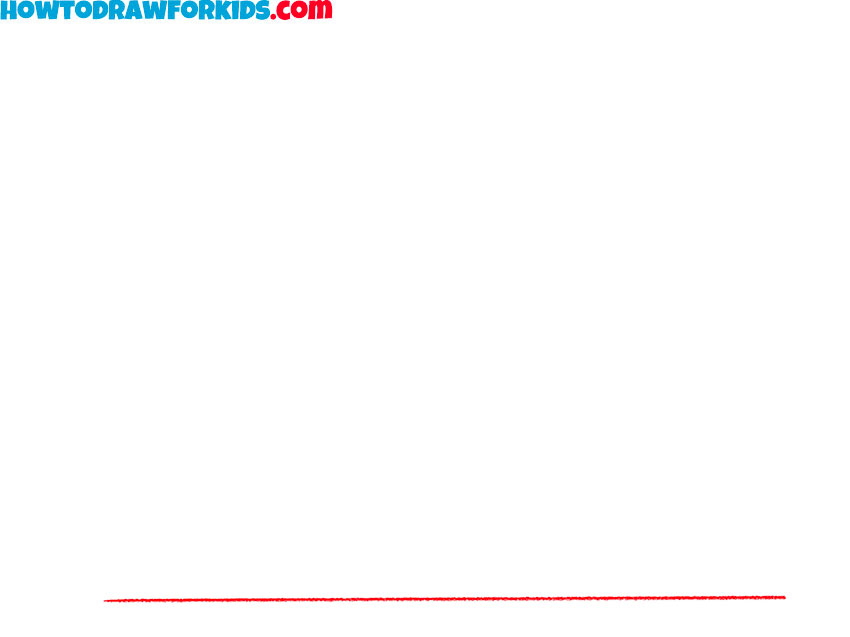
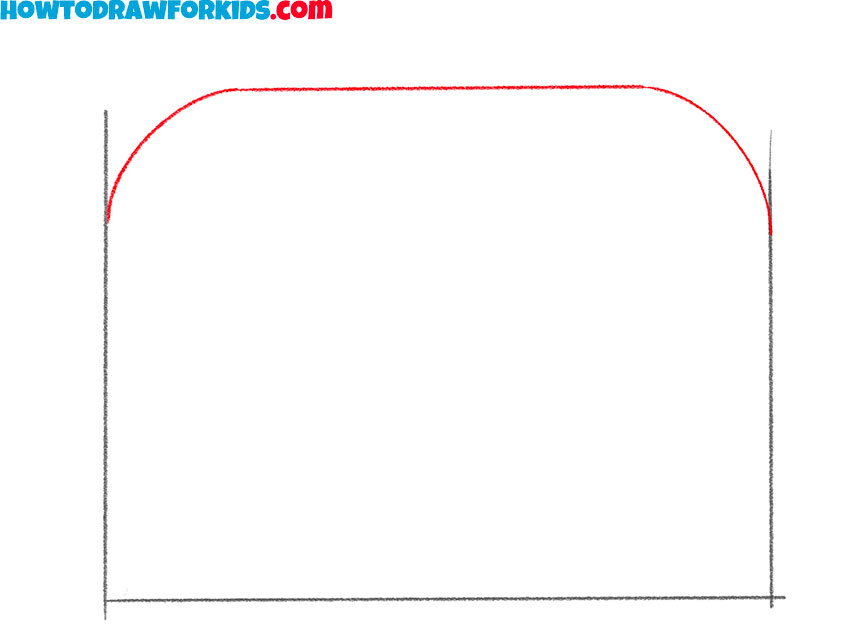
- Sketch the bottom edge.
To begin, sketch a long straight horizontal line. This will be the bottom edge of the chest and will help you keep the entire drawing aligned. Try to make this line as even as possible, since any tilt at this early stage will carry through the rest of the drawing.
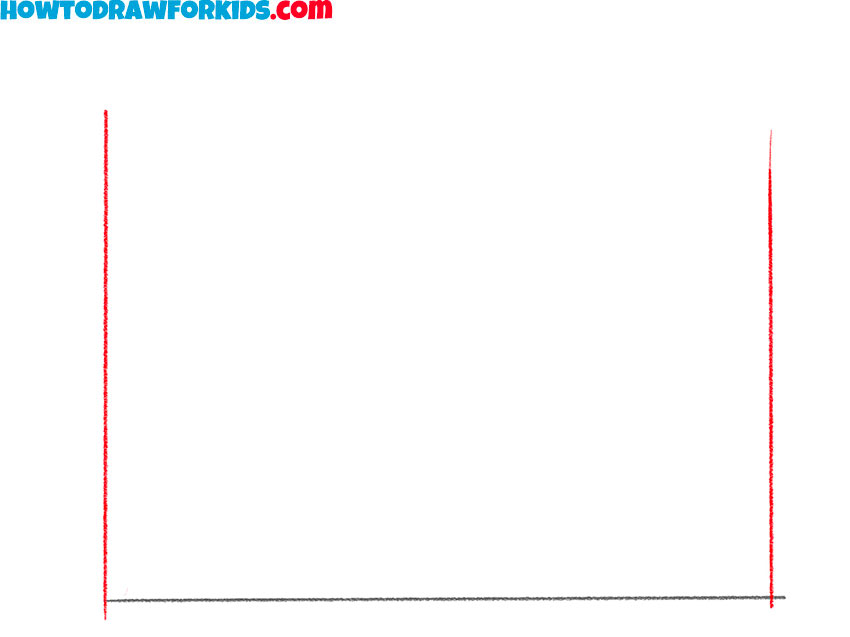
- Draw two vertical sides of the chest.
From each end of the horizontal line, draw two straight vertical lines going upward. These will form the side edges of the chest. Keep the lines parallel to one another. A ruler can be used if you want very clean geometry, but practicing freehand will also strengthen your control.
- Sketch the rounded lid top.
Connect the tops of the two vertical lines with a curved arch, giving the chest its rounded lid. You can repeat the shape of the top cover as in my example, or adjust the shape. The chest now has its main outline, with both the box and the lid clearly defined.
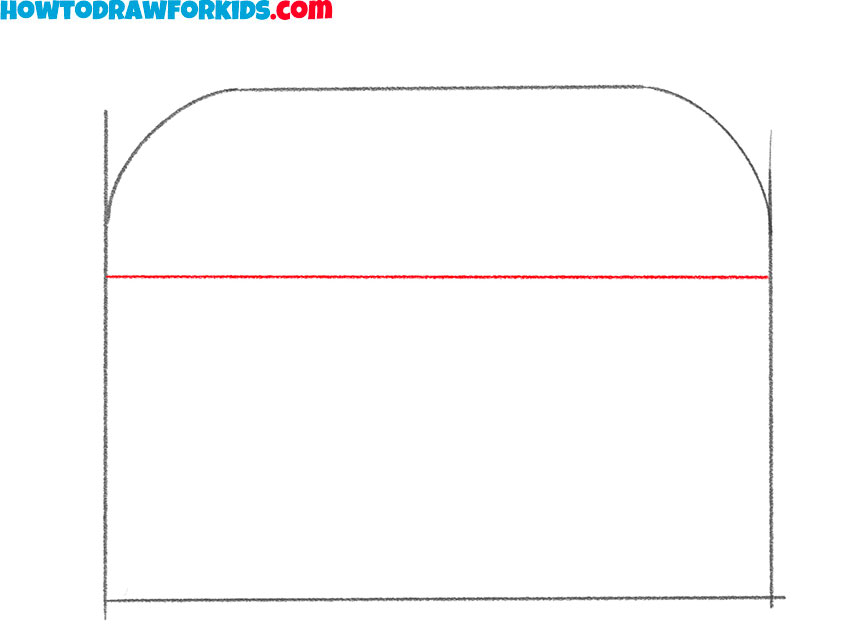
- Sketch the dividing line for the lid.
Add a straight horizontal line across the rectangle, a little below the curved top. This line divides the lid from the main body of the chest. Try to draw this line parallel to the bottom edge of the chest. This small detail makes the chest more believable as an object that can open and close.
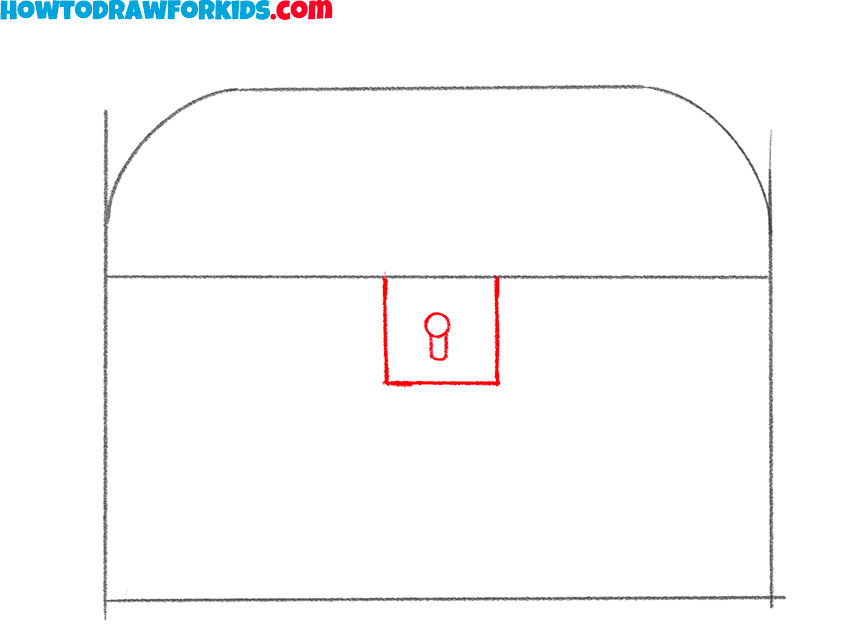
- Add the lock with keyhole.
In the center of the chest’s front, sketch a small rectangle with a keyhole inside. This represents the lock plate. This part should be positioned right between the two sides. Sketch the keyhole as a small circle with an oval below.
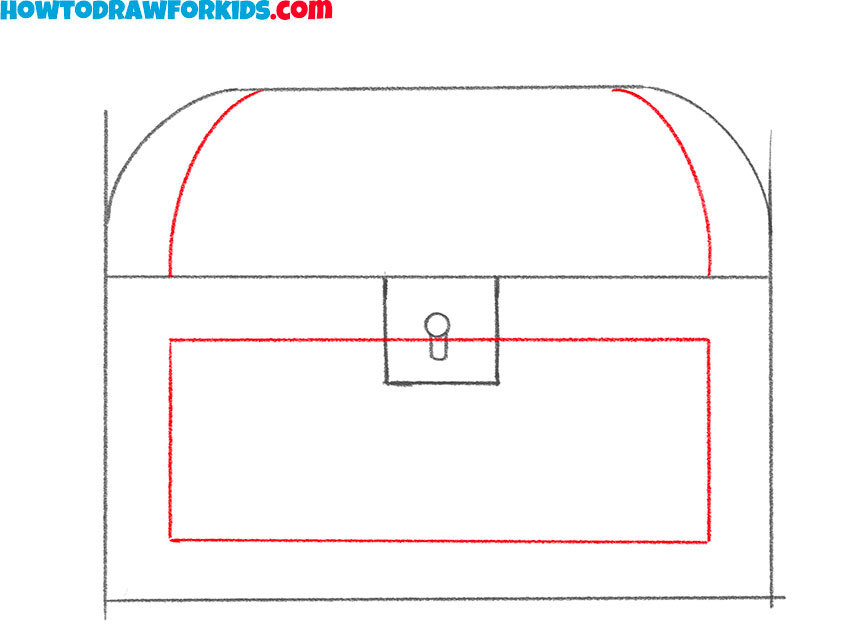
- Sketch the decorative chest panels.
Sketch another rectangle across the lower part of the chest’s front to represent a decorative wooden panel. Make the rectangle smaller than the front surface, leaving space around the edges. Then, sketch the outline of the wooden panels on the top of the chest.
- Sketch the horizontal plank lines.
Divide the lid and the front panel into horizontal sections by sketching several parallel lines inside the outlines from the previous step. These represent the individual wooden planks that make up the chest. You can draw these planks using a ruler, to make them perfectly straight.

- Correct the proportions and remove the guide lines.
And now, let’s give the chest a polished look and erase unnecessary construction lines and darken the main contours. As always, I want you to remember the tip – step back and look at the drawing as a whole; sometimes unevenness is easier to spot from a distance.

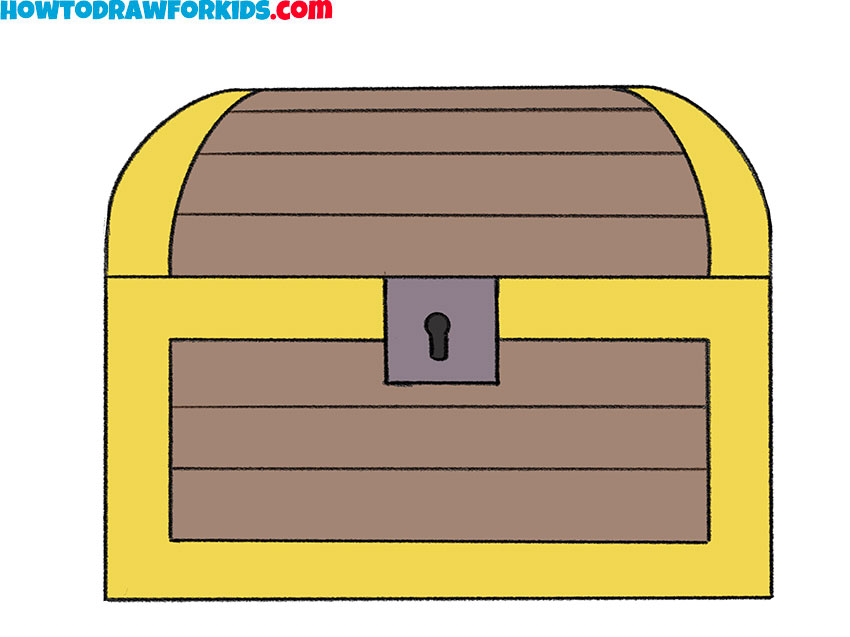
- Paint the chest in yellow and brown.
Paint the wooden planks of your chest in a medium brown. The lock plate can be colored gray or lighter brown, while the outer frame is often drawn in a golden yellow or lighter gray. You can make your chest drawing look more realistic by adding wooden texture to the planks.

Additional Content
For easier practice, I’ve also made a free PDF version of this lesson. It contains all the steps in a clear, compact format that you can download and keep for offline use. This way, you can return to the chest drawing tutorial whenever it’s convenient, even without internet access.
How to Draw a Chest: Alternative Techniques
If you’d like to keep practicing, there are also other variations of this subject that you can try. These versions offer different approaches to drawing a chest. These extra lessons will let you choose the level of detail and give you more opportunities to train your skills.
How to Draw a 3D Chest
For those who want to try a more detailed variation, this chest drawing introduces perspective and curved shapes. It is slightly more complex than the first simple chest, but it allows you to practice drawing volume and decorative elements.
Sketch a parallelogram for the base, then extend vertical lines upward from the corners. Connect them to form the visible sides. On the top, add two arched lines to outline the curved lid. Draw a horizontal line across the middle to show where the lid separates from the box.
Add a small keyhole on the front and then sketch the decorative panels with smooth, even curves. Pay attention to perspective so that the front side appears larger than the far side. When satisfied with the outline, trace over it neatly and erase construction marks. Add color by filling the main parts with shades of brown and using yellow or orange for the frame and decorations.

Modern Chest Drawing Tutorial
Another variation you can try is a very simple modern chest drawn with straight lines and flat surfaces. This option avoids perspective and keeps the form front-facing. The chest looks more like a small cabinet with two doors.
To draw this modern chest, sketch two vertical lines to mark the sides, then connect them with horizontal lines to create a rectangle. Add a top section by placing another rectangle slightly wider than the base. Outline the feet at the bottom with short vertical and horizontal strokes.
Use a straight line down the middle to divide the doors, and place small ovals to indicate handles. Check that both halves of the chest are equal in width. Trace over the final lines more firmly once the form looks correct. Shade or color the chest in simple tones such as brown for the body and a darker brown for the top.

Conclusion
If you enjoyed this lesson, you may also want to try similar tutorials, such as my castle drawing tutorial, that includes many different styles and techniques. Also, you can draw a key, or try to draw a pirate hat, since these themes connect naturally with the idea of a chest. You can also look through other object drawing tutorials on the site to continue practicing and building your skills.