How to Draw a City
If you like drawing architecture, this lesson on how to draw a city is a good start for creating your own cityscape.

How to Draw a City: Introduction
A city is a subject that can be shown in many different ways, from simple outlines of buildings to detailed skylines full of windows and streets. Drawing a city gives an opportunity to practice perspective, straight lines, and repeating geometric shapes. It also helps to understand how different elements, like tall skyscrapers and smaller houses, fit together in one composition.
In this lesson on how to draw a city, we will illustrate a simplified version that uses basic shapes and minimal detail.
When drawing a city, it’s important to pay attention to proportions. Buildings should not lean unevenly, and windows should be placed in a way that feels consistent. Practicing this will improve accuracy when working with architecture in general.
To make the tutorial more useful, I will also add another variation. You will see how to draw a city with taller buildings and more detailed elements. This way you can adapt your city drawing to fit different ideas or projects.
City Drawing Tutorial
Materials
- Pencil
- Paper
- Eraser
- Coloring supplies
- Ruler (optional)
Time needed: 35 minutes
How to Draw a City
- Sketch the ground base.
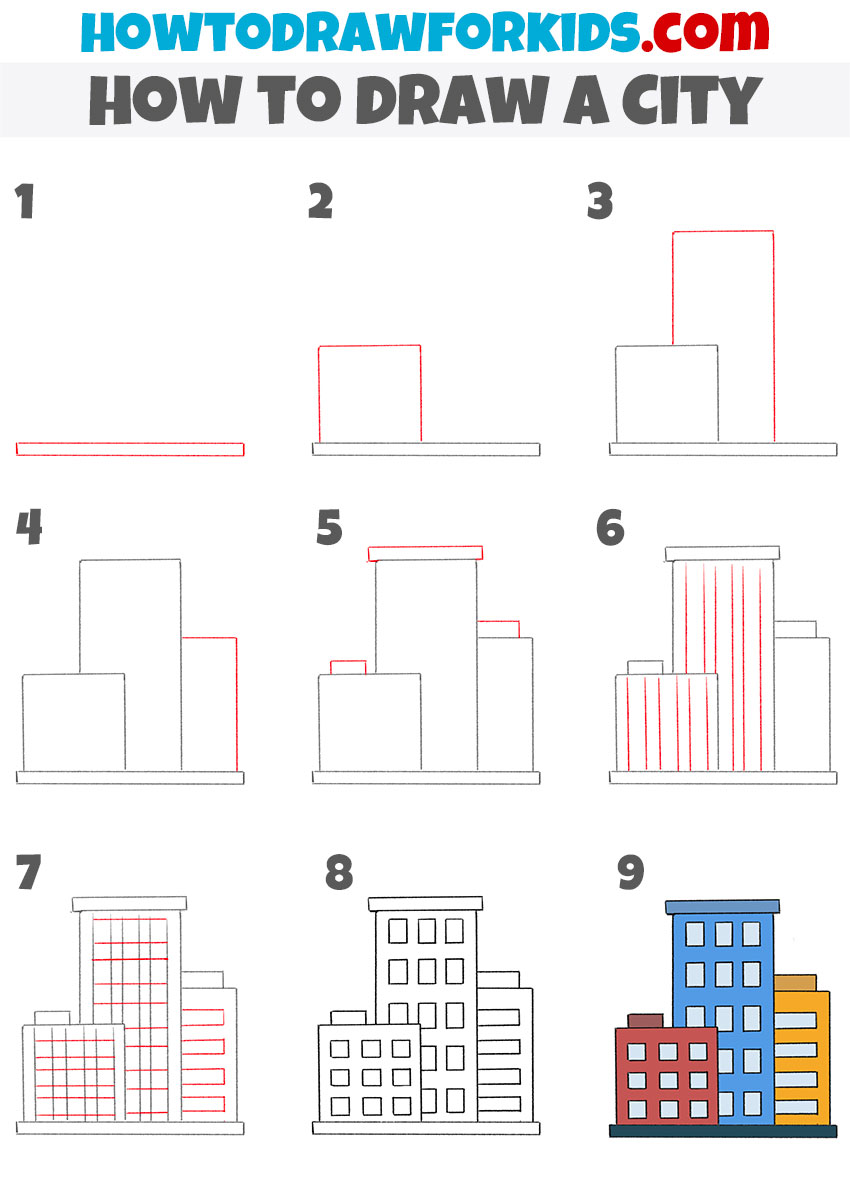
The first thing to sketch is the ground line where your city will sit. Use a long, straight horizontal rectangle to represent the base platform. It’s better to use a ruler here if you want perfectly straight edges. If you want to create something more simplified, you can sketch a simple straight line.

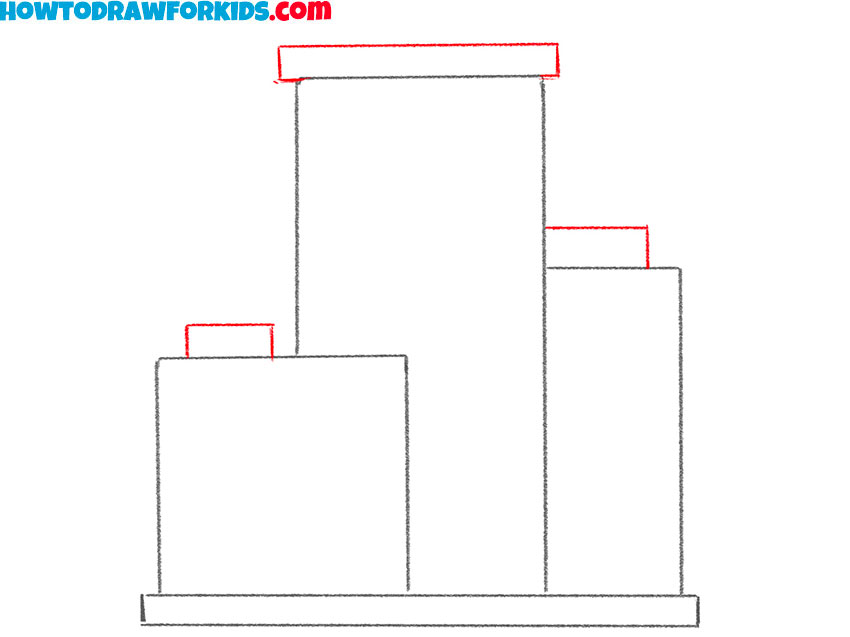
- Draw the first city building.
Now add the first building by drawing a tall rectangle that rises upward from the city’s ground line. Place it slightly to the left of the center so that there will be room for more buildings around it. The rectangle should be straight and vertical.
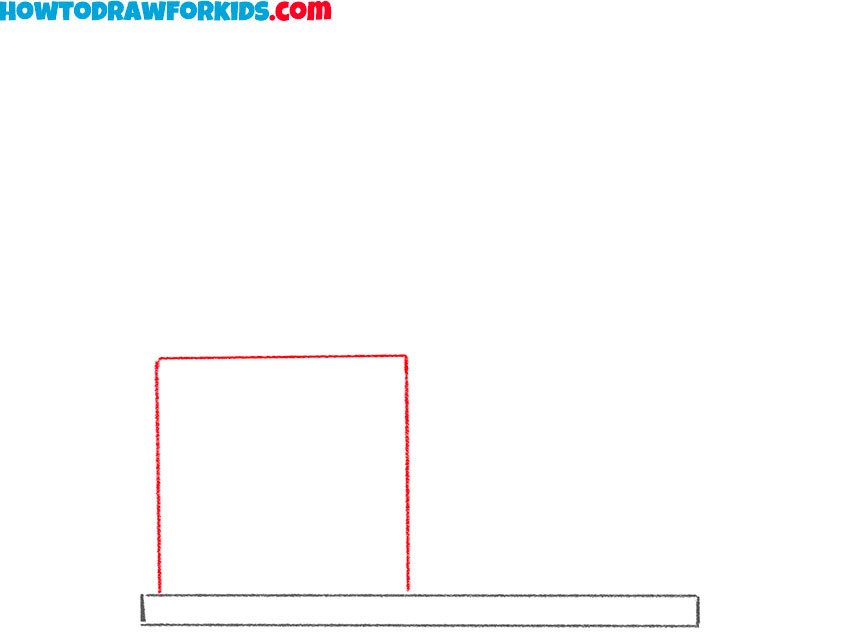
- Draw another skyscraper.
To create variety in your city, sketch a taller rectangle just to the right of the first one. Draw this building higher to illustrate a skyscraper. Overlapping is important here, so the second building should sit behind or beside the first. Try not to place it too close to the edge of the page.
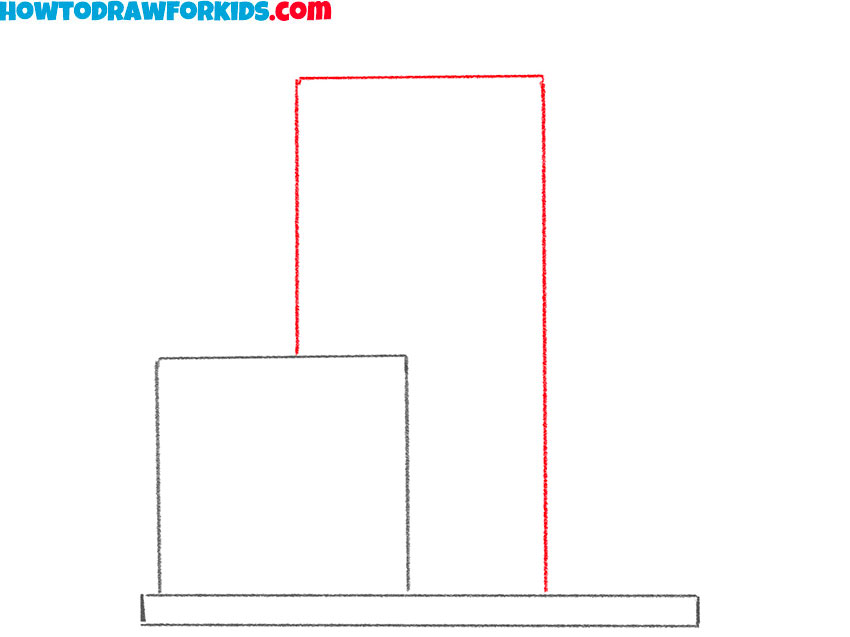
- Add more buildings.
Introduce additional rectangles to fill the cityscape. Draw one shorter building on the right. By adding different heights, the city starts to look more realistic. Keep in mind that these shapes should still be simple, just boxes for now. Don’t be afraid to let one rectangle slightly cover another.
- Add rooftops to buildings.
To make the buildings more interesting, sketch simple horizontal shapes on top of some rectangles to represent rooftops or ledges. These should look like narrow, flat boxes placed above the buildings. Draw them parallel to the city’s ground line.
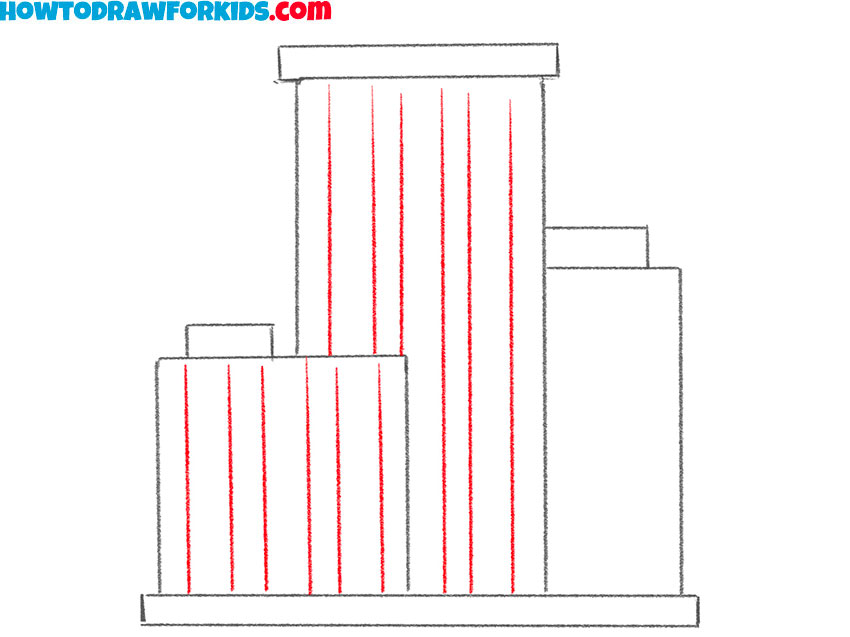
- Add vertical window lines.
Add long vertical lines inside the rectangles for the windows side edges. Check the distance between each line. Uneven spacing can make the building look unnatural. A good practice is to draw the outermost lines first, then fill in the middle.
- Add horizontal window lines.
Now, draw a series of horizontal lines, crossing them with vertical lines to form small squares or rectangles. For the shorter building, sketch horizontal stripes that represent rows of windows. Keep the lines straight and light. Check that they remain parallel to each other.
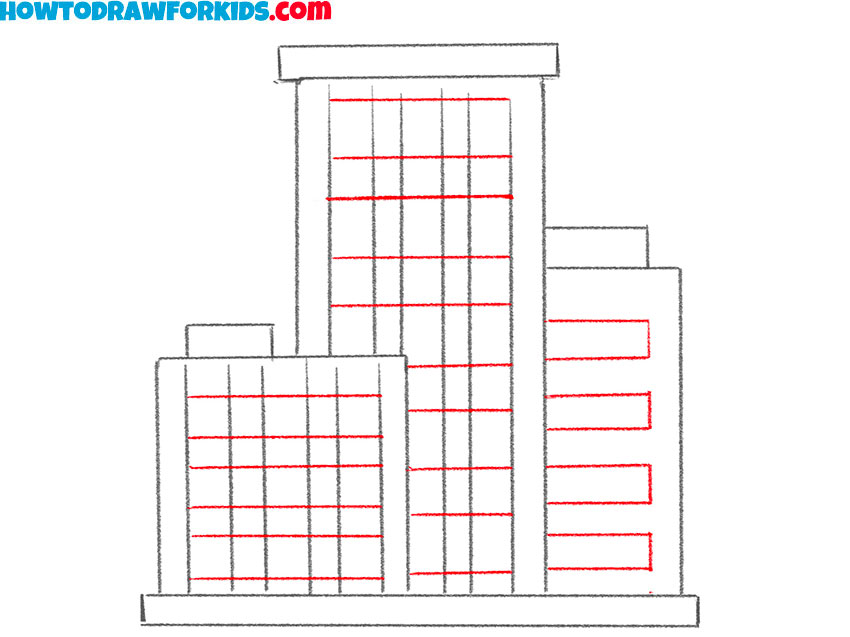
- Refine window outlines.
Carefully erase any overlapping marks inside the windows to make them look sharp and finished. Use a softer eraser for small areas so you don’t accidentally lighten the main outlines. This step is also a great place to check proportions and add some unique details.

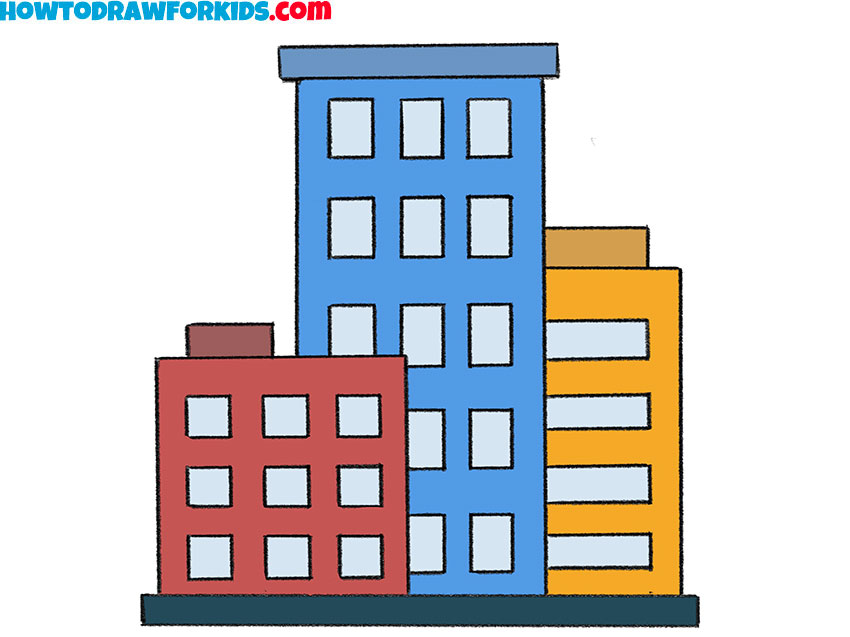
- Paint the city.
To complete the drawing, color the city to separate the different buildings. Choose simple, solid shades for each building. A simple way to give the drawing dimension is to think about aerial perspective: closer objects appear darker, while buildings that are farther away look lighter.
Additional Content
For those who want to continue practicing outside the main lesson, I have prepared a free PDF version of this city drawing tutorial. It condenses all the steps into a compact format that you can download, print, and use whenever you like. This way, you can return to the process of drawing a city without depending on an internet connection.
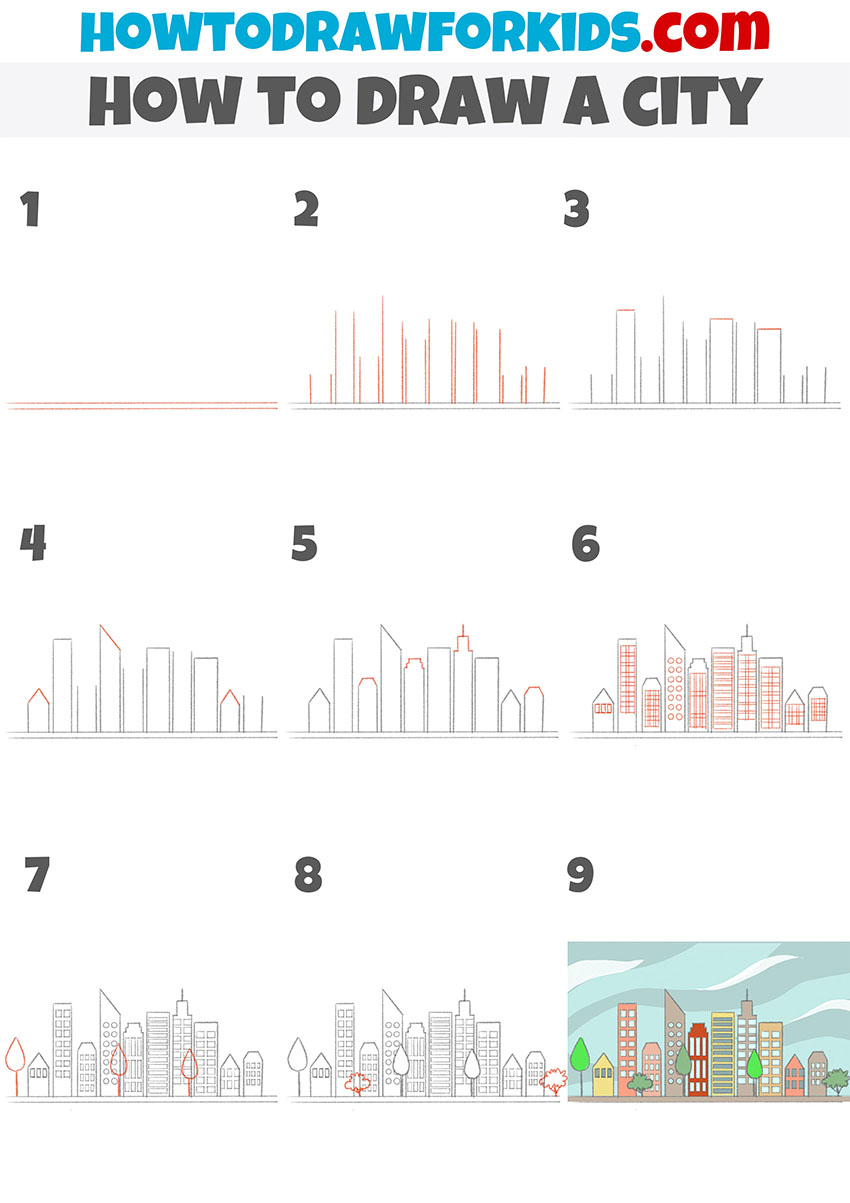
How to Draw a City in Detail
This additional tutorial demonstrates a more detailed version of a city drawing. The sequence gradually builds up the scene, first through simple lines, then by shaping the outlines of different buildings, and later by adding architectural features such as windows, rooftops, and smaller decorative elements. Trees and background details are also included, which gives the drawing a more complete look compared to simpler city drawing.
To draw a city in detail, sketch a horizontal base line to position the buildings. Add several vertical lines of different lengths to define the heights, keeping taller buildings in the center and smaller ones at the edges. Sketch basic rectangular and triangular forms for the rooftops. Draw houses of smaller size to make the drawing more varied.
Place windows carefully in straight rows, and when drawing many of them, use a ruler or lightly sketch guidelines. Draw trees of different sizes and shapes next to the buildings. Clean up unnecessary lines, then color the buildings. You can paint the closer ones in darker tones and more distant ones in lighter shades to convey aerial perspective.