How to Draw a Cliff
Even a complex and detailed landscape can be drawn in a simple yet convincing way, as shown in this tutorial on how to draw a cliff


How to Draw a Cliff: Introduction
In this tutorial, I want to show you how to draw a cliff. I think that you will definitely enjoy this lesson, and you will acquire new useful skills. For example, some of the elements from this tutorial you can use in your next drawings when you paint the landscape.
The cliff has a sharp edge and there are small ledges at the bottom. Small green bushes grow on the surface of the rock. You must depict all these elements in your drawing.
You can easily cope with this task because the lesson is designed specifically for novice artists. Freehand lines are allowed here. You can slightly change the shape of the cliff, the shape of the plants, or the shape of the clouds.
Make the surface of the cliff lighter and the side edges darker. This will make the cliff look more realistic. Now you need to prepare all the art supplies and you can begin to complete this lesson.
Cliff Drawing Tutorial
Materials
- Pencil
- Paper
- Eraser
- Coloring supplies
Time needed: 25 minutes
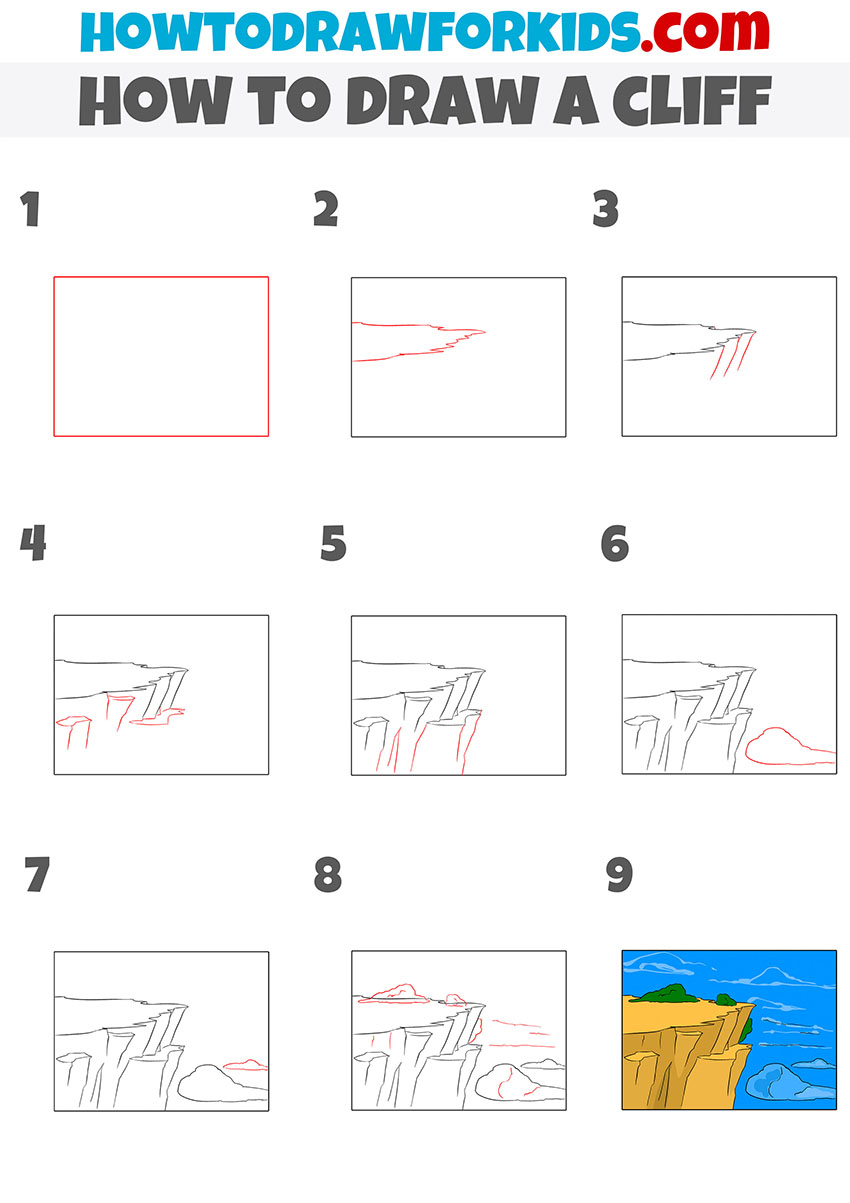
How to Draw a Cliff
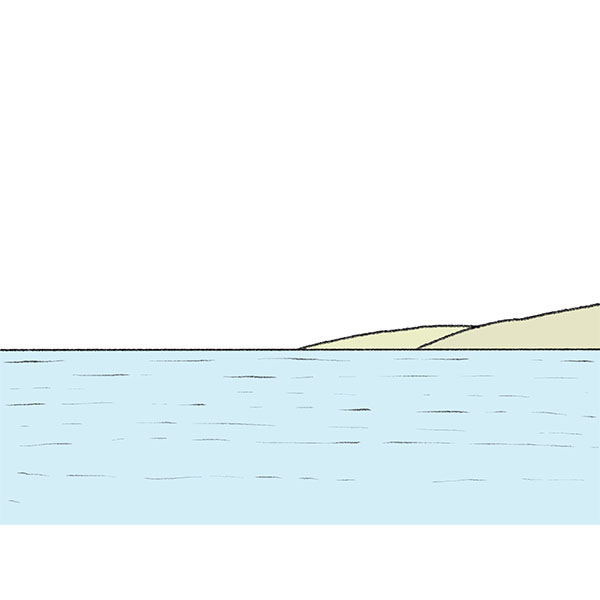
- Sketch the straight horizon line.
To establish where the cliff will stand in the drawing, add a straight horizontal line across the paper. This line acts as the horizon, and separates the sky from the land or sea. When sketching, press lightly so the line can be adjusted and erased later. Keep it straight and level, as this will guide the rest of the composition.

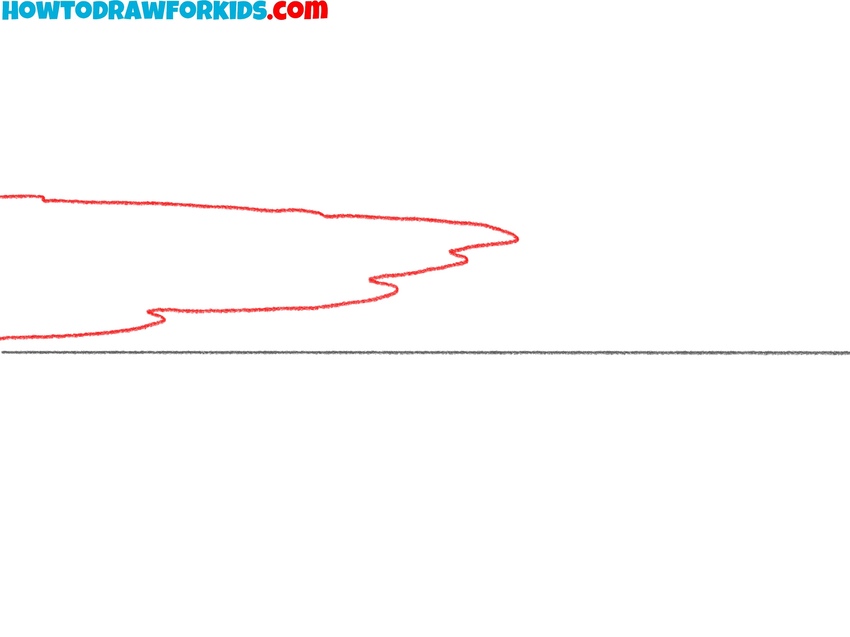
- Draw the upper cliff edge.
The cliff’s surface must look natural, so sketch the uneven horizontal surface above the horizon. Add a few bumps or irregular shapes to convey the rocky top edge. Don’t make the outlines of this surface too smooth, since cliffs typically have jagged outlines.
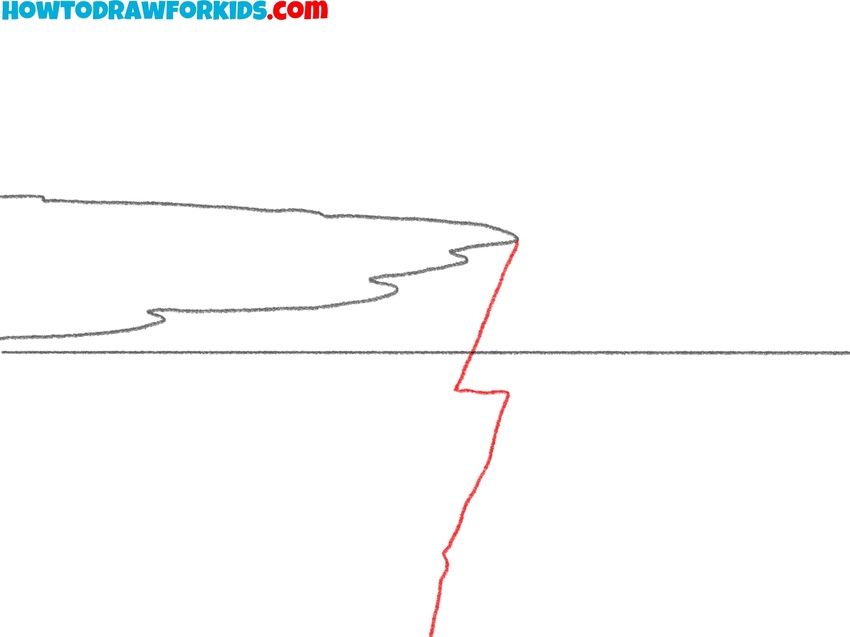
- Sketch the vertical edge.
To create the impression of height, extend a vertical jagged line downward from the cliff’s edge. Keep the contour irregular rather than a straight line, so it looks like eroded rock. The edge should angle as it descends. This simple action will make the cliff appear more three-dimensional.
- Sketch the vertical rock faces.
The cliff face should show multiple surfaces, so sketch a few vertical lines at different angles to illustrate rock planes. These will serve as dividing cracks where erosion has shaped the rock. Make sure the lines follow a similar direction.

- Sketch the ledge outlines.
Continue the drawing by adding more short angled lines beneath the cliff face. These convey ledges and projections where parts of the rock stick out. Connect them back to the vertical planes drawn earlier so the forms look solid and natural.

- Sketch more cliff planes.
Add additional cracks and lines below the existing planes to make the cliff appear taller and more detailed. These marks should be lighter and shorter. At this stage, the cliff starts to look more realistic, with a visible three-dimensional drop.

- Draw bushes on the top of the cliff.
To make the scene more complete, draw bush shapes at the top edge of the cliff. Try to give the bushes and shrubs a different look by making them larger and smaller in size. Also draw horizontal lines of ripples on the water. Additionally, you can draw a tree on the very edge to make the scene even more detailed.

- Clean up and darken the main edges.
At this stage, review the whole cliff drawing and trace over the important contours with slightly darker lines. Remove any unnecessary guides, to be more precise, the part of the horizon line that is now behind the cliff is no longer needed.

- Color the rocks, sea, and sky.
Complete the drawing by filling in colors, taking sandy or light brown tones for the cliff face, varying the shades. Make the top edge of the cliff light than the side edge. Add green for the vegetation on top, and blue for the sea. Use lighter blue for the sky in the background.

Bonus: Easy Cliff Drawing Tutorial
To create a cliff drawing using this method, it is important to first outline the space in which the scene will be placed, which is why the process begins with a simple rectangle frame. Once this is set, sketch the contour of the cliff edge, giving it irregular lines.
Add vertical divisions to mark the rocky drops, and continue them downward to form the faces of the cliff. Additional sections can then be drawn to show multiple edges of rock. Include simple shapes for clouds and a nearby rock.
When refining the sketch, pay attention to the angles of the cliff edges so they look natural. In the final stage, use color separation to distinguish the warm tones of the cliff from the cooler tones of the sea and sky.
Conclusion
If you want to continue, the mountain drawing tutorial will let you practice larger natural forms with sharp peaks and overlapping peaks. The rock drawing tutorial is another good exercise, where you can work on smaller shapes and learn to paint uneven surfaces.
You can also try the tree drawing tutorial, combine it with this cliff drawing tutorial and practice sketching scenes where different natural forms appear together. Adding details such as grass, bushes, or water at the base of the cliff can also improve the drawing and create a simple background.
Share your finished drawing with classmates, friends, or in the comments in my social media, to get feedback and track your progress. Writing down what you found easy and what was more difficult will help you see where more practice is needed.
Returning regularly to new step-by-step lessons is the best way to steadily improve your skills and try out many different subjects, from small natural objects to full landscapes.

me no hablo english
Don’t worry. I think illustrations will help you draw a cliff without the need for text.
This tutorial is fantastic. Can you teach us how to draw the batcave from Batman?
Thanks, Cleo! That’s a great idea.