

How to Draw a Knight
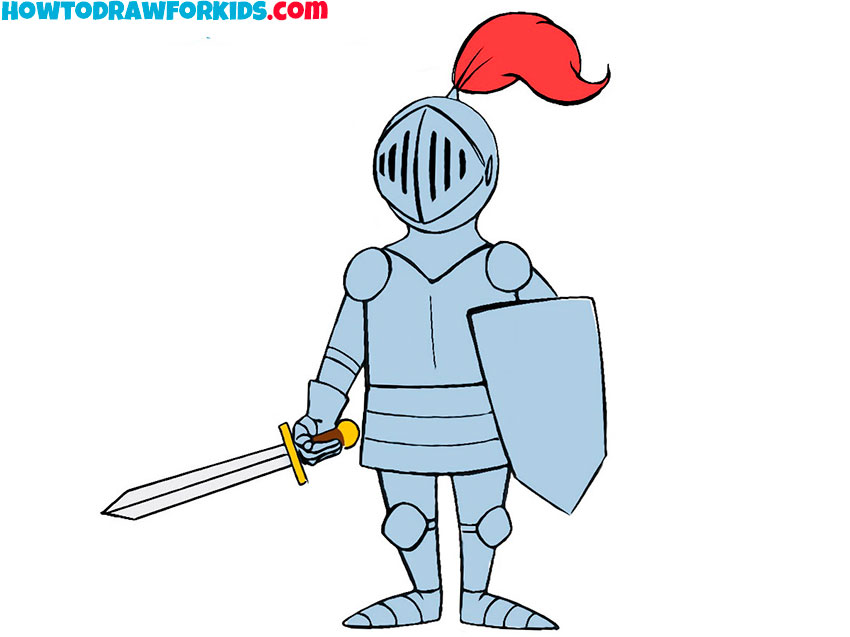
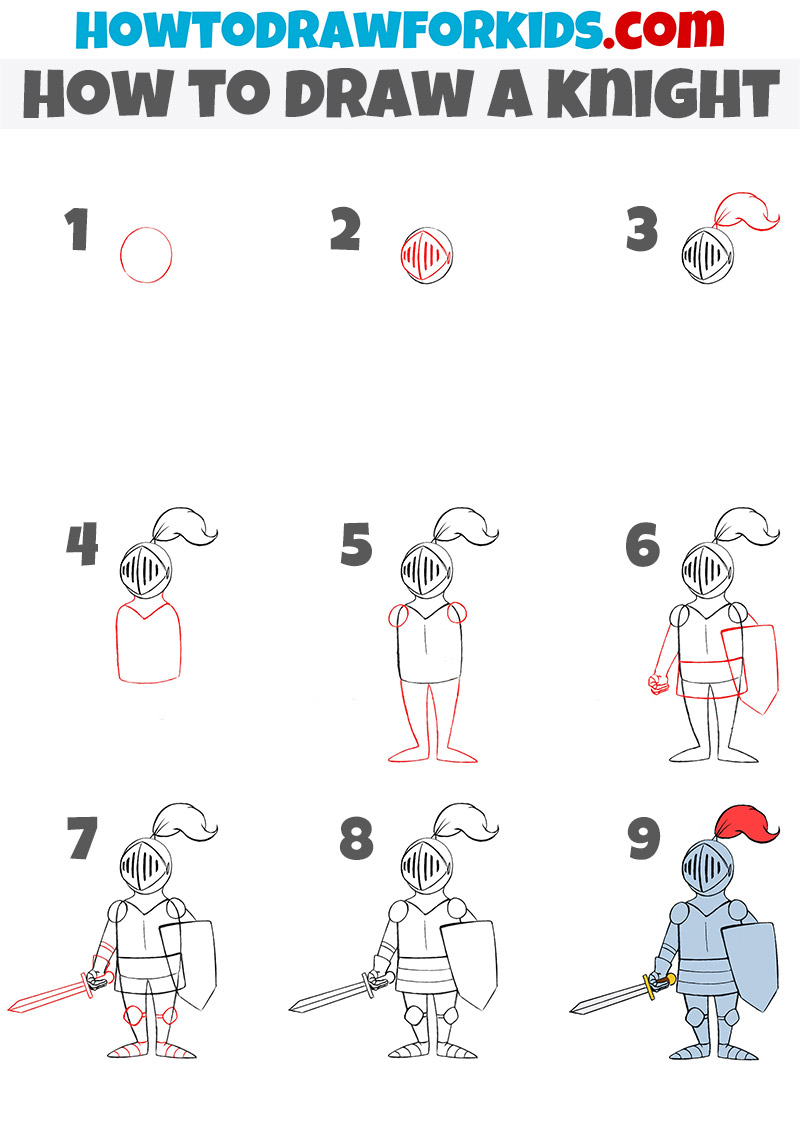
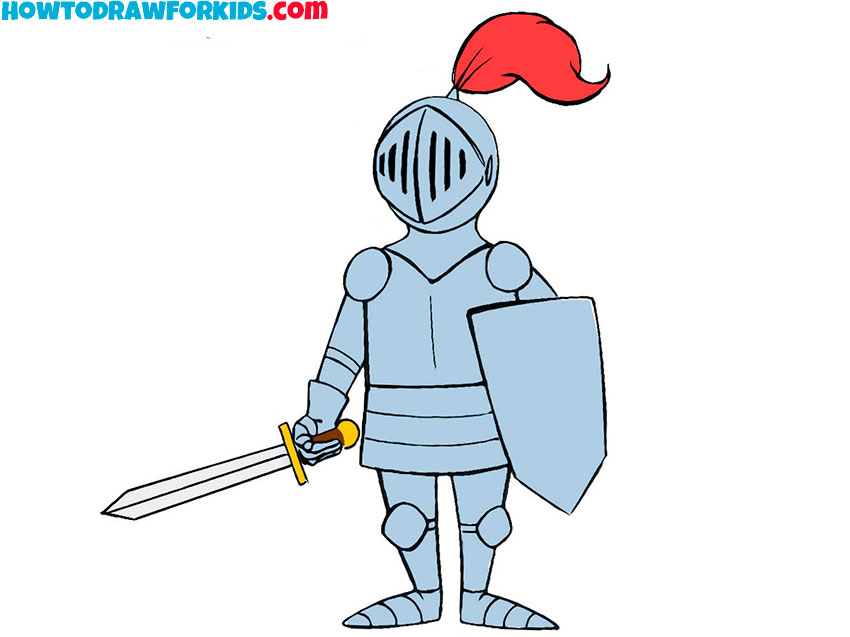
In this guide on how to draw a knight for kids, I used simple geometric shapes to make the process easy to follow. In nine steps, a young artist can draw a recognizable medieval warrior.
Prepare to Draw a Knight
In this tutorial on how to draw a knight for kids, I used a simple approach that begins with basic shapes and gradually adds the armor, weapons, and other details.
You will begin with a circle for the helmet and add new parts in each step until the basic construction becomes a complete knight drawing.
This method also helps children practice drawing a human figure without needing to add facial features.
Over the centuries, knights wore many types of armor. For this tutorial, I chose a simple and easily recognizable medieval design.
Knight Drawing Tutorial
Materials
- Pencil
- Eraser
- Paper
- Coloring supplies
Time needed: 40 minutes
How to draw a knight step by step
- Sketch the knight’s helmet.
Draw a circle near the top of the page as a guide for the knight’s helmet. Make it circular or slightly oval, and leave enough room below for the torso, legs, sword, and shield.

- Draw the visor of the knight’s helmet.
Add the visor across the front of the helmet and draw several evenly spaced vertical openings inside it. You can replace these narrow slots with small circular holes if you prefer.

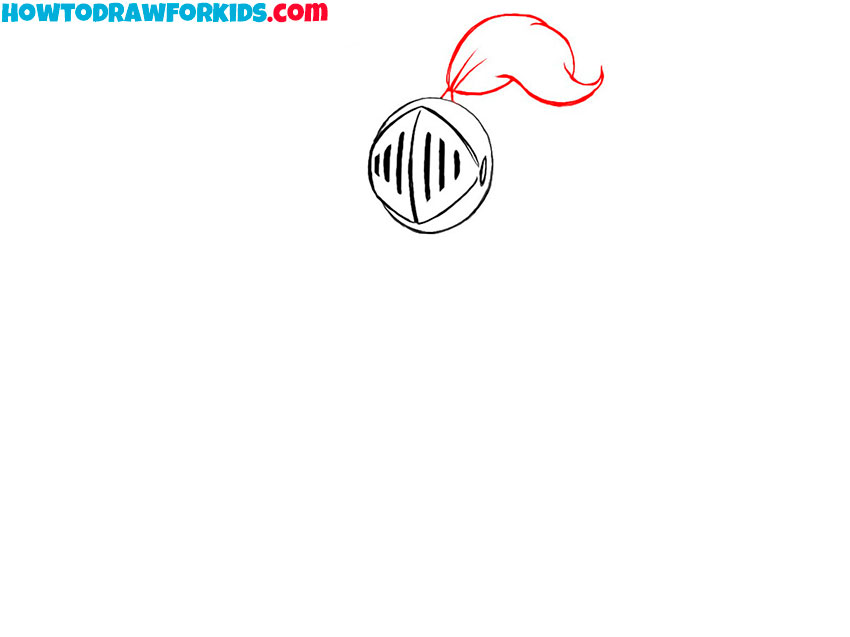
- Add the plume to the knight’s helmet.
At the top of the helmet, draw the large flowing plume with two long wavy lines. Curve the shape to the right and divide it into several pointed sections to suggest feathers.
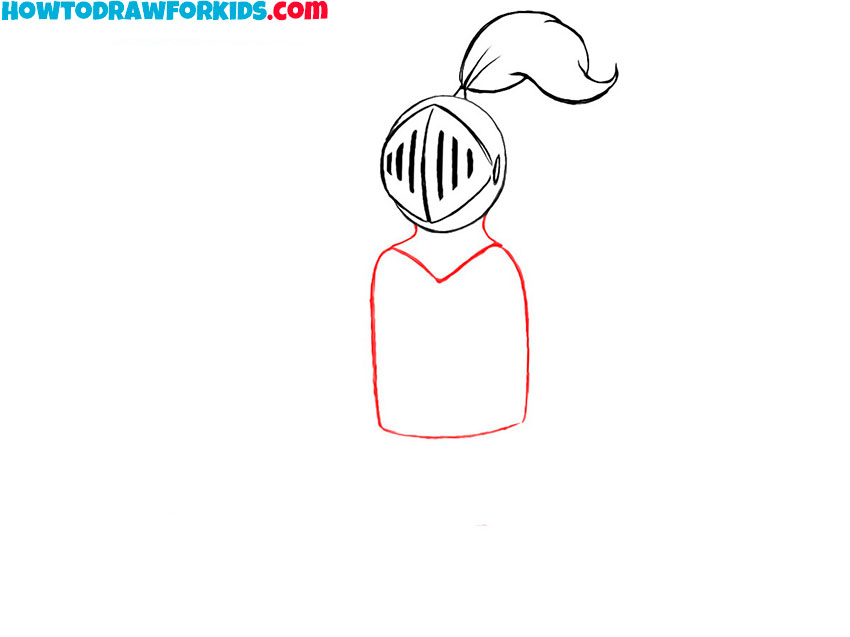
- Draw the knight’s gorget and torso.
Sketch the gorget directly below the helmet. Add a line down each side to outline the armored torso, then connect them at the bottom with a slightly curved horizontal line.
- Sketch the knight’s shoulders and legs.
Draw small circles at the upper sides of the torso to mark the armored shoulders. Add two long lines below the body for the legs, angling them slightly outward to create a stable stance.
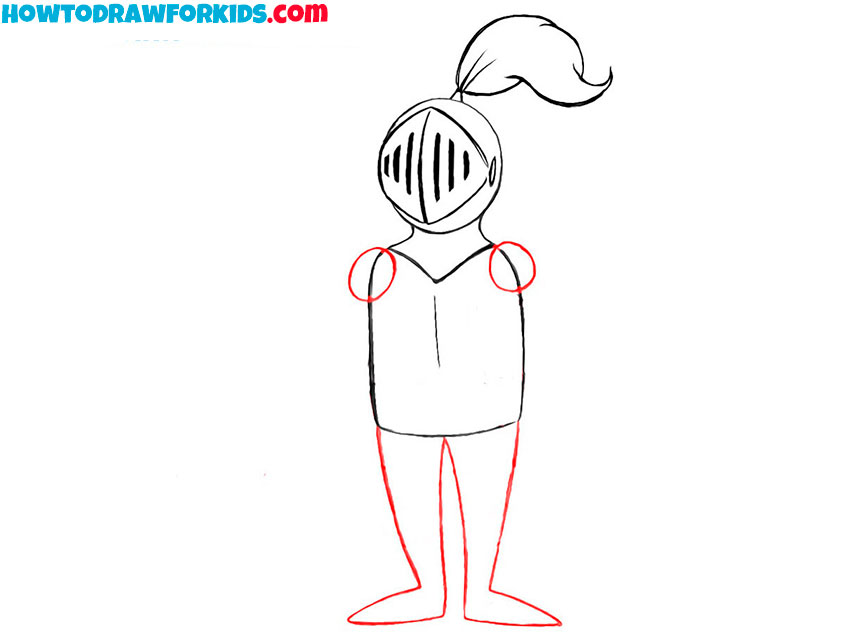
- Draw the knight’s arm and shield.
On the right side of the drawing, outline the large shield with slightly curved edges. On the opposite side, draw the knight’s bent arm with simple lines that connect the shoulder to the hand.
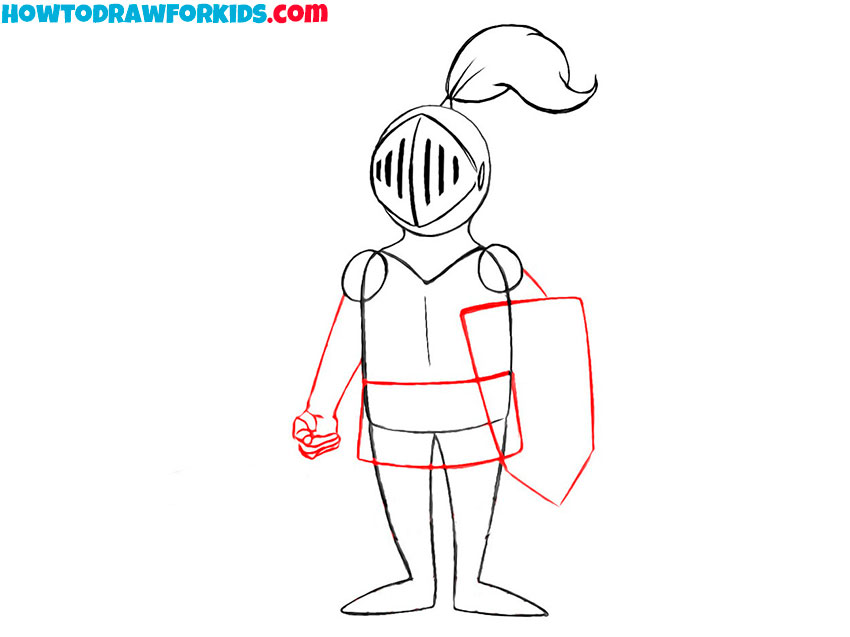
- Add the sword and detail the knight’s armor.
Draw the sword in the knight’s raised hand. Add the elbow and knee guards, then use short lines across the limbs and feet to show the separate plates and joints of the armor.
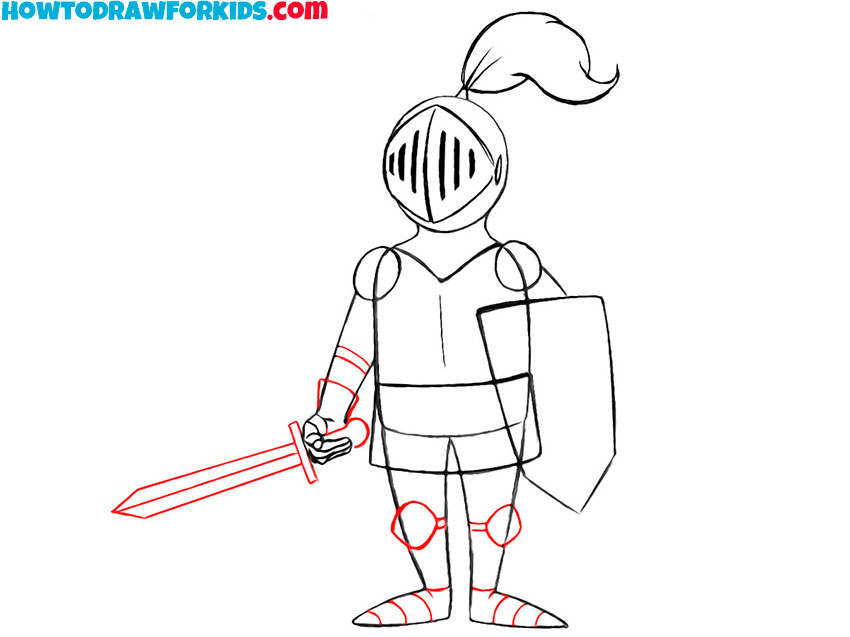
- Erase the guidelines and refine the knight.
Erase the construction lines inside the helmet, torso, limbs, and shield. Refine the remaining outlines, darken the final knight drawing, and add a simple emblem to the shield if desired.
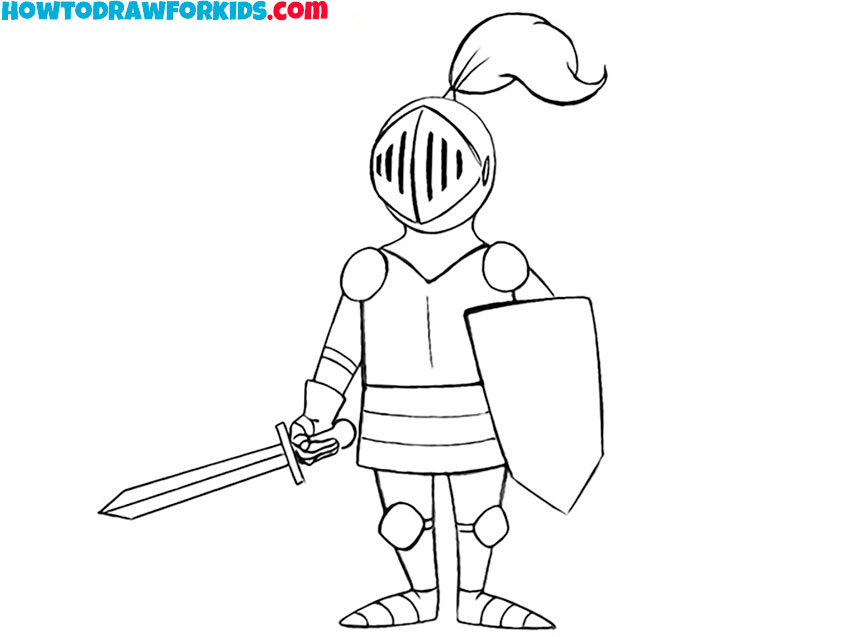
- Color the knight drawing.
Color the armor with shades of gray, make the plume red or blue, and use brown or gold for the sword hilt. Choose a contrasting color for the shield and color its emblem separately.
Watch the Video Tutorial
Improve Your Knight Drawing
This tutorial showed you how to draw a knight in nine simple steps. You can continue working with the same character by changing the pose, armor, weapons, or setting.
Here are several ways to develop this knight drawing further:
- Draw several knights in different poses and change the shapes of their helmets, shields, or armor.
- Show the medieval warrior running, raising the sword, or standing in a defensive pose.
- Add a background with hills, trees, or a drawn castle to turn the character into a complete scene.
- Practice the smaller parts separately by drawing a knight’s helmet or drawing a shield in more detail.
- Draw the knight riding a horse or facing another armored warrior.
In my experience, for many young students, this type of extra work is the most fun – when they have to use their imagination to the fullest.
Knight Drawing Printables
The free PDF includes the step-by-step knight tutorial, a coloring page, a tracing worksheet, and a grid drawing worksheet.
Conclusion
The step-by-step tutorial on drawing a knight for kids has come to an end, and it’s time to draw conclusions. What did we learn from this guide?
- First, the young artist learned to depict warriors in armor. After all, that was his main goal.
- Additionally, if you have successfully completed all stages and additional tasks, you will have improved your skills in depicting stories and characters in motion.
So, don’t forget that you can follow me on social media like Pinterest, Facebook, and YouTube. There you will find tons of additional content and announcements for upcoming articles.

thank you so much
You’re very welcome! Glad you liked this lesson.
it’s not working for me either because we can’t draw
this is cool im 13 and i drew it good
Nice work! It’s great to see young artists drawing confidently.
hello ninjas brother here i like this website can i please have your opinion on it please
Thank you-our whole class was able to draw a knight!
Thank you too! I am always glad that my lessons are useful and interesting, especially for the whole class.
thanks i used this for a musical
That’s great! I hope the drawing worked well for your musical project.
thanks this was soooo helpful (:
I’m glad it helped! Thanks for trying out the tutorial.
hi this was very helpful (:
Thanks, I’m glad you found it useful.