How to Draw a Fairy
Imagine creating your very own fairy with just a pencil and paper! I’ll guide you through three exciting methods on how to draw a fairy, making your artwork come alive with enchantment and joy.
Let’s discover the magical art of drawing together! I’ll take you through an enchanting process to draw a fairy, turning simple lines into beautiful, mythical creatures. It’s a wonderful way for kids to develop their drawing skills and believe in a little magic!
How to Draw a Fairy: Basic Information
Gather around, young artists, for a whimsical ride on how to draw a fairy, where your pencils might just turn into magic wands! With a few strokes here and a swirl there, we’re going to create a little being that’s as enchanting as the tales they come from. Get ready to sprinkle your sketch pads with a little fairy dust!
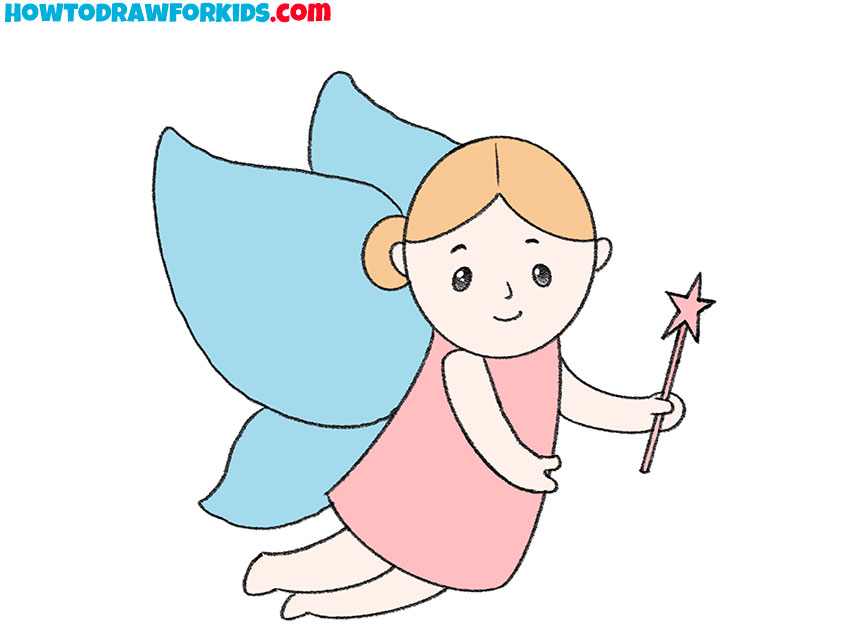
Look closely at the gentle lines that shape our fairy’s wings, the delicate features of her face, and the whimsy in her pose. With every step of this drawing, we’ll be weaving a bit of magic, ensuring each line brings her closer to life. It’s not just about the drawing—it’s about the story we’re telling on the page.
By following this easy, breezy guide to draw a fairy, you’ll discover how simple lines and shapes come together to form something truly magical. By the time we’re done, you’ll have a fairy that’s ready to take flight from your imagination to your paper. So let’s start our artistic adventure and create something truly spellbinding!
Fairy Drawing Tutorial
Materials
- Pencil
- Paper
- Eraser
- Coloring supplies
Time needed: 20 minutes
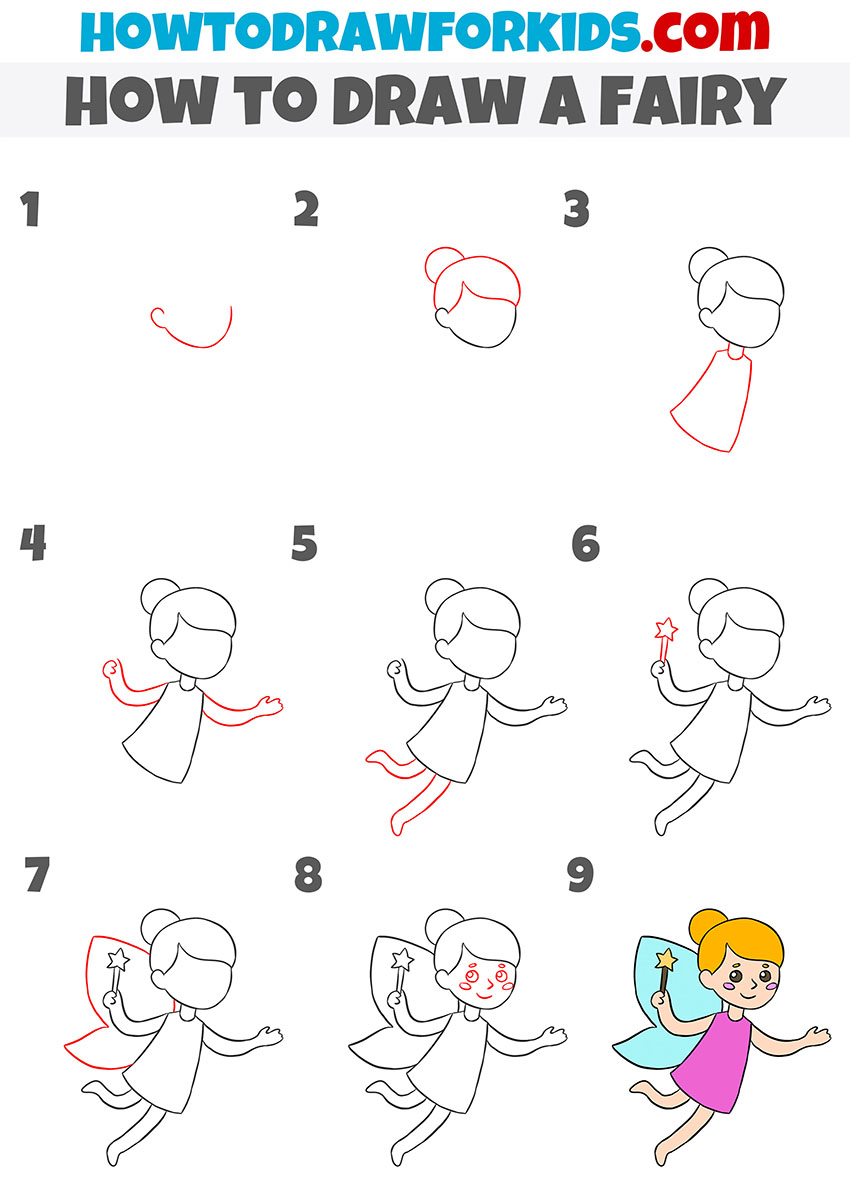
How to Draw a Fairy
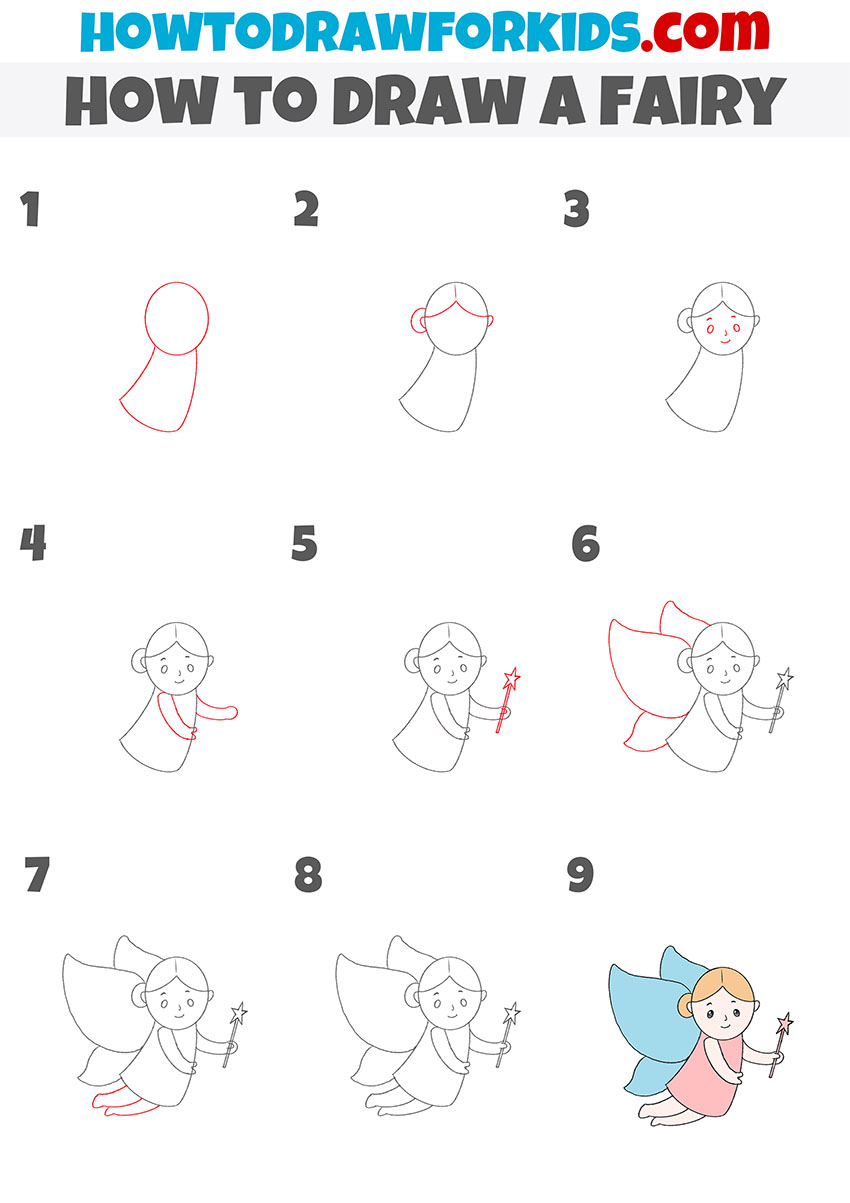
- Draw the outline of the fairy’s head and torso.
Depict the head of the fairy in the form of an oval, and add her torso by using curved lines.

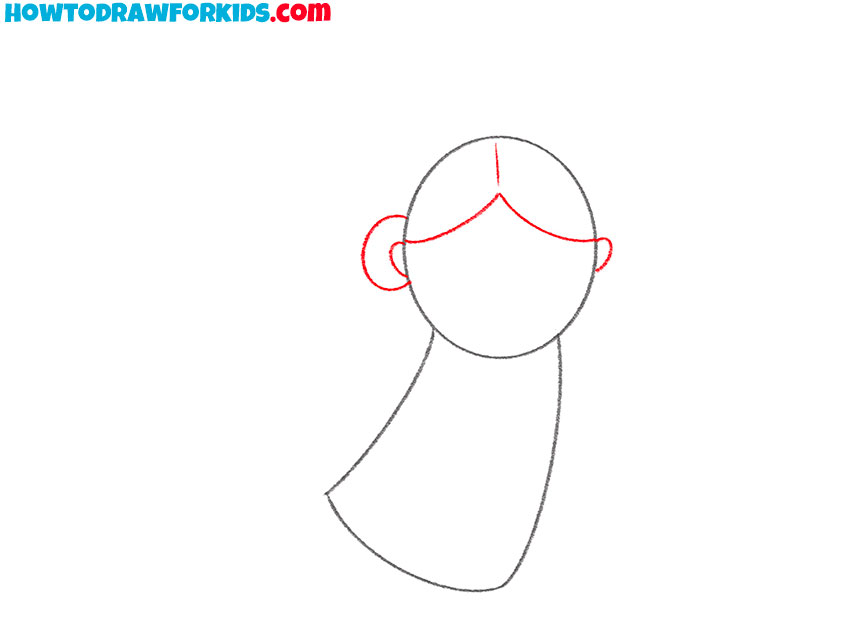
- Add the outlines of the fairy’s hair and ear.
On the previously drawn oval, draw straight and curved lines.
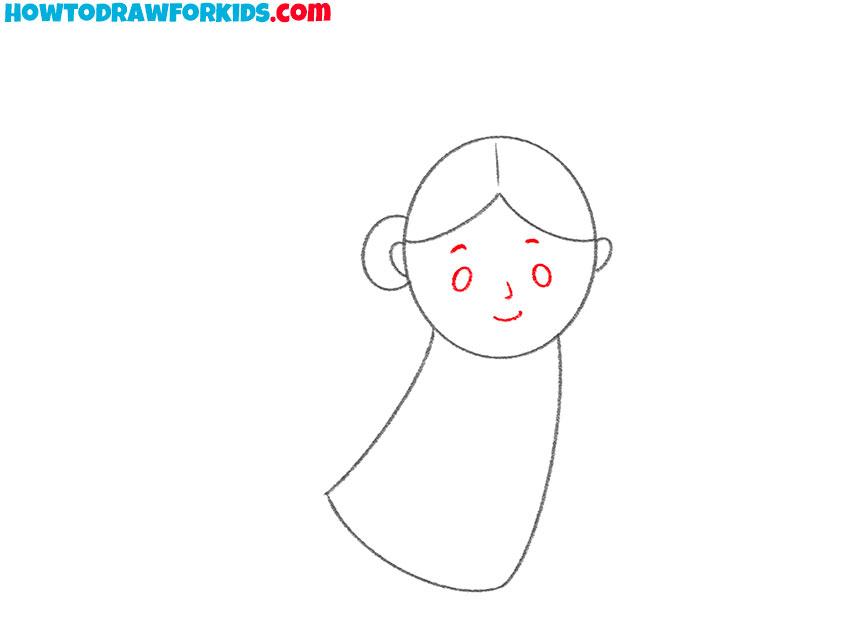
- Picture the facial features.
Draw the fairy’s eyes, eyebrows, nose, and mouth by using ovals and curved lines.
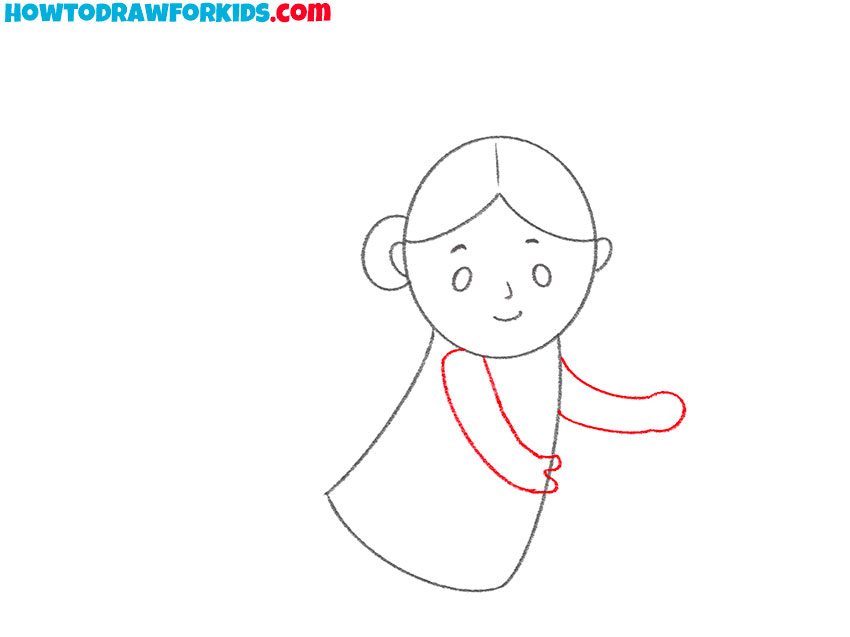
- Add the hands of the fairy.
You can draw these parts of the fairy’s body using curved lines. Both hands look slightly raised.
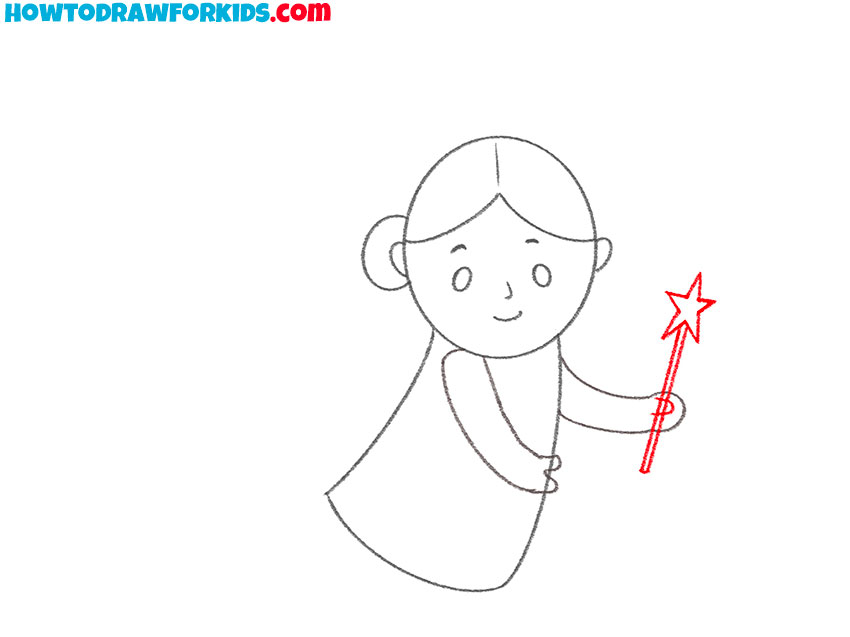
- Outline the magic wand.
In one hand of the fairy draw a magic wand with straight lines and the outline of a star.
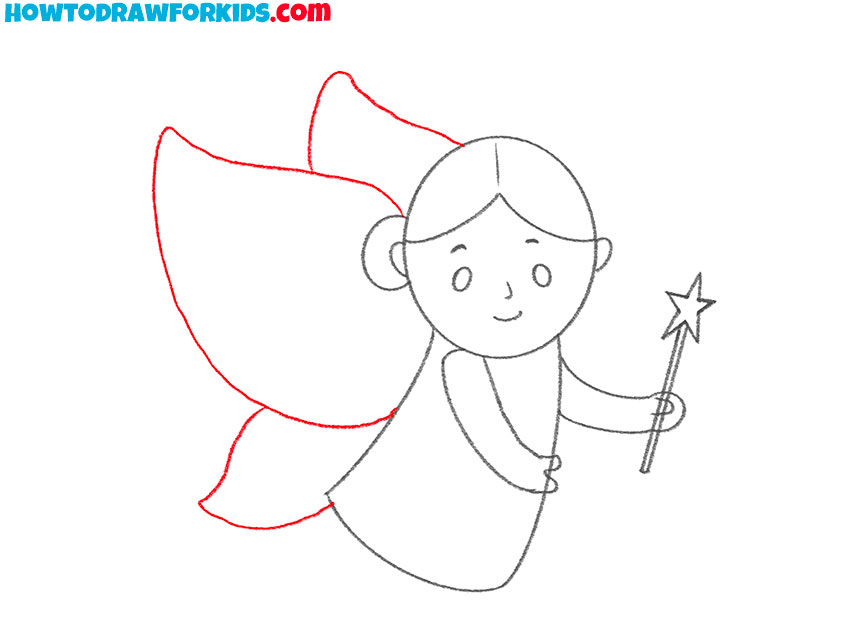
- Add the fairy’s wings.
On the left side, depict the big wings by using curved lines.
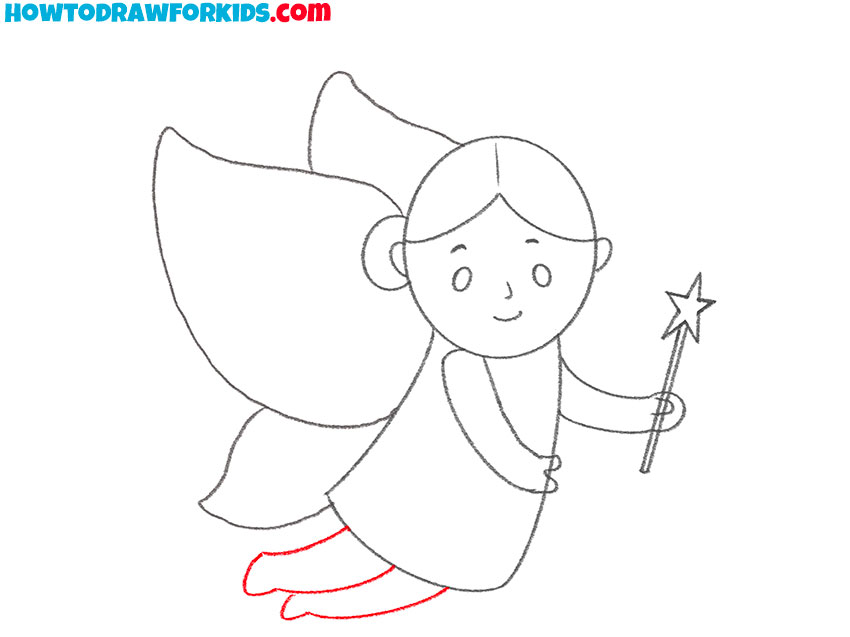
- Draw the fairy’s legs.
Below the fairy’s torso draw her legs with curved lines. One leg partially covers the other.
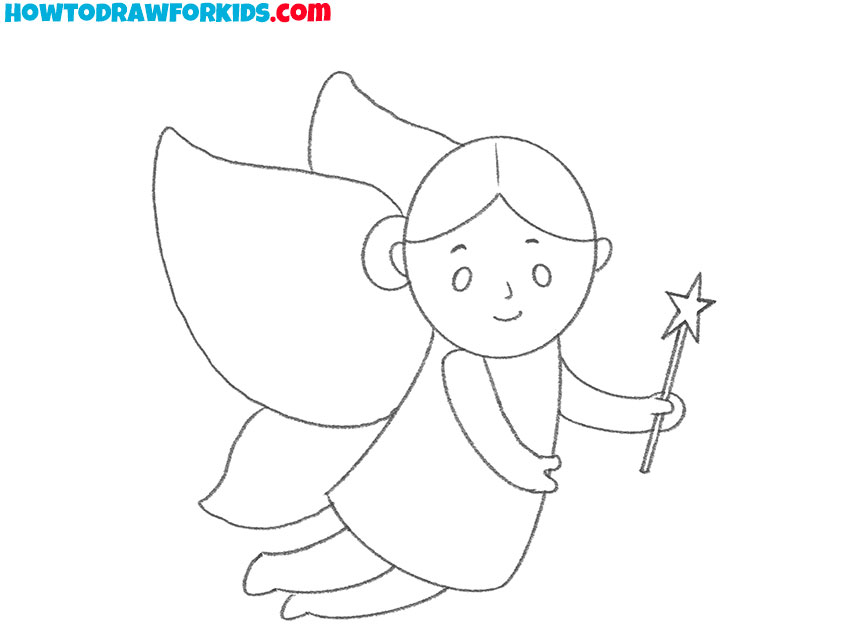
- Erase unnecessary lines.
Use an eraser to remove auxiliary lines that appeared during the drawing process.
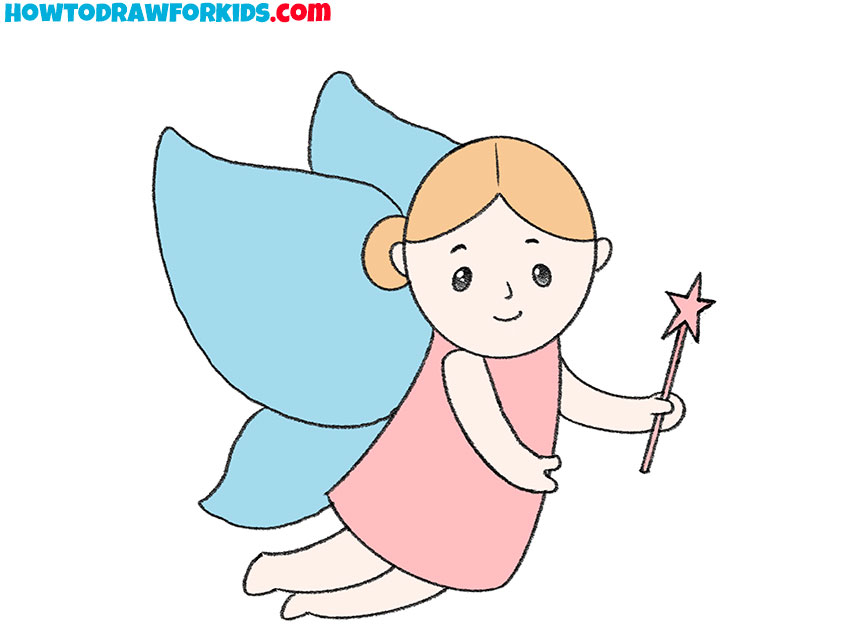
- Color the drawing.
Use blue, pink, orange, black, and any color you like to color the fairy’s skin.
Additional Content
Little artists and fairy enthusiasts, I’m excited to share with you a free PDF file I’ve crafted, capturing the essence of our fairy drawing lesson. This downloadable gem is a brief version of our online tutorial, available for you to use offline.
It’s perfect for those times when the internet is playing hide and seek or when you’re out adventuring in the real world. You can take your fairy drawing skills to new heights, with or without a digital connection. This PDF is my gift to you, so you can continue creating fairy masterpieces, anytime and anywhere!
Alternative Drawing Techniques
To all the dedicated young artists out there, I have an exciting update! Along with our main tutorial, I’ve crafted a handful of unique techniques to draw fairies.
This is your chance to explore new horizons within your art, pushing your skills further and finding new ways to bring those mystical creatures to life on paper. So grab your sketchpad, and let’s embark on this journey of artistic growth together!
Lesson on Drawing a Fairy with Elven Ears
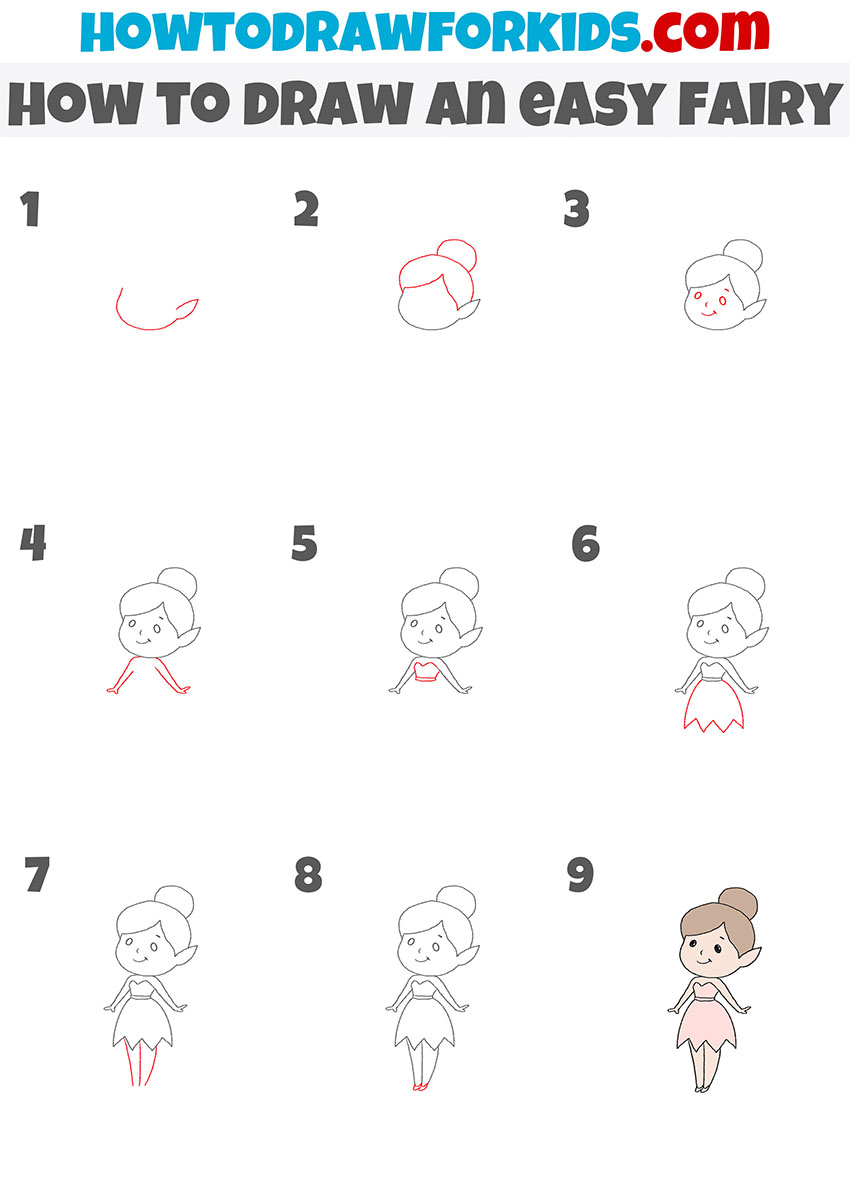
This drawing method is a step-by-step process for creating a cute, chibi-style fairy, characterized by an oversized head and large expressive eyes, which give it an endearing childlike appearance.
The fairy also features elf-like ears, adding a touch of whimsy to the fantasy element of the character. The simplicity of the lines and shapes makes it accessible for artists of all ages and skill levels.
How to Draw an Easy Fairy
So, this technique is a super simple approach that breaks down the process into clear and easy steps, avoiding complex details. Starting with basic shapes for the head and body, the technique gradually adds features such as eyes, hair, and clothing in a way that’s accessible and straightforward.
The progression from a basic outline to a fully colored and cheerful fairy character is designed to be achievable for artists of all ages, encouraging a successful and enjoyable drawing experience.
Conclusion
We’ve reached the end of our fairy-drawing adventure, but the magic doesn’t have to stop here. I invite you to explore more drawing fun on my website—perhaps you’ll find the bee drawing lesson just as sweet, or the mushroom tutorial a perfect pick for your next artistic quest.
And remember, the best way to stay enchanted with all the latest lessons is by following me on social media. That way, you’ll be the first to know whenever I release new content. Keep your pencils ready, and let the creativity flow!

