How to Draw a Ferrari
All fans of fast cars will enjoy this lesson, as I’ll show you how to draw a Ferrari – one of the coolest and most iconic sports cars in the world.

How to Draw a Ferrari: Introduction
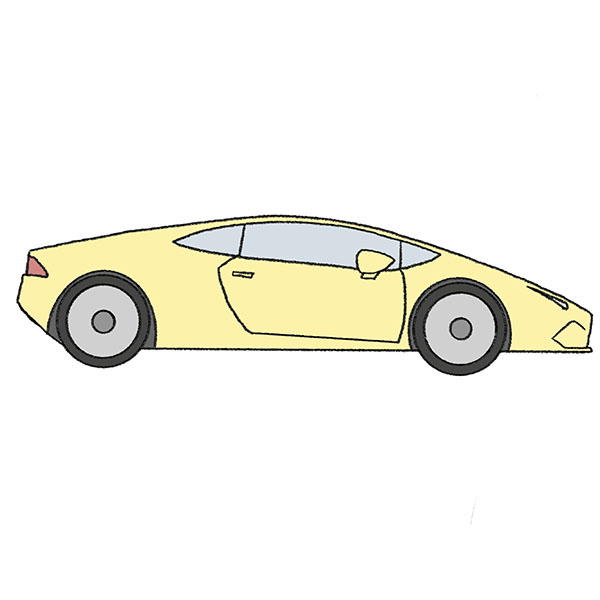
Ferrari is one of the most beautiful cars currently produced in the automotive industry. These vehicles are known not only for their striking appearance but also for their outstanding performance. I’ve always enjoyed drawing cars, especially in a simplified style that I specifically developed for teaching children and beginners. Using this same style, I previously showed how to draw a Lamborghini, and now I’d like to guide you through a step-by-step tutorial on how to draw a Ferrari.
At the end of this article, you’ll also find an additional drawing tutorial presented in a slightly different style. However, it remains just as simple and is also designed for kids and beginner-level artists. Ferrari has produced many different models over the years, with a history that spans decades. Because of this, you can adapt this tutorial to draw any Ferrari model you like with just a few small adjustments.
For example, by changing the shape of the headlights, bumpers, or doors, you can customize your Ferrari drawing to match the specific model you’re aiming for. You can easily use online references to help guide those changes and achieve a more accurate result.
With that in mind, grab your pencil and some bright colors for shading and let’s get started on this tutorial on how to draw a Ferrari.
Ferrari Drawing Tutorial
Materials
- Pencil
- Paper
- Eraser
- Coloring supplies
Time needed: 40 minutes
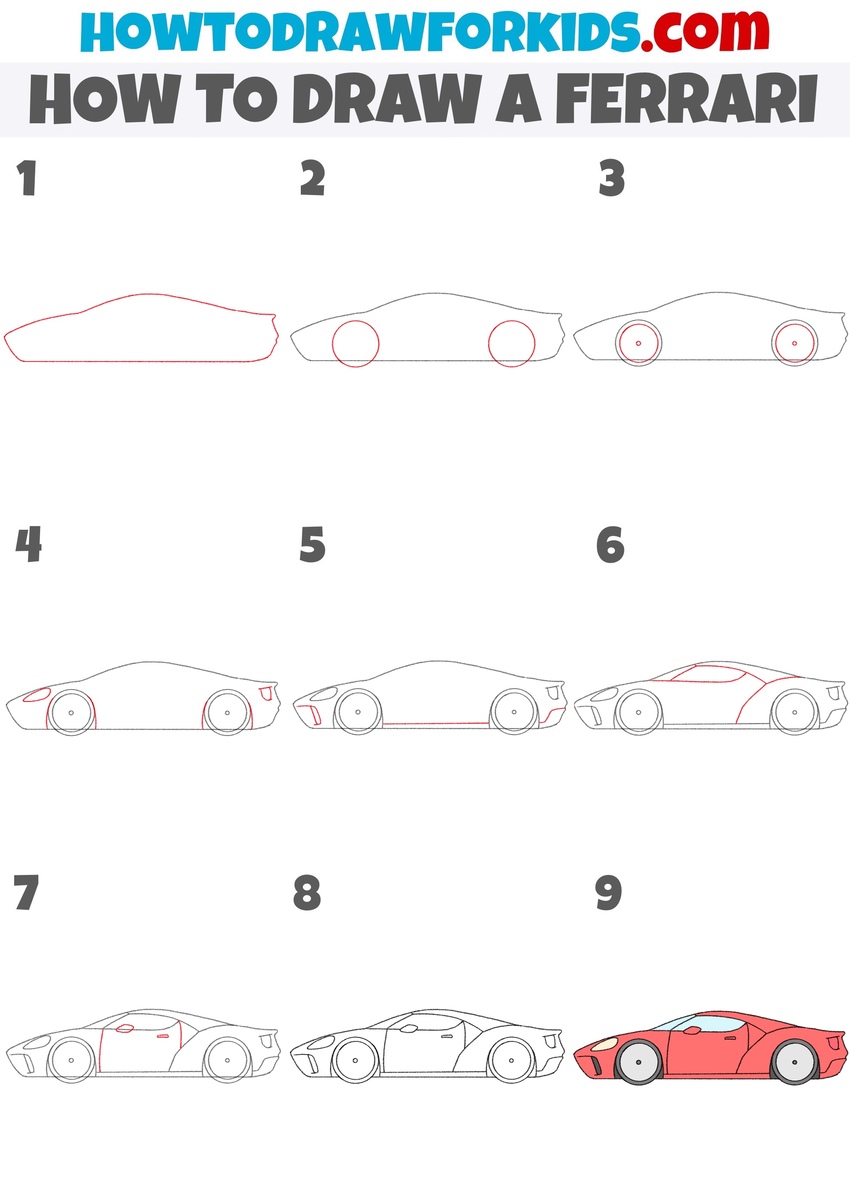
How to Draw a Ferrari
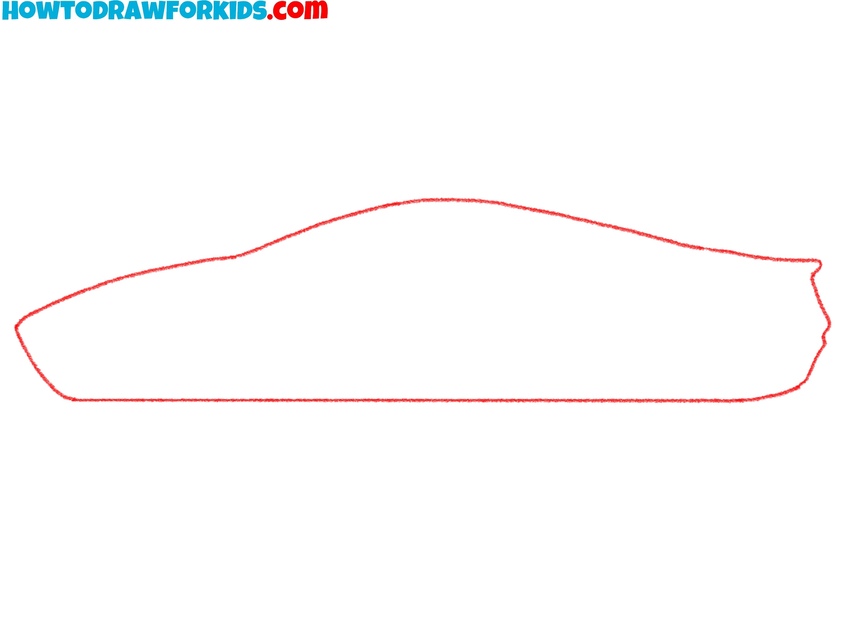
- Draw the outline of the Ferrari body
Use smooth, curved lines to shape the aerodynamic silhouette that gives sports cars their sleek look. Create a low and elongated form, which is typical for Ferrari models. The front should be slightly lower than the rear, and the roofline should flow smoothly into the back of the car.
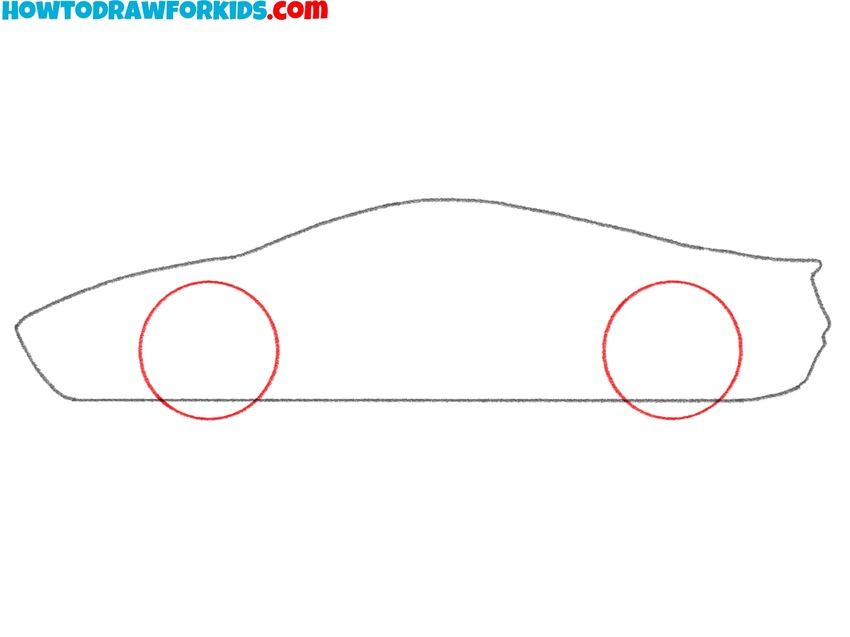
- Add the outlines of the wheels.
Now draw two large circles along the lower part of the car body to represent the wheels. Try to keep both circles the same size, as symmetrical wheels are key to making the car look realistic. It’s very important to make the wheel look perfectly round.
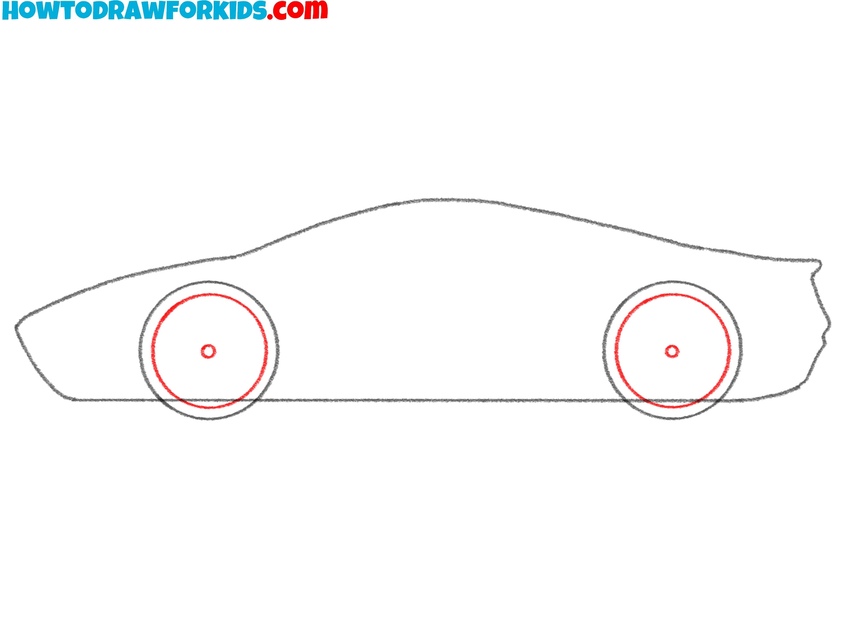
- Draw the inner rims of the wheels.
Inside each of the wheel circles, draw smaller circles to represent the rims. These should be centered within each wheel and smaller in size to leave space for the tires. You can use circular objects to help guide your hand if needed, but try to draw freehand for better practice.
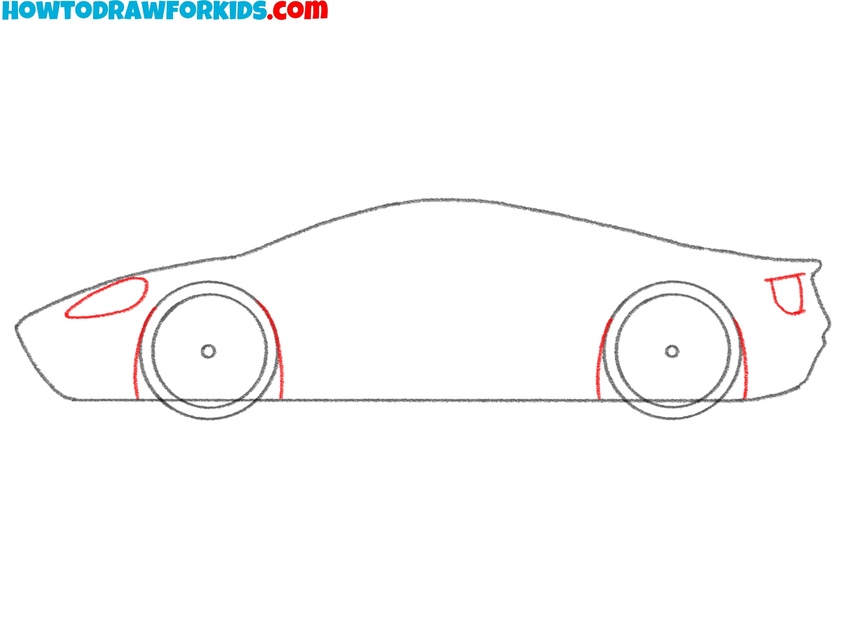
- Add the headlights and taillights.
Draw small, simple shapes on the front and rear of the Ferrari to indicate the headlights and taillights. For the front, add a rounded or oval shape near the top of the bumper area. For the rear, draw a smaller shape placed on the back corner of the car.
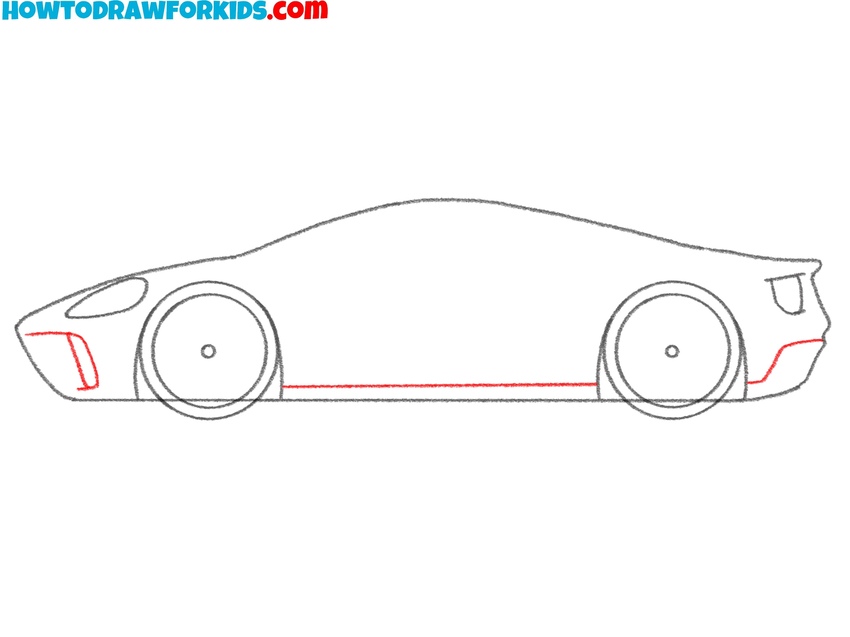
- Draw the Ferrari bumpers and side skirt.
Add the bumper lines near the lower parts of the car and a horizontal side skirt connecting the two wheel wells. Use short curved lines to mark the bumper edges at the front and rear. The side skirt should follow the lower edge of the car body in a straight line.
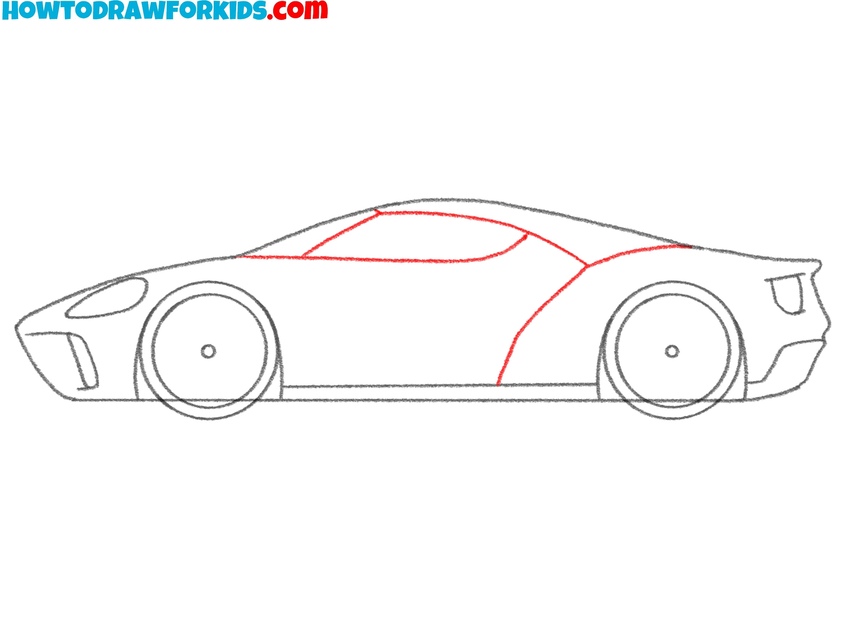
- Add the windows and roofline.
Draw the car’s window and roofline using smooth curves. First, outline the windshield, then continue with the side windows. Connect everything with a slightly arched roofline. Add some decorative lines to make your Ferrari drawing look more realistic.
- Draw the Ferrari door and handle.
Use a curved vertical line to form the shape of the door, following the contour of the car’s side. Place the handle slightly above the midpoint of the door and draw it as a small oval or rectangle. After that, draw the rear view mirror on the bottom edge of the side window.

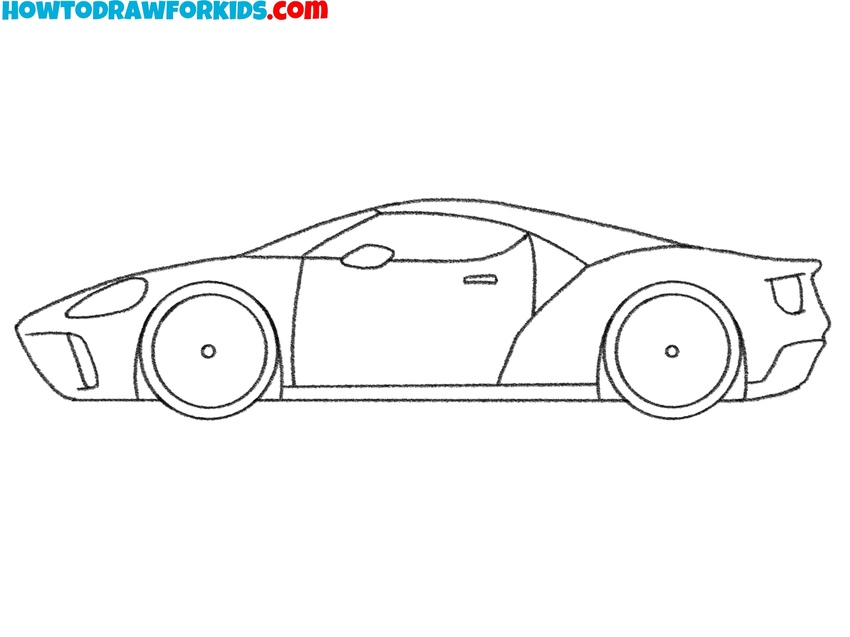
- Finalize the outline and add small details.
Trace over your Ferrari drawing to darken and clean up the overall image. Add small details like tire grooves or door trim if you want to improve the drawing further, but don’t overcompensate things. Erase any extra construction lines and refine the curves and edges.
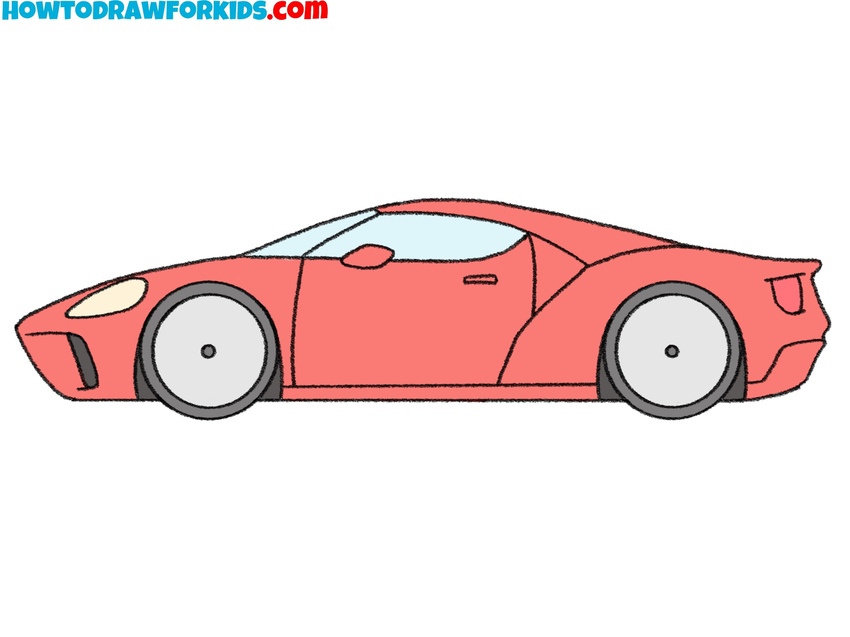
- Color your drawing of a Ferrari
Use a bright red shade for the body, which is the most iconic color for Ferrari sports cars. Color the windows light blue or gray to represent glass. Use black or dark gray for the wheels and add yellow or white accents to the headlights and details.
Simple Ferrari Drawing Tutorial
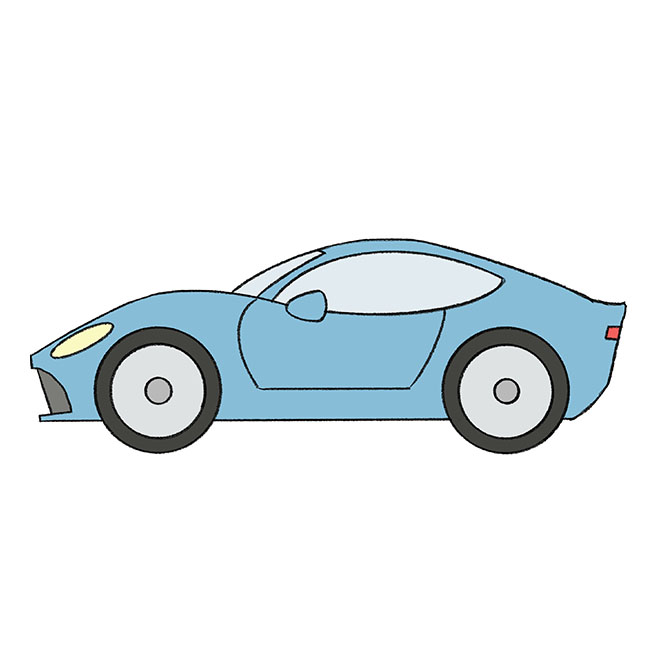
This version of the tutorial on how to draw a Ferrari demonstrates simpler structure with fewer construction lines and a slightly different sequence of steps. The overall shape is more compact, and the model chosen as a reference differs from the one in the first drawing tutorial. The outlines are less curved and more angular. The final drawing looks different as well.
So, start this simplified tutorial on how to draw a Ferrari with a curved horizontal line that forms the top part of the car. Connect the bottom and add the front and rear contours to complete the outline of the body. Sketch out the curved arches for the wheels and draw two large circles for the tires. Inside the wheels, add rims by drawing smaller circles and placing multiple small holes evenly inside each.
Draw the window and door outlines with long smooth lines. Add the side mirror, front light, and bumper details. Continue to refine the body by separating the panels with a few straight and curved lines. Complete the simple Ferrari drawing by outlining the rear light, roofline, and other small car parts. Use black for the wheels, red for the body, and blue for the window. Use this method when you want to draw a Ferrari quickly and with minimal construction.

Conclusion
We’ve completed the body, added the wheels, and brought together the bumpers and headlights to learn how to draw a Ferrari step by step. Now it’s a great time to share your finished drawing with me.
You can do this by going to Pinterest and posting your completed drawing in the comments under the Ferrari pin. There, you can also see how other artists completed the same task. If you have any questions, feel free to leave them in the comments section of this article.
You can also explore other sections of my website to learn how to draw cars of different brands, as well as various animals, people, characters, and just about anything else you can imagine or put on paper.