How to Draw a Ford Mustang
Learn how to create cool muscle cars on paper with this simple step-by-step tutorial on how to draw a Ford Mustang.

How to Draw a Ford Mustang: Introduction
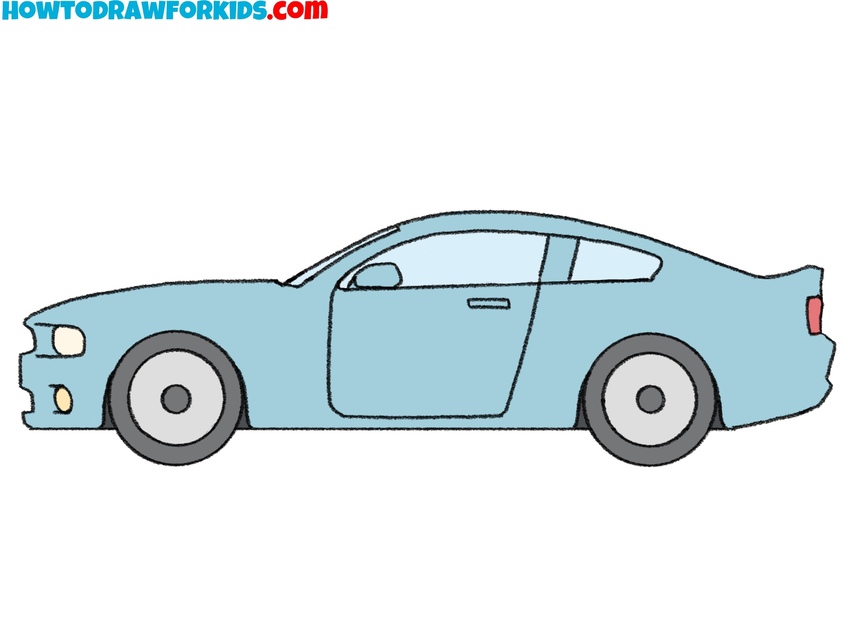
Now I will show you how to draw a Ford Mustang. This is one of the most iconic and beautiful cars, first produced many years ago, and it has remained popular ever since.
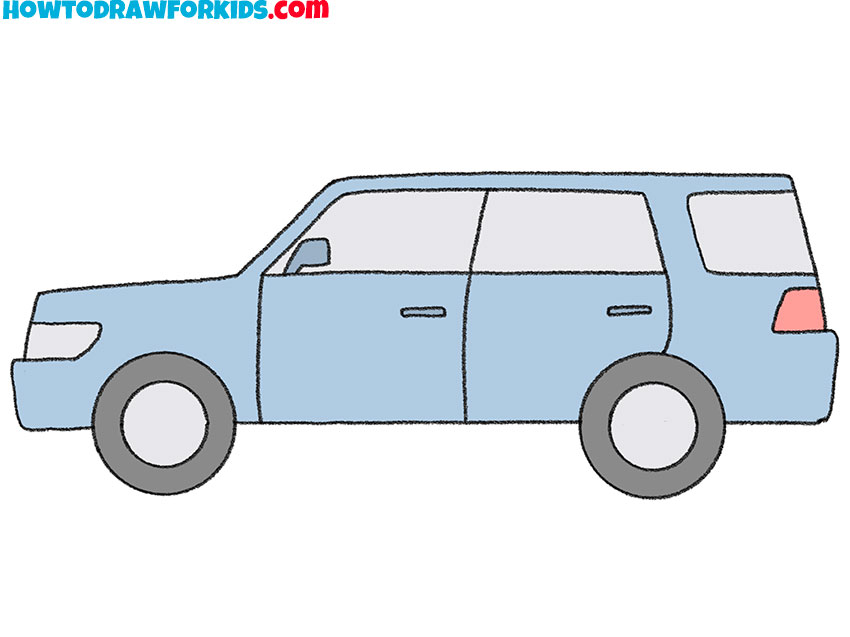
As you can see, the Ford Mustang resembles a sports car, similar to the one we drew in the sports car drawing tutorial. This model features a long hood, a small cab, and a low roof. The Mustang is known for its high speed, attractive exterior, and stylish interior design.
I think that you will enjoy drawing a car that look so cool, especially because it’s easy to do. This step-by-step guide is designed so that even beginners can follow along and successfully draw each part of the car with clear and simple instructions.
You can follow the model exactly as shown in my example, or draw a Ford Mustang of any other type – the methods and techniques will stay the same, and you’ll just need to adjust certain parts. For coloring, you can use the same palette as in my example or choose any color you prefer. For example, this car looks just as striking in red.
Ford Mustang Drawing Tutorial
Materials
- Pencil
- Paper
- Eraser
- Coloring supplies
Time needed: 40 minutes
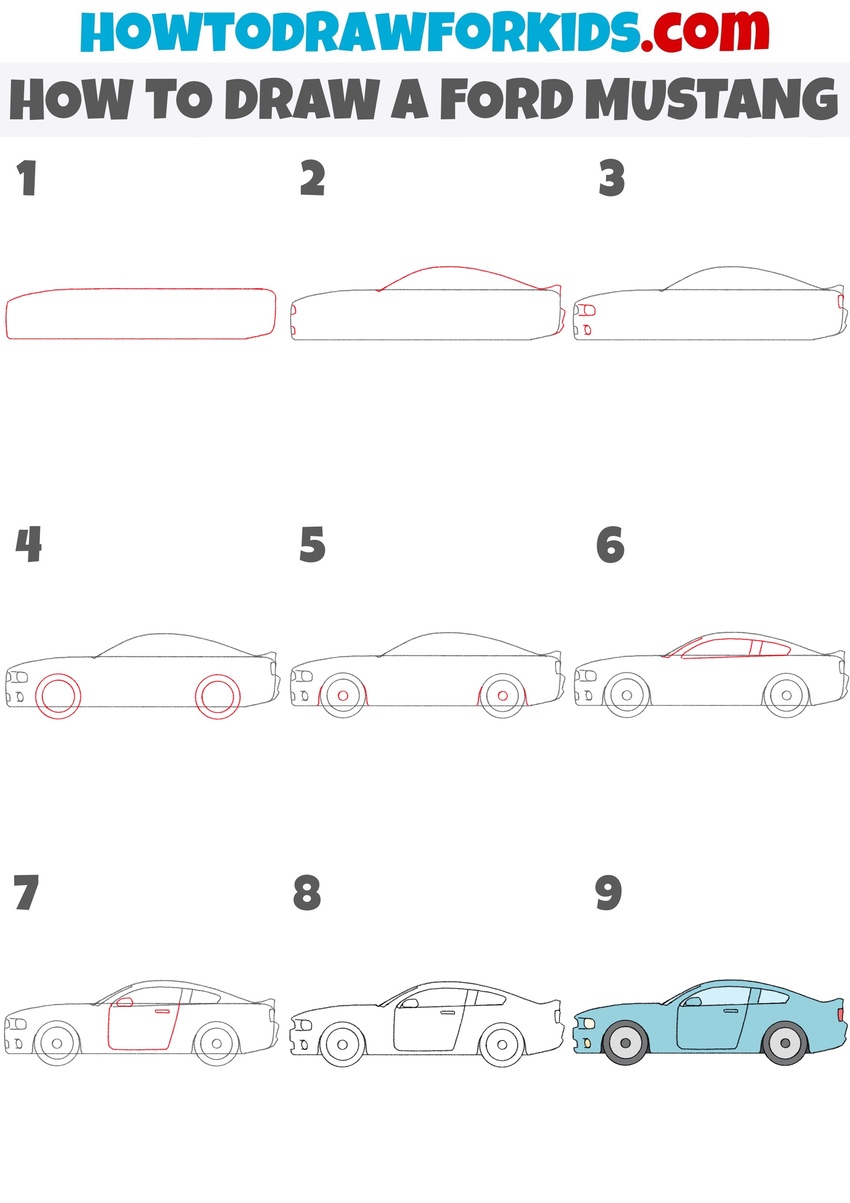
How to Draw a Ford Mustang
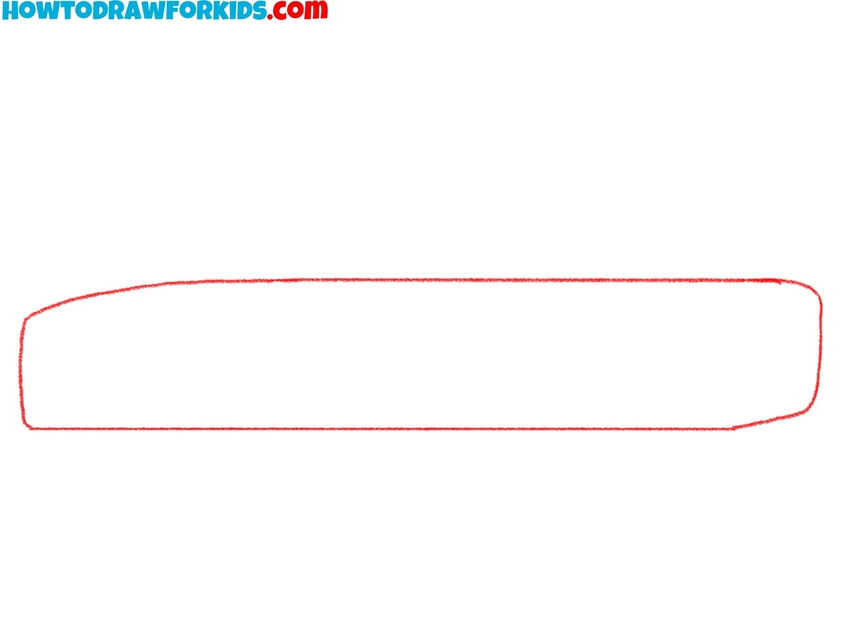
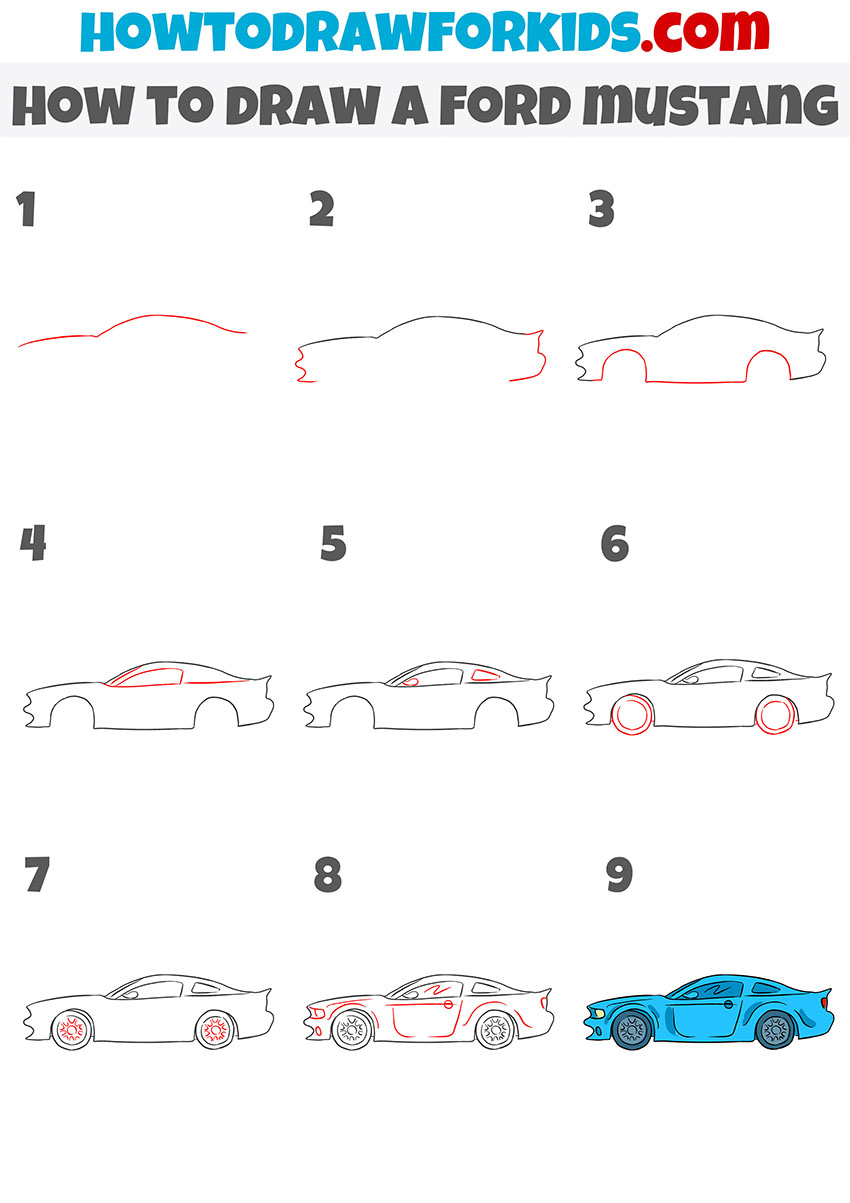
- Draw the base shape of the body.
Start by drawing the basic horizontal outline of the Ford Mustang’s body. Use a long rectangle with slightly rounded corners to form the shape of the car. This shape represents the side profile of the. Try to keep the bottom line straight and the rear end slightly curved.
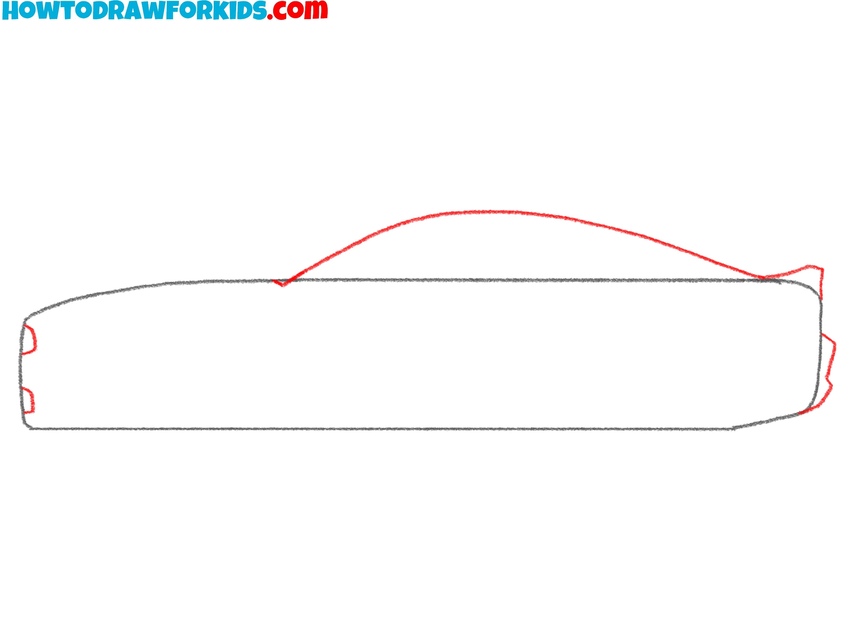
- Draw the Ford Mustang roof.
Now draw the roof and the upper outline of the side window area, sketching a long curved line that begins at the top of the front end and arches smoothly toward the back, tapering down just before the rear. At the same time, add small bumps near the rear and front of the body.
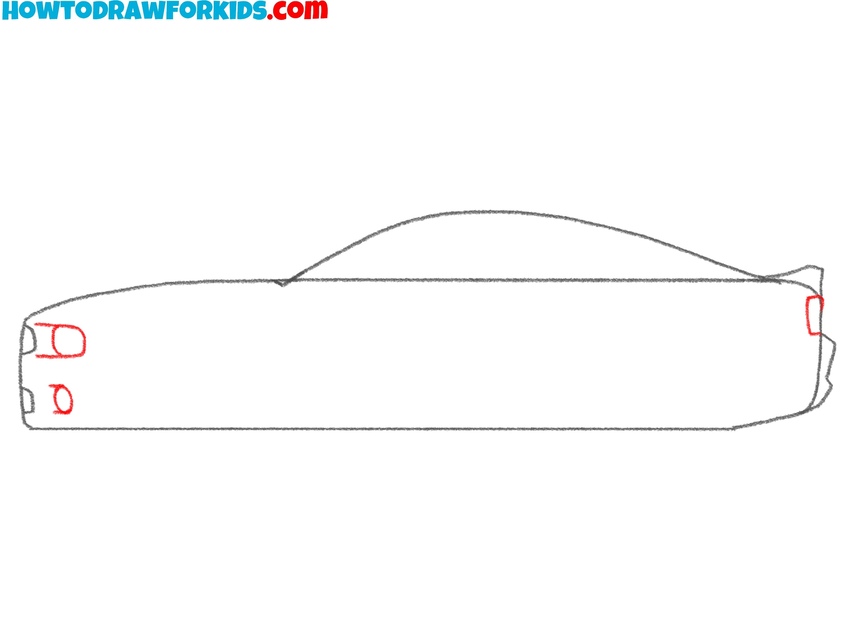
- Add the headlights and taillights.
In this step, add some small details to the rear of the Ford Mustang, including the lights and rear outline. First, draw a small rectangles at the back corner to represent the Mustang’s signature taillights. After that, draw the headlight as a square and the fog light as a circle.
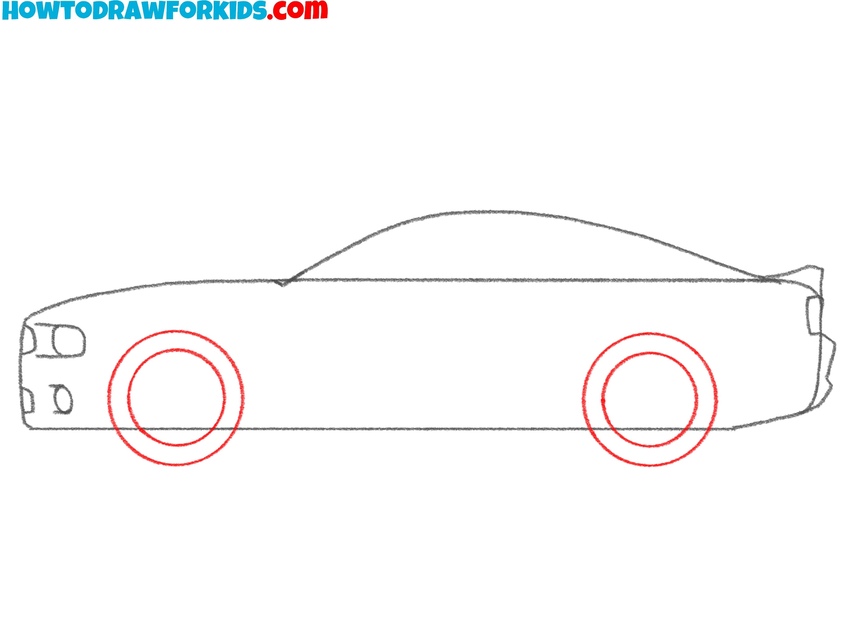
- Draw the wheel of the Ford Mustang.
Sketch two evenly sized circles beneath the car’s body – one toward the front, the other near the rear. Inside each large circle, add a smaller one to represent the rims. To make your Ford Mustang drawing look more realistic, you can add spokes inside the circles of the rims.
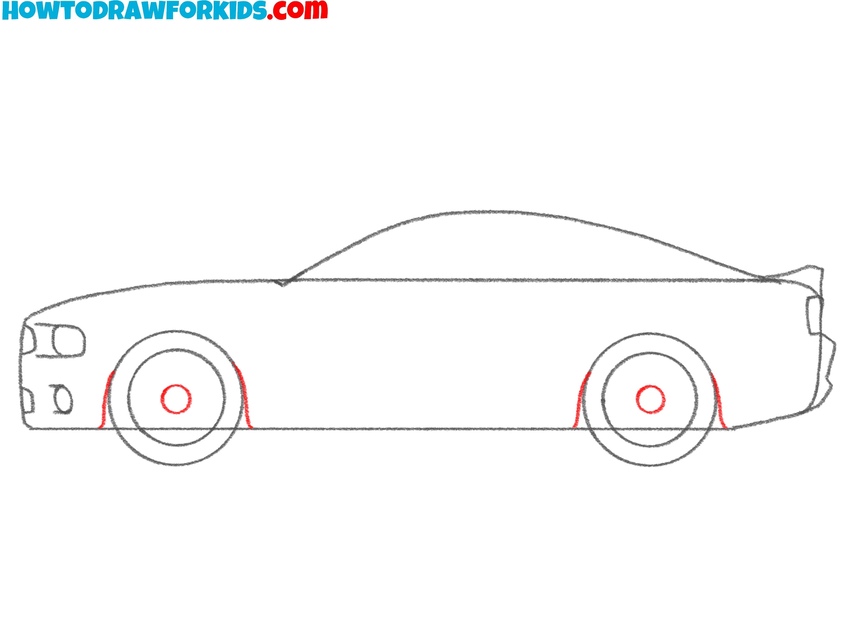
- Sketch the wheel arches.
Next, add curved lines at the sides of the wheels to represent the fenders and wheel arches. After that, draw central parts of the wheels with small circles. At the very center of each rim you can draw small Ford Mustang logos that look like running horse shapes.
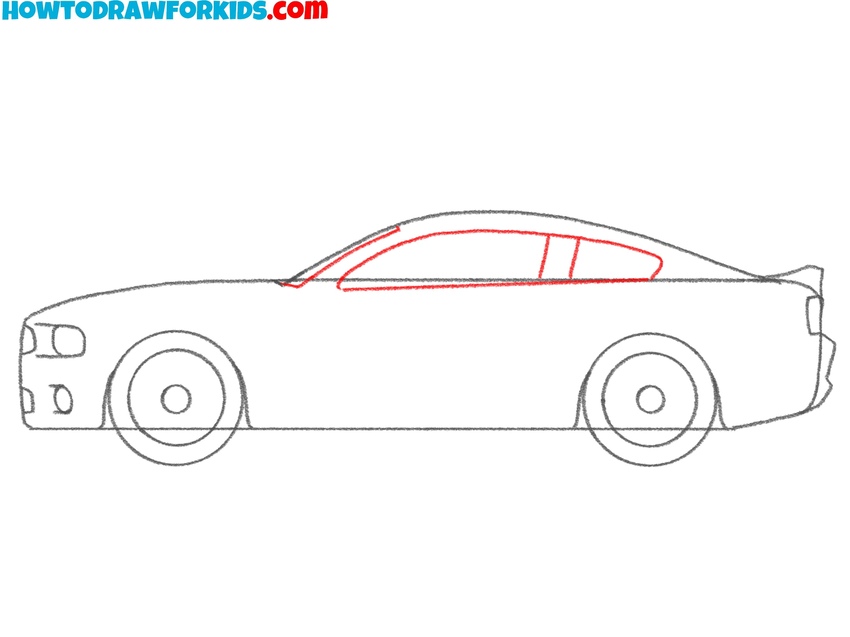
- Sketch the muscle car windows.
Begin drawing the side windows by outlining the front and rear windows within the roof section. Use smooth, sloped lines to match the roofline drawn in Step 2. Draw an angled vertical line between them for the window pillar. After that, sketch simple lines to represent the windshield.
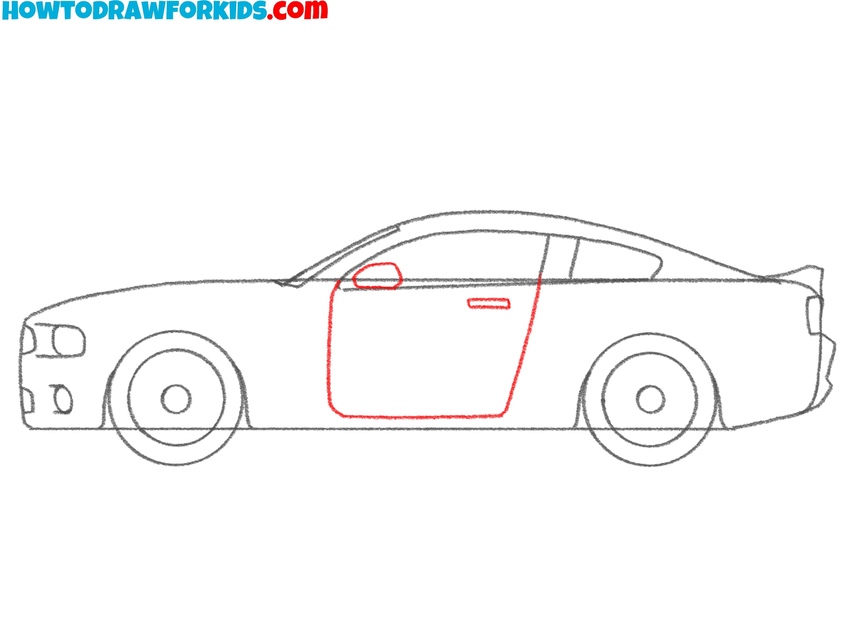
- Draw the door and side mirror.
Outline the door shape using vertical and horizontal lines within the side part of the body. The Ford Mustang typically has a large, single door with smooth edges. Add a small rectangle for the door handle. Then draw the side mirror near the front window – just a small triangle or trapezoid shape.
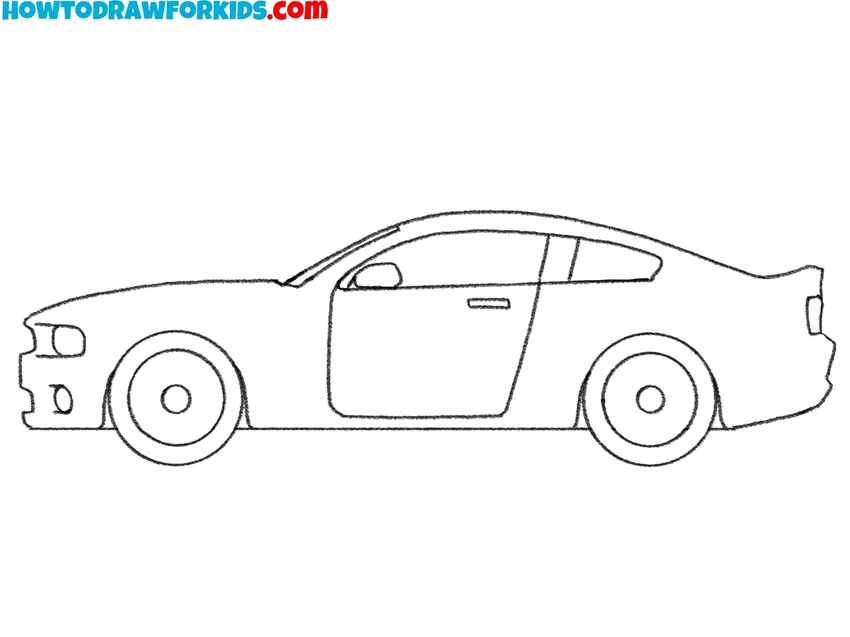
- Finish the line drawing.
Now, give your muscle car sketch a final look by tracing it with darker lines. Erase any unnecessary construction lines that remain from earlier steps of this Ford Mustang drawing tutorial. If anything looks off in proportion or alignment, now is the time to make small corrections.
- Color your Ford Mustang.
In the example, the car is painted light blue, the windows are a pale gray, and the tires are dark gray. You can use the same colors or choose your own – you Ford Mustangs drawing will look great in red, black, white, or any bold shade.
Alternative Ford Mustang Drawing Tutorial
This is an alternative tutorial on how to draw a Ford Mustang using a different approach and step sequence. Unlike the first version, this method begins by sketching the upper contour of the car first, then gradually adds the body, windows, and finer details.
To begin learning how to draw a Ford Mustang with this technique, sketch the top contour of the car from the hood to the rear. Then add the front and back outlines to close the body shape. Draw the wheel arches and lower part of the car body. Add the windows and roofline and side mirror.
Draw the Ford Mustang circular wheels and rims carefully inside the arches. Continue by adding the detailed inner wheel designs. Next, add the car door outline, headlight, and the main details of the side part. Once the outline is complete, trace all final lines with cleaner strokes. Finally, color your drawing of the Ford Mustang using any shade you like, as shown in the example.
Conclusion
The tutorial on how to draw a Ford Mustang is complete, and now you’ve seen two different ways to draw this car. Both versions follow a really simple but use different structures and sequences. You can choose the version that suits your skill level or try both to compare the results.
Practice drawing each one to better understand how different methods can be used to achieve the same final image. You can also combine elements from both tutorials or adjust specific details like wheels, headlights, and color. Keep experimenting, and don’t forget to explore other car tutorials to continue improving your drawing skills.